

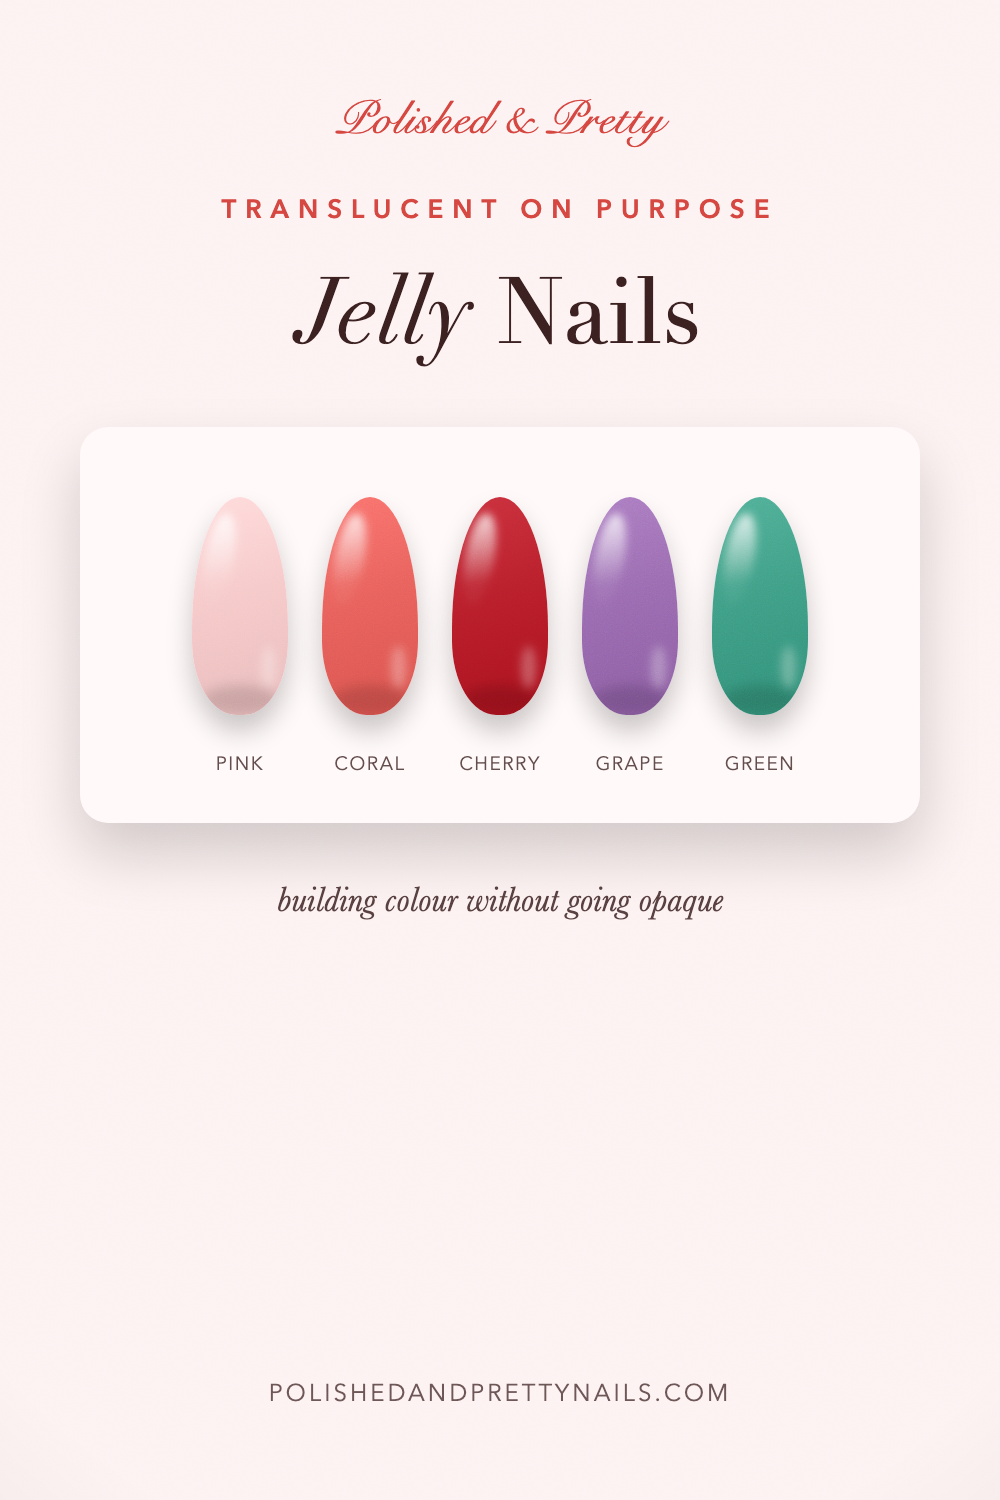
Jelly nails are translucent on purpose. The color is heavily diluted so light passes through it and picks up the natural nail underneath, which gives you the boiled-sweet look that no opaque polish can imitate. It is the finish that makes a bright color wearable. Pinterest flagged a jelly candy aesthetic in its 2026 trend predictions, with searches for it up 100 percent.
Here are 18 jelly nail designs and shades, what actually makes a polish a jelly, how to build one without accidentally turning it opaque, and the sandwich technique that gives you glitter suspended in color. My nail trends post covers where this sits alongside everything else.
Editor’s picks

Browse all 18 designs
18 designs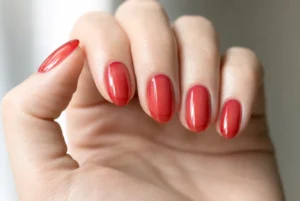 1Jelly Red
 3Jelly Sandwich Nails
 4Jelly Cherry Coke
 5Jelly Orange
 6Jelly Green
 7Jelly French
 8Jelly with Foil
 9Jelly Purple
 11Jelly Blue
 12Jelly Ombre
 13Jelly with Glitter Tips
 14Jelly Black
 17Jelly Watermelon
18 jelly nail designs and shades
1. Jelly Red

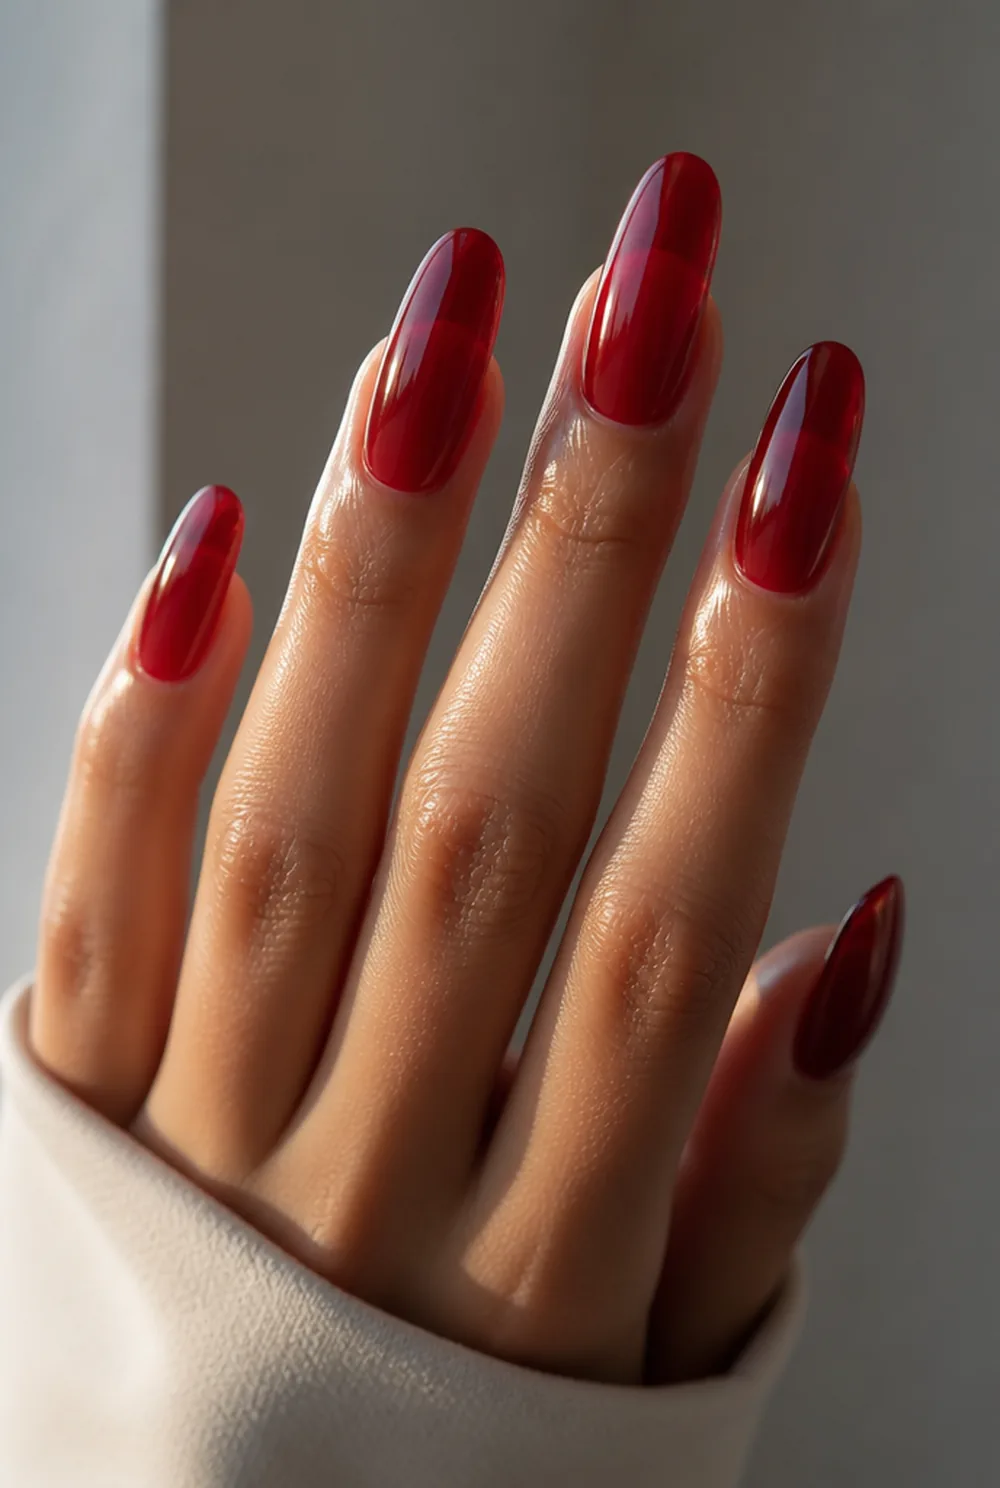
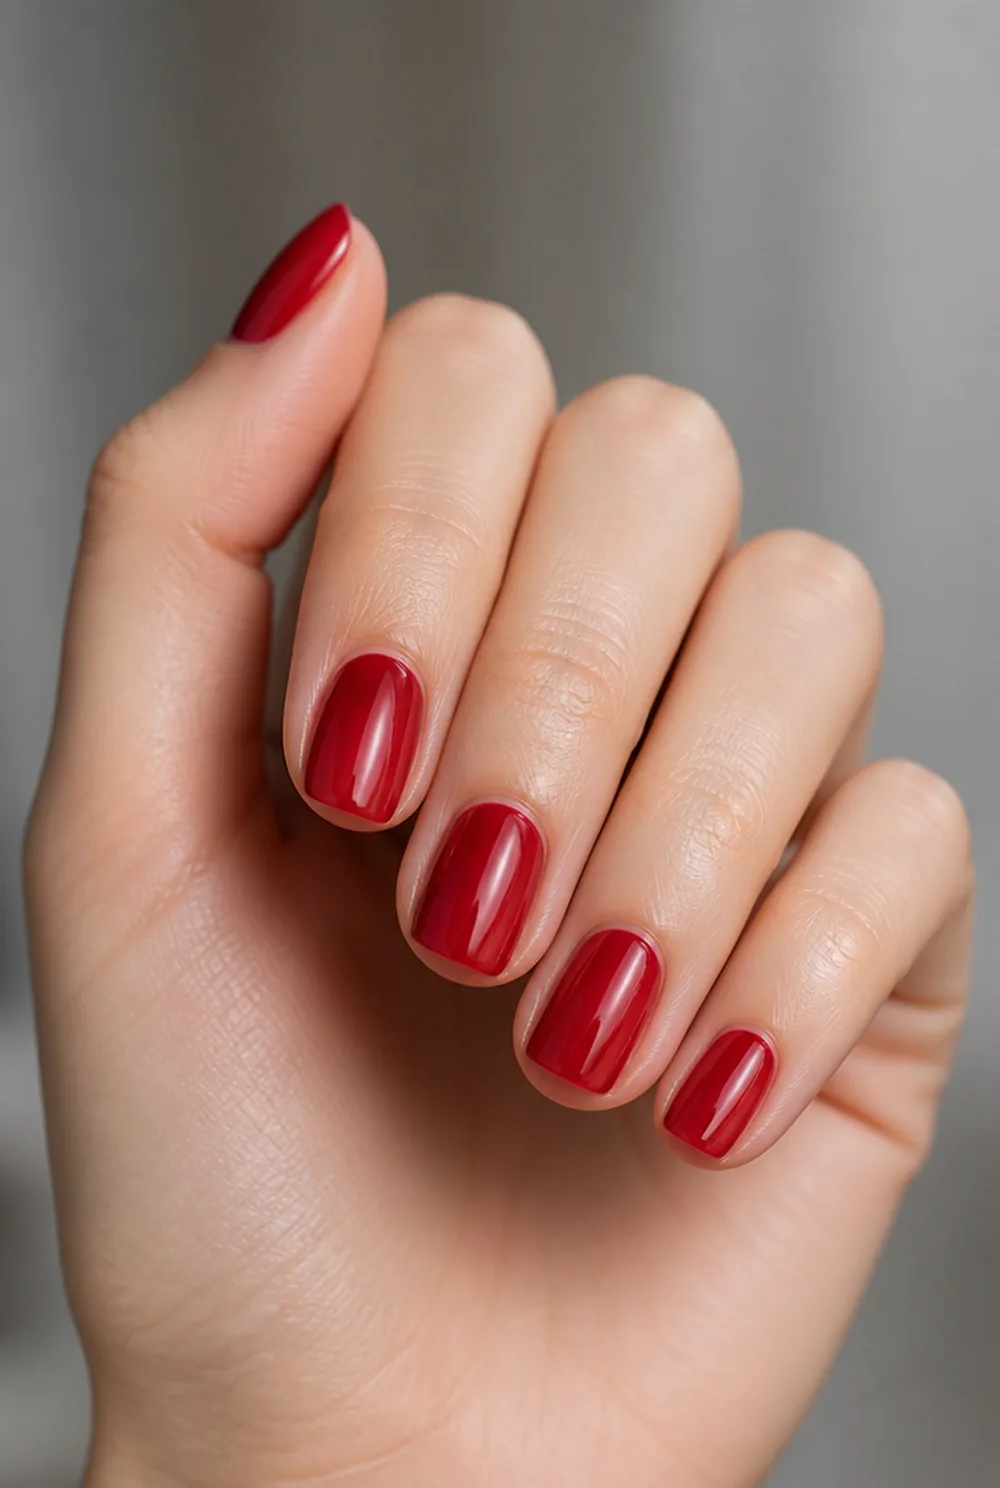
cherry red jelly in three thin coats, translucent
Cherry red built in three thin coats so it stays see-through. Scratch shows the cherry red jelly manicure Demi Lovato wore, plus nail tech versions of the trend. It looks like boiled sugar and it is the shade that started the trend. See our red nail designs post for the opaque versions.
2. Jelly Pink
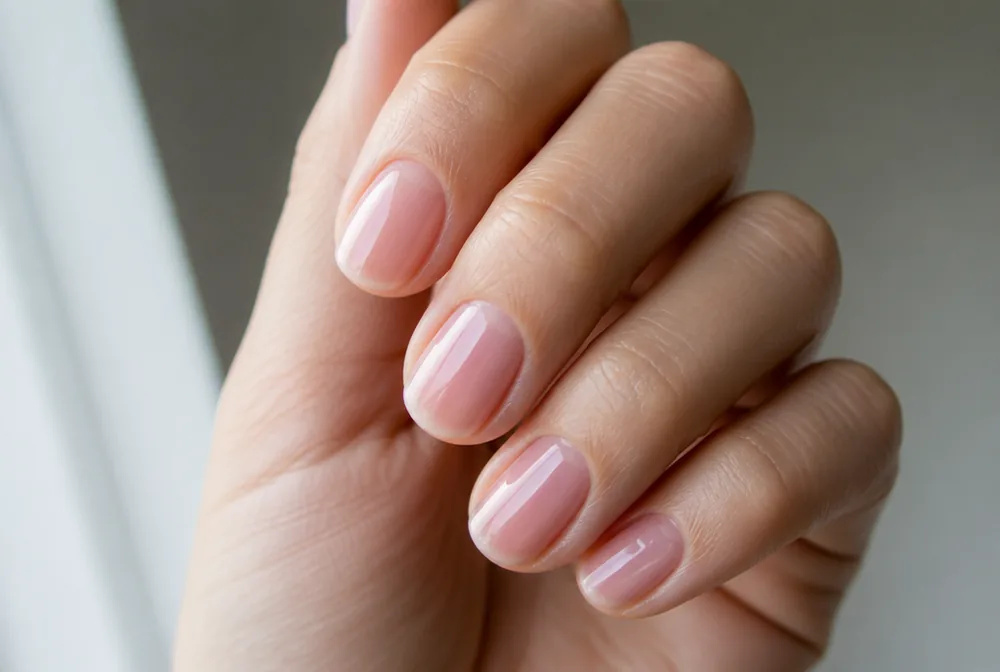


soft translucent pink jelly, barely-there color
A soft translucent pink, the most wearable jelly there is. It reads as a slightly glossier natural nail rather than as a manicure. More in our pink nail designs guide.
3. Jelly Sandwich Nails

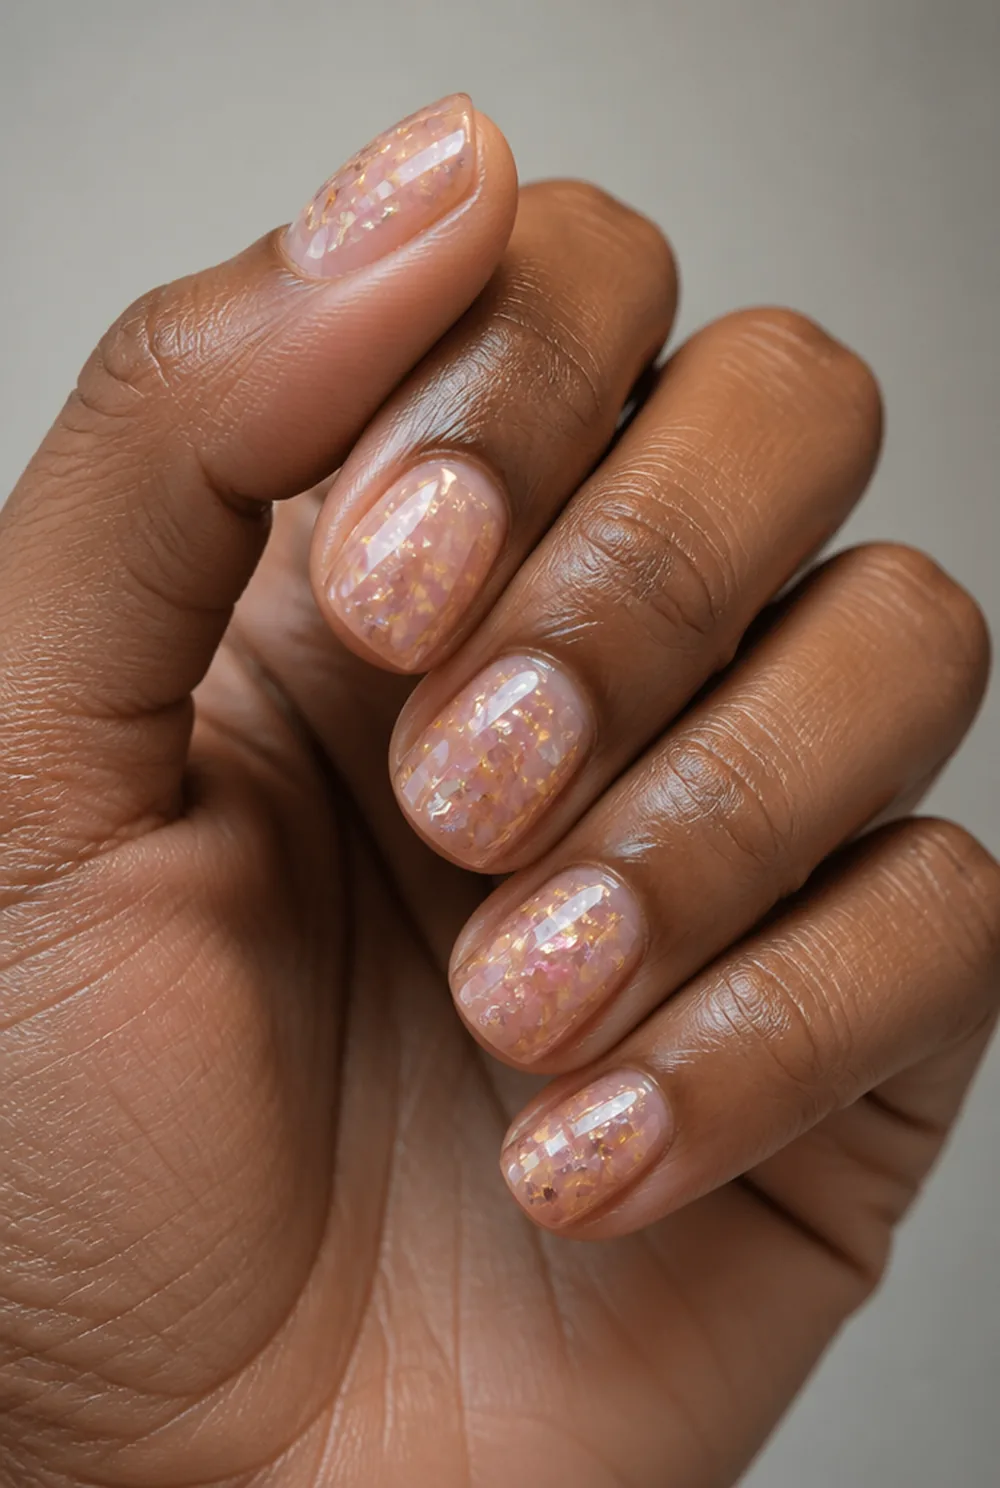

glitter sandwiched between two jelly coats for depth
Glitter sandwiched between two jelly coats so it sits inside the color rather than on top. The depth is genuinely three-dimensional and it is the best trick on this page.
4. Jelly Cherry Coke
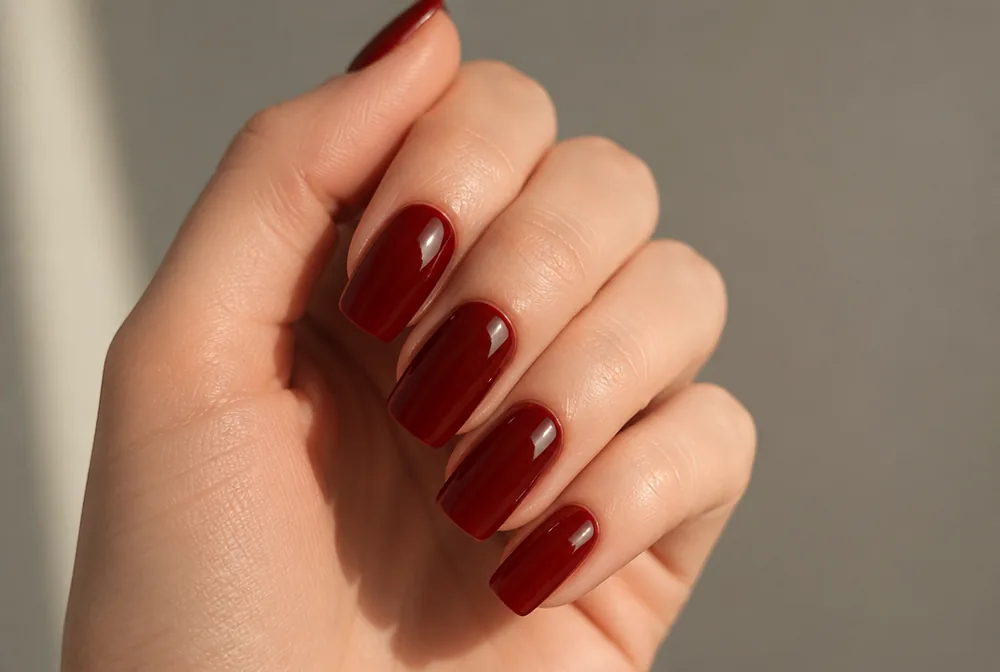

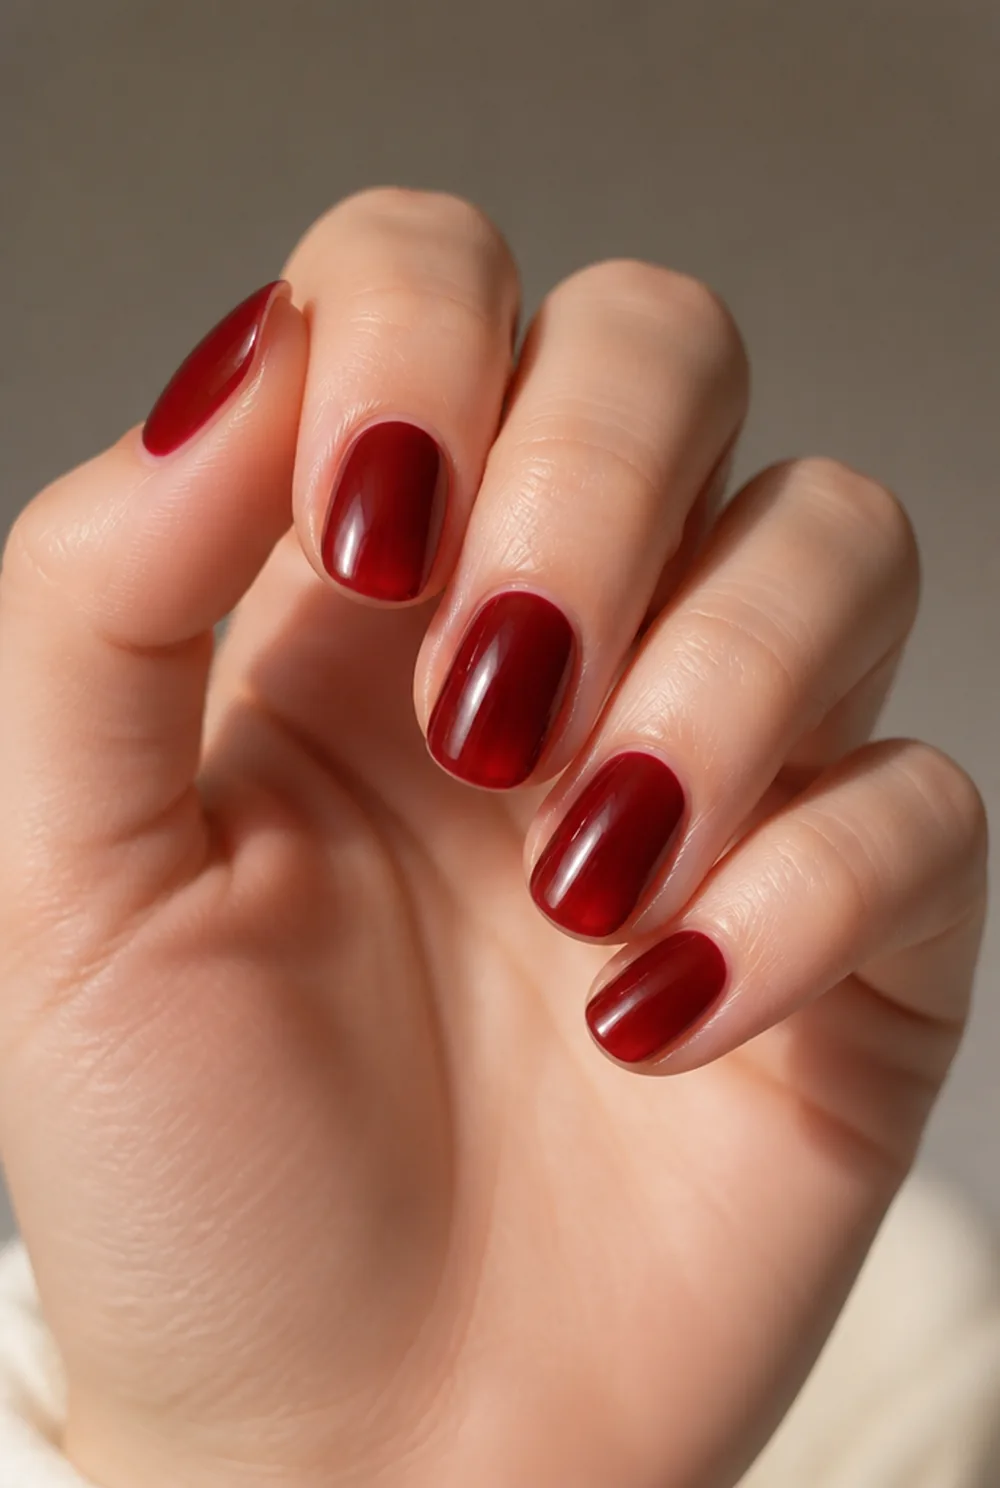
deep red-brown jelly, like cola held to light
A deep red-brown that looks exactly like cola held up to the light. It is the autumn jelly and it flatters warm skin tones. Scratch also lists jelly gels layered over velvet cat eye in its autumn and winter 2026 nail trends. See our brown nail designs post.
5. Jelly Orange

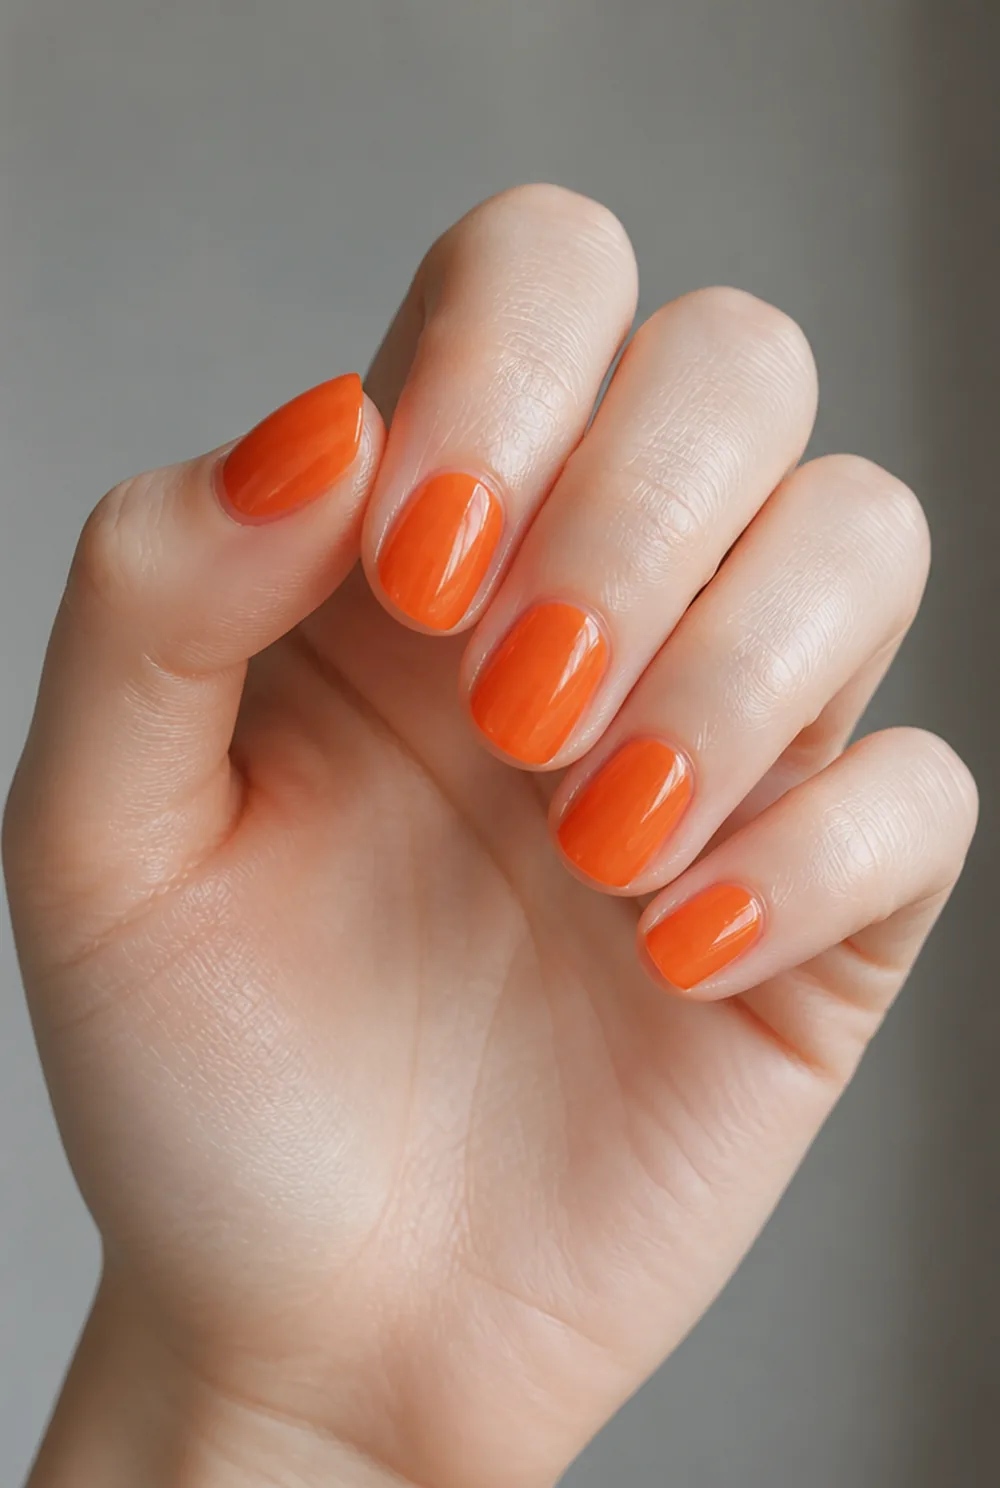
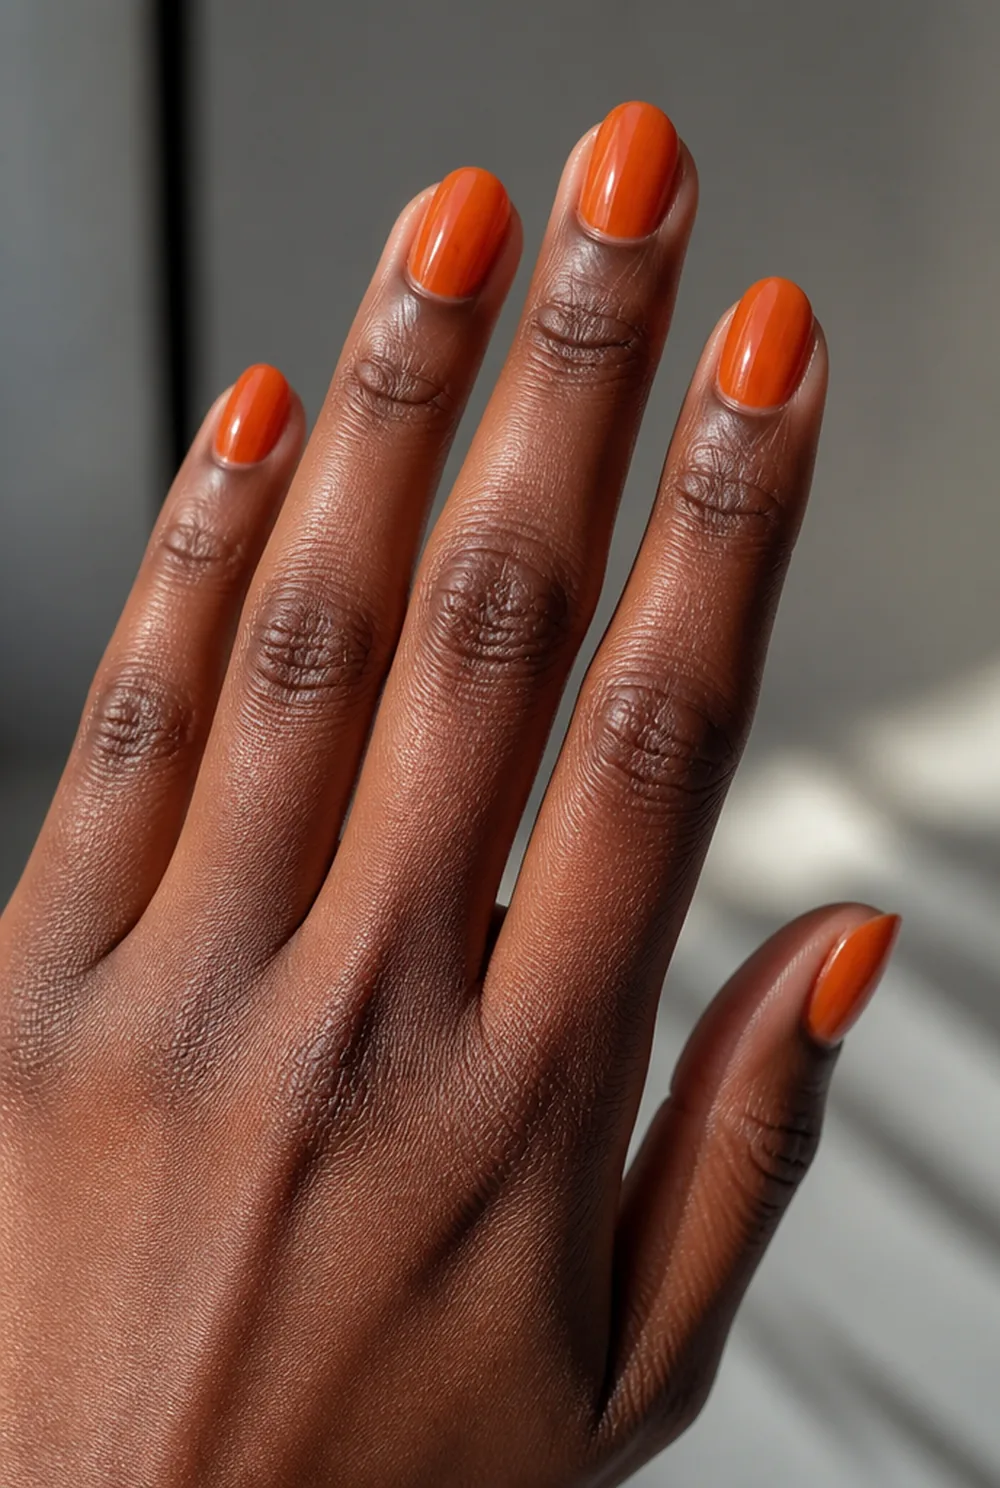
translucent orange jelly, soft bright shade
Translucent orange is the shade that makes bright orange wearable, because the dilution takes the neon edge off. See our orange nail designs guide.
6. Jelly Green
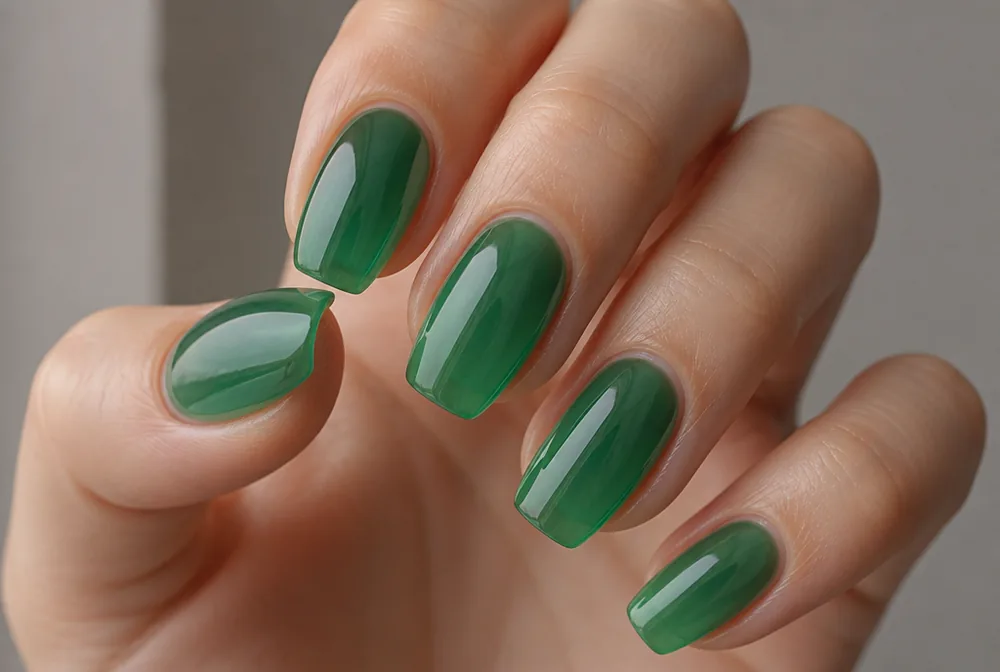
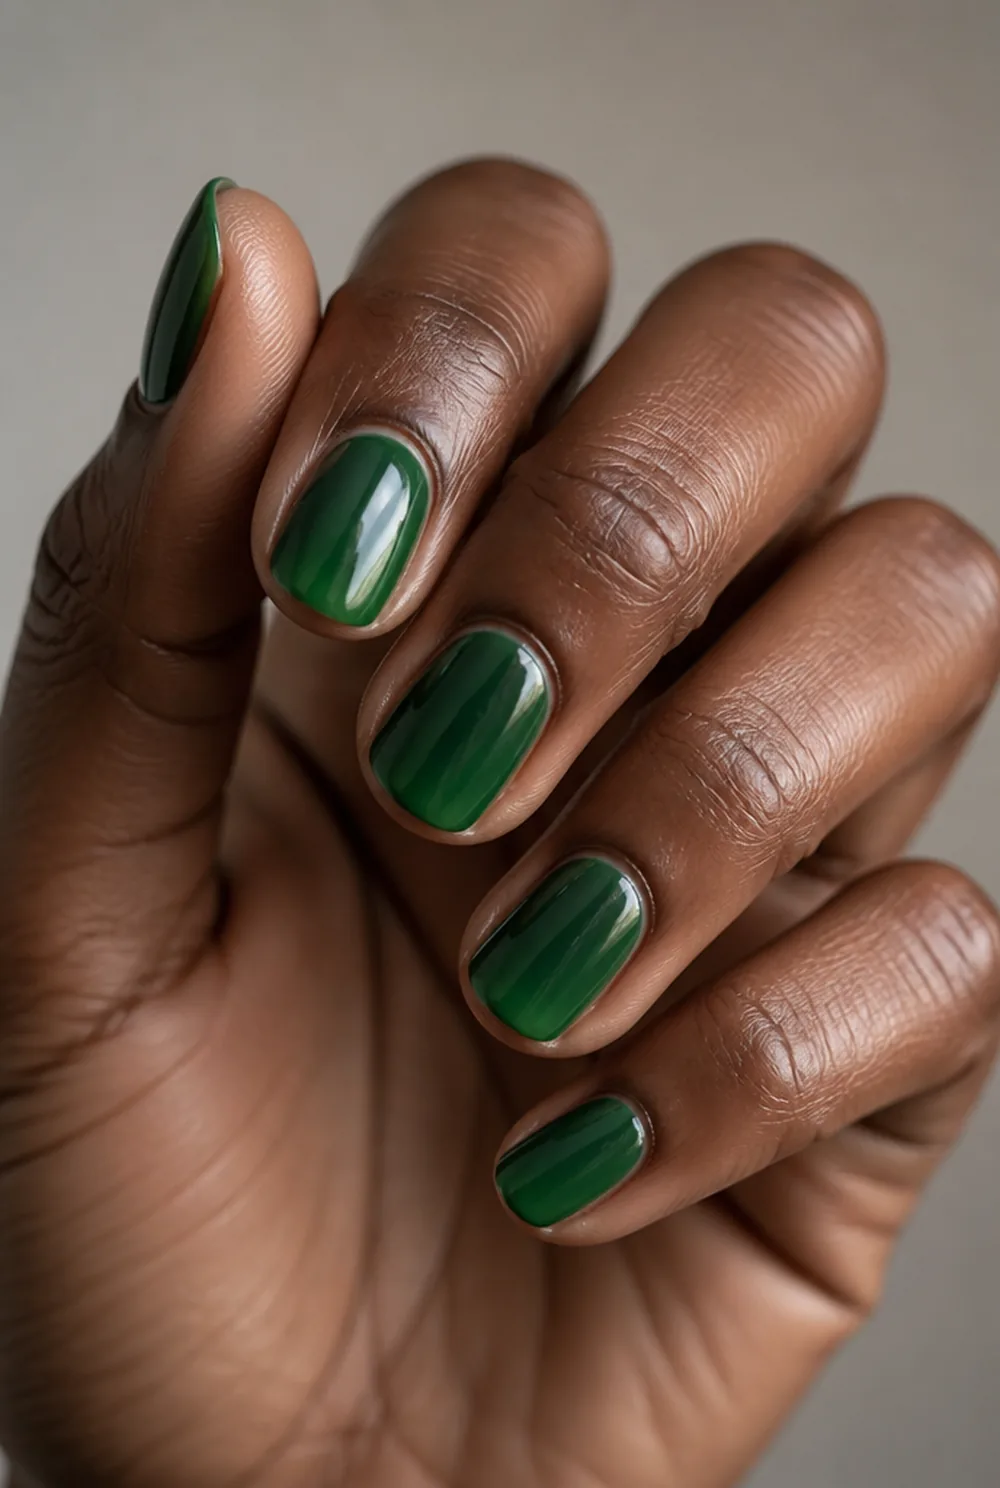

emerald jelly in thin coats, like sea glass
Emerald built in thin coats so it reads like sea glass. Green is the color that benefits most from being translucent. More in our green nail designs post.
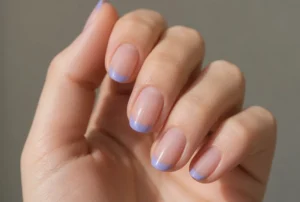
7. Jelly French

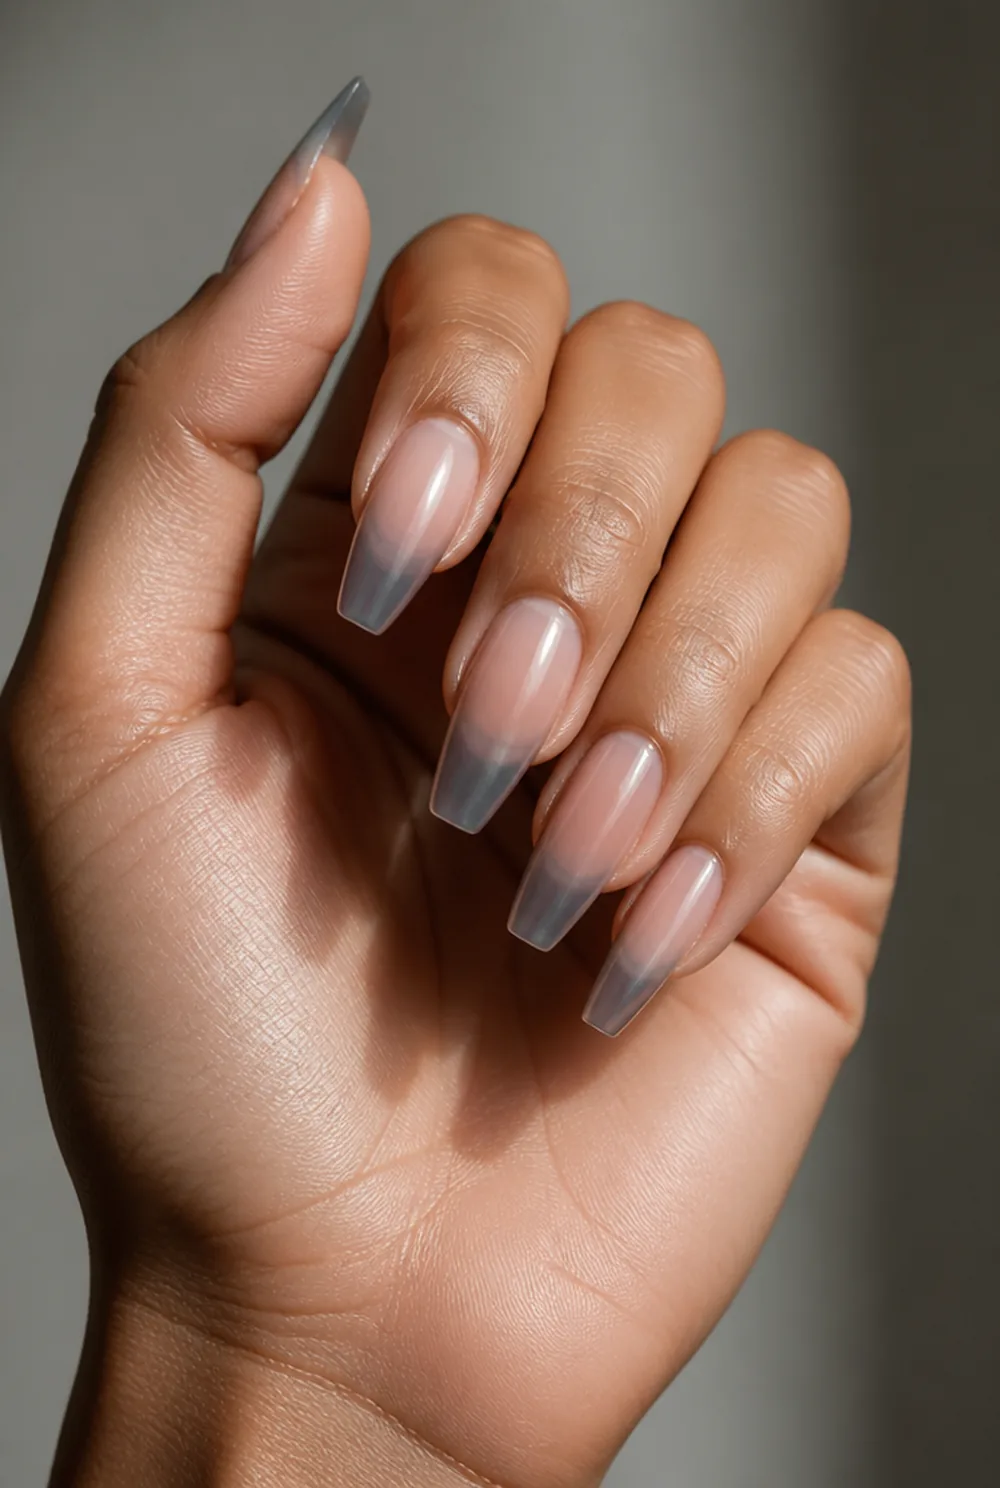
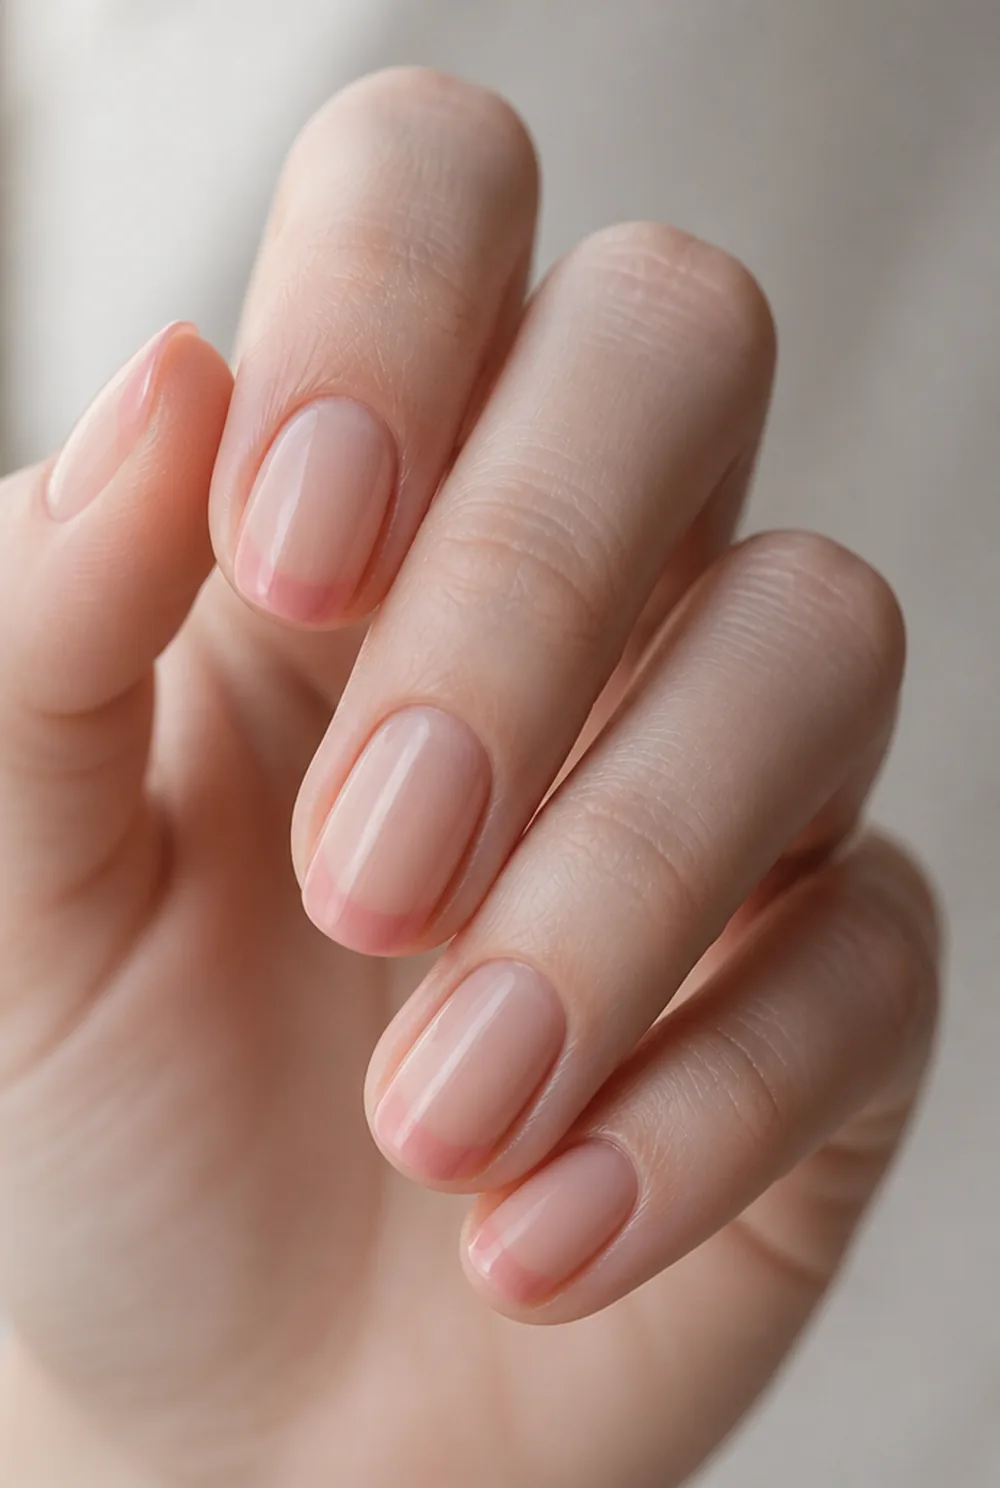
french tip with translucent jelly color instead of white
A French where the tip is a jelly color rather than opaque white. The see-through edge blurs the smile line, which makes it far more forgiving to paint.
8. Jelly with Foil
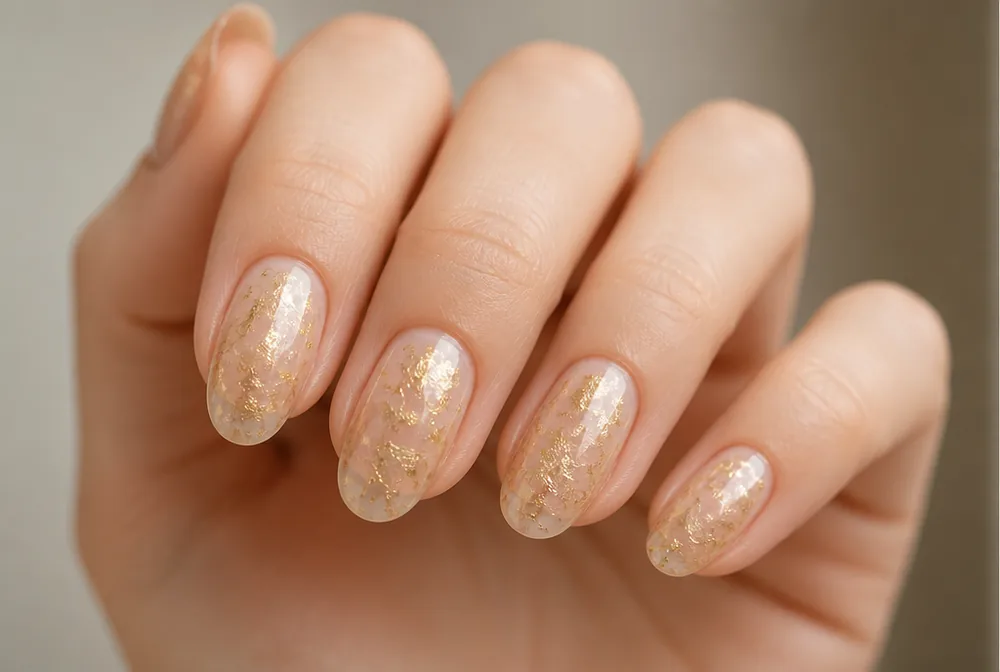

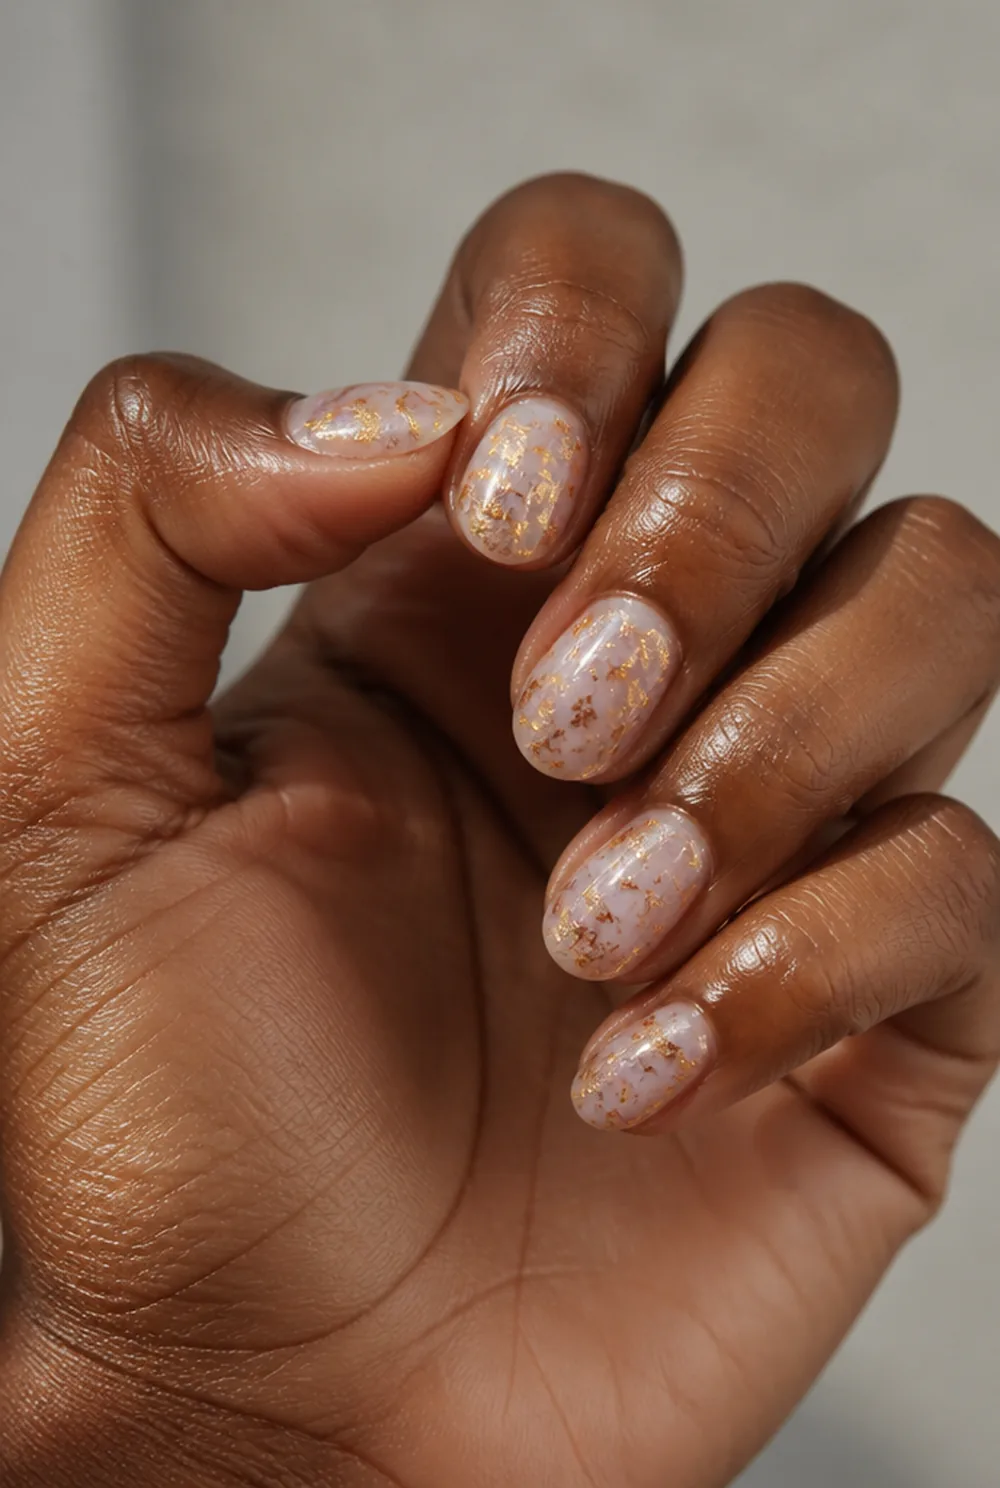
foil on base covered with jelly coat for depth
Foil laid on the base and covered with a jelly coat, so the metal sits under tinted glass. See our foil nails post for the application.
9. Jelly Purple
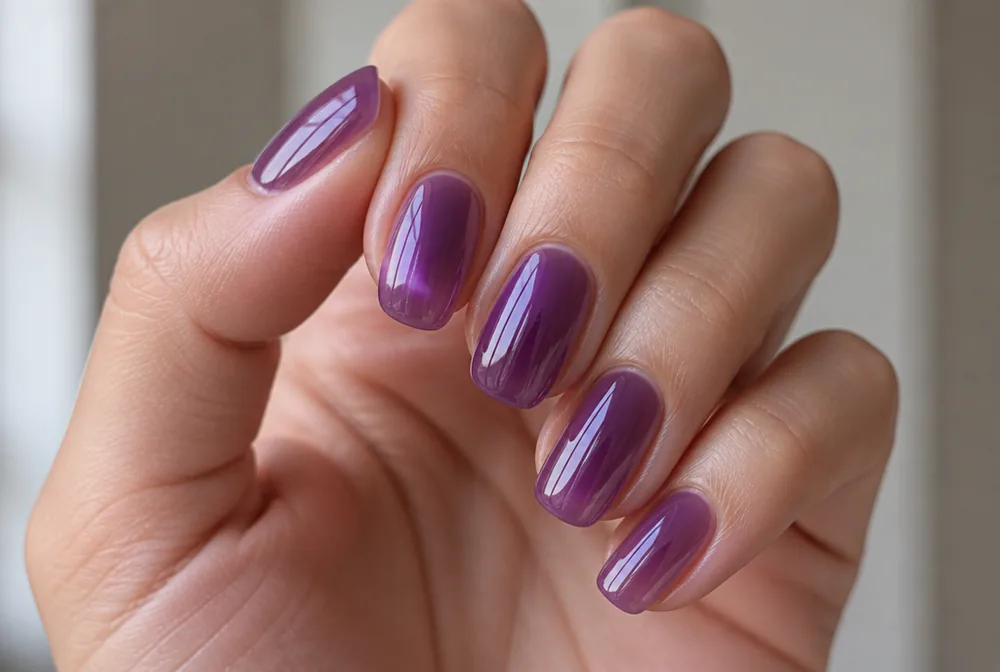


grape purple jelly in three thin coats
Grape purple in three thin coats. Purple can go heavy fast when opaque, and the jelly version keeps it light. See our purple nail ideas guide.
10. Jelly Tips Only

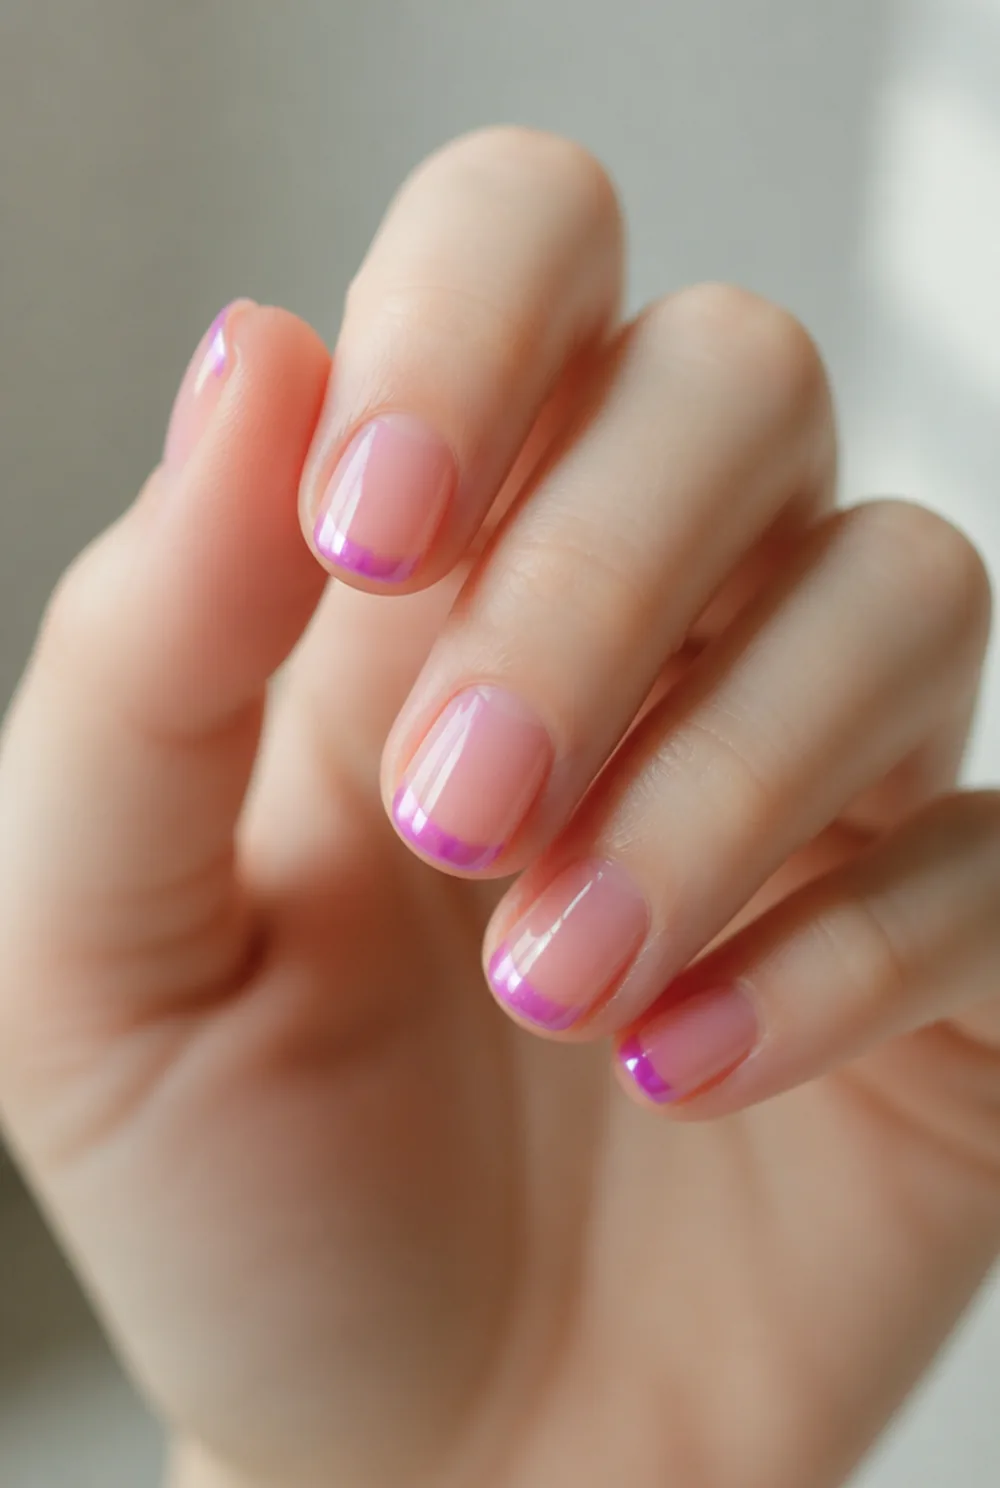
jelly color on free edge only, bare nail base
Color on the free edge alone over a bare nail. Because the tip is already translucent, the color glows slightly at the edge. It is the quietest jelly on this page.
11. Jelly Blue
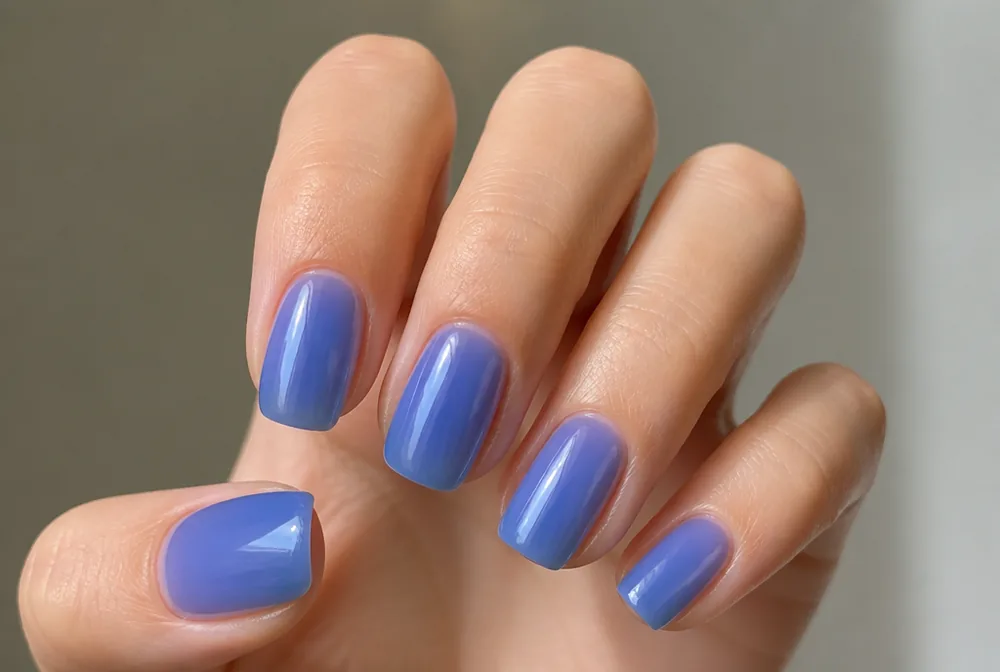
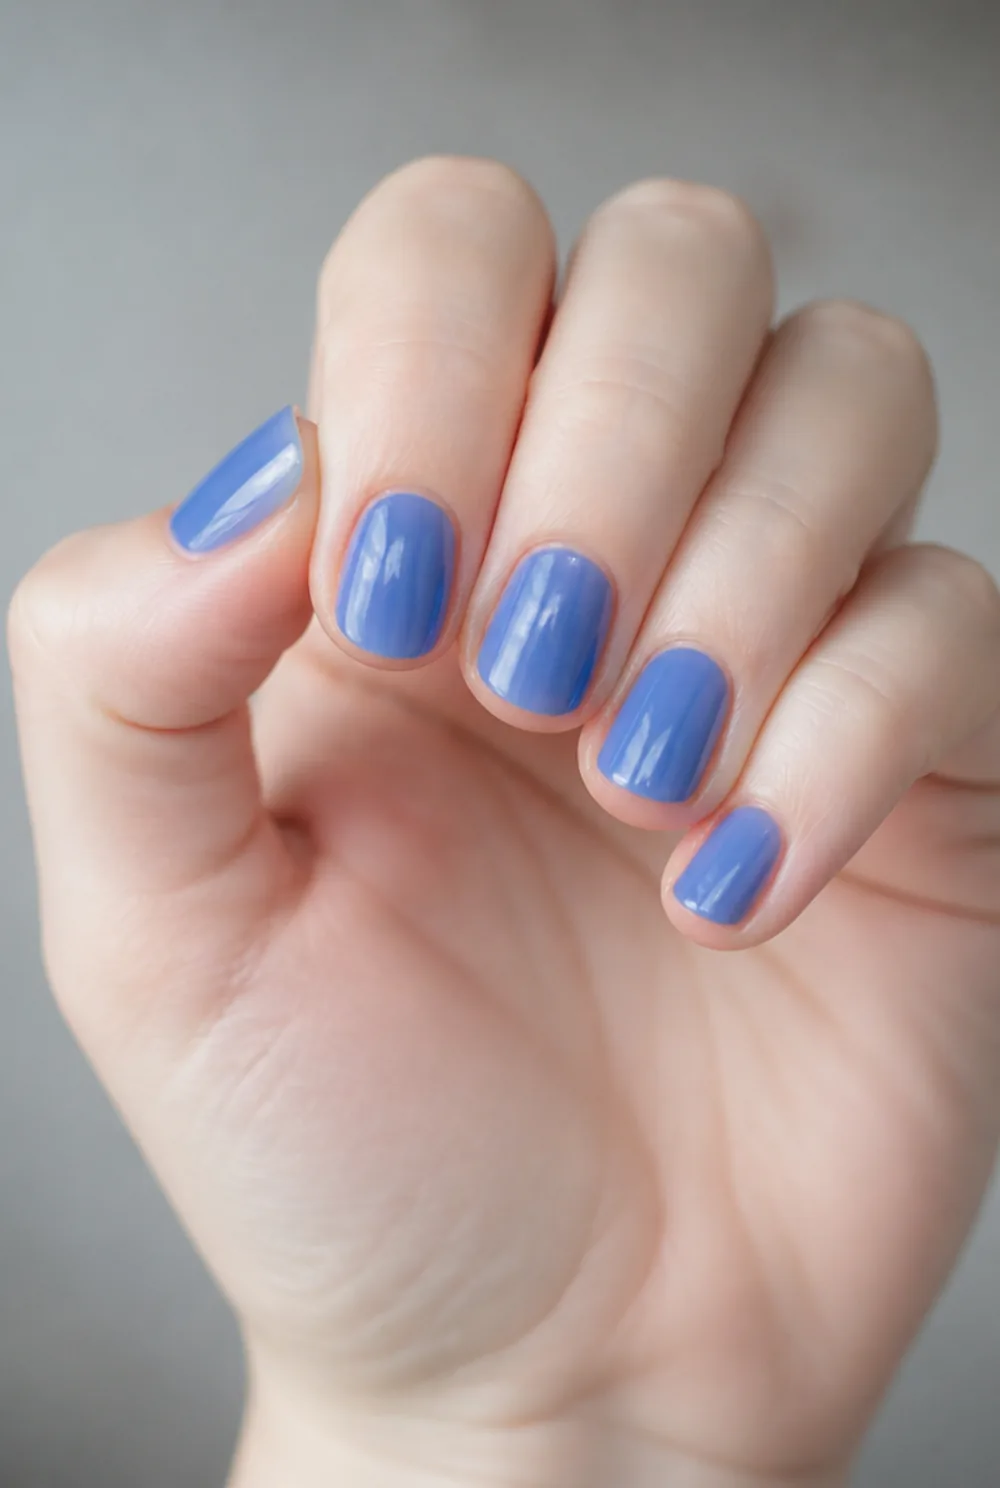
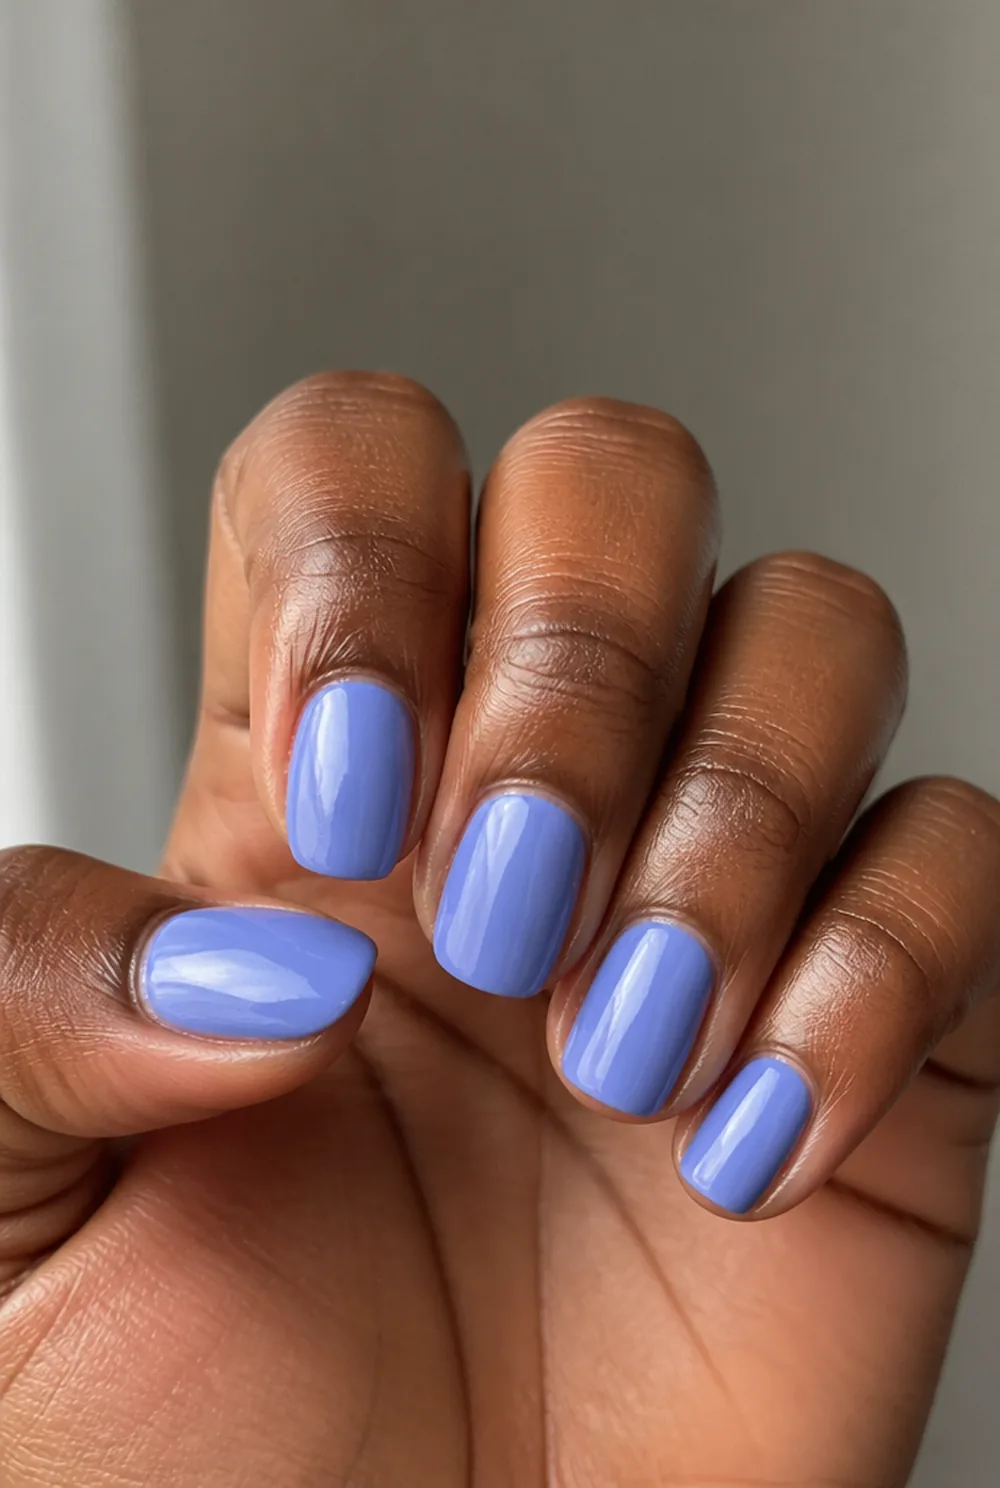
cornflower blue jelly, sheer like sea glass
Cornflower blue kept sheer so it reads like sea glass rather than like paint. Blue is the hardest color to wear opaque and the easiest to wear as a jelly. See our blue nail designs post.
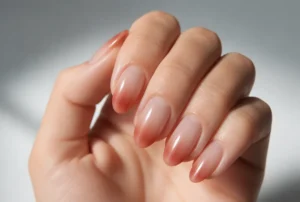
12. Jelly Ombre


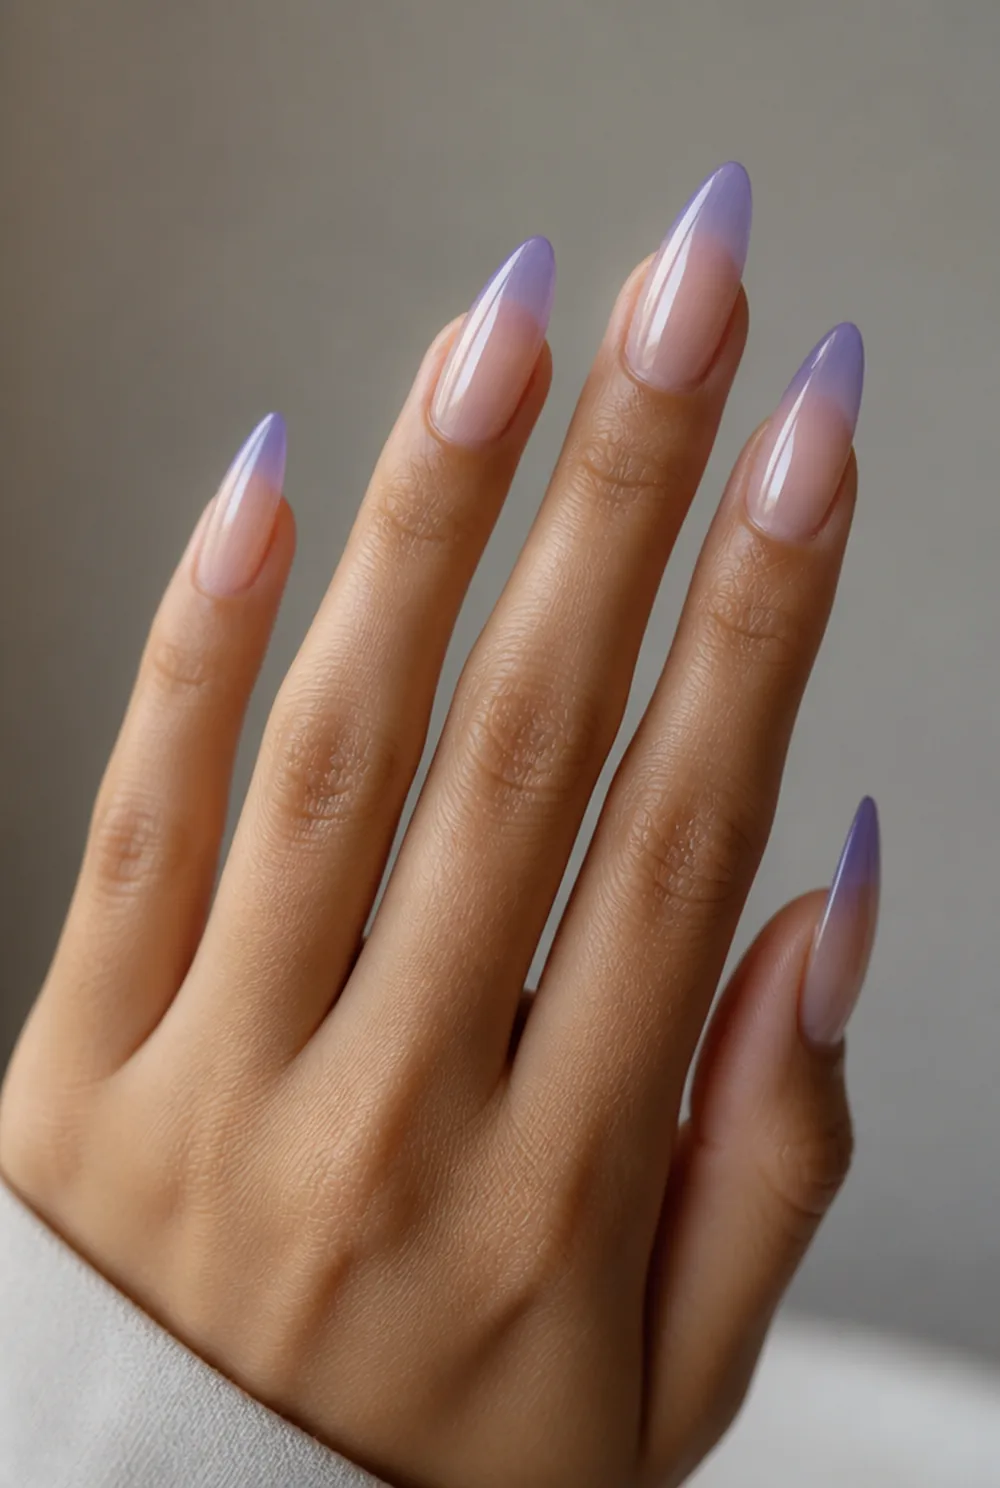
jelly ombre fade from bare cuticle to full color tip
A fade from bare at the cuticle to full jelly color at the tip, built by adding more coats toward the edge. Grow-out is invisible. See our ombre nails guide.
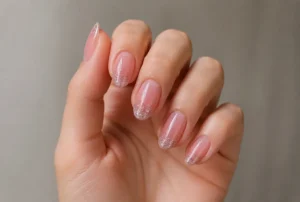
13. Jelly with Glitter Tips
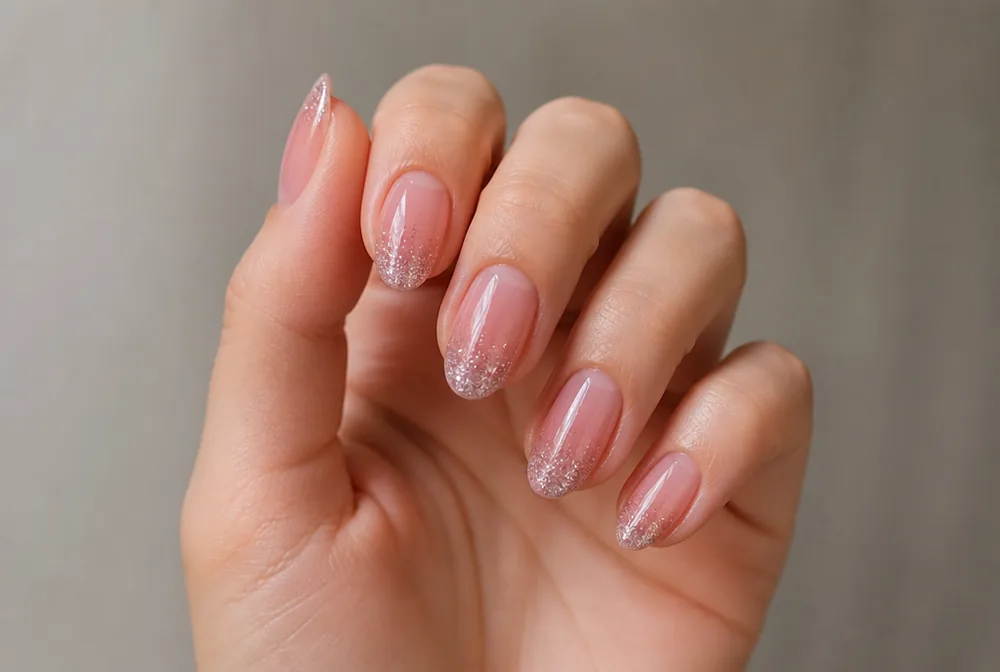


fine glitter packed at free edge under jelly coat
Fine glitter packed at the free edge under a jelly coat. The color softens the glitter, which is what keeps it from looking like a children’s party. See our glitter nail designs post.
14. Jelly Black

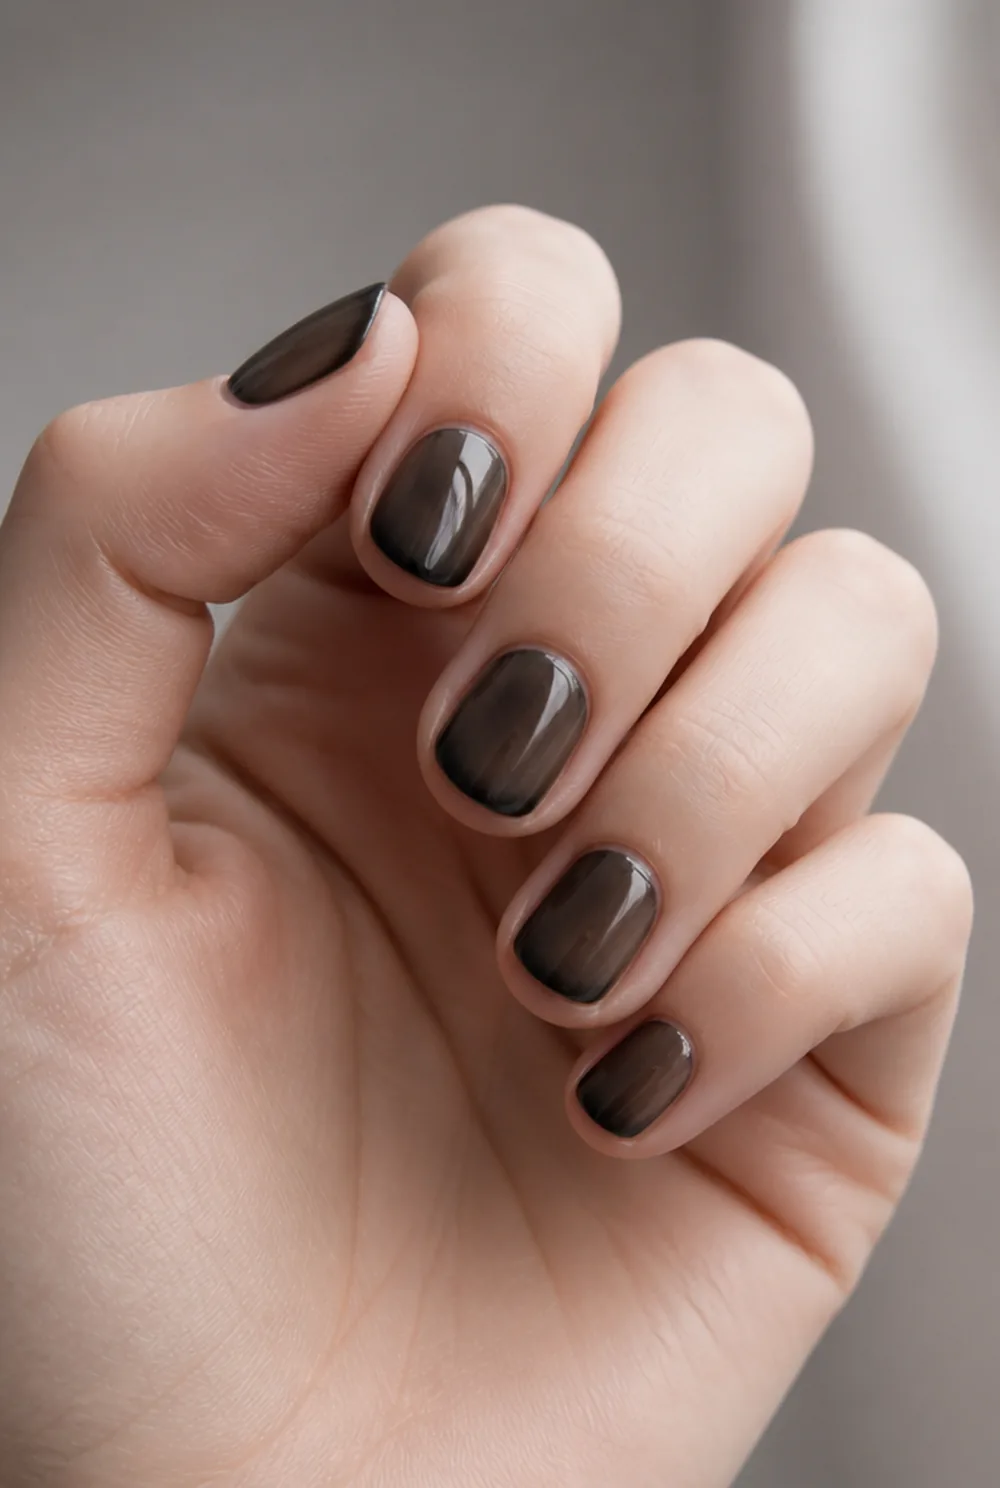
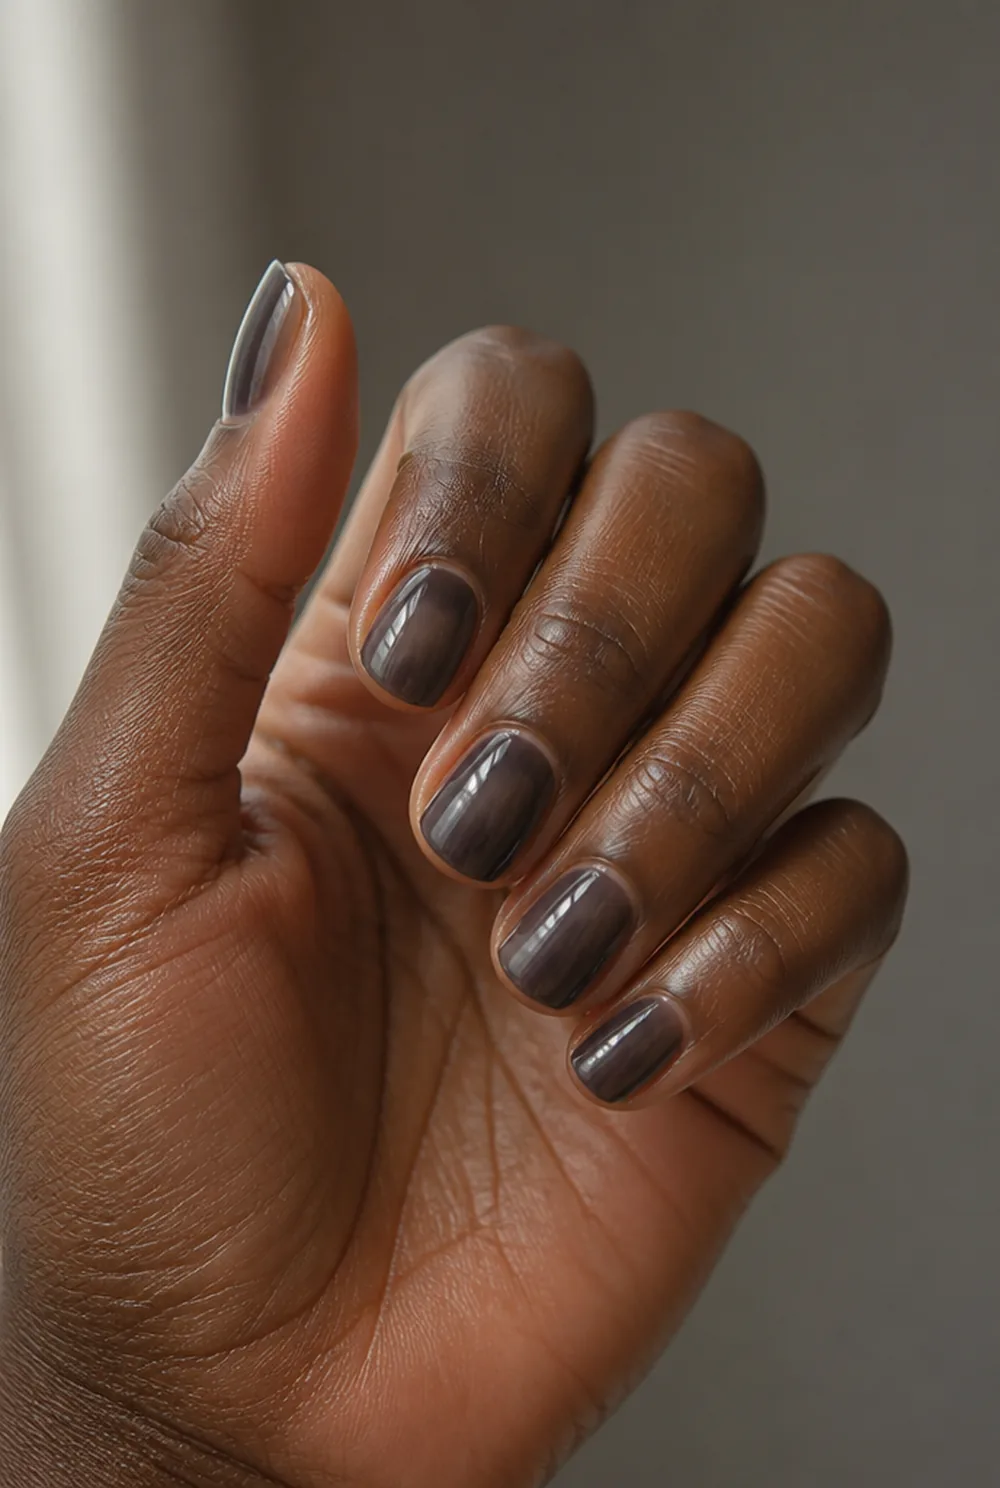
black diluted to smoky gray-black jelly
Black diluted to a smoky gray-black so the nail bed shows through. It is the softest way to wear black and it suits short nails. More in our black nail ideas post.
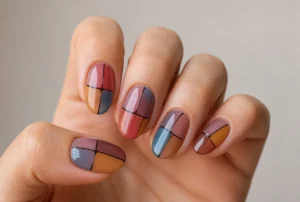
15. Jelly Stained Glass
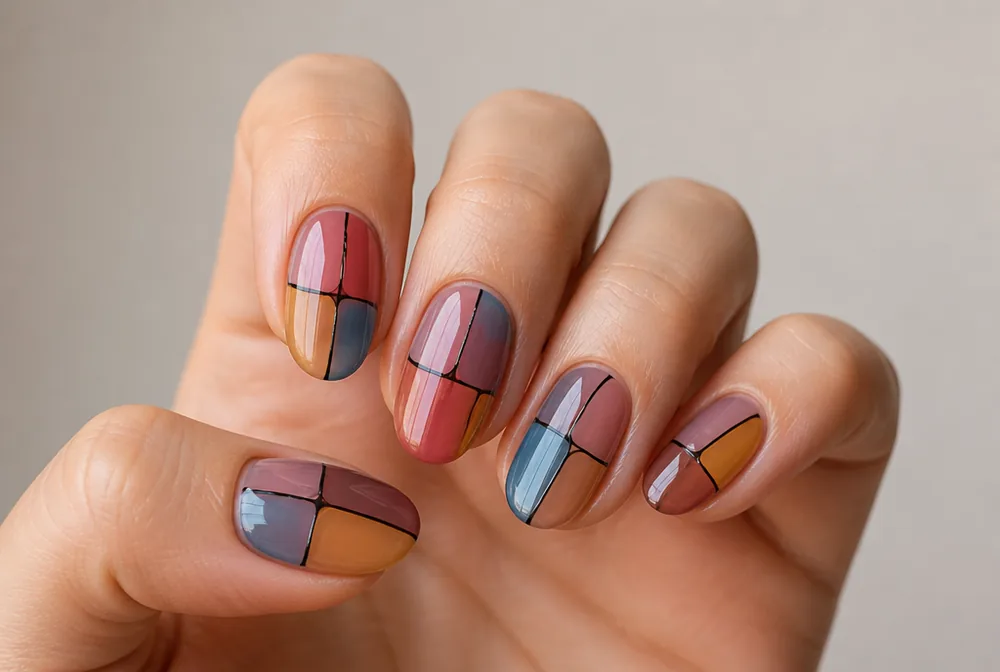


stained glass panels of jelly colors with black lines
Panels of different jelly colors divided by thin black lines. It only works because the colors are translucent, and it is the most involved design here.
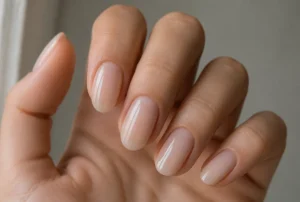
16. Jelly Nude
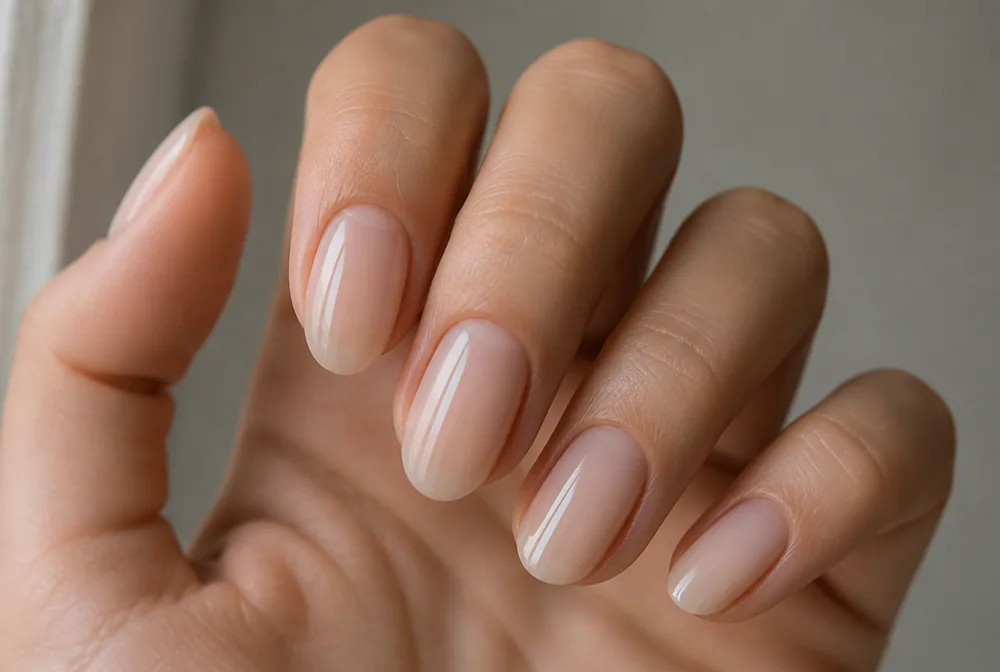


translucent nude jelly, shine with minimal color
A translucent nude that adds shine and almost no color. This is the one to wear when you want your nails to look like better versions of themselves. See our nude nail designs guide.
17. Jelly Watermelon

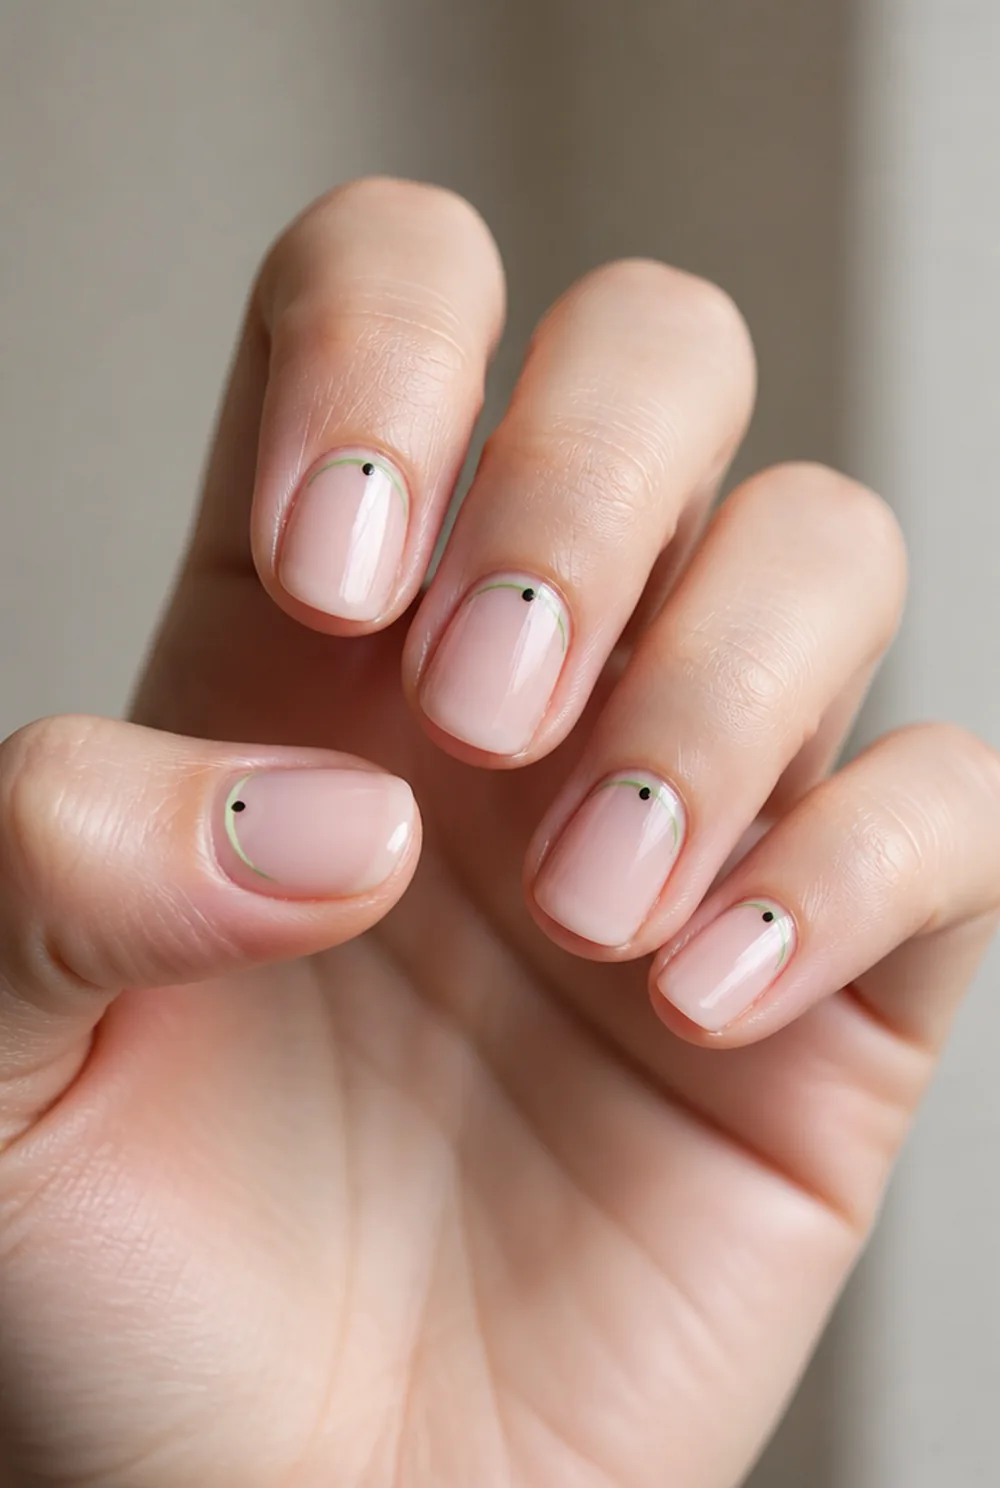

pink jelly with thin green cuticle stripe and black seed dots
Pink jelly with a thin green stripe at the cuticle and tiny black seed dots. It is a summer novelty and it is genuinely charming on short nails.
18. Jelly Toes


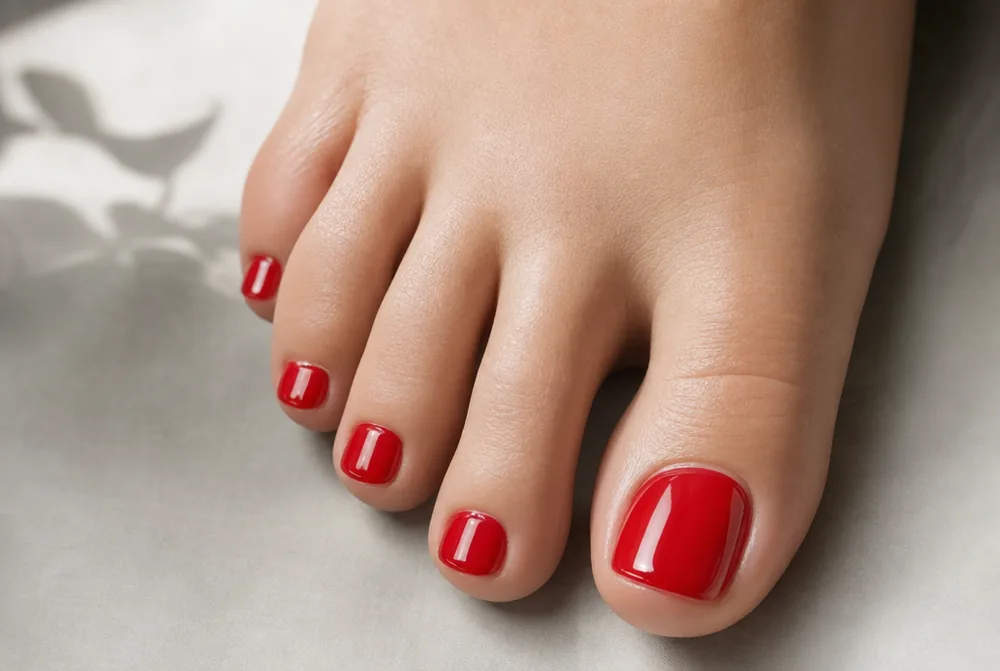
jelly polish on toenails for depth and translucence
Jellies work beautifully on toes because toenails are thicker and the light passing through gives more depth. See our toe nail designs post.
What makes a polish a jelly
The difference is pigment load, which is how much color is suspended in the clear base.
A creme polish is packed with pigment and designed to hide the nail completely in two coats. A jelly has a fraction of that pigment in the same clear base, so light passes through the film, bounces off the nail underneath, and comes back through the color again.
That double pass is what gives jellies their depth. The color you see is not sitting on the nail, it is glowing from inside it, which no opaque polish can reproduce no matter how glossy the top coat.
It also means jellies never fully cover. Adding coats deepens the color but the finish stays translucent, which is the point rather than a flaw.
Jelly versus sheer versus milky
These three all let some light through and they are not interchangeable.
A sheer is very lightly pigmented and stays pale however many coats you add. It is a wash of color rather than a color, and it is what most nude polishes are.
A jelly is more pigmented than a sheer but still translucent, and it deepens noticeably with each coat. Three coats of a jelly red is a proper red that you can still see through.
A milky polish contains white pigment, which makes it cloudy rather than clear. Light scatters instead of passing through, so a milky finish looks soft and opaque where a jelly looks like glass. My milky white nails post covers that finish.
Building a jelly without going opaque
Thin coats, and more of them than you think. That is the whole technique.
Wipe the brush properly against the neck of the bottle so you are working with a film rather than a load. A thick jelly coat pools and dries unevenly, and the thick spots go opaque while the thin ones stay clear, which reads as patchiness.
Wait two minutes between coats. Jellies are solvent-heavy and a second coat applied too soon will re-dissolve the first and drag it into ridges.
Three coats is the standard for a proper jelly color, four if you want it deep. Stop when you can still see the free edge line through the polish, because once that disappears you have crossed into opaque and lost the effect.
The jelly sandwich technique
This is the reason jellies are worth owning, and it takes one extra step.
Apply two coats of your jelly color and let them set. Then apply one coat of a fine glitter, ideally a small holographic or silver flake in a clear base. Then apply one or two more coats of the jelly over the top.
The glitter ends up suspended in the middle of the color rather than sitting on the surface. You get visible depth, the glitter is tinted by the jelly above it, and the finish is completely smooth because nothing is sticking out.
It also fixes the usual glitter problem, which is a rough surface that eats top coat. A sandwich needs one normal top coat instead of three.

Making your own jelly from polish you own
You do not have to buy a jelly. Any creme polish can be turned into one, and it costs nothing.
Paint one thin coat of a clear top coat, let it set for a minute, then apply one very thin coat of your creme color. Follow it with another clear layer. The color is thinned by being sandwiched between two clear films, and it reads as translucent rather than solid.
The other route is to mix directly. Put two drops of your color and six drops of clear polish onto a palette or a piece of foil, stir with a toothpick, and paint from that. Mix a small amount at a time because it thickens fast once it is off the brush.
Do not tip clear polish into the color bottle. The ratio is hard to judge, it is permanent, and thinning a whole bottle usually ruins a polish you liked.
Why jellies show every flaw underneath
A translucent finish hides nothing, and this is the honest downside.
Ridges, white spots, stains from a previous dark polish, and an uneven free edge all show straight through. Vertical ridges are often nothing to worry about, since many people develop them as they get older, according to Cleveland Clinic. An opaque creme covers all of it, and a jelly puts it on display with a gloss on top.
A ridge-filling base coat solves most of it and costs about $9. Buffing lightly with a fine block also helps, though do not overdo it on thin nails.
If your nails are stained yellow from dark polish, fix that first. A protective base coat helps stop it happening again, as Scratch notes in its guide to common nail conditions. My brittle nails post covers nail condition, and a jelly on a healthy nail is a completely different result.
Which colors work as jellies
Not every shade is improved by being translucent.
Warm brights are the best candidates. Red, cherry, orange, coral, and hot pink all become wearable as jellies because the dilution removes the hardness without removing the color.
Deep jewel tones work too. Emerald, sapphire, and grape look like glass rather than paint, and they read far more expensive than their opaque versions.
What works less well is anything muted. A dusty sage or a greige loses its identity when diluted and just looks like a badly applied nude. Save those for creme.
Jelly nails in gel
Jelly gels exist and they behave slightly differently from jelly polish.
Gel cures rather than drying, so there is no re-dissolving between coats and you can build four or five layers cleanly. That makes the sandwich technique much easier and the result more even.
Ask specifically for a jelly or sheer gel rather than a color gel applied thinly. A thin coat of an opaque gel is not the same thing and it will look patchy rather than translucent, because the pigment is still designed for full coverage. Before any gel set, the American Academy of Dermatology suggests broad spectrum sunscreen with SPF 30 or higher on your hands.
Expect the same $40 to $60 as any gel manicure, with no extra charge for the finish. My short gel nails post covers what else to ask for.
Making jellies last
Jellies chip about as readily as any polish, but the chips are less visible, which buys you time.
Because the color is translucent, a small chip does not create the hard contrast line that an opaque polish does. A jelly manicure at day six looks better than a creme at day four for that reason alone.
Seal the free edge with every coat, not just the top one. With three or four thin layers there are more edges to lift, and wrapping each one is what stops peeling.
Re-apply top coat on day three. My manicure longevity post has the full routine.
FAQ
What are jelly nails?
Nails painted in a translucent, lightly pigmented polish so light passes through the color and reflects off the natural nail underneath. The effect looks like tinted glass or boiled sweets. Jellies deepen with each coat but never become fully opaque.
How many coats do jelly nails need?
Three thin coats for a proper color, four if you want it deep. Wait two minutes between coats so the previous layer sets. Stop while you can still see the line of the free edge through the polish, because past that point it has gone opaque and lost the effect.
What is a jelly sandwich manicure?
Two coats of jelly color, then a coat of fine glitter, then one or two more jelly coats over the top. The glitter ends up suspended inside the color rather than on the surface, which gives real depth and leaves the finish completely smooth.
Are jelly nails good for short nails?
Very good, because the translucency blurs where the nail ends and the fingertip begins, which makes a short nail look longer. Jelly nude and jelly pink in particular read as a healthier natural nail rather than as a manicure.
Try the sandwich first if you own any fine glitter, because it is the version that surprises people. My nail art ideas post has more low-effort techniques.