
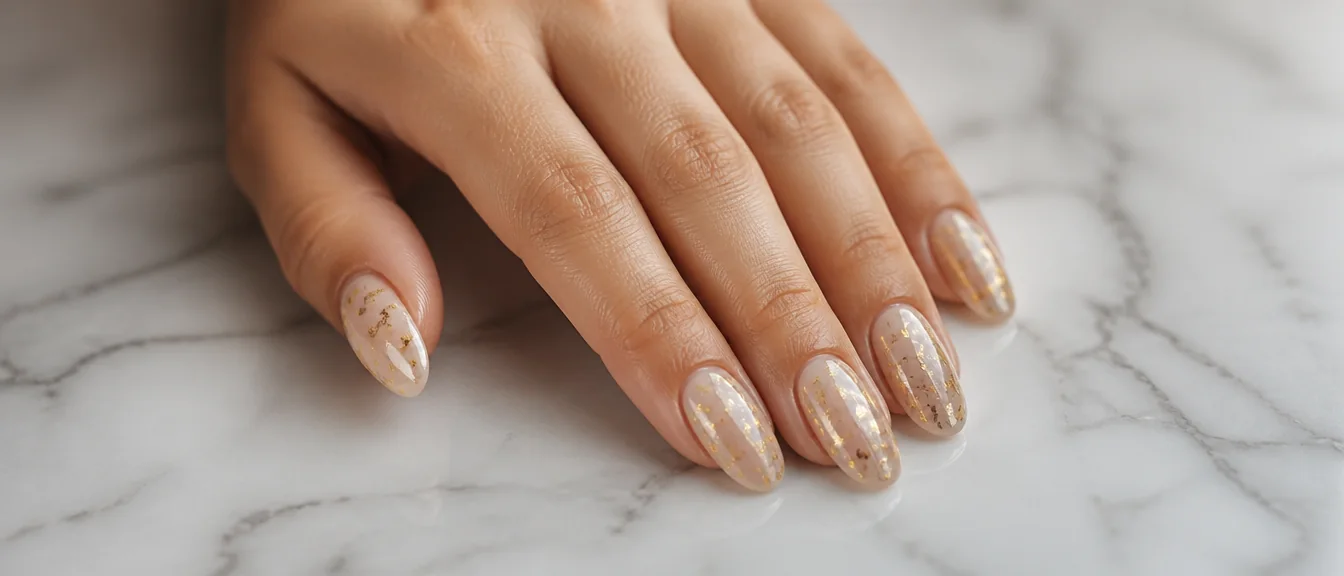
Foil nails cost almost nothing and look like a salon job, which is a combination you rarely get in nail art. A sheet of transfer foil runs about $1 and covers dozens of manicures, and gold leaf is around $6 for enough to last years. The catch is a single step that decides whether it works at all.
Here are 18 foil nail designs, the difference between transfer foil and leaf, the adhesive step almost everyone gets wrong, and how to stop foil lifting at the edges by day three. For the wider range of art, see our nail art ideas post.
Editor’s picks
Browse all 18 designs
18 designs 1Gold Leaf Shards
 2Shattered Glass Nails
 3Full Mirror Foil
 4Foil French Tip
 5Foil Accent Nail
 6Foil on Black
 7Marble with Gold Foil
 8Rose Gold Foil
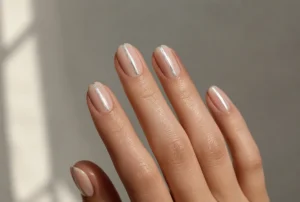 9Foil Stripe
 10Holographic Foil
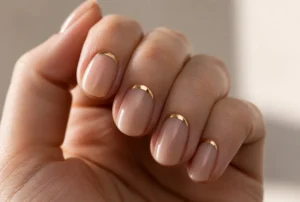 11Foil Half Moon
 12Foil over Jelly
 13Copper Foil
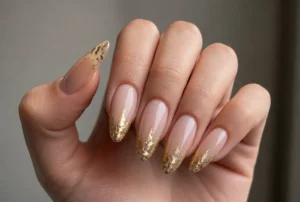 14Foil Tips on Almond
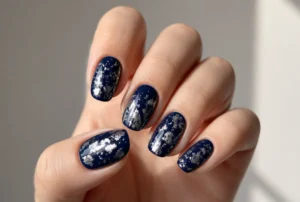 15Silver Foil on Navy
 16Micro Foil Flecks
 17Foil and Chrome Together
 18Foil Confetti Nails
18 foil nail designs
1. Gold Leaf Shards

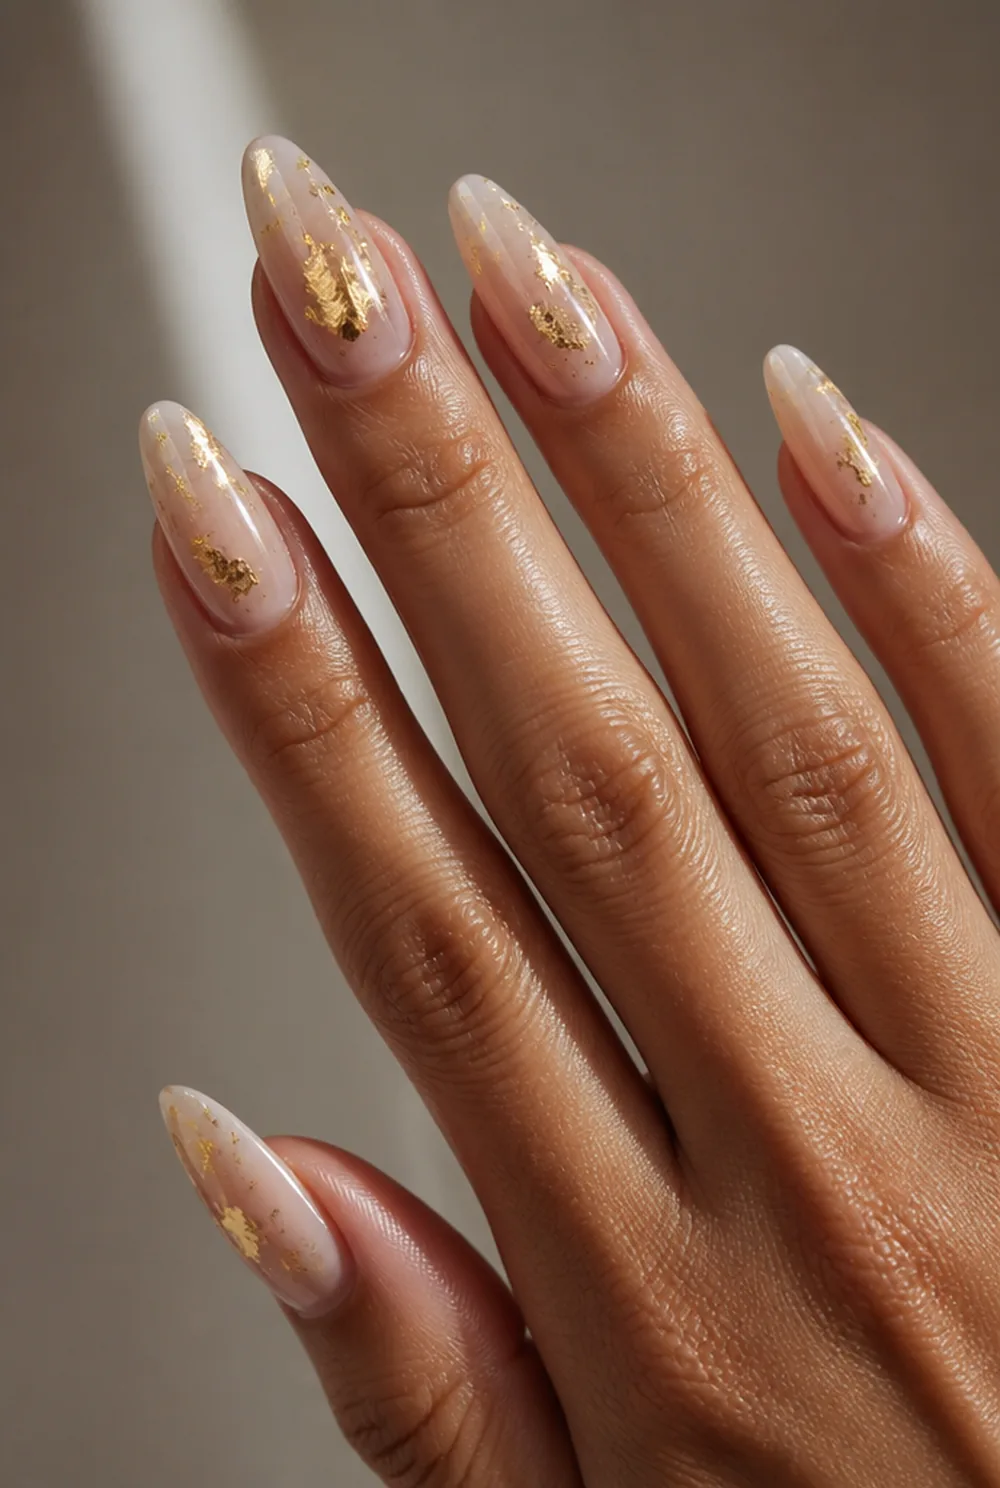
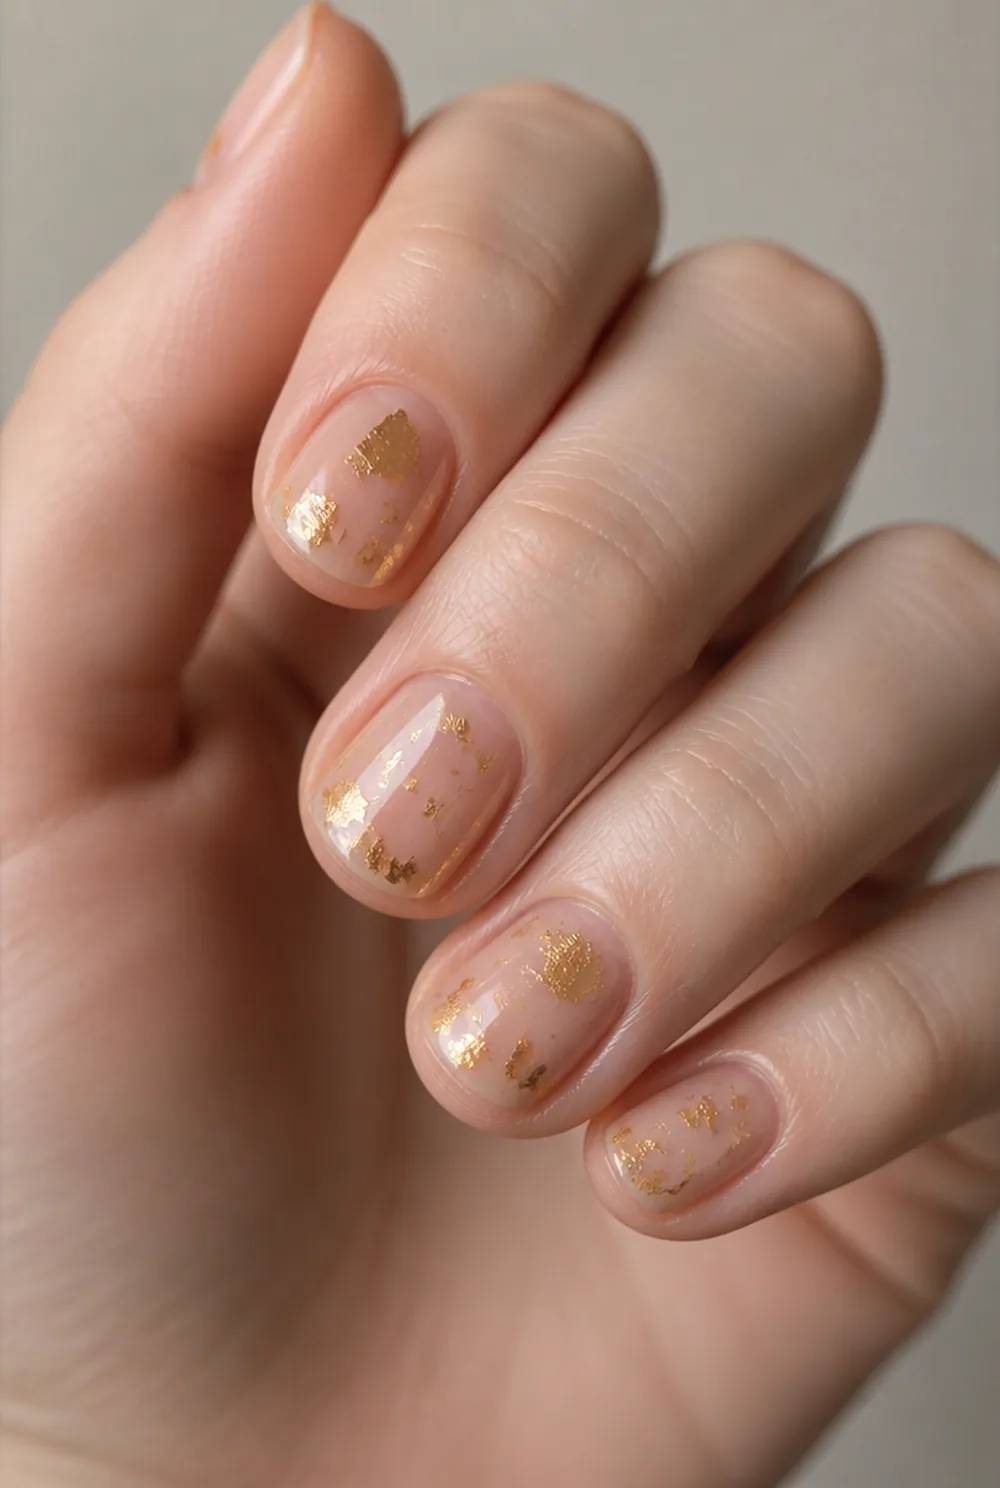
torn gold leaf on sheer nude base, ragged edges
Torn gold leaf pressed onto a sheer nude base, no two nails alike. The ragged edges are the whole look, so tear the leaf rather than cutting it. See our gold nail designs post.
2. Shattered Glass Nails


iridescent cellophane shattered glass effect on dark base
Iridescent cellophane cut into small angular pieces over a dark base. It is the design that made foil nails go viral and it still looks like nothing else.
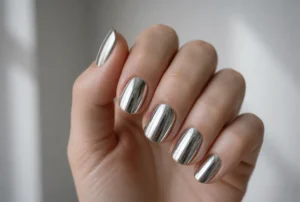
3. Full Mirror Foil
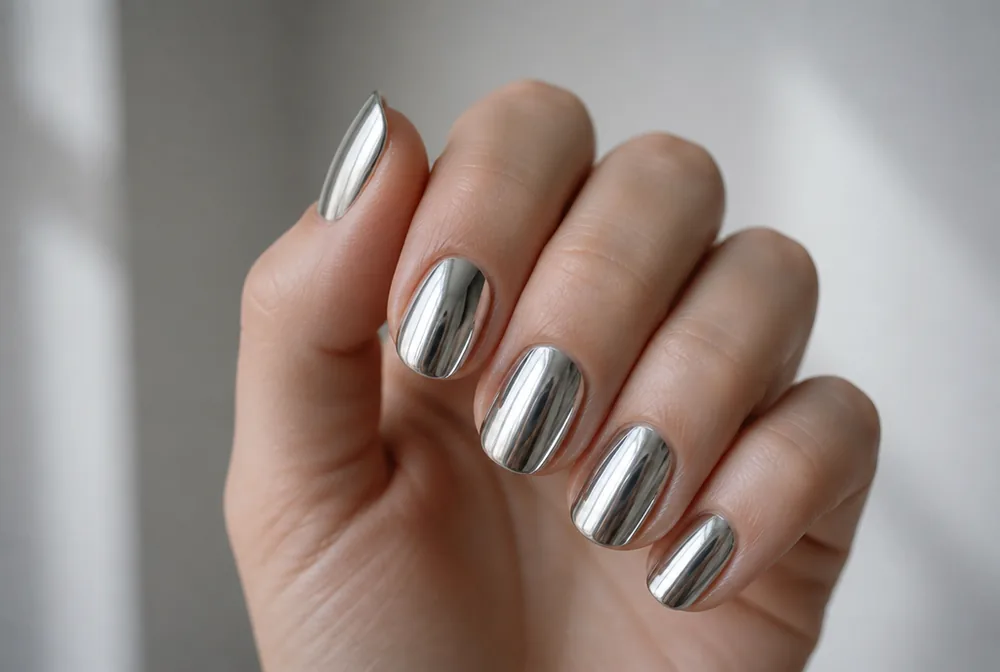
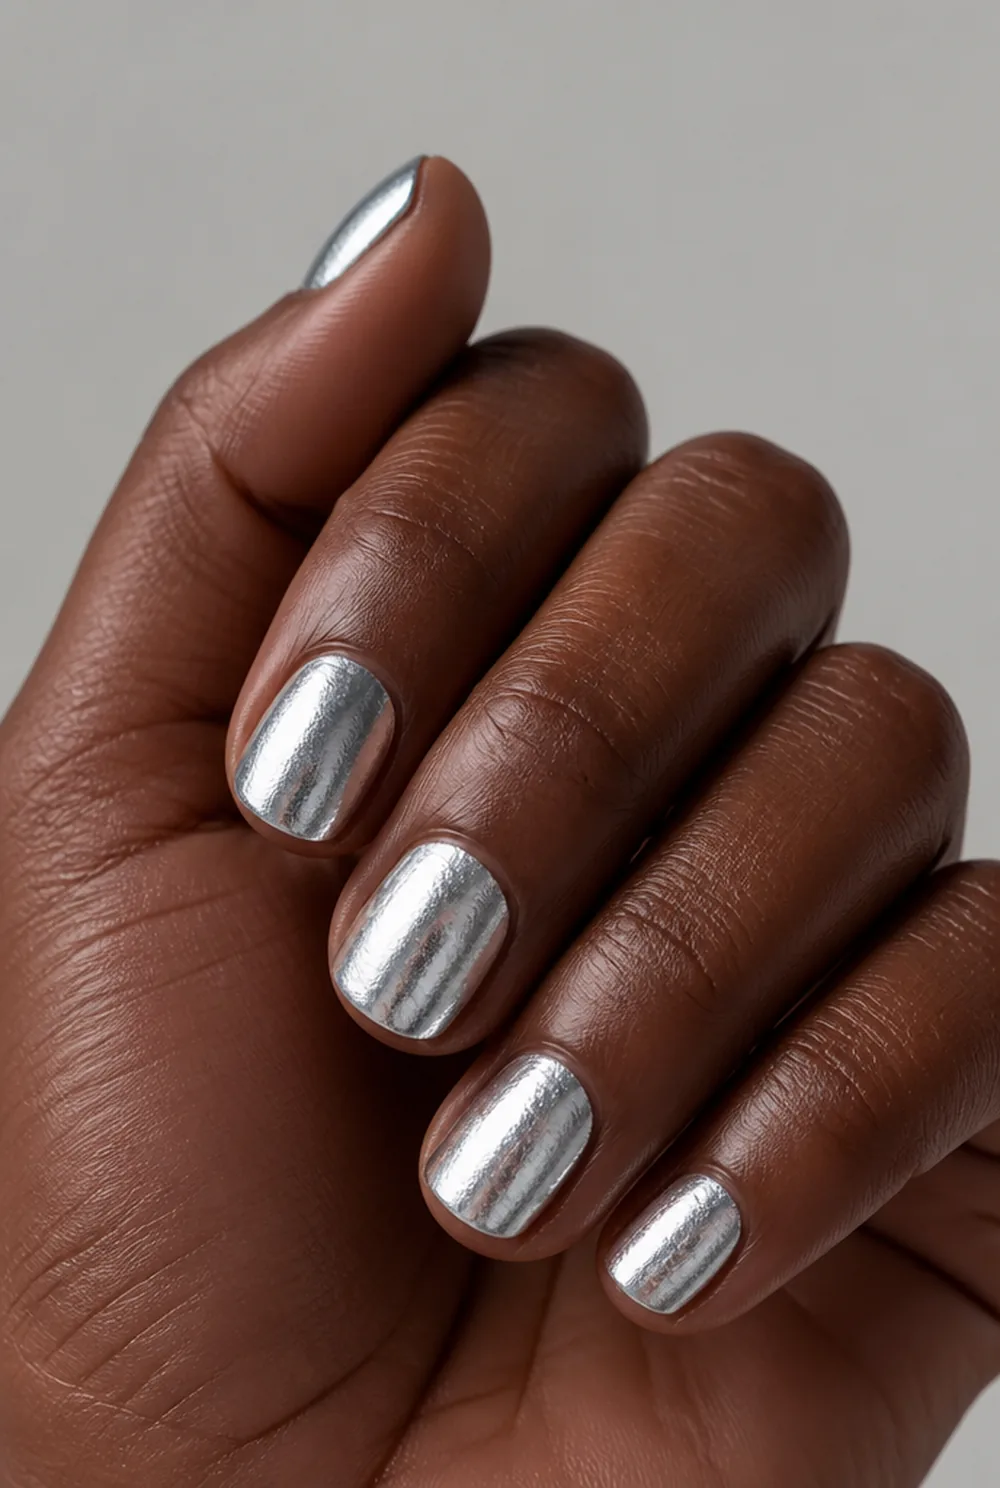
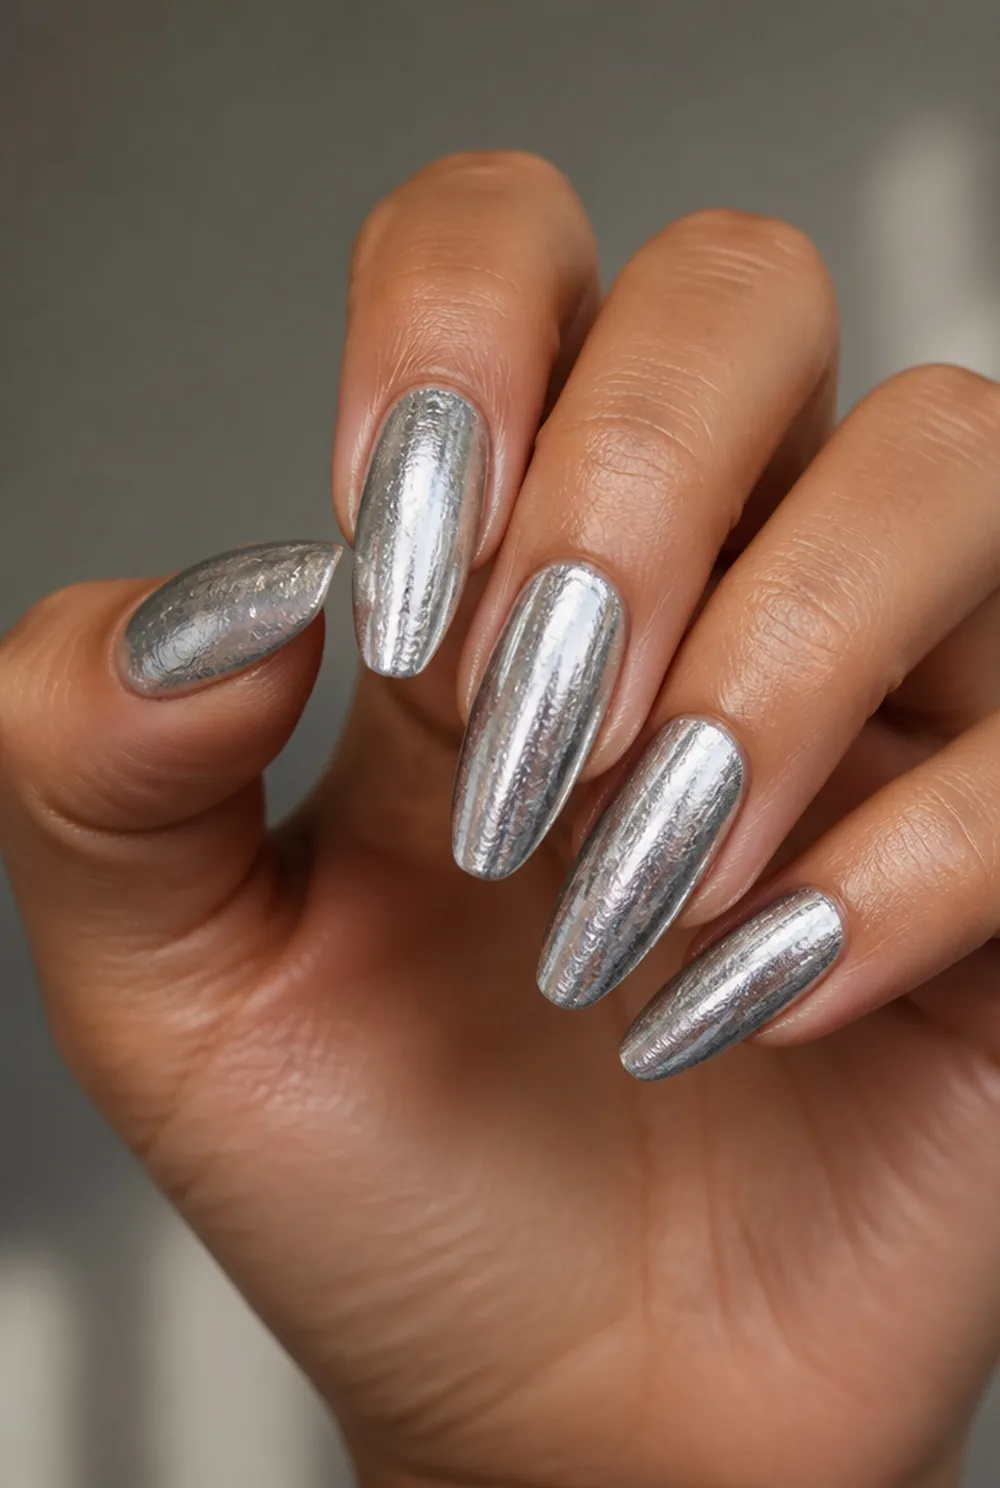
full silver mirror foil transfer, complete coverage
Complete coverage in silver transfer foil, applied in one press. It is the cheapest route to a mirror nail if you do not own chrome powder, though the finish is slightly less even.
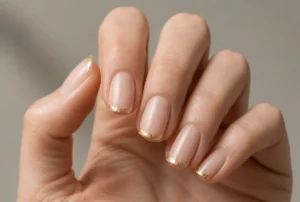
4. Foil French Tip
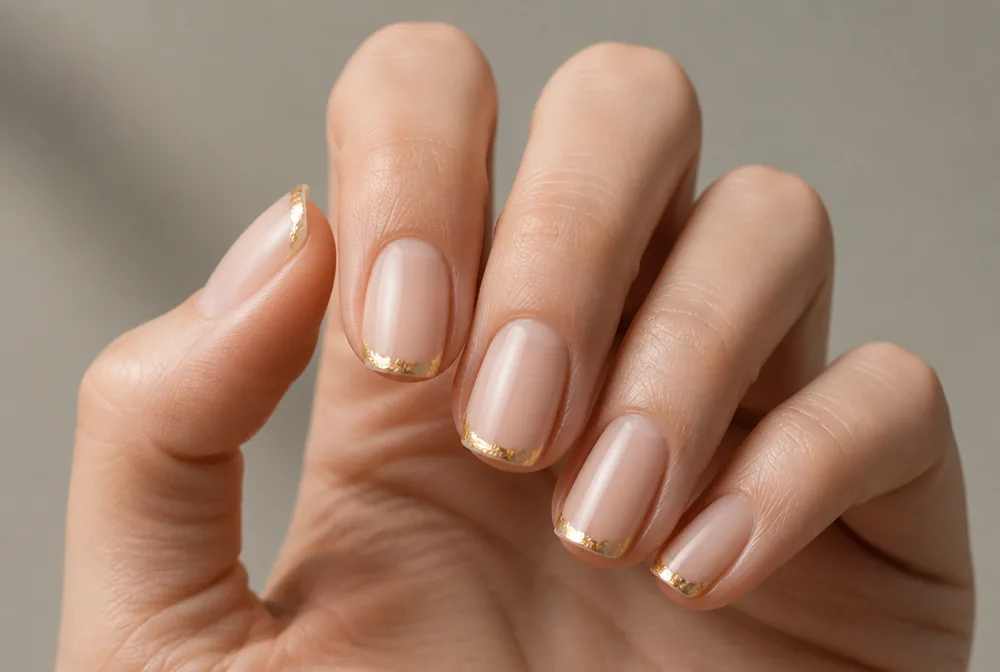
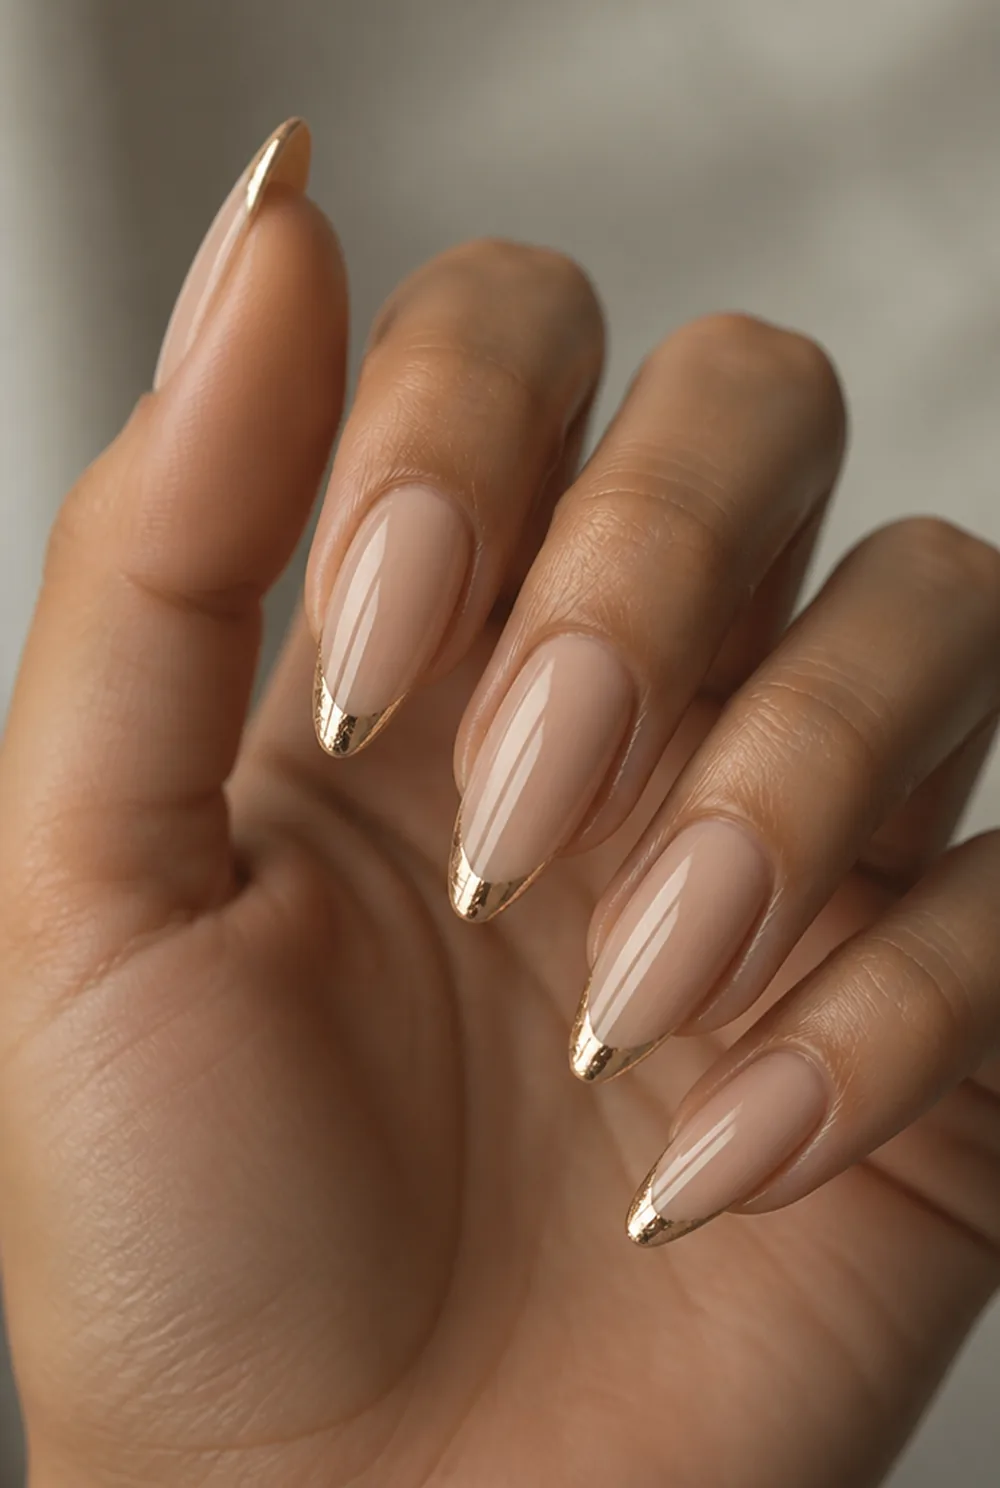
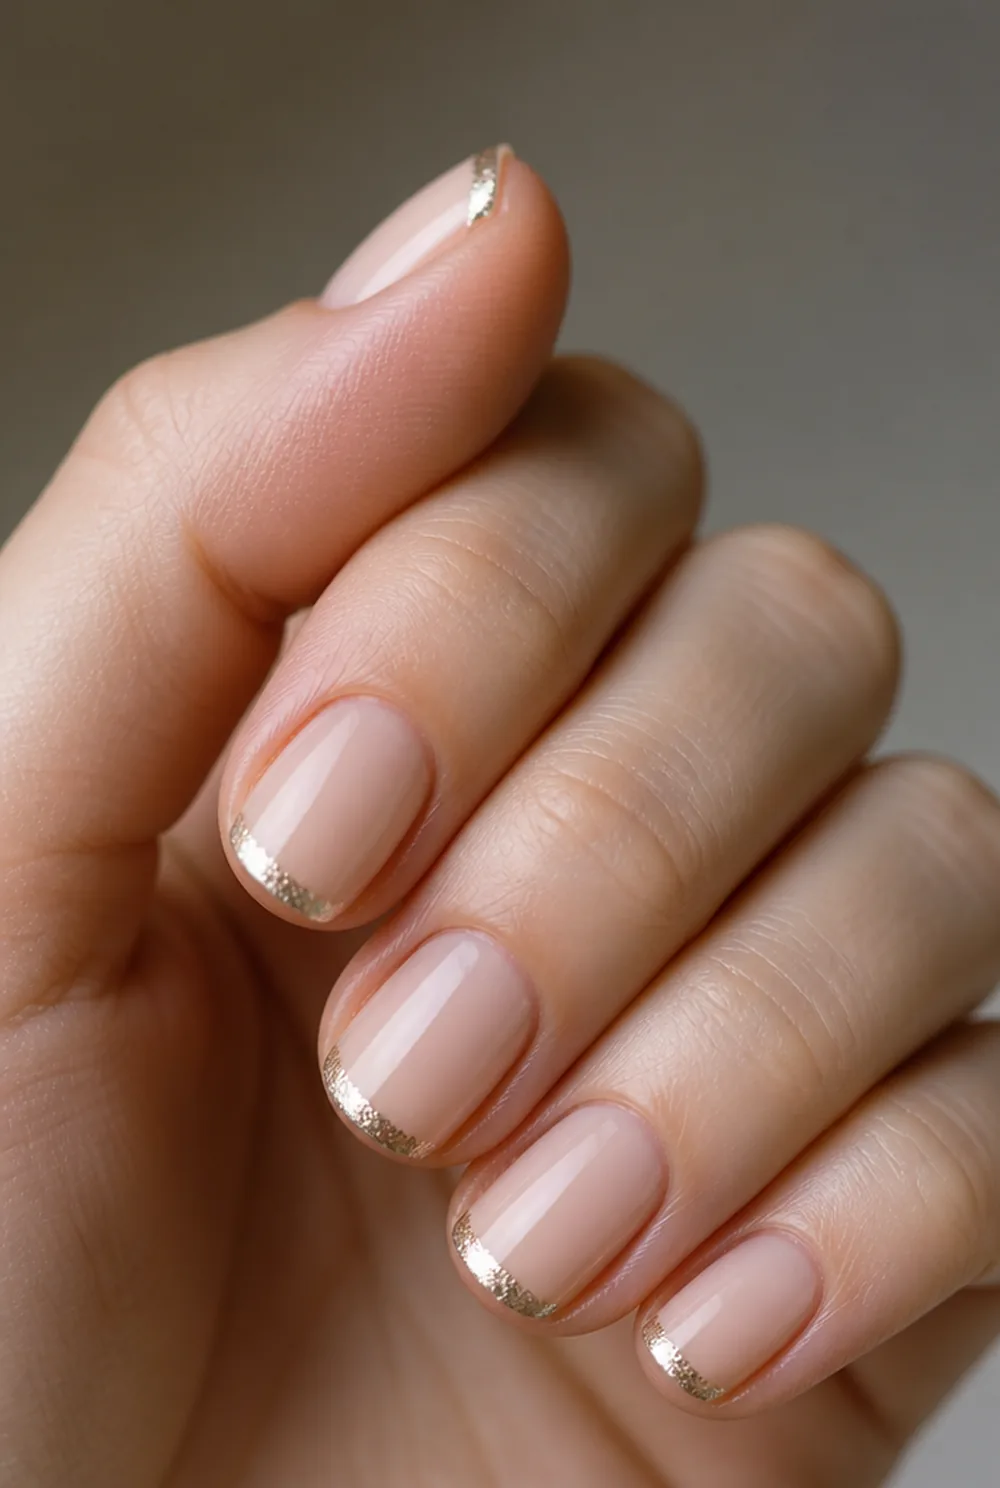
foil on free edge only, soft torn line french tip
Foil on the free edge alone, following the smile line. The torn edge of the foil gives a softer line than paint, which hides an uneven French. See our colored French tip guide.
5. Foil Accent Nail
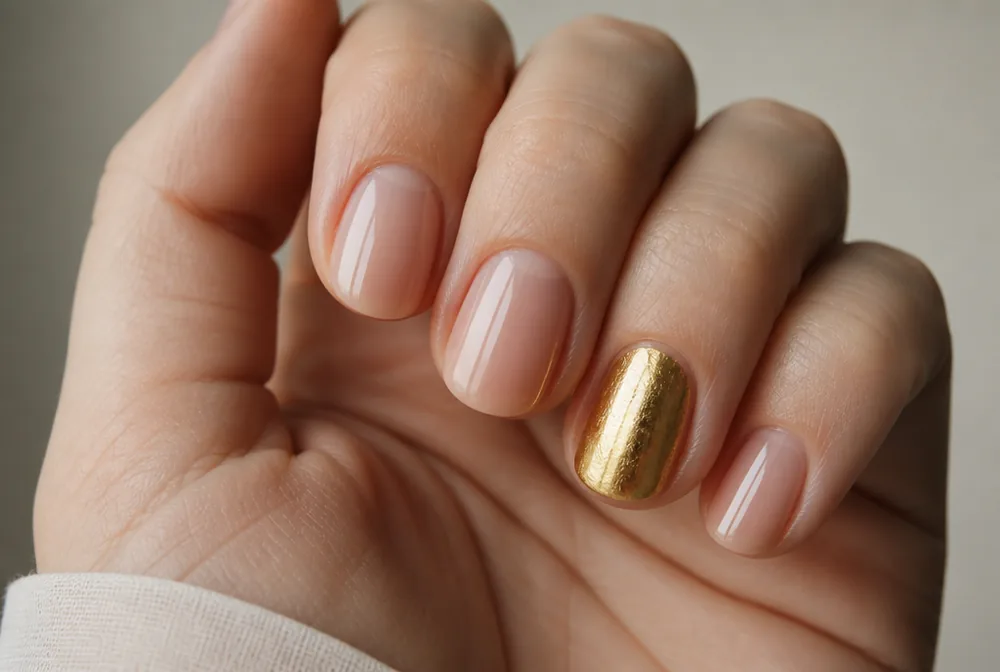
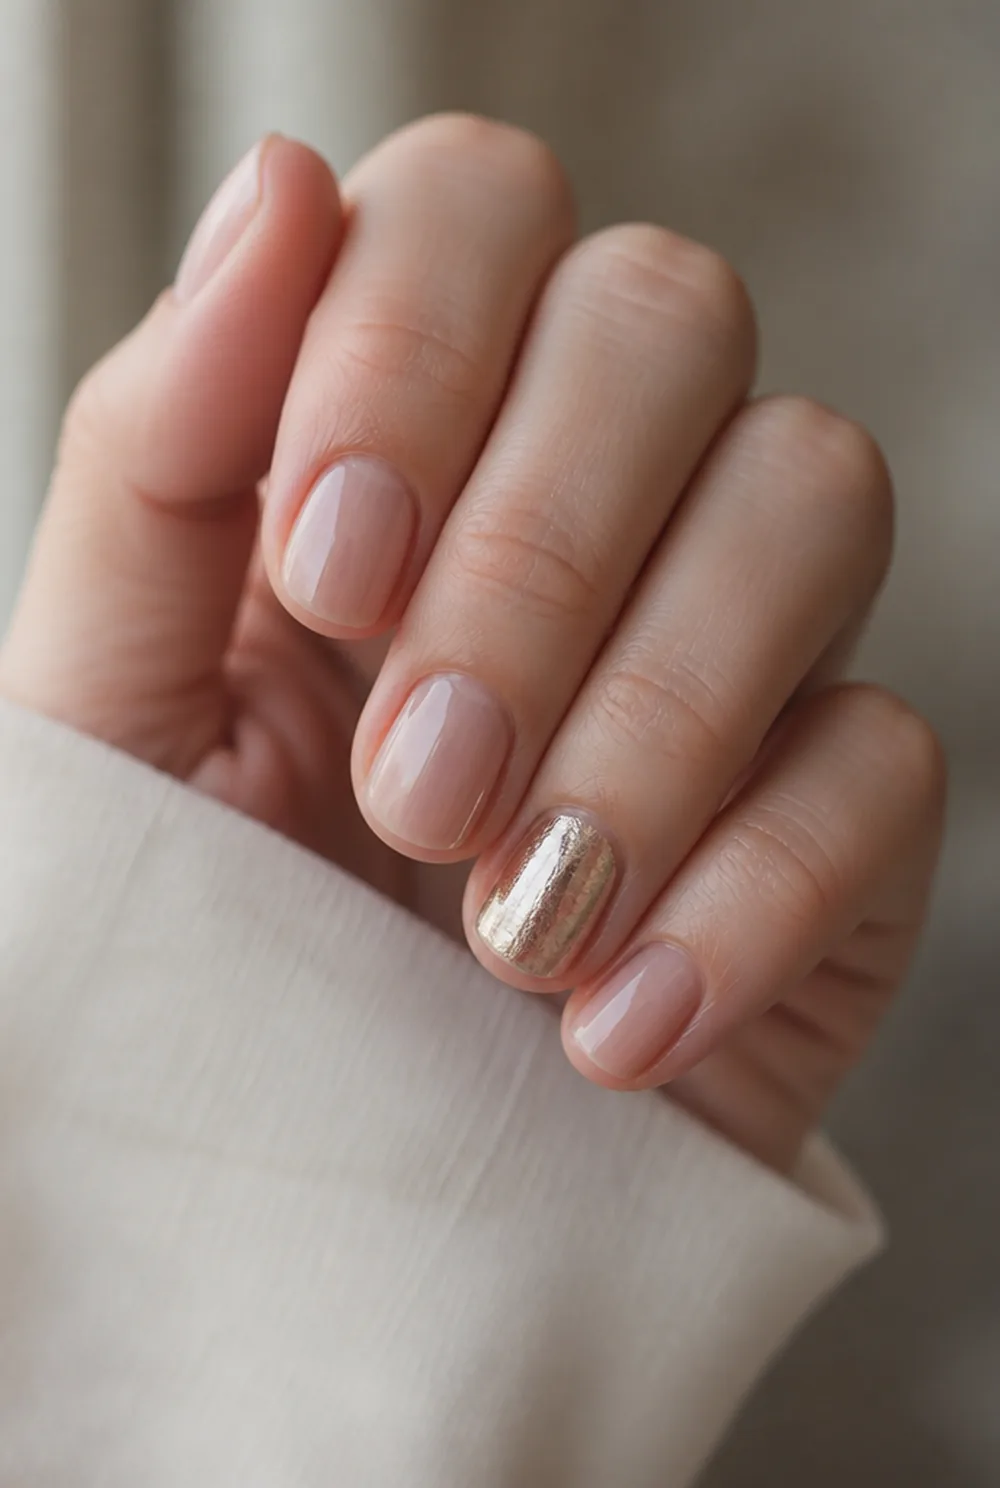
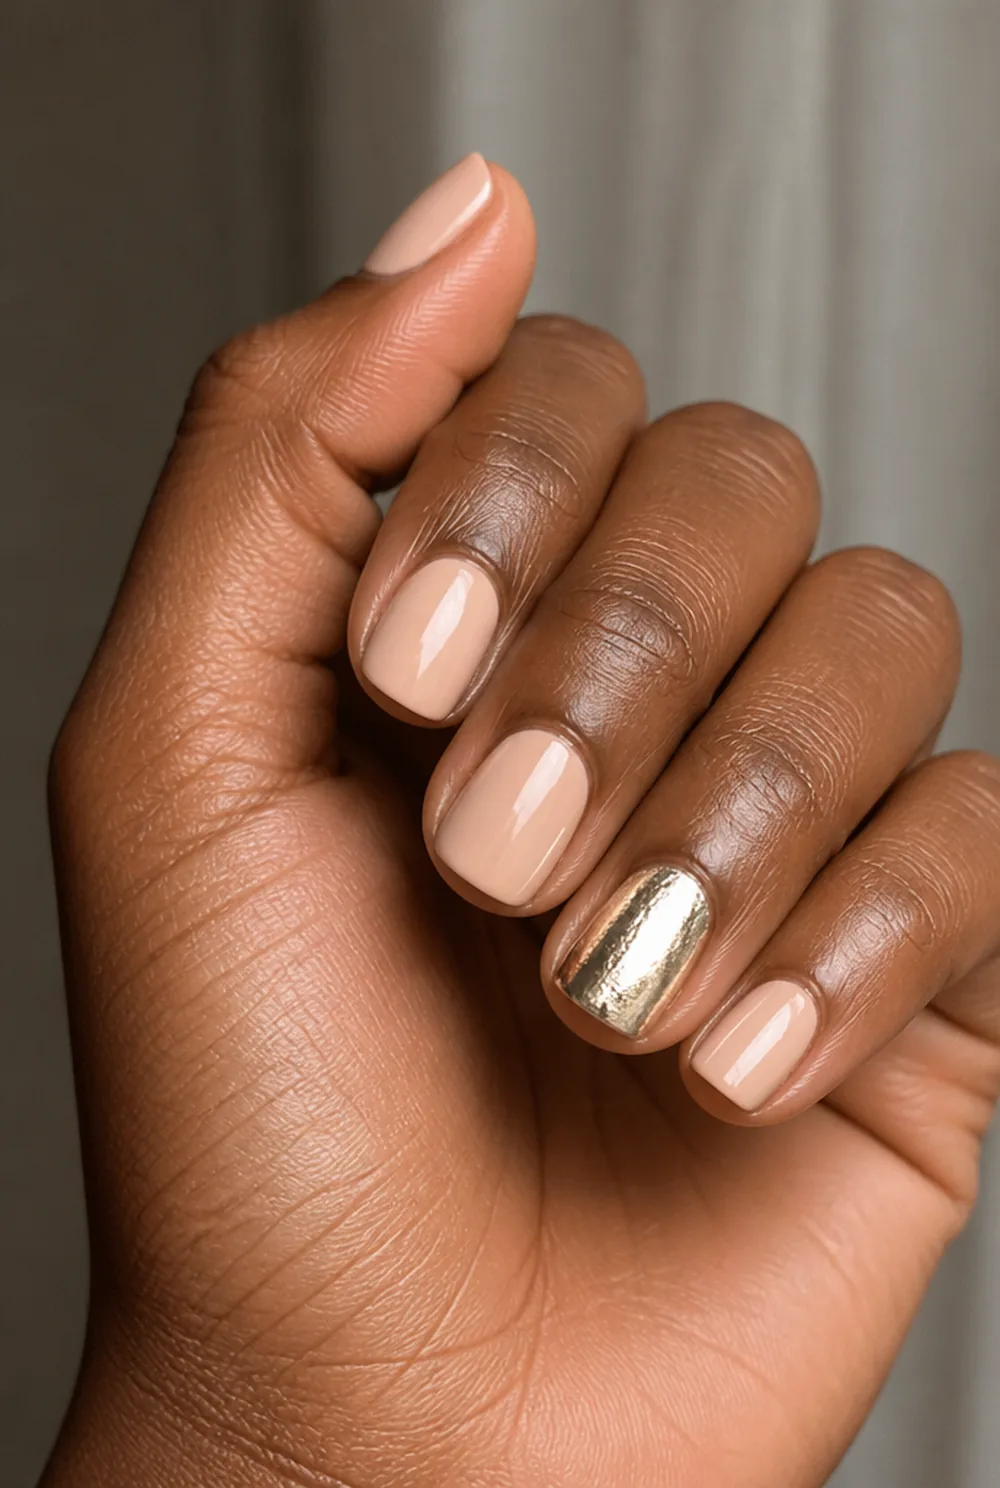
one accent nail in full foil, four plain nails
One nail in full foil and four plain. It is the version to start with, because if the foil goes patchy you have only one nail to redo.
6. Foil on Black

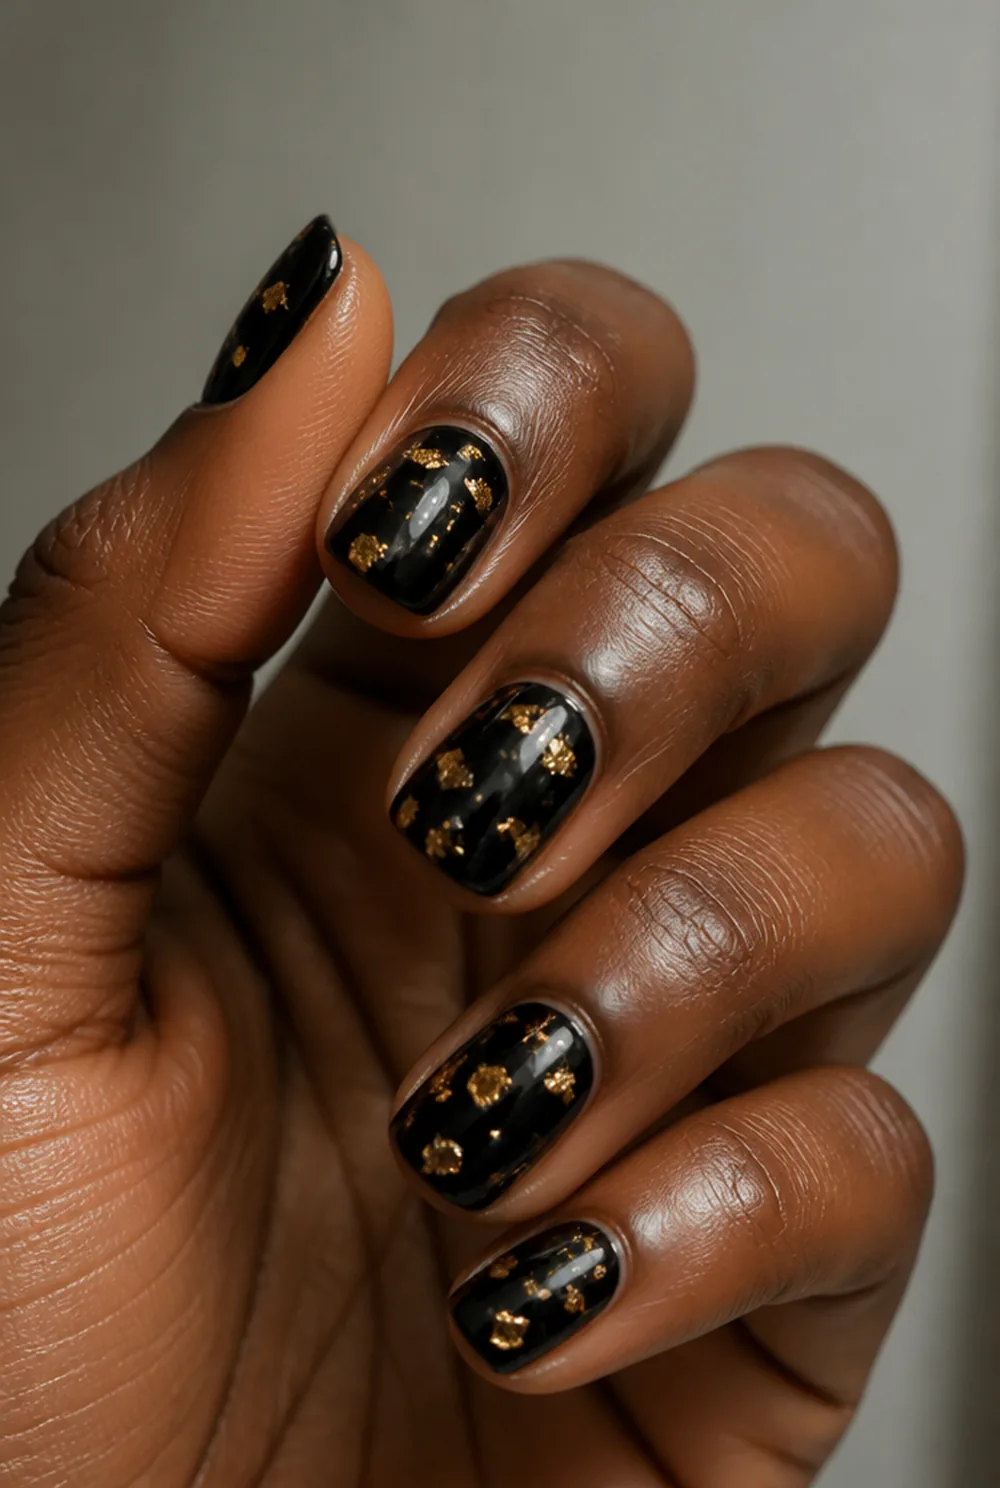
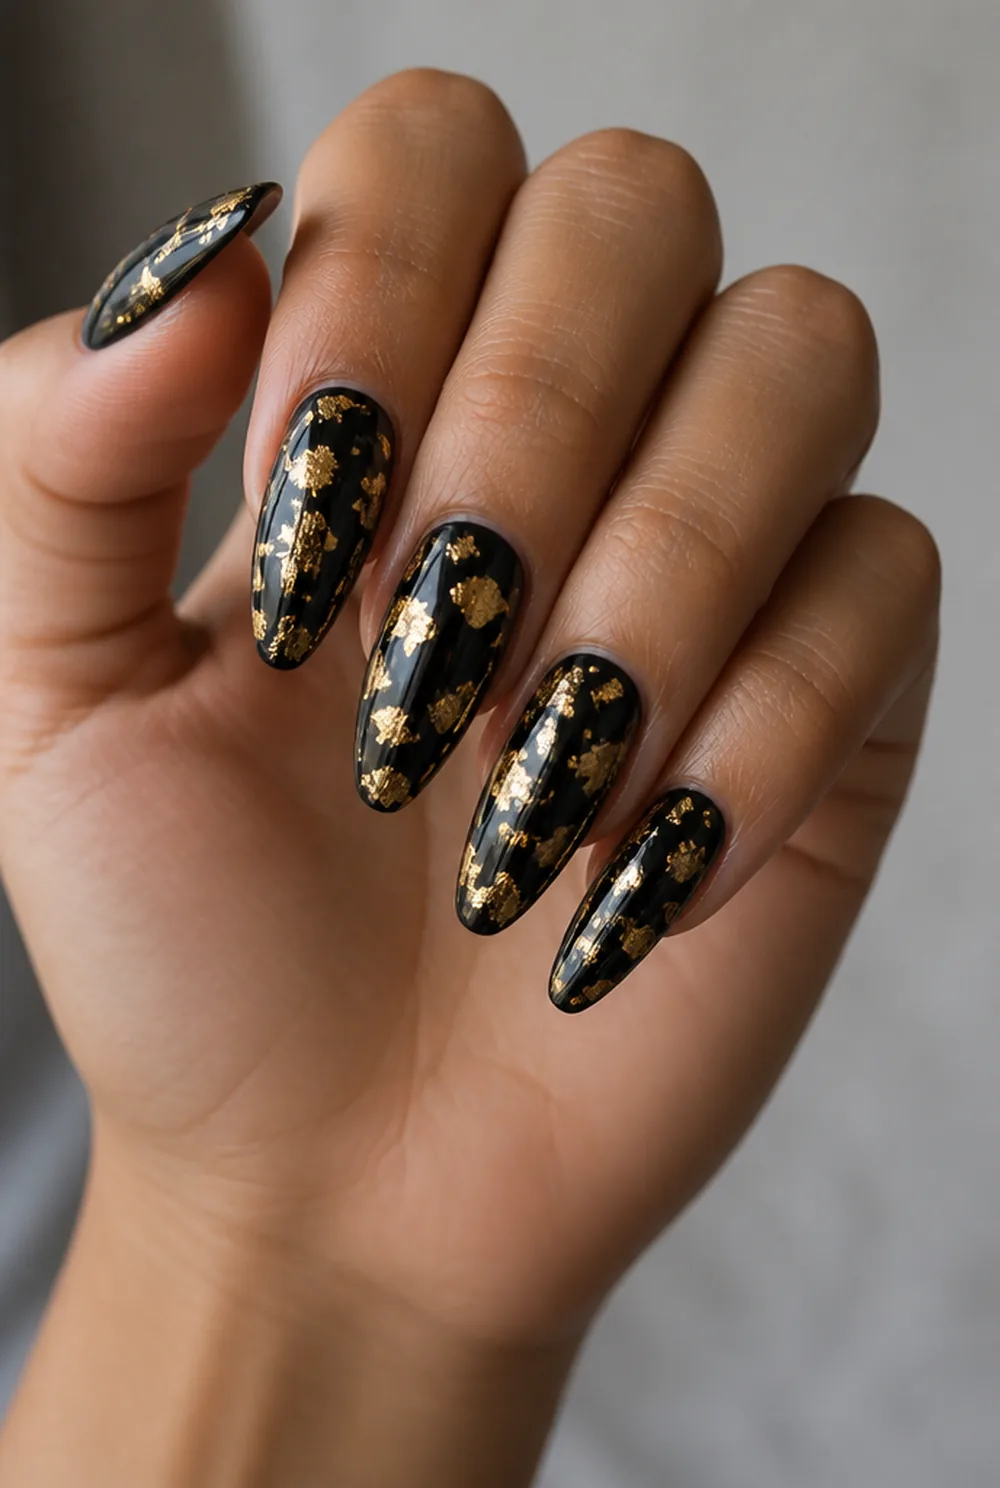
gold foil flakes on glossy black base
Gold flakes on a glossy black base. Dark bases make foil look richer because the metal has nothing to compete with. More in our black nail ideas post.
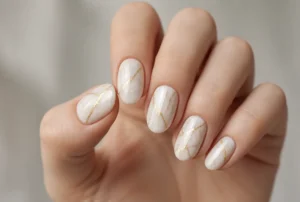
7. Marble with Gold Foil


foil along marble veins for metallic seams
Foil laid along the veins of a marble design so the seams look metallic. This is the version that reads as real stone. My marble nails guide has the base technique.
8. Rose Gold Foil
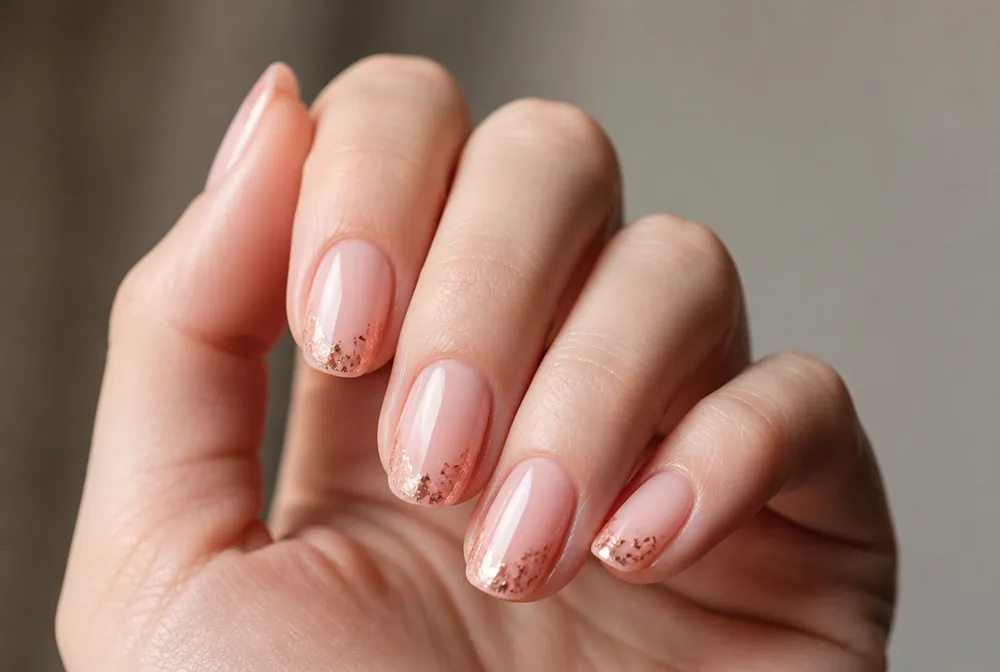


rose gold foil on blush base toward tips
Rose gold foil on a blush base, kept toward the tips. Warm metal on warm pink is the softest version of this look. See our rose gold nails post.
9. Foil Stripe
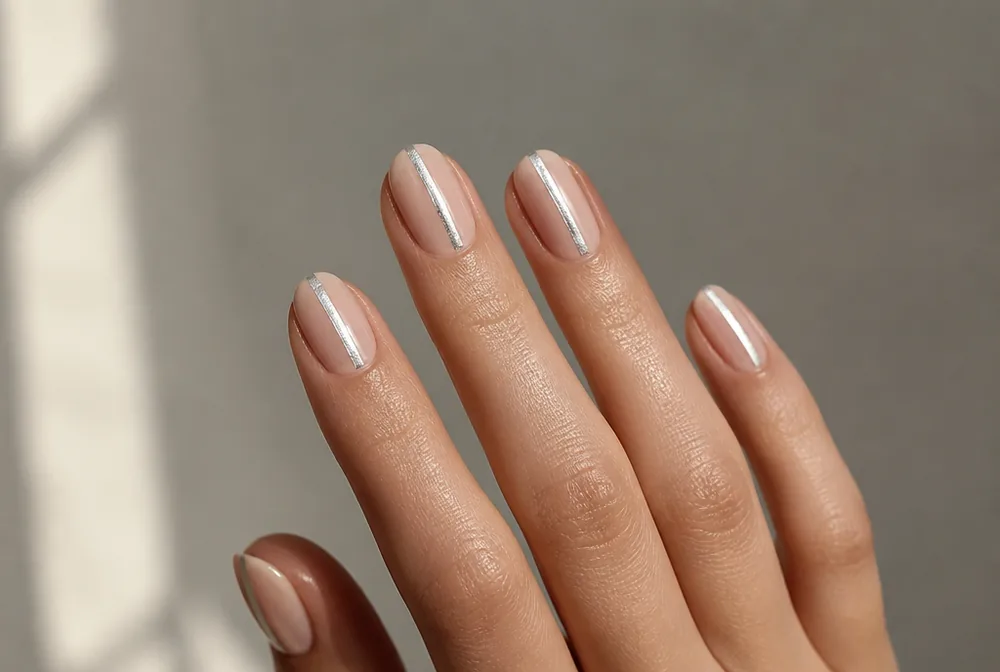

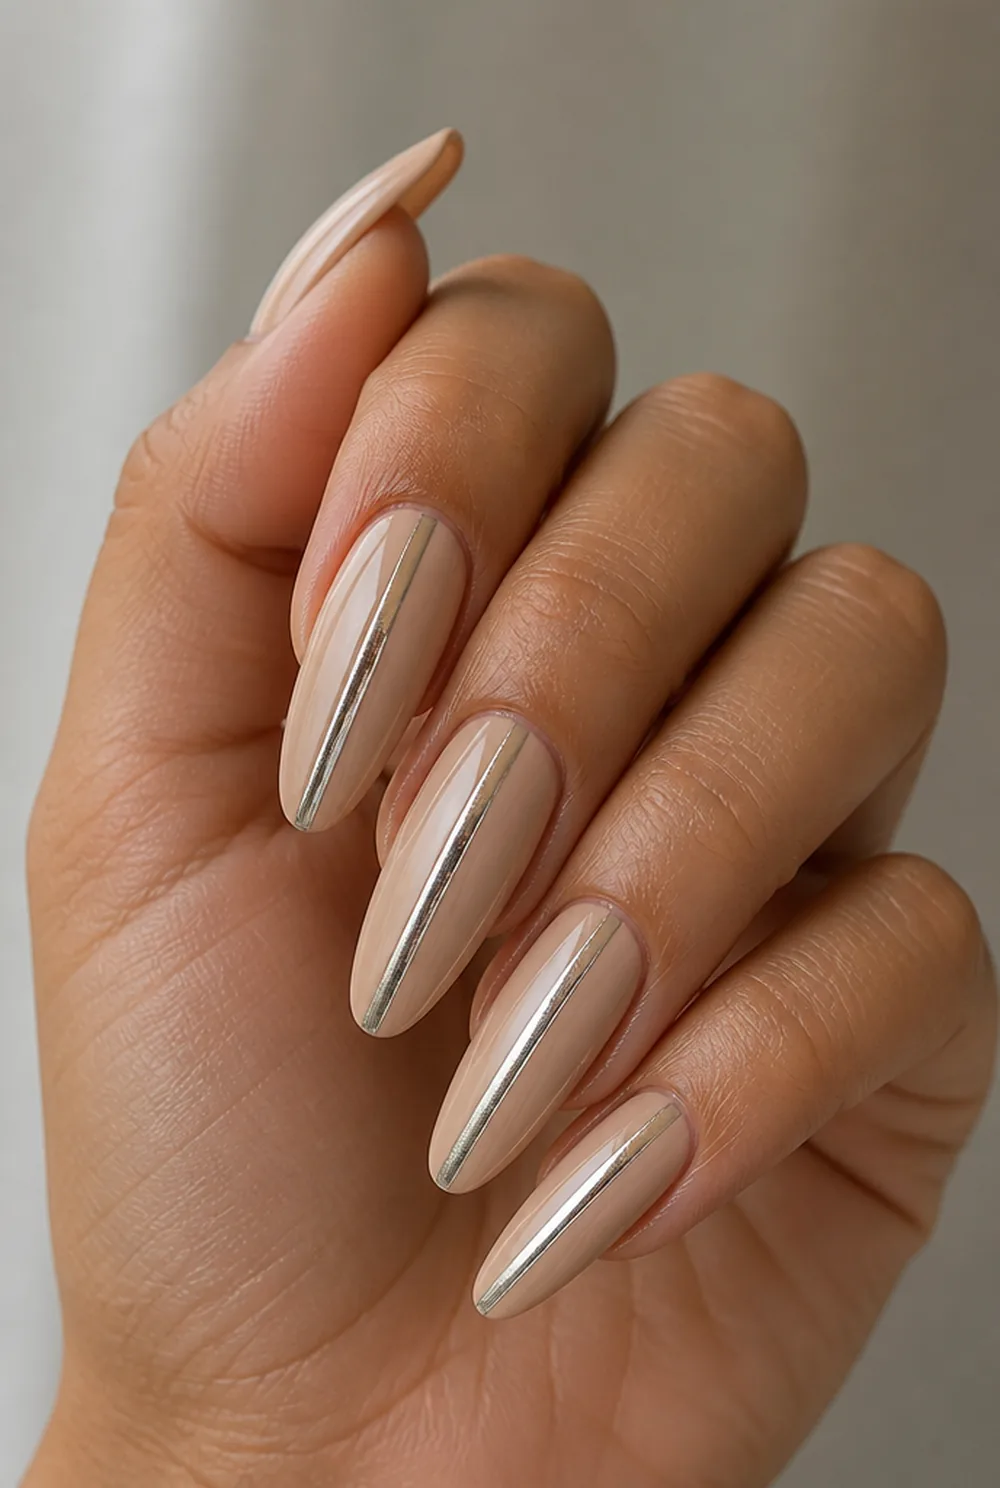
one clean silver foil stripe down the middle
One clean band of foil down the middle, made by applying adhesive in a stripe. Because the foil only sticks where the glue is, the shape does itself.
10. Holographic Foil
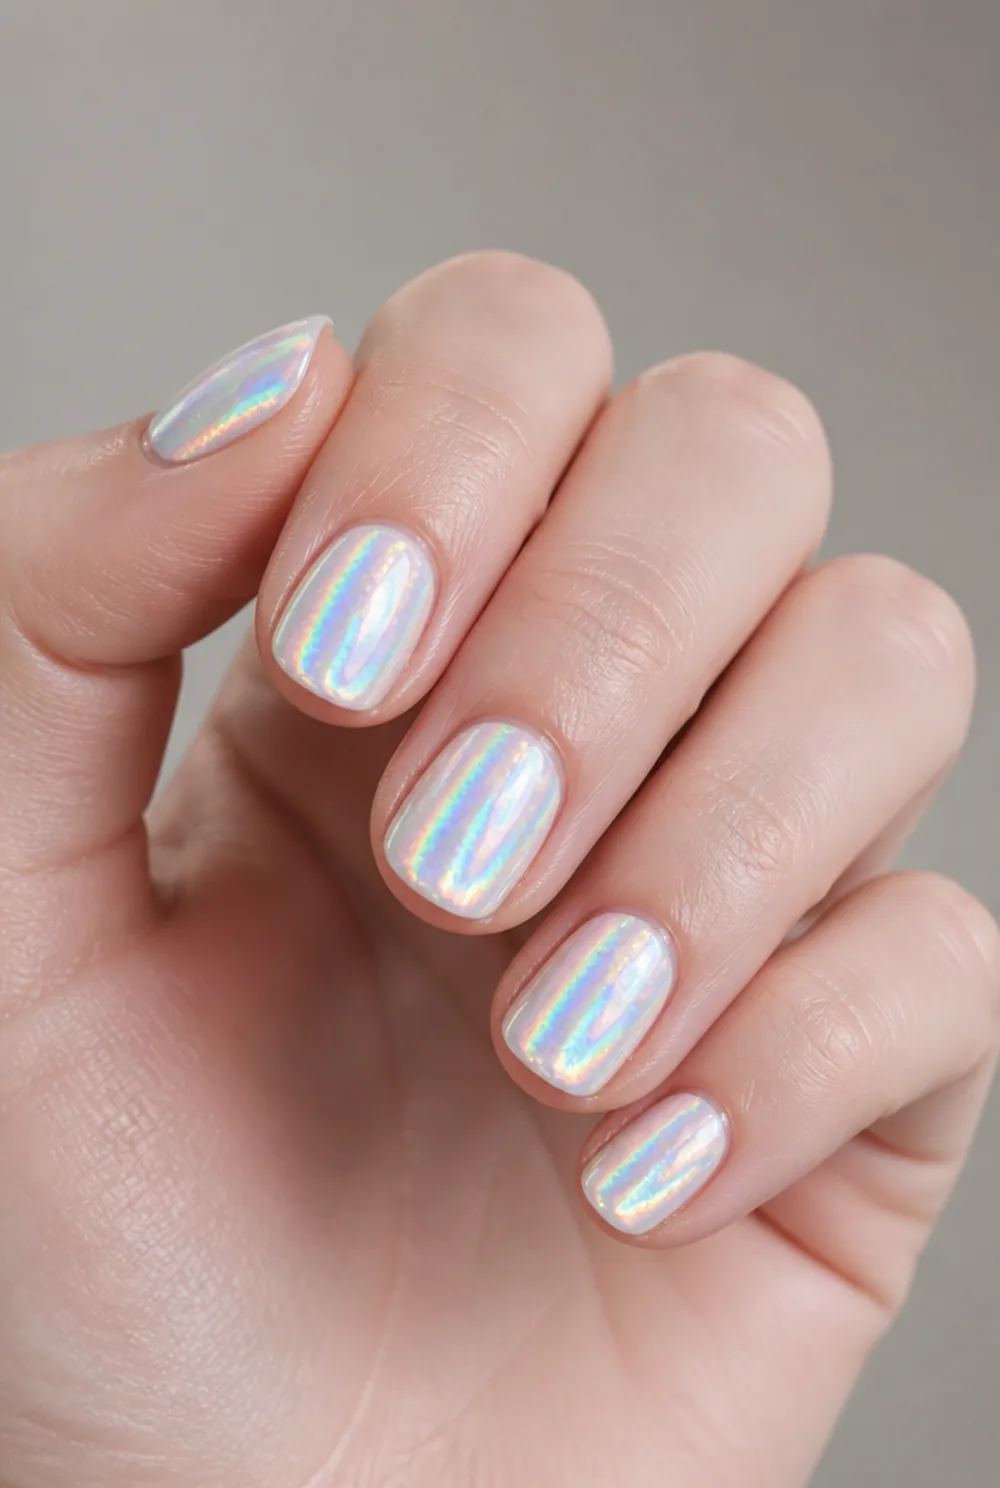
rainbow holographic foil over white base
Rainbow holographic foil over a white base. White underneath is what makes the rainbow show; over a dark base it turns muddy.
11. Foil Half Moon


gold foil crescent at the base, half moon shape
A foil crescent at the base of the nail rather than the tip. Grow-out improves it, and the foil sits where nothing rubs against it.
12. Foil over Jelly

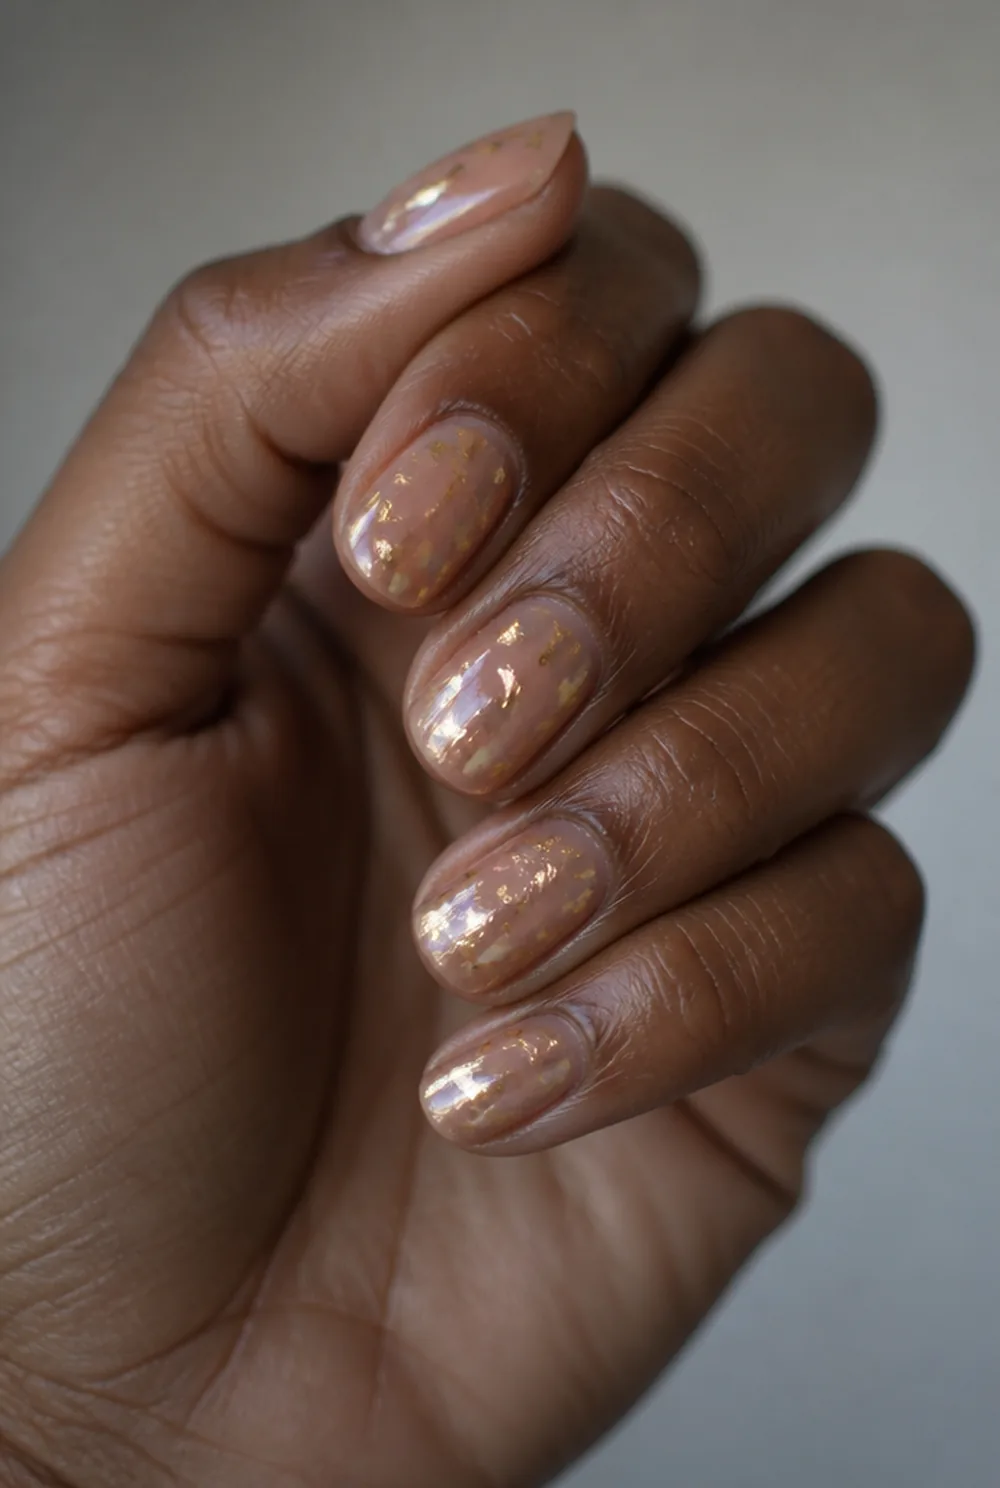

foil flakes covered with translucent jelly color
Foil laid down and then covered with a translucent jelly color, so the metal sits under tinted glass. It is the most expensive-looking thing on this page.
13. Copper Foil
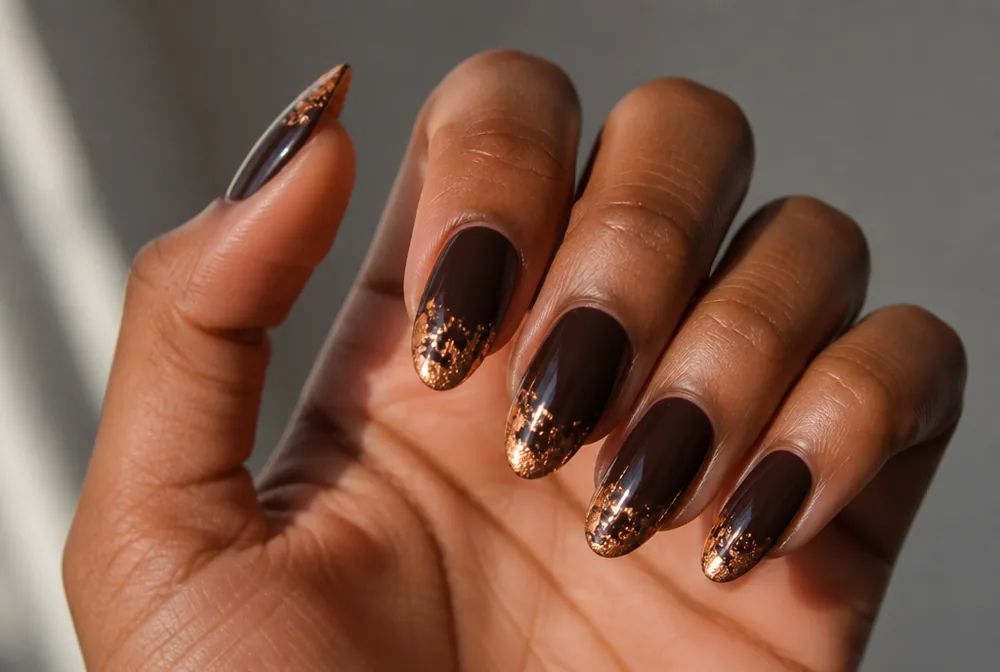
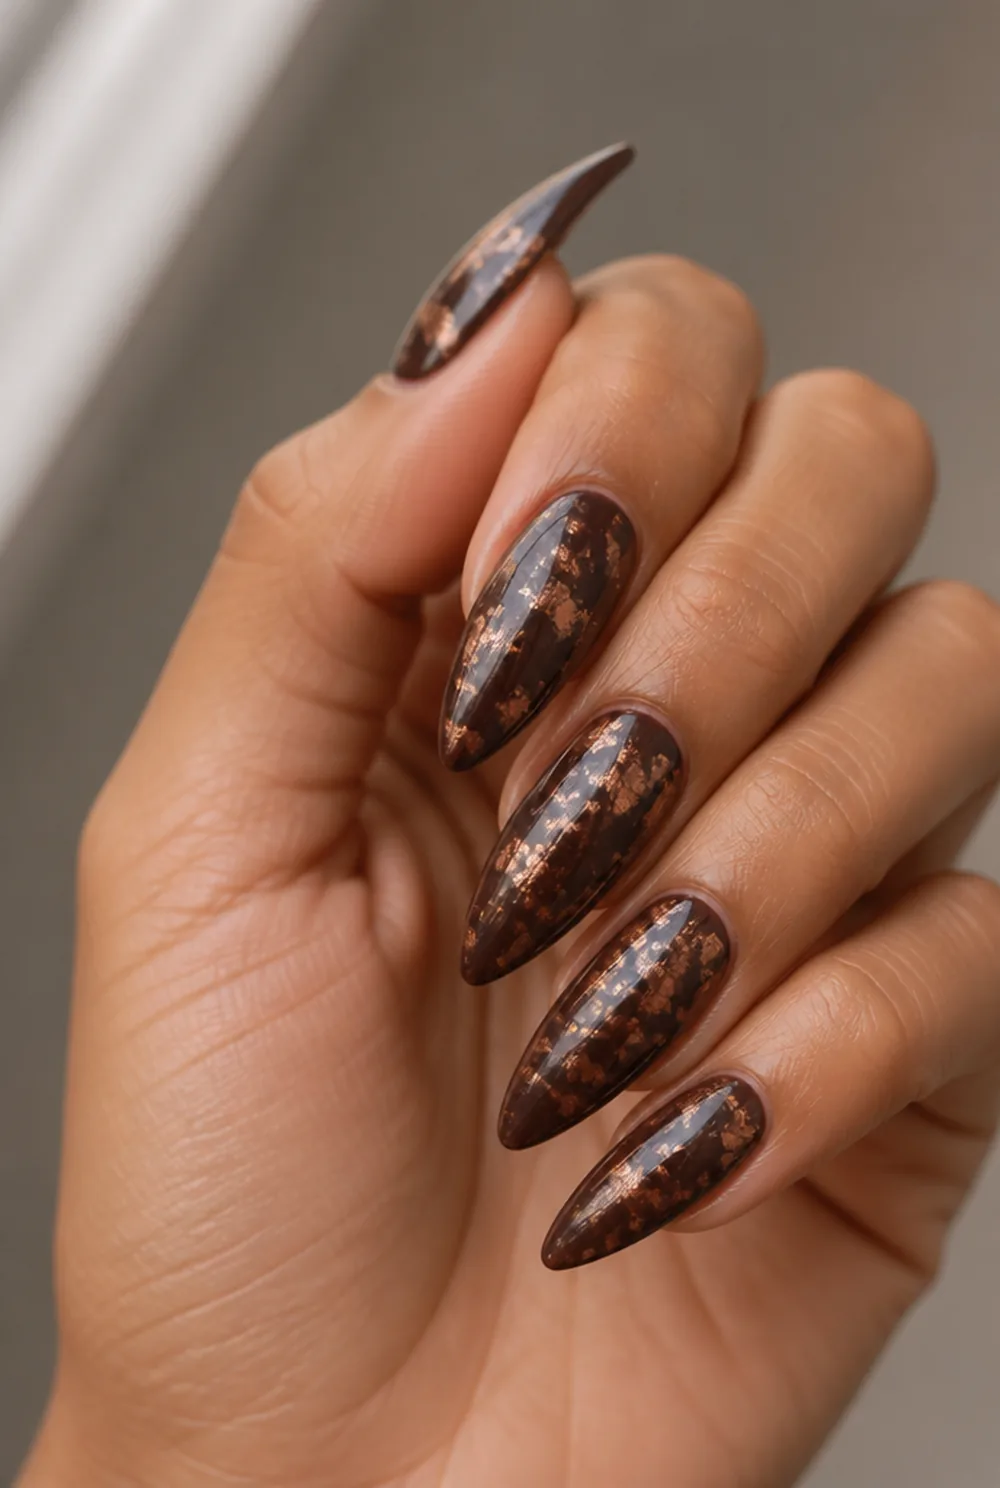
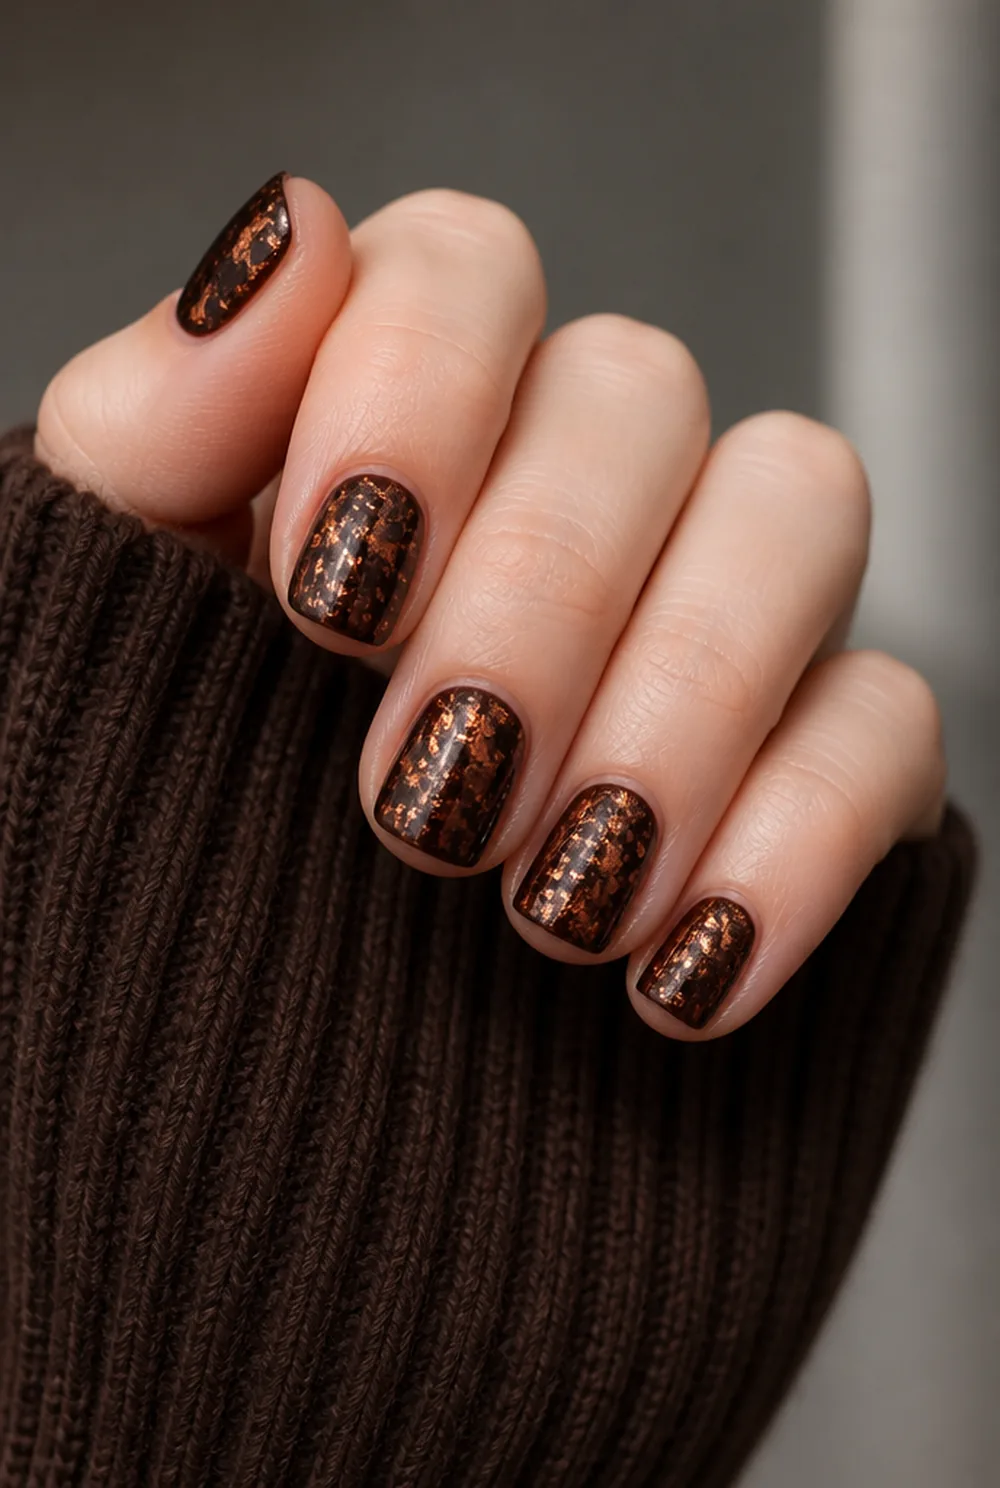
copper foil on chocolate brown base
Copper foil on a chocolate brown base. It is the autumn version and it suits warm skin tones particularly well. More in our brown nail designs post.
14. Foil Tips on Almond


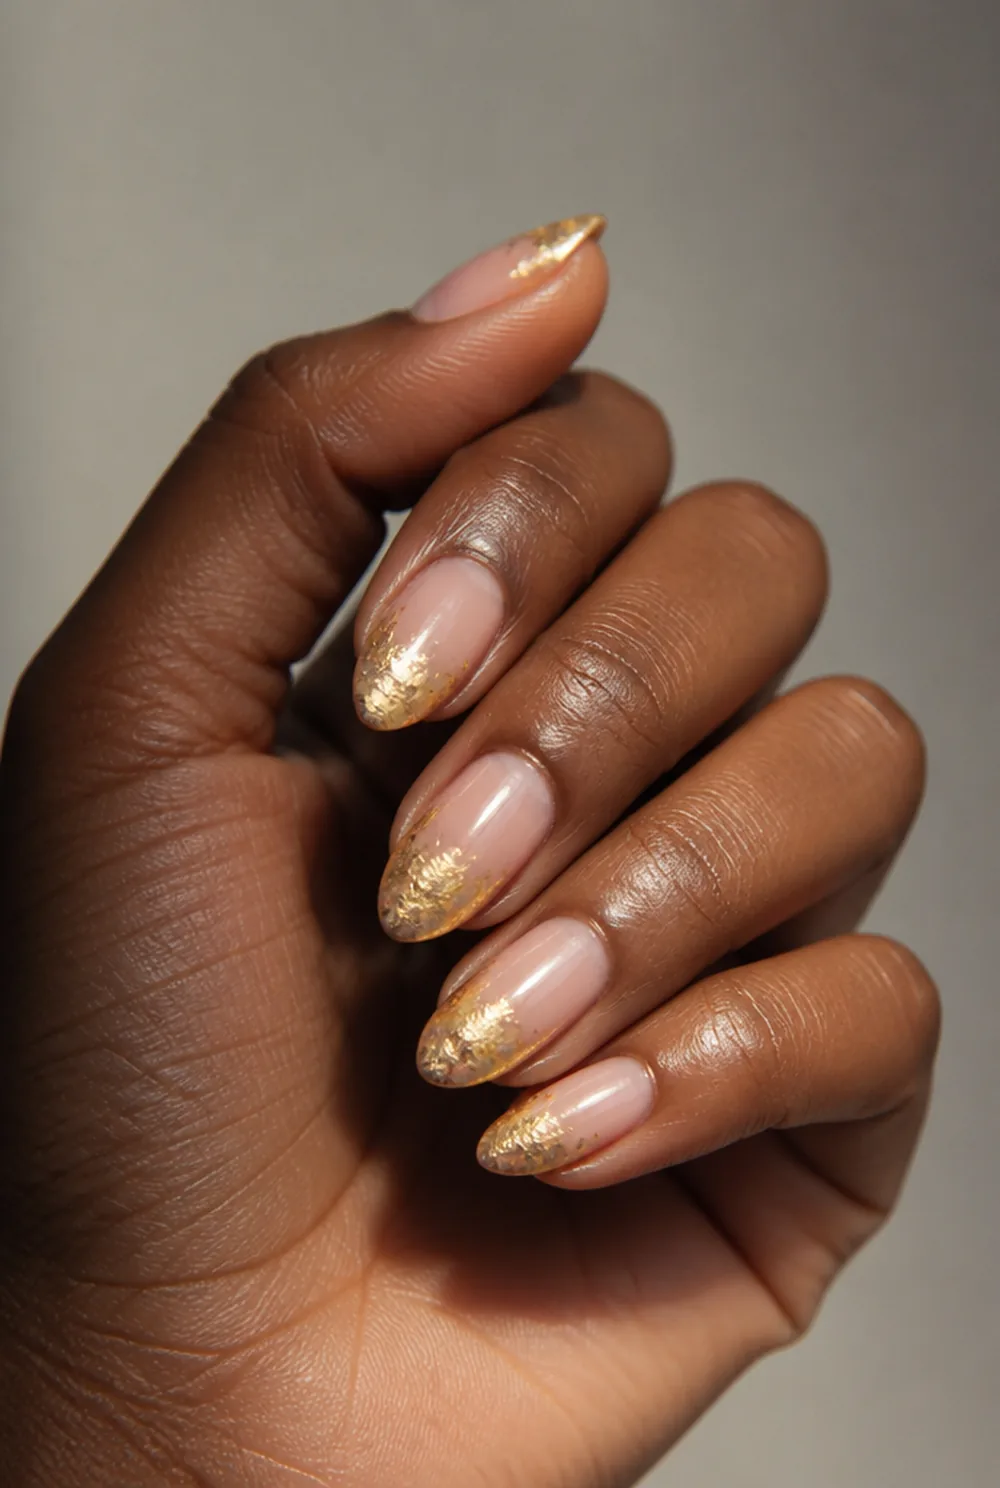
gold foil concentrated at almond tips, fading inward
Foil concentrated at the points of long almond nails, fading out toward the middle. The taper makes the metal look like it is dripping off the tip. See our almond nail designs post.
15. Silver Foil on Navy
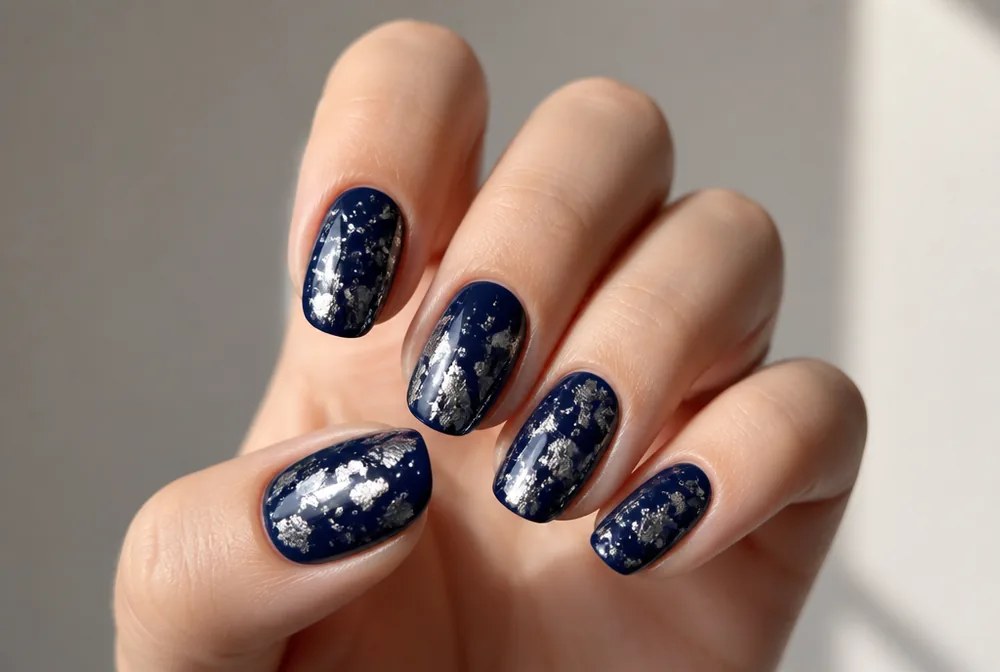
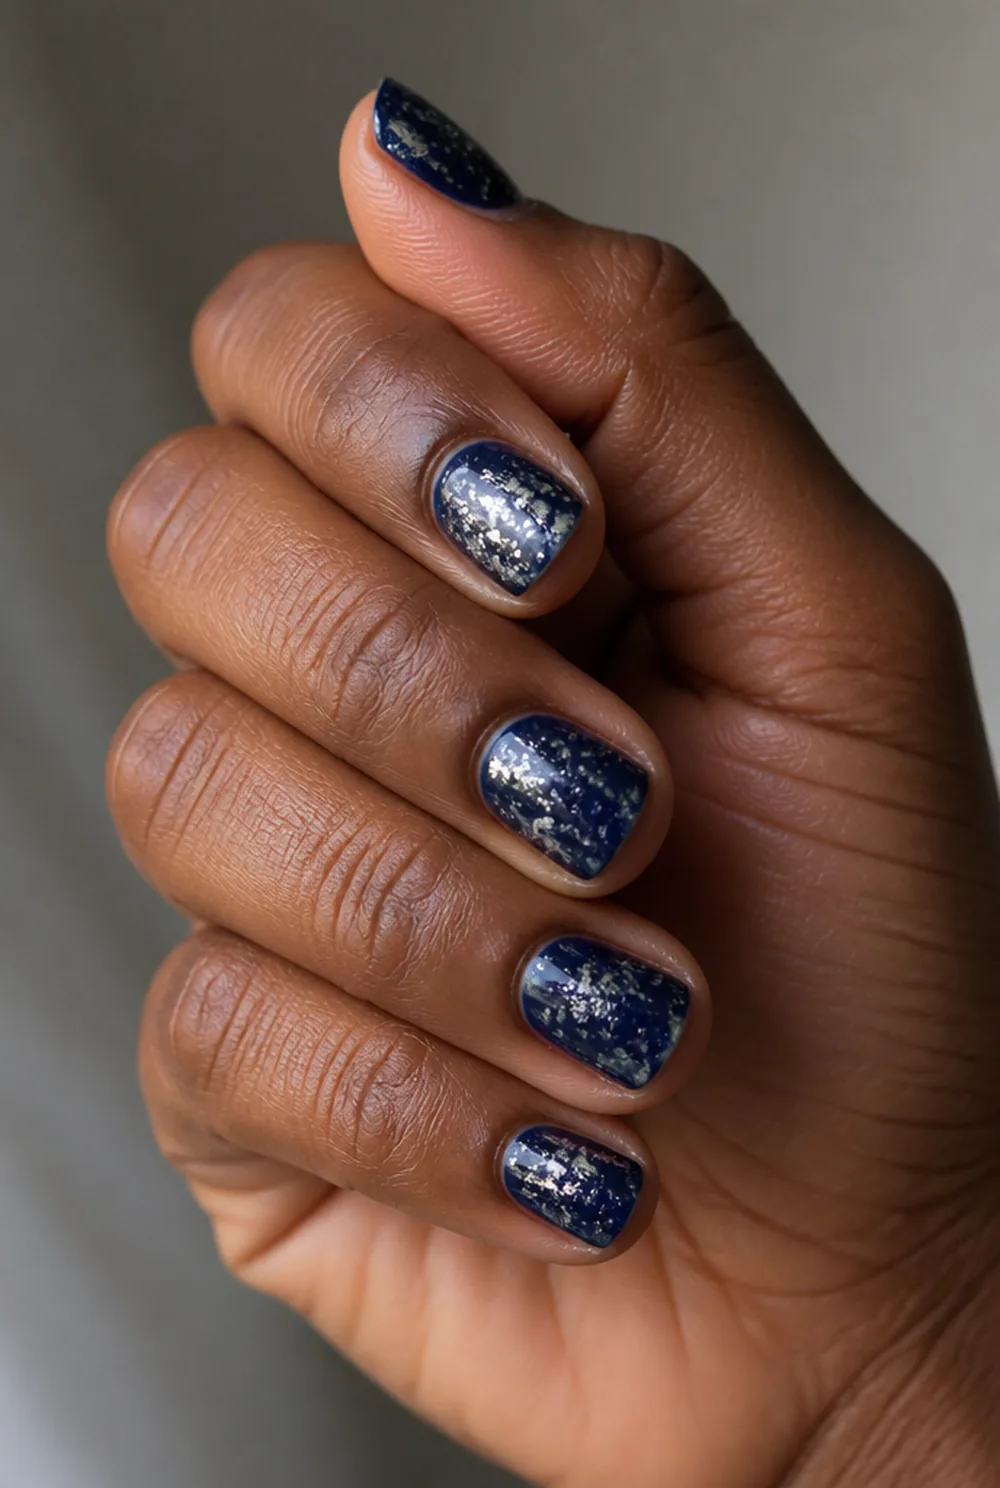

silver foil flakes on deep navy base
Silver on deep navy reads like a night sky, and it is the most wearable dark foil combination. See our blue nail designs guide.
16. Micro Foil Flecks
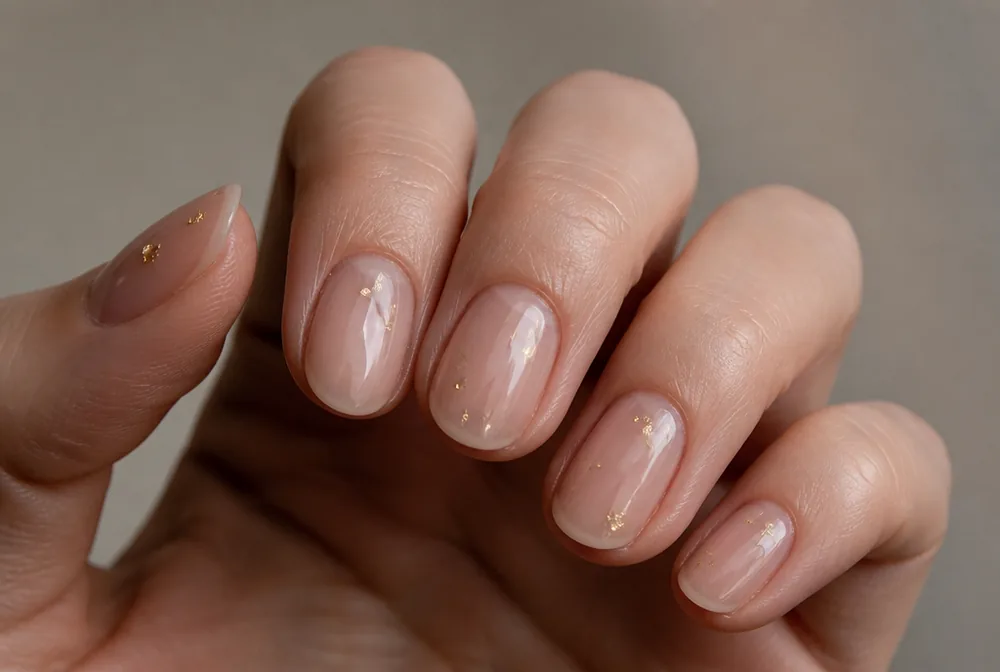
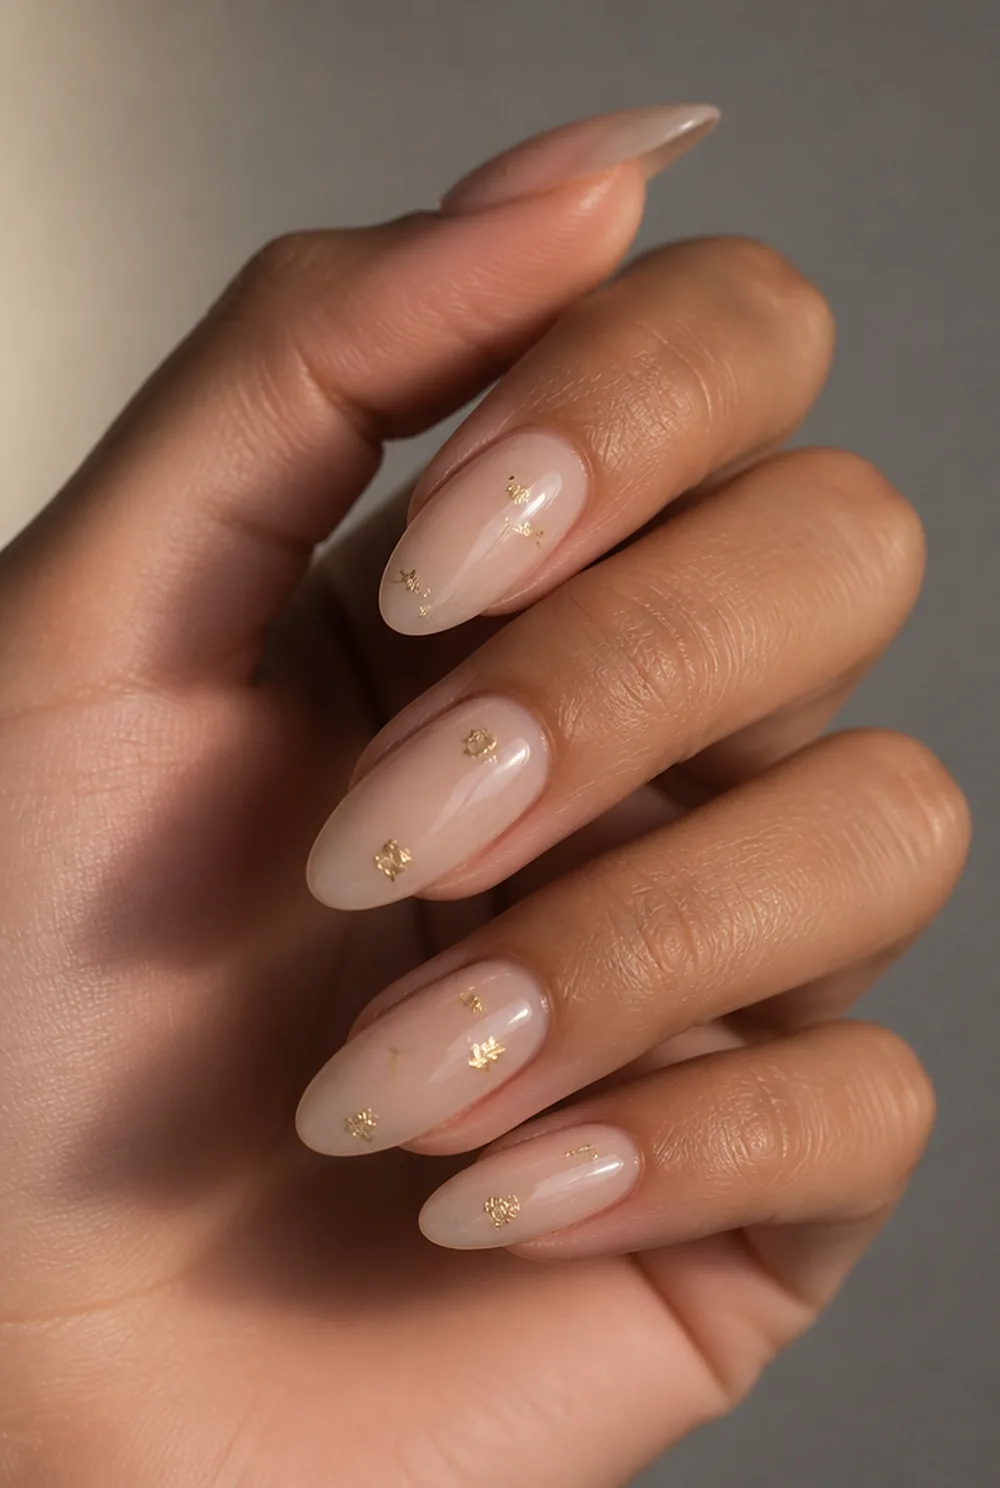
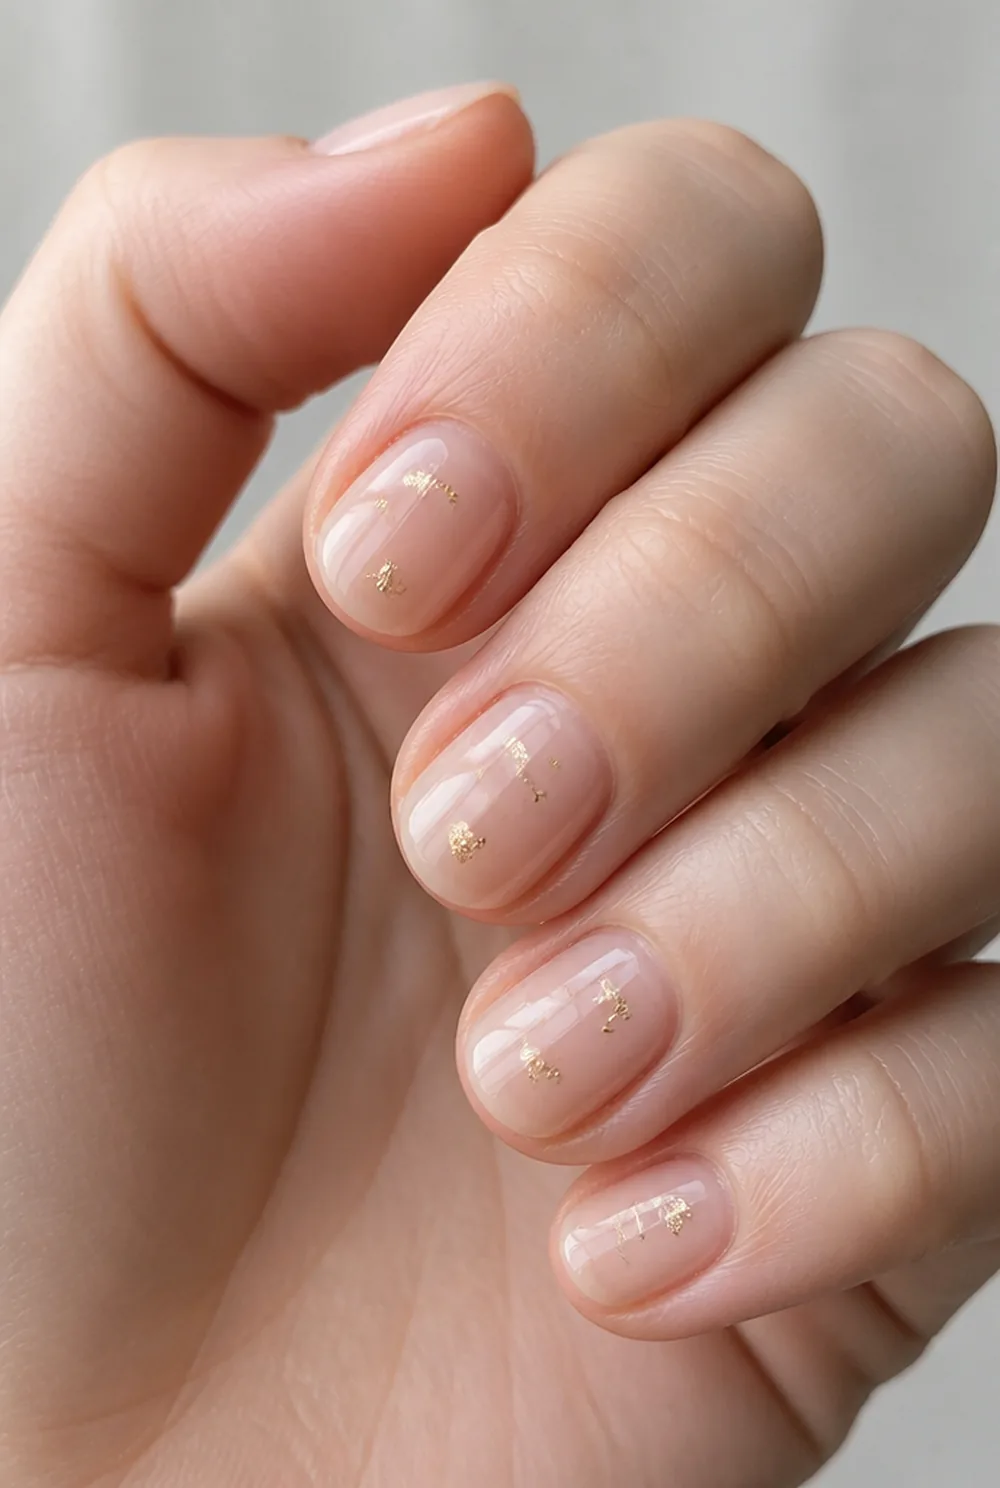
three or four tiny gold foil flecks per nail
Three or four tiny flecks per nail on a sheer base. It is the office-safe version and it takes about a minute a hand. See our minimalist nails post.
17. Foil and Chrome Together
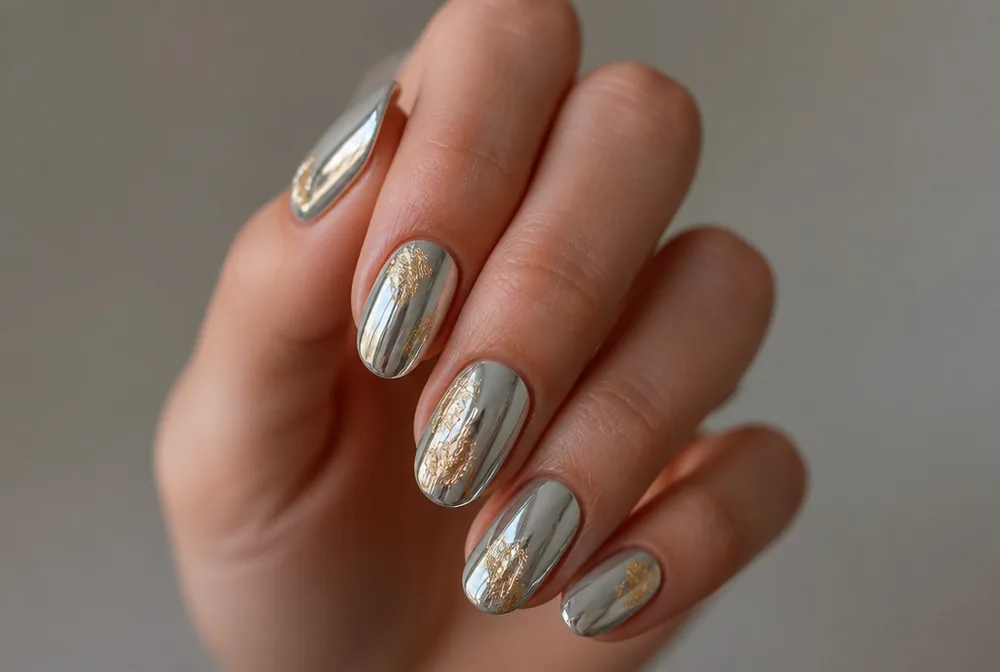
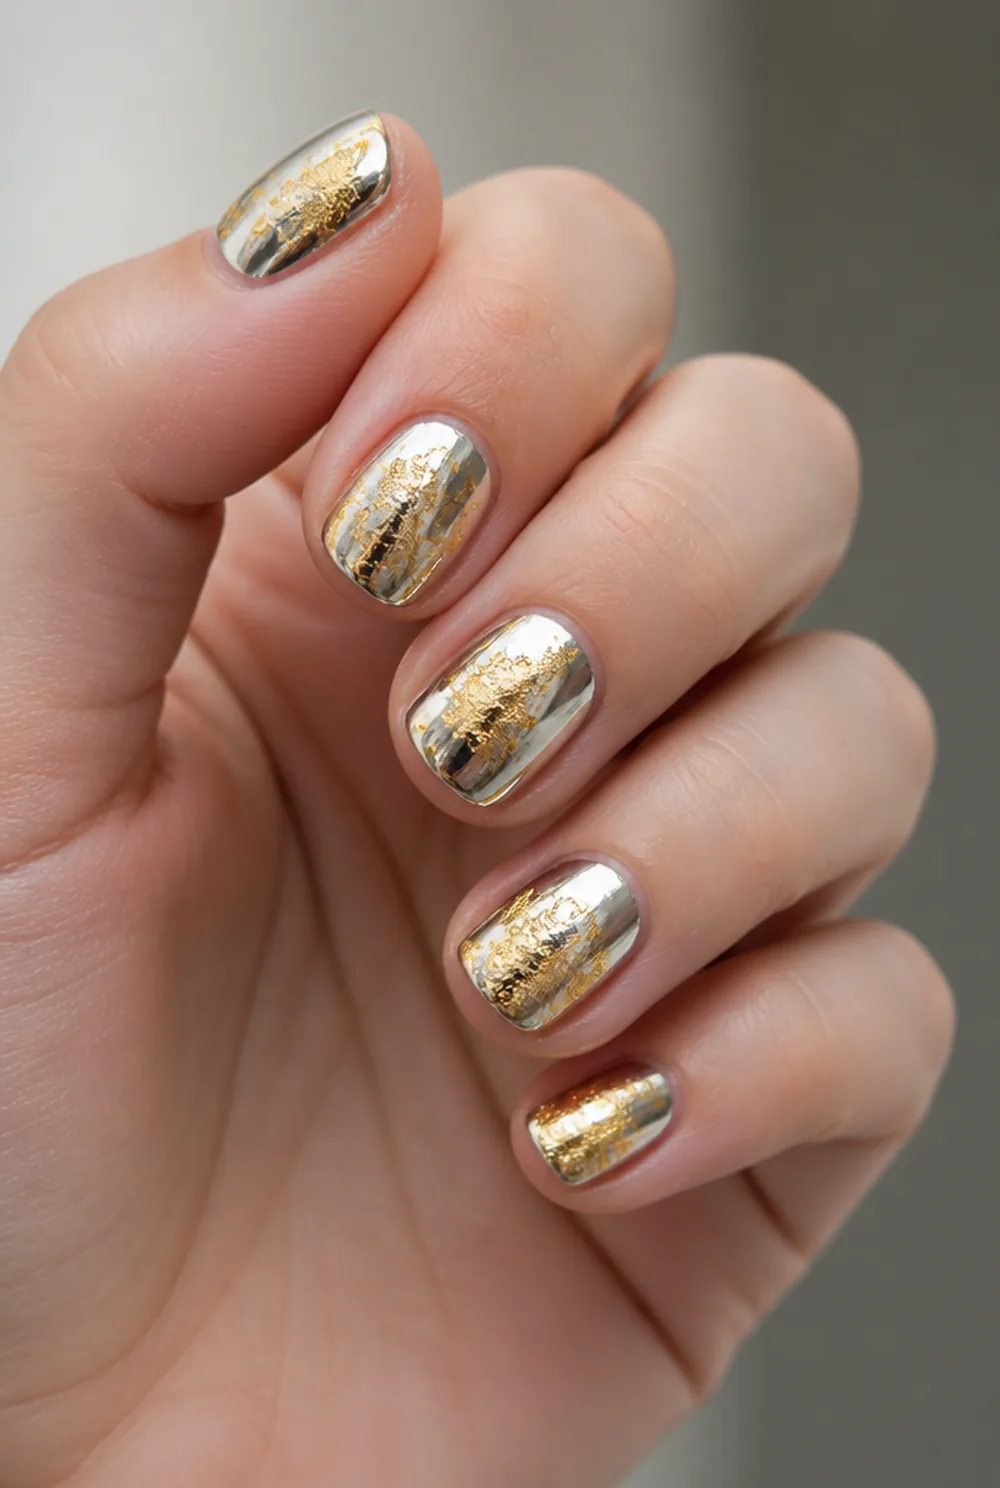

gold foil pieces over silver chrome base
Gold foil pieces laid over a silver chrome base. Two metals at two different textures reads as intentional rather than as clashing. Mixed metal textures feel current, too, with nail artists in a Marie Claire 2026 nail trend report naming foil transfers, chrome and flakes. See our chrome nails guide.
18. Foil Confetti Nails
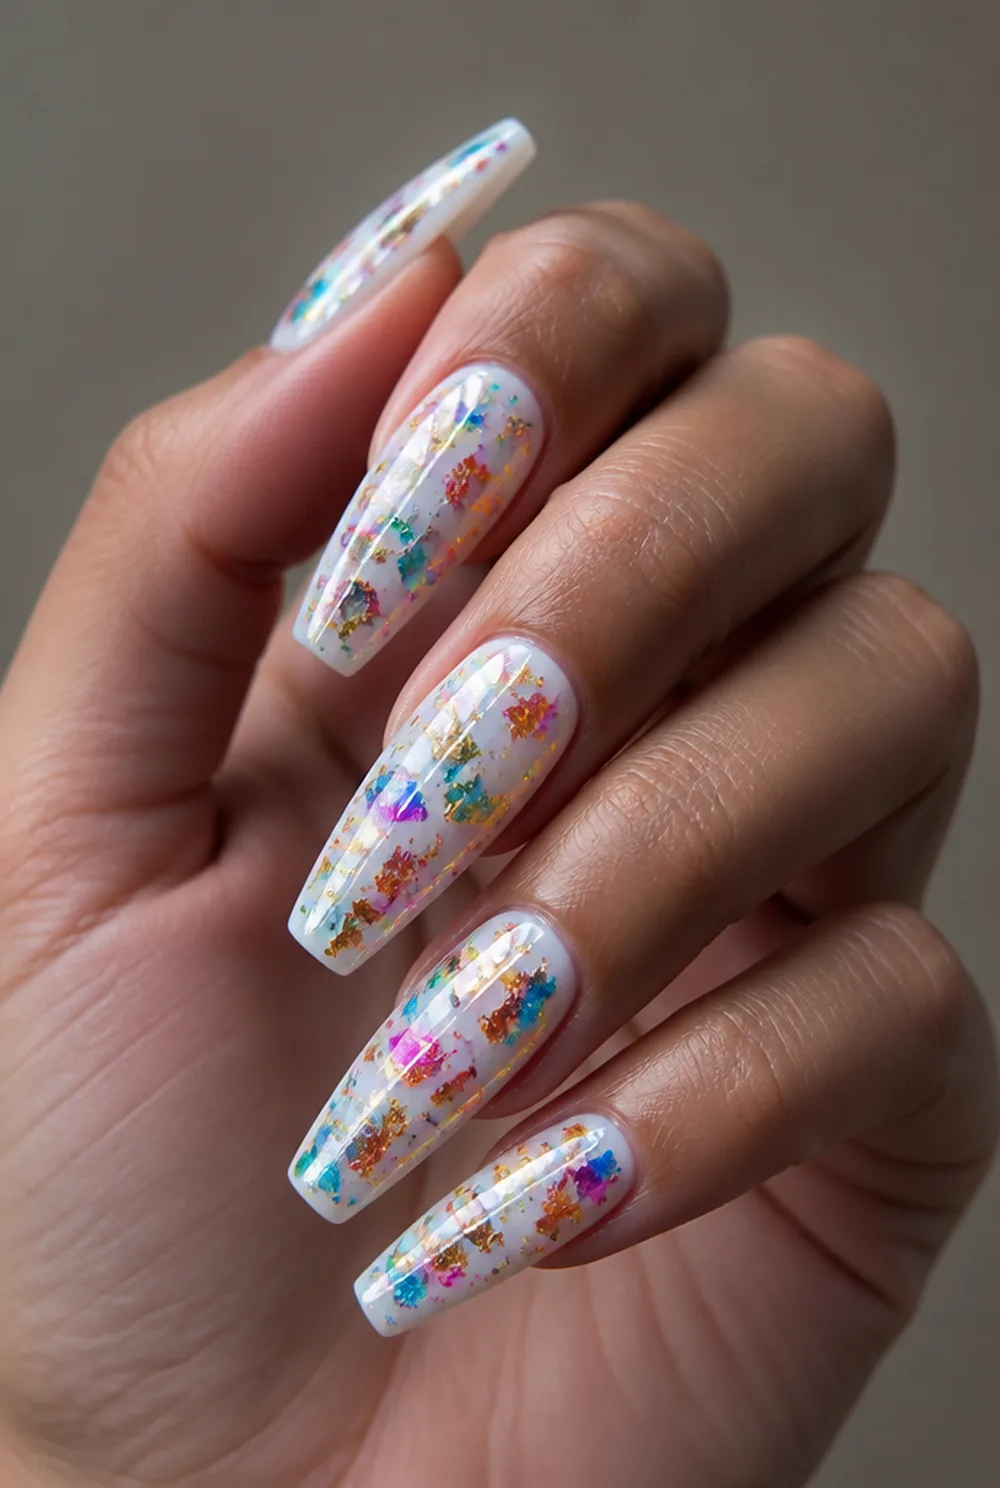
multicolored foil scattered like confetti on milky base
Multicolored foil scattered like confetti on a milky base. It is the party version and it is the natural pick for New Year. See our new year nails post.
Transfer foil versus gold leaf
These two get sold under the same heading and they behave completely differently.
Transfer foil is a thin metallic layer on a clear plastic carrier, sold on rolls. You press the shiny side down onto adhesive and peel the plastic away, and the metal transfers where the glue was. It gives smooth, even coverage and it is what you want for a full mirror nail or a clean stripe.
Gold leaf is loose sheets of real or imitation metal with no backing. It tears rather than cuts, it crumples, and it lands in irregular shards. It gives texture and unpredictability, which is what you want for a shattered or organic look.
You cannot swap one for the other. Trying to get smooth coverage from leaf leaves gaps, and trying to get organic shards from transfer foil leaves flat rectangles.
The adhesive step everyone gets wrong
Foil sticks to tack, not to wet polish and not to dry polish. Getting that window right is the entire skill.
With foil glue, which costs about $4, you brush it on and it goes on white. Wait until it turns completely clear, which takes 45 seconds to two minutes depending on how thickly you applied it. Clear means tacky, and tacky is when foil transfers. Press too early and the glue floods around the foil; press too late and nothing sticks.
With gel, the tacky inhibition layer left after curing does the same job with no glue at all. Cure a color gel, leave the sticky layer, press the foil straight onto it. This is how salons do it and it is more reliable than glue.
Press with your finger, not a tool. Body heat softens the adhesive and even pressure across the whole nail is what gives full transfer. Hold for five seconds, then peel the carrier back sharply rather than slowly.
Why foil lifts at the edges
Foil failing by day three is nearly always about thickness at the free edge.
Metal does not bend the way polish does. A piece of foil that hangs over the tip of the nail has an edge sticking out into the world, and it catches on fabric and peels the rest with it.
Keep the foil about half a millimeter back from the free edge, and let the top coat wrap over the tip on its own. That gives you a sealed polish edge rather than a metal one.
The other cause is a thin top coat. Foil sits proud of the nail surface, so it needs a generous layer to bury it. One thin coat leaves the foil edges exposed and they lift within days.
Sealing foil without dulling it
Foil has a specific problem with top coat, which is that some formulas react with the metal and turn it dull or gray.
The cause is solvent in fast-drying top coats attacking the foil’s coating. Quick-dry formulas are the worst offenders, which is unfortunate because they are the ones most people own. Whatever top coat you use, the FDA advises reading nail product labels, since some nail products can easily catch fire near a flame or heat source.
Float the top coat rather than brushing it. Load the brush heavily, touch it down in the center of the nail, and let it spread outward under its own weight. Dragging a brush across foil both dulls it and drags pieces out of place.
Gel top coat does not have this problem at all, which is another reason foil is easier over gel. If you are using polish, test your top coat on one nail before committing to ten.

Which base colors work best
The base decides how the metal reads, and it matters more than the foil color does.
Dark bases make gold and copper look rich, because there is nothing bright competing with the metal. Black, navy, and deep brown are the strongest choices for a scattered-shard look.
Sheer and nude bases give the opposite effect, where the foil floats and reads delicate. This is the version that works in an office.
White is the only base that works under holographic and iridescent foil. Anything darker absorbs the light the effect depends on and the rainbow disappears.
How long foil nails last
Over polish, about five to seven days before the edges start to lift. Over gel, the full two to three weeks. When that gel set comes off, soak only your fingertips in acetone, as the American Academy of Dermatology advises.
That gap is bigger than it is for most nail art, and the reason is that gel top coat is thick enough to properly bury the foil while polish top coat sits thin over it. If you want foil to last, gel is worth it more than for almost any other design.
Re-apply top coat every second or third day if you are working in polish. My manicure longevity post covers the routine.
What to buy and what it costs
Foil is the cheapest nail art there is, and the shopping list is short.
A multipack of transfer foil rolls runs about $8 for ten designs, and each roll covers dozens of manicures because you only tear off an inch at a time. Imitation gold leaf is roughly $6 for 100 sheets, which is a lifetime supply. Foil glue is about $4 a bottle.
Buy the leaf in a book with tissue interleaves rather than loose flakes in a pot. Loose flakes are pre-broken into pieces that are all roughly the same size, and the uniformity is exactly what makes a shard design look cheap.
Skip anything sold as foil polish or foil top coat. Those are shimmer polishes and they have nothing to do with this technique.
Asking for foil at the salon
Foil is one of the cheapest things to add to a gel set, usually $2 to $5 a nail, because it takes seconds once the base is cured.
Bring a photo and say whether you want smooth coverage or torn shards, because those are two different products and technicians stock both. Saying “gold foil” without specifying gets you whichever they reach for first.
Ask them to keep the foil back from the free edge and to build the top coat generously over it. Those two things decide whether it survives three weeks. My short gel nails post covers what else to ask for on a gel set.
FAQ
How do you apply nail foil?
Apply foil glue over dry polish and wait until it turns from white to completely clear, which takes 45 seconds to two minutes. Press the foil shiny side down with your finger for about five seconds, then peel the carrier away sharply. Over gel, press the foil onto the tacky layer left after curing instead of using glue. The GelBottle Inc also walks through applying foil on gel nails in five steps, finishing with a generous layer of top coat.
Why is my foil not transferring?
The adhesive is either too wet or fully dry. Foil only transfers onto a tacky surface, so wait for foil glue to go completely clear before pressing. Peeling the carrier slowly also causes patchy transfer; pull it back sharply in one movement instead.
How long do foil nails last?
Around five to seven days over regular polish and two to three weeks over gel. The difference is top coat thickness, since gel is thick enough to bury the foil completely while polish sits thin over it and leaves the edges exposed.
Why did my top coat dull the foil?
Solvents in quick-dry top coats can attack the foil’s coating and turn it gray. Use a slower-drying top coat or a gel top coat instead, and float it on by touching the loaded brush down in the center of the nail rather than dragging it across the foil.
Buy a roll of transfer foil and a bottle of glue for under $6 and try it on one accent nail. My glitter nail designs post covers the other low-effort way to add shine.