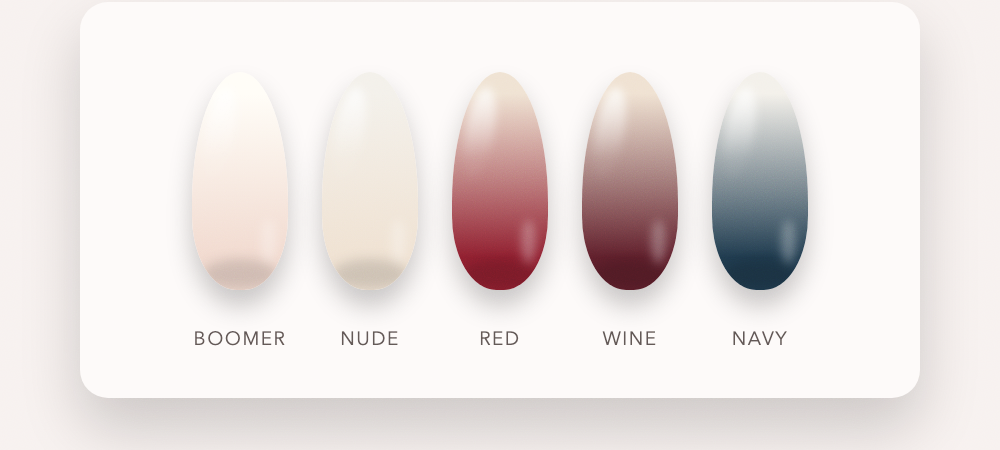
Ombre nails are the most requested finish in most salons and the one most likely to come out muddy. The fade either looks like light moving across the nail or it looks like two colours smeared together, and the difference is entirely technique. Once you know what a good fade actually requires, you can ask for it properly and you can do it at home.
Here are 24 ombre nail designs, from the pink-and-white baby boomer to full colour fades and glitter gradients, with what to say at the salon and the sponge method that works. Afterward I cover why ombre grows out better than any other design, the four ways a fade goes wrong, and a short FAQ. If you want the classic French this evolved from, my French manicure guide covers it.
24 ombre nail designs
1. Baby Boomer
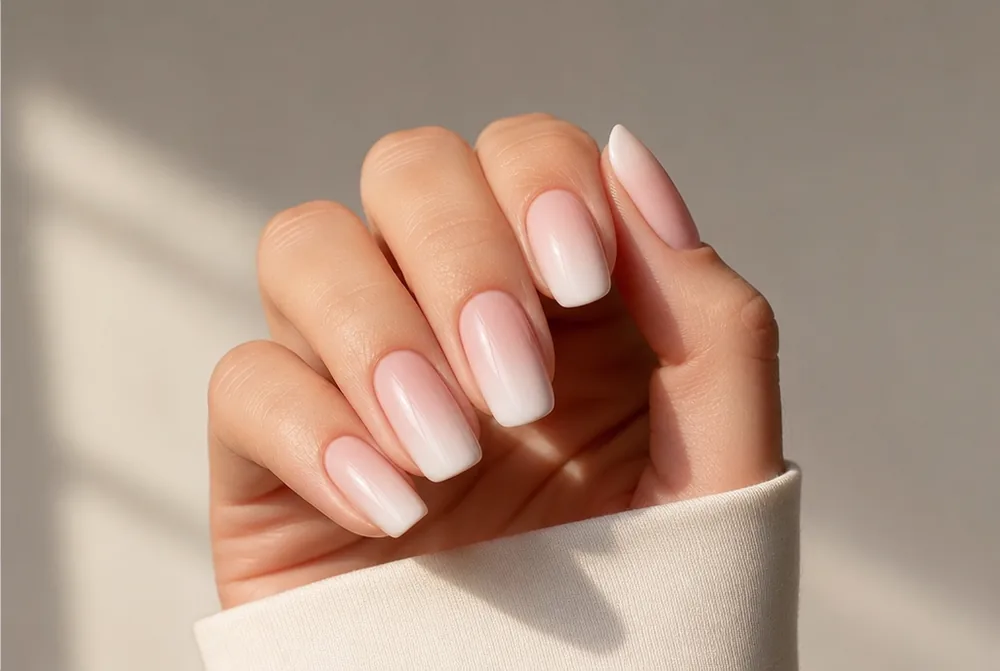
Soft pink at the cuticle blending into white at the tip with no visible line anywhere. It’s the original ombre and still the most-requested one. Ask for a baby boomer by name; “ombre French” gets you something different in a lot of salons.
2. Nude to White
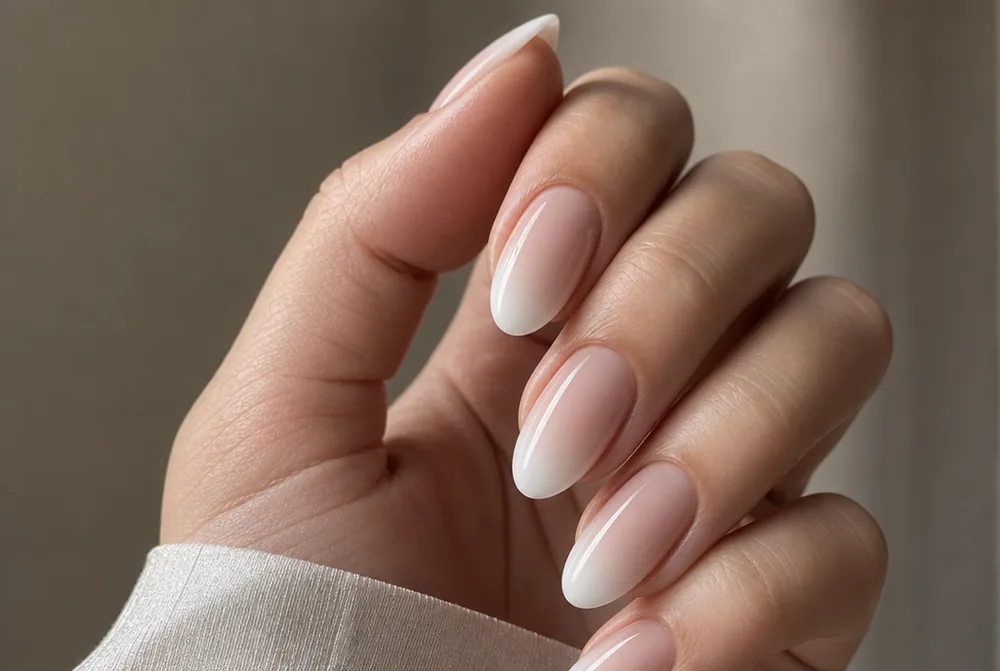
The same idea with a matched nude instead of pink, which reads more modern and suits more skin tones. Getting the nude right is the whole job; my nude nail designs guide covers matching yours.
3. Milky Fade
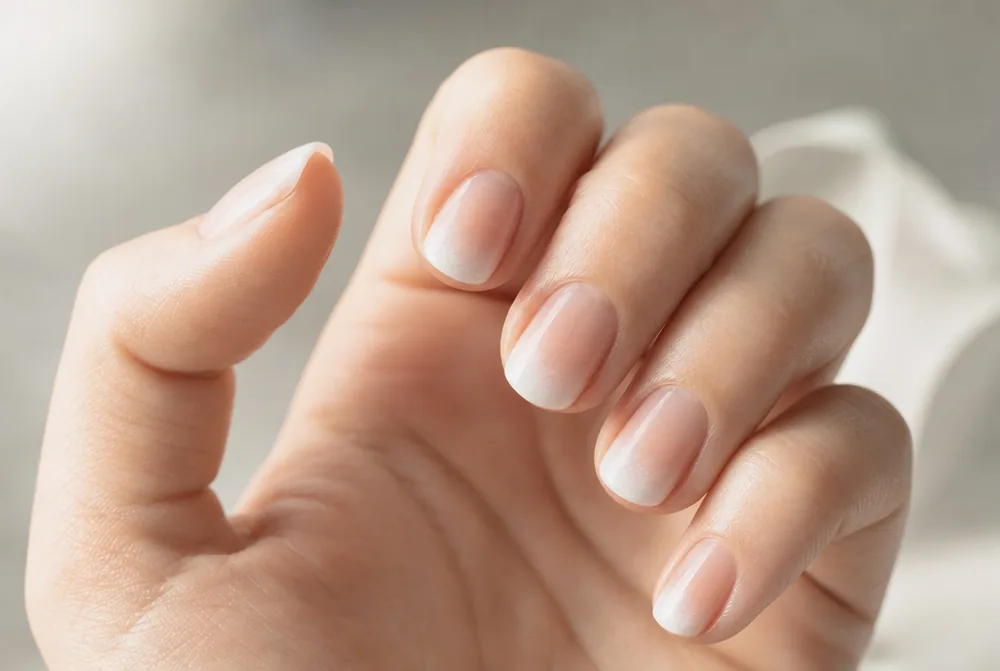
Bare glossy nails with milky white blurred onto the tips and nothing else. Grow-out is genuinely invisible, which makes it the lowest-maintenance manicure on this page. More on the shade in my milky white nails guide.
4. Red Ombre
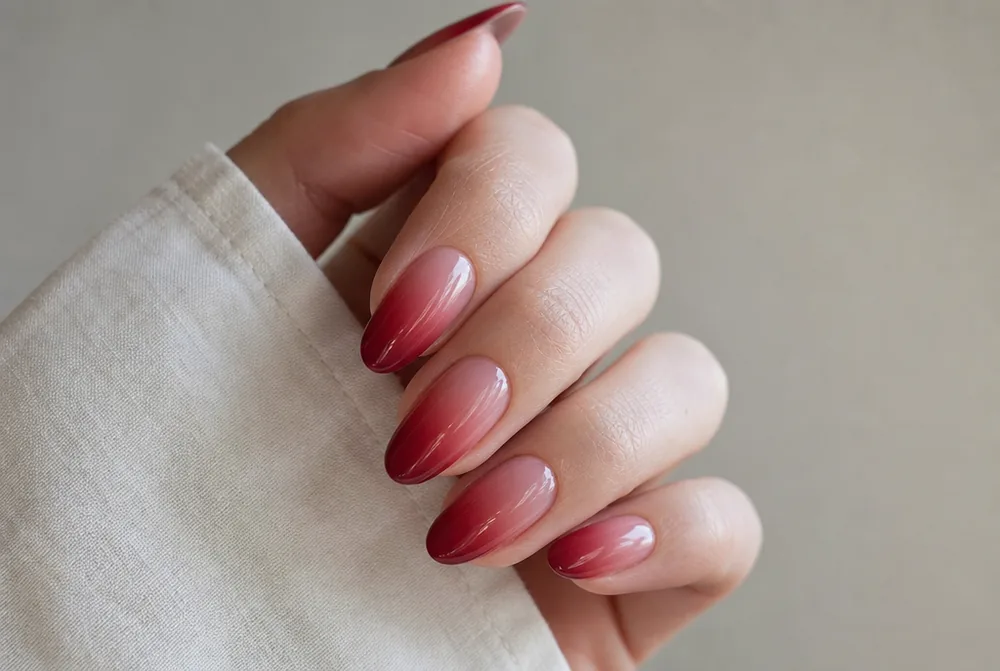
Nude at the base blending into a deep cool red at the tip. It’s dressier than a plain red and it flatters short nails, because the fade adds visual length. Cool-toned reds fade more cleanly than warm ones.
5. Black Ombre
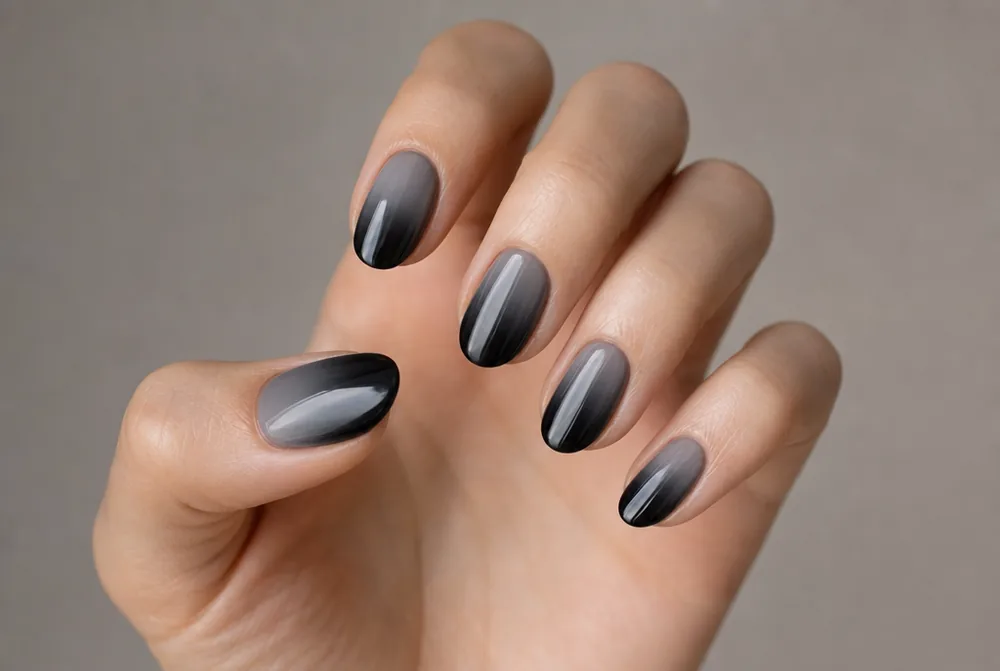
Grey at the cuticle running to black at the tip, so it reads as smoke rather than two colours. Use a mid-grey rather than white as the light end or the contrast gets harsh. More in my black nail ideas post.
6. Glitter Ombre Tips
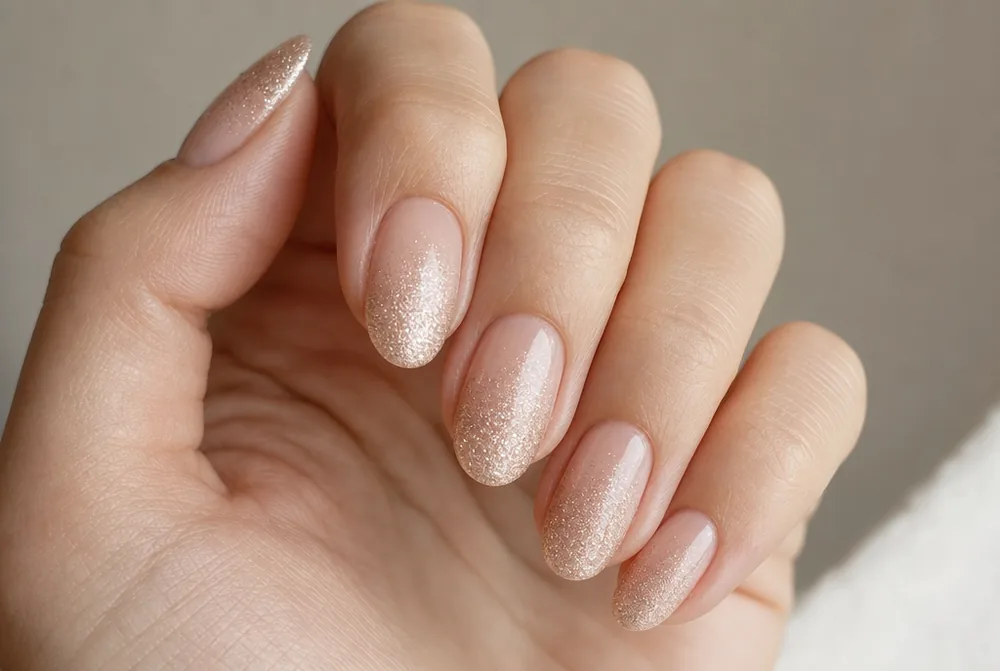
Glitter packed at the free edge fading toward the cuticle. It’s the party version and it’s the easiest fade to do at home, because glitter blurs its own edges. Full placement rules in my glitter nail designs guide.
7. Reverse Ombre
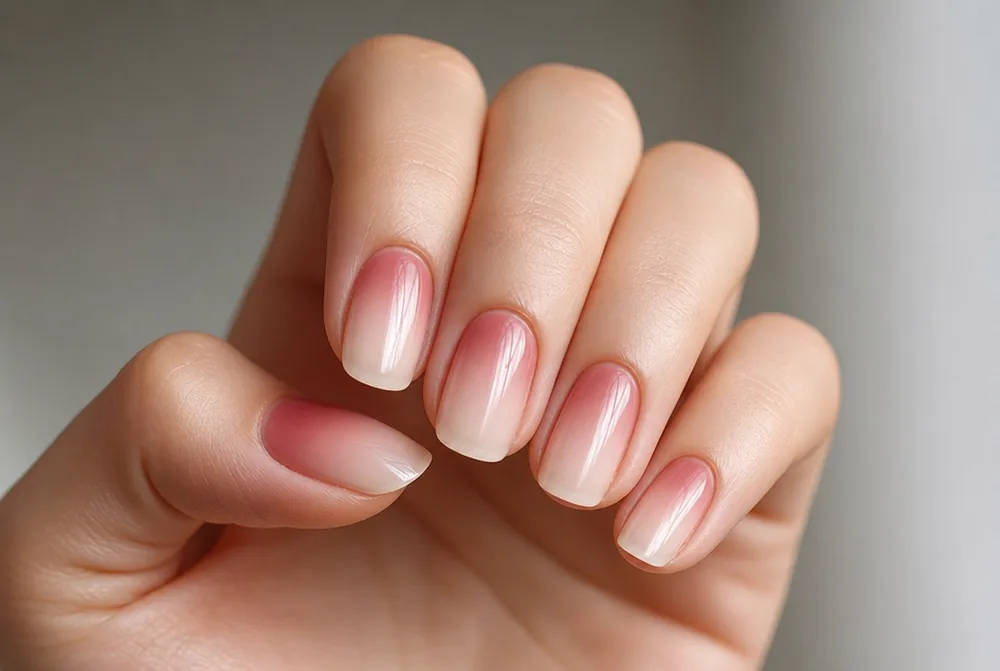
The fade run backwards, dark at the cuticle and light at the tip. It looks deliberate in a way the standard direction sometimes doesn’t. Grow-out is less forgiving, so treat it as a two-week design.
8. Pink and White Classic
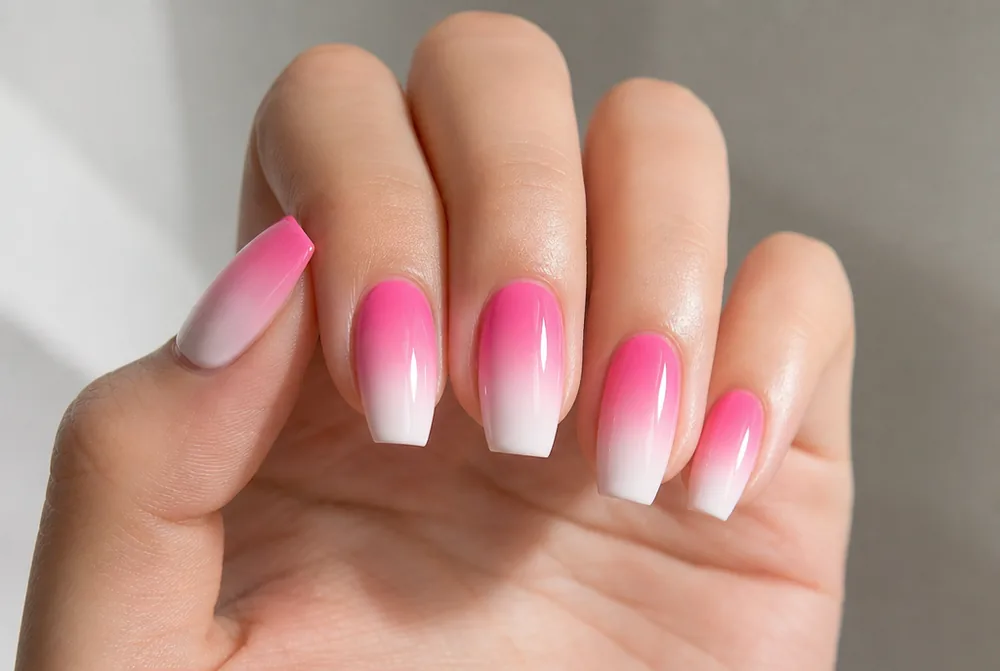
A brighter, higher-contrast pink into white, which is what most people picture when they say ombre. It suits longer shapes where there’s distance for the fade to travel. More shades in my pink nail designs post.
9. Blue Ombre
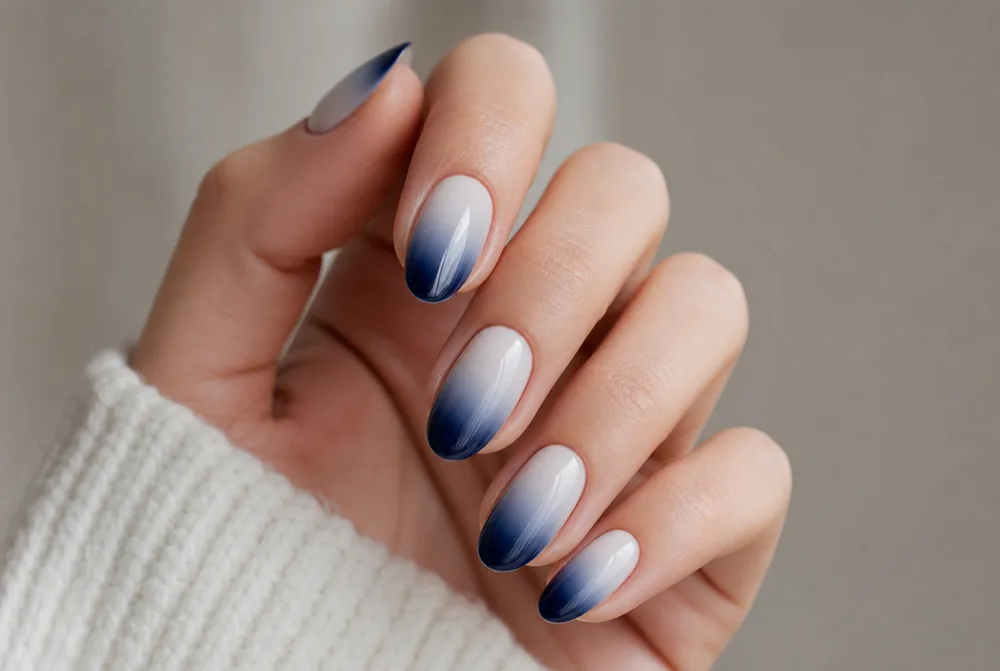
White running into navy or a mid blue, which reads cold and clean. Blue is one of the easiest colours to fade because the family has so many steps between light and dark. More in my blue nail designs guide.
10. Sunset Ombre
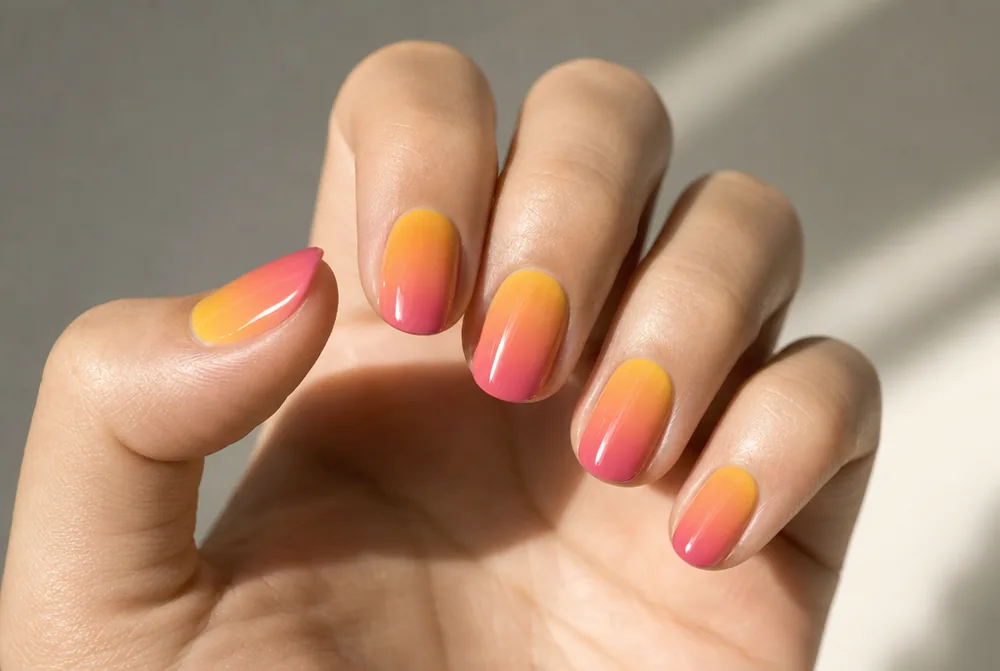
Three colours running through each other, usually yellow to orange to pink. It’s the most work here and the most striking. Ask for it on a longer shape; three colours need room.
11. Chrome Ombre
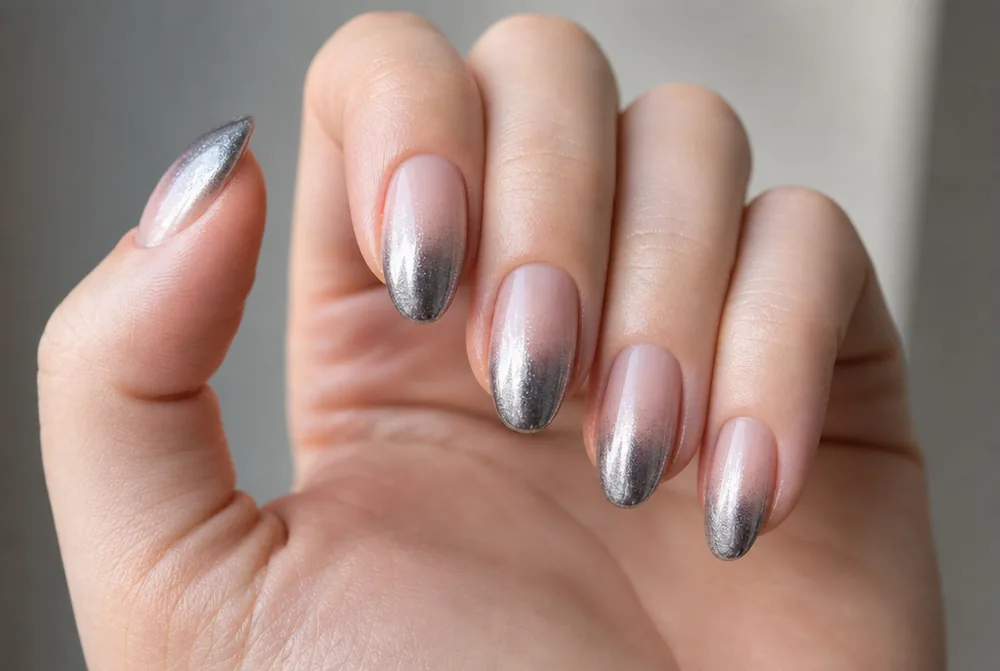
Chrome powder buffed heavier at the tip and fading toward the cuticle, so the nail looks dipped in light. It’s the newest version on this list. Needs gel, since chrome won’t hold on polish.
12. Burgundy Ombre
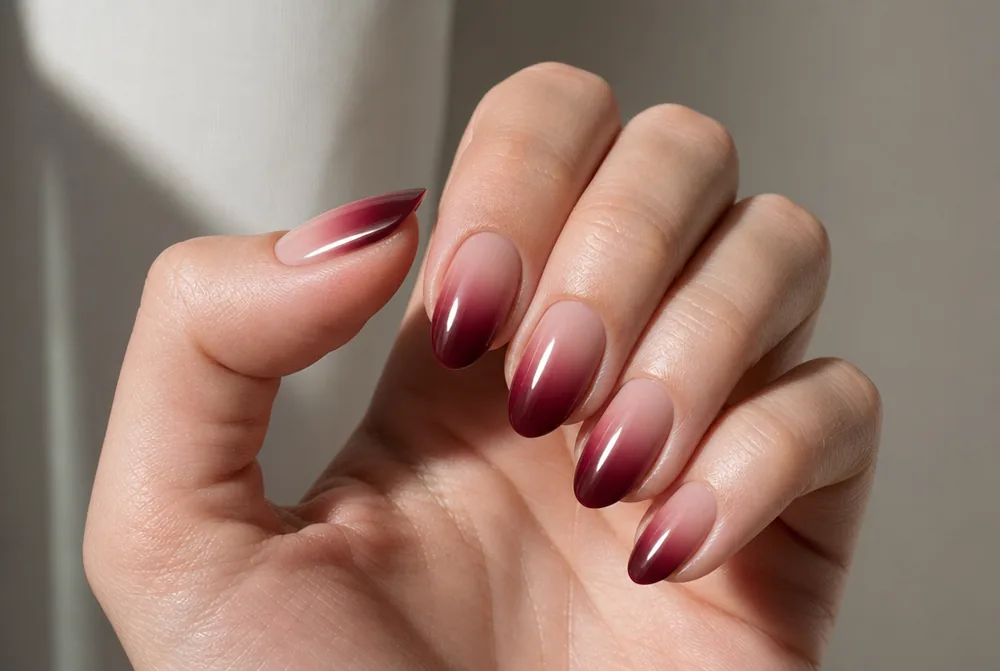
Nude into deep wine, which is the autumn and winter version and my most-worn fade. It carries from September through February. Full range in my burgundy nails guide.
13. Vertical Ombre
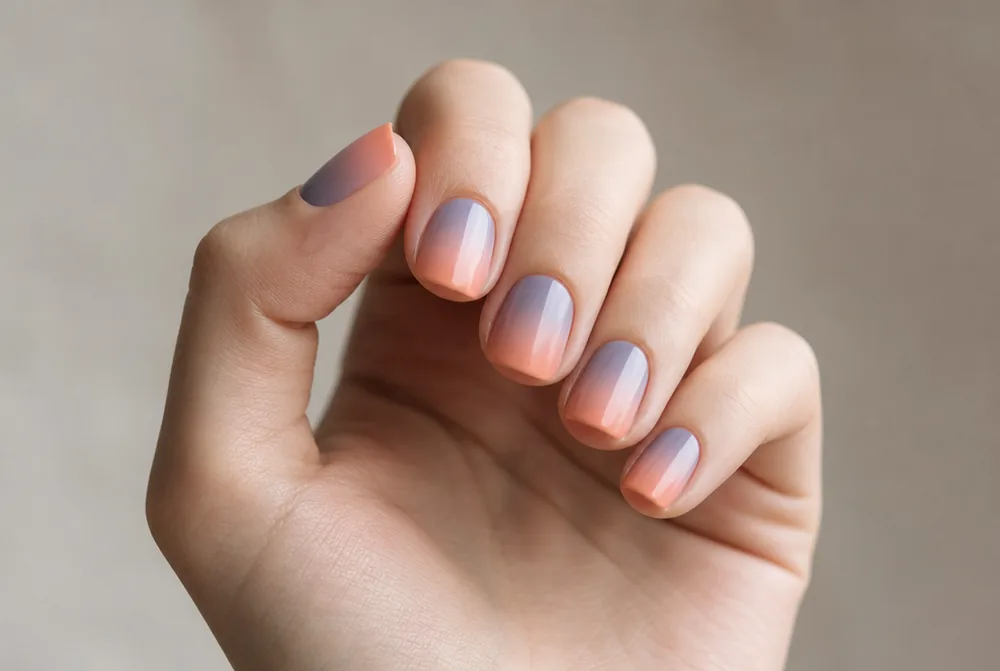
The fade running across the nail rather than up it. It’s unexpected and it’s much harder to keep even, so it’s a salon ask rather than a home project. Best on square and coffin shapes.
14. Skittle Ombre
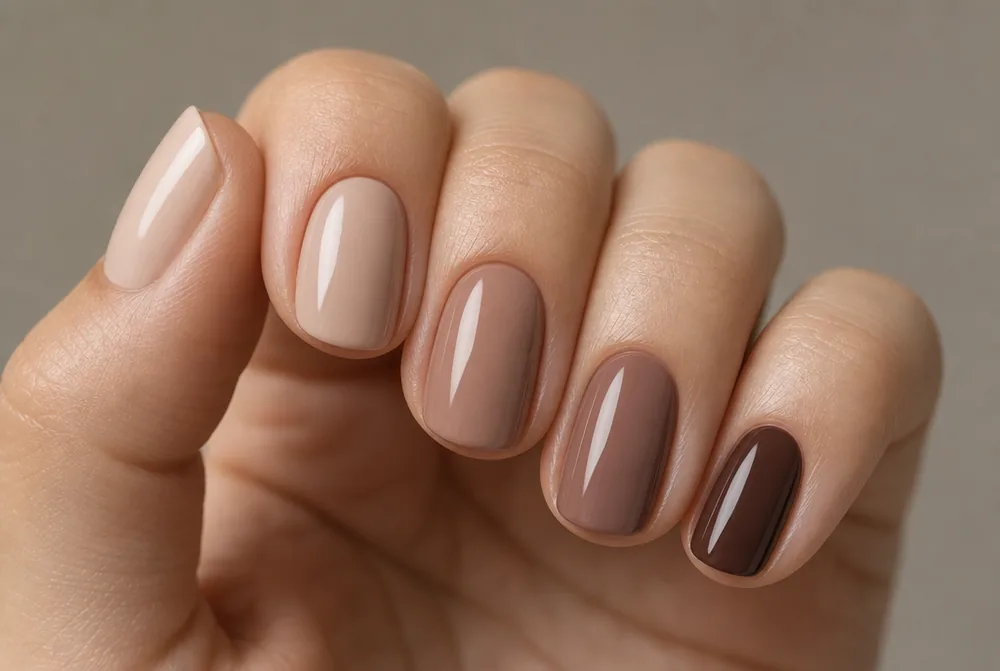
Each nail a different step of the same colour, lightest on the thumb to darkest on the pinky. There’s no fade on any individual nail, which makes it the easiest version on this list. Five bottles of the same family, or one bottle cut with white.
15. Green Ombre
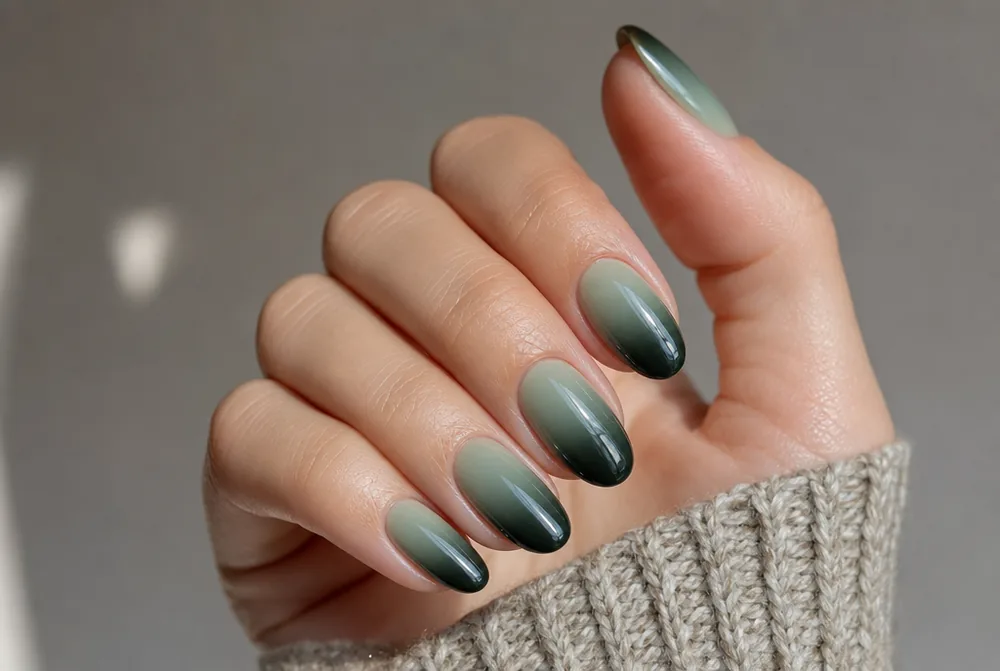
Pale sage into deep forest, tonal rather than high contrast. Tonal fades are the ones that look expensive, because the eye reads depth instead of two colours. More in my green nail designs guide.
16. Ombre with Micro French
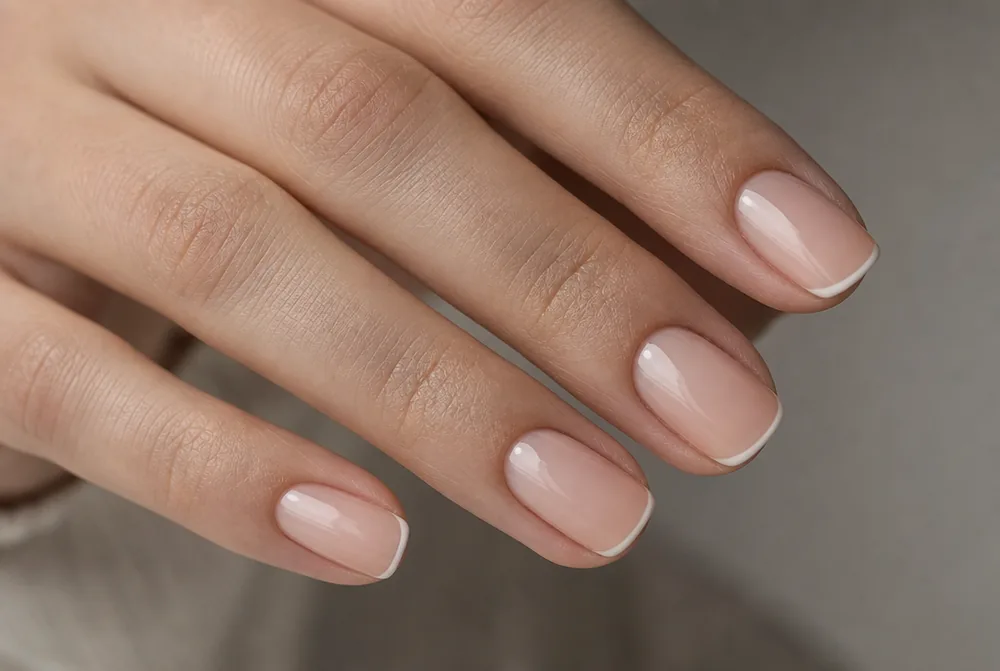
A soft fade with a hairline of bright white right at the very edge on top. The crisp line at the end makes the blur behind it look intentional. It’s my favourite detail of the last two years.
17. Purple Ombre
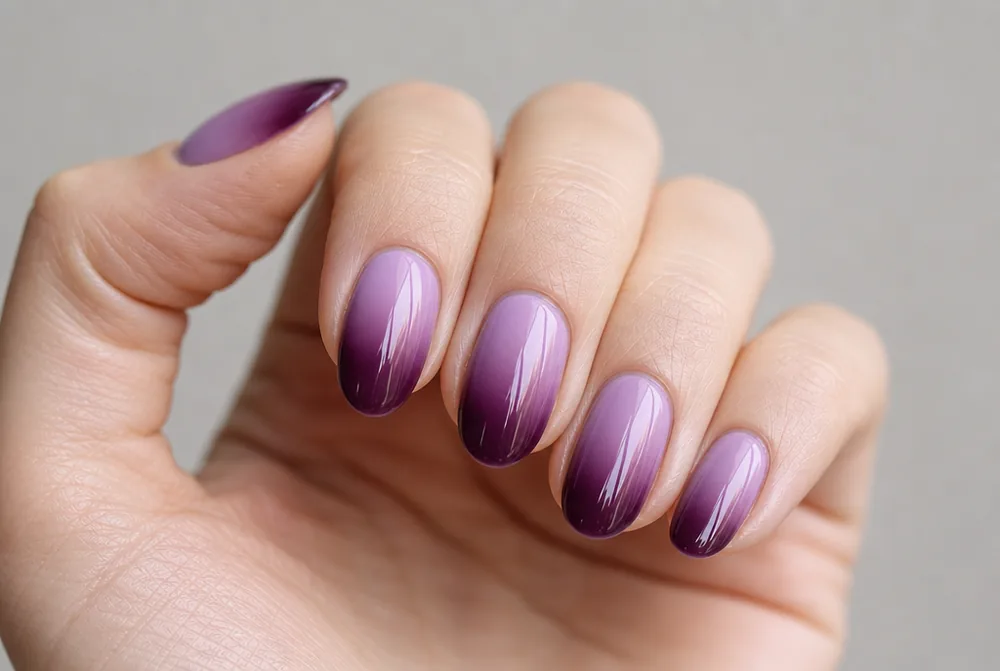
Lilac into plum, which is one of the smoothest fades to pull off because purple has so many mid-tones. More shades in my purple nail ideas post.
18. Ombre Toes
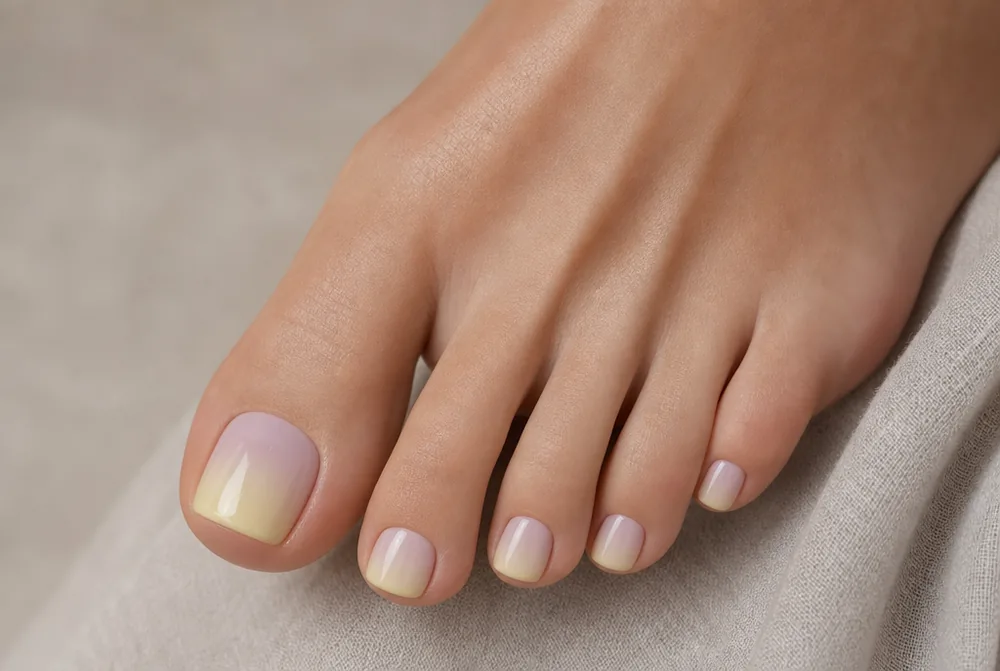
The same fade on a pedicure, where it lasts four to six weeks instead of two. Toes are also the most forgiving place to practise, since nobody inspects them at close range. More in my toe nail designs guide.
19. Ombre with Foil Flecks
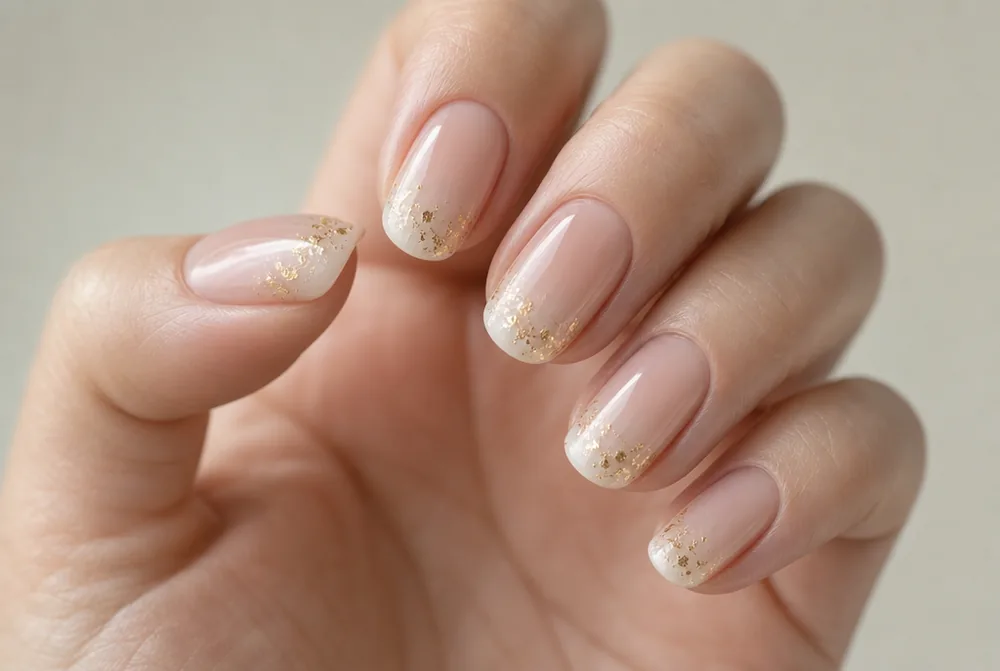
A plain fade with a few torn gold flecks caught in the darker end. The randomness stops the gradient looking flat. More placements in my gold nail designs post.
20. Grey to White
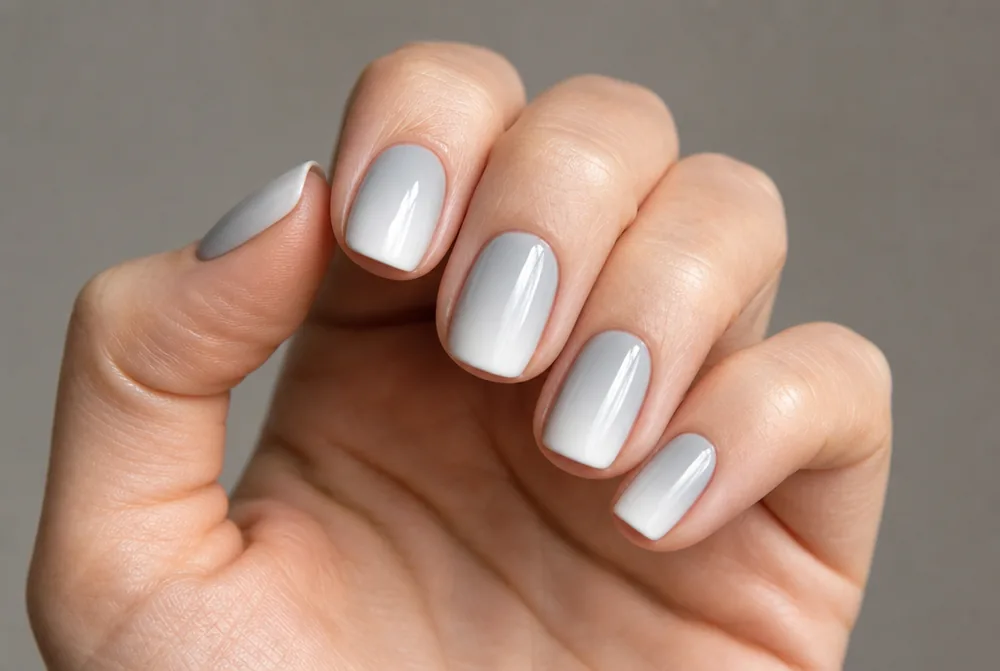
Dove grey into white, which is the coolest and most office-appropriate fade here. It reads as a French from three feet and as a gradient up close.
21. Ombre Cat Eye
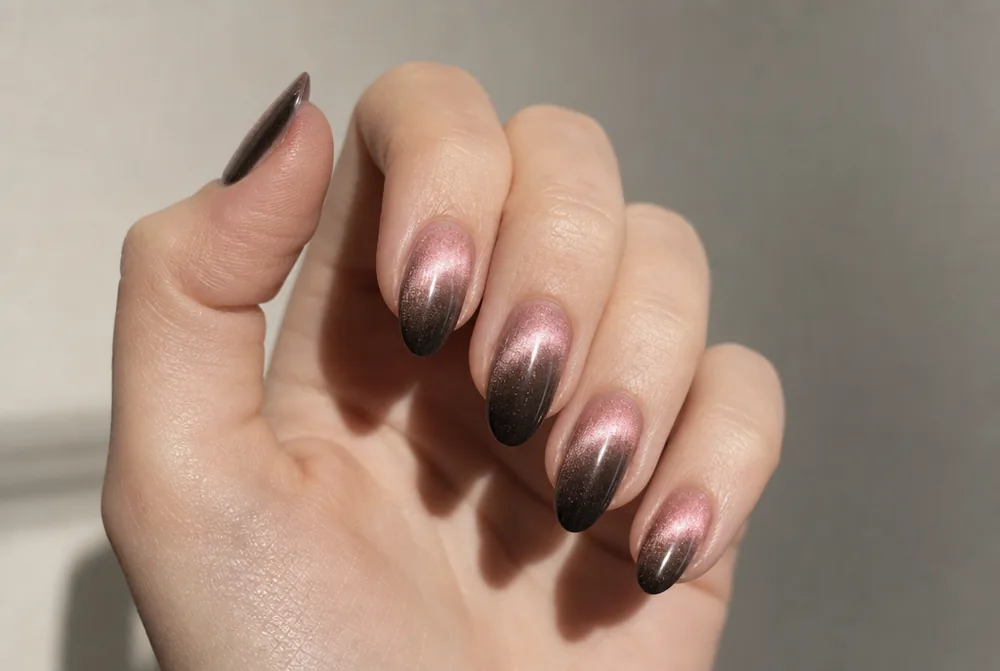
A magnetic cat eye applied over a faded base, so the light band moves through changing colour. It’s genuinely striking and it’s a real technical ask. Technique for the base is in my cat eye nails post.
22. Short Ombre Squoval
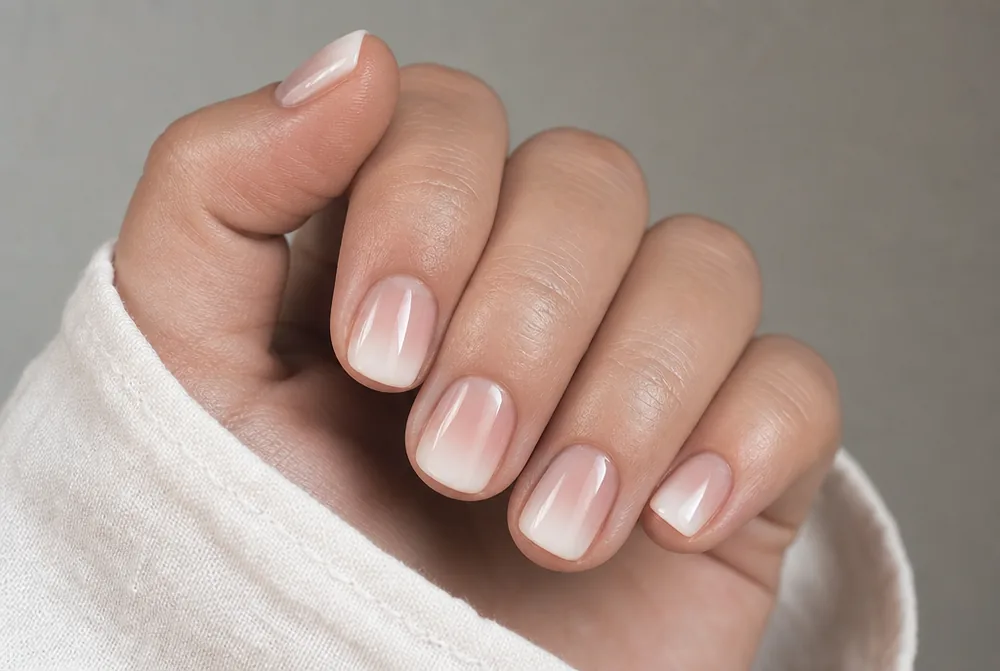
A compressed fade on very short nails, which needs low contrast to work at all. Go tonal and soft; a high-contrast fade on a short nail just looks like a smudge. My extra short nail ideas post covers more at that length.
23. Ombre with Rhinestone Cuff
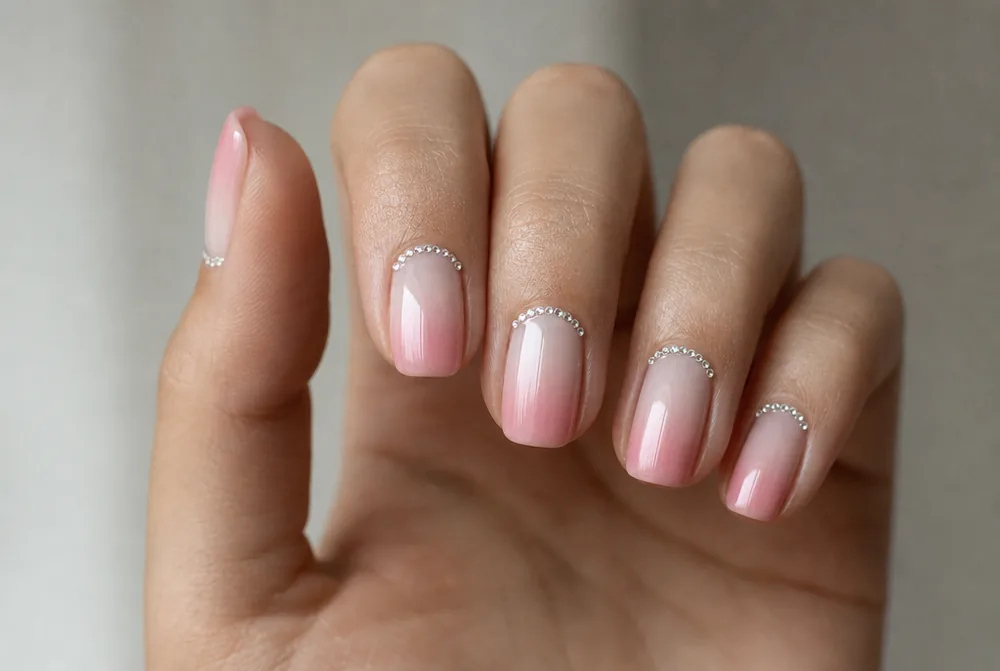
A soft fade with a thin row of crystals at the cuticle on two nails. Setting them at the light end of the fade gives the eye somewhere to start. Ask for flat-backs sealed on all sides.
24. Long Coffin Ombre
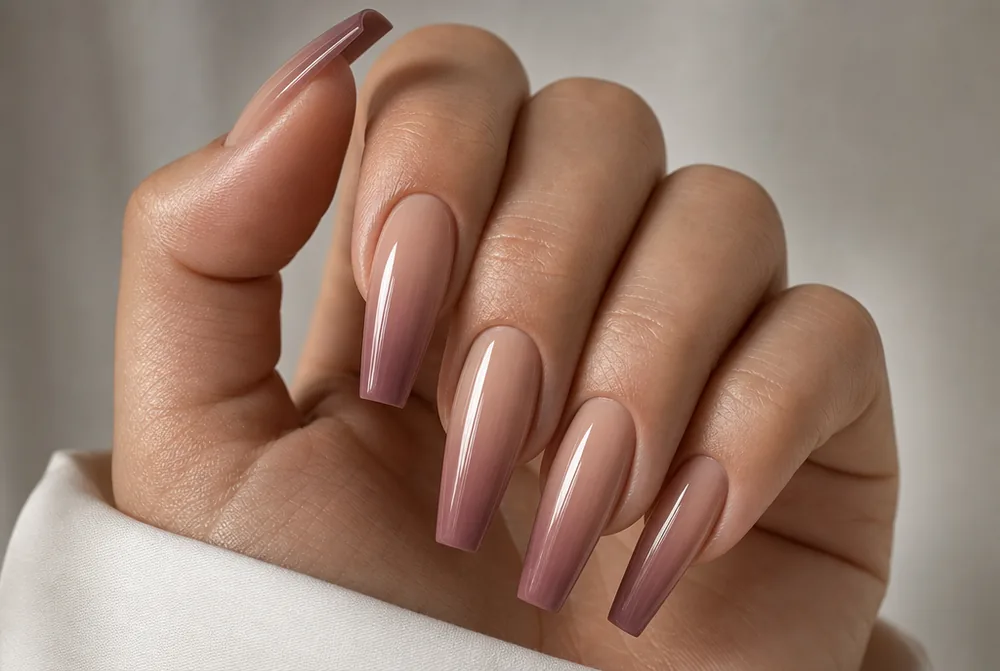
Long coffin is where ombre looks its absolute best, because the fade finally has room to be gradual. If you have the length, use it here. Shape details in my coffin nail designs guide.
How an ombre fade is actually made
There are three methods and they give visibly different results, which is why the same request produces different manicures in different salons.
The sponge method paints both colours onto a cosmetic sponge with a small overlap, then presses them onto the nail. It’s what most gel technicians use and it’s what works at home. The texture of the sponge is what breaks up the edge.
The brush blend is done wet, dragging a clean brush back and forth across the join before the gel cures. It gives the smoothest result and takes the most skill. This is what you’re paying for at a higher-end salon.
The airbrush method sprays the second colour over the first. It’s the most even of the three and it’s still relatively rare outside of larger salons. If a place advertises airbrush, that’s the smoothest fade you’ll get.
Doing an ombre at home with a sponge
This works with regular polish and with gel, and the sequence matters more than your hand does.
Start with the lighter colour as a full base coat across the whole nail, dried or cured. Skipping this is the single most common mistake, because it’s what stops the darker end looking patchy at the join.
Then paint two stripes onto a cosmetic sponge, light above dark, overlapping slightly in the middle. Press the sponge onto the nail where you want the join, then lift straight up. Press, don’t wipe.
Repeat three times, re-loading the sponge each pass, letting each one set. Three light passes is what builds a gradient; one heavy pass gives you a line. Finish with two coats of top coat, since sponging leaves a slightly textured surface.
Four ways an ombre goes wrong
Every muddy fade I’ve seen fails for one of four reasons, and all four are avoidable.
Too much contrast is the first. White straight into black or nude straight into navy leaves a visible band no matter how well it’s blended, because there’s no mid-tone for the eye to travel through. Pick colours two or three steps apart, not opposite ends.
Wiping instead of pressing is the second. Dragging the sponge sideways smears the two colours into a single muddy third colour rather than blending them. Straight down, straight up.
Not enough length is the third. A fade needs distance, and on a very short nail there’s nowhere for the gradient to happen. Go tonal and low-contrast at short length, or pick a different design.
One thick top coat is the fourth. Sponged gradients have texture, and a single coat sits in it rather than levelling it. Two coats, and the surface should feel smooth to a fingertip.
Why ombre grows out better than anything else
This is the practical argument for ombre and the reason salons push it so hard, and it’s a genuinely good one.
With a solid colour, new growth creates a hard line at the cuticle within about ten days, and that line is what makes you rebook. With a fade, the lightest part of the design is already at the cuticle, so new nail blends into it instead of interrupting it.
In practice that’s an extra week to ten days of wear from the same appointment. Over a year, going ombre instead of solid can cut two or three salon visits, which is real money against a $45 to $65 gel set.
The same logic makes it the right pick before a holiday or a wedding where you can’t get back to the salon. My wedding guest nails guide leans on this heavily.
What to say at the salon
Ombre is one of the terms most likely to be misheard, partly because three different designs share the name.
Say “baby boomer” if you want the pink-to-white classic. Say “ombre” plus the two colours and the direction if you want anything else: “nude at the cuticle fading to burgundy at the tip” leaves no room for interpretation.
Ask where the join sits. Some techs default to putting the darker half over the top third of the nail and some over the top half, and that changes the look completely. A third is the more current proportion.
Expect $10 to $20 on top of a standard gel set. That’s a flat add-on rather than a per-nail art charge, which makes ombre one of the better-value upgrades on a salon menu.
FAQ
What is the difference between ombre and baby boomer nails?
Baby boomer is one specific ombre: soft pink at the cuticle fading to white at the tip. Ombre is the general term for any two-colour fade in any direction. Ask for “baby boomer” by name if you want the pink-and-white version, because “ombre” alone gets interpreted differently in different salons.
How long do ombre nails last?
Two to three weeks in gel, the same as any gel set, but they look good for about a week longer than a solid colour does. That’s because the lightest part of the fade sits at the cuticle, so new growth blends in rather than creating a hard line. Many people stretch an ombre set to four weeks for that reason.
Can you do ombre nails with regular polish?
Yes, and the sponge method works the same way. Paint the lighter colour as a full base first, then press a loaded cosmetic sponge onto the nail in three light passes, letting each dry. Finish with two coats of top coat, since sponging leaves a textured surface that one coat won’t level.
Why does my ombre look muddy?
Almost always because the sponge was wiped sideways instead of pressed straight down, which smears the two colours into a third. The other common cause is picking colours too far apart, which leaves a visible band no mid-tone can bridge. Press, don’t wipe, and choose shades two or three steps apart.
If you’re doing this yourself for the first time, start with the glitter ombre, since glitter hides an imperfect blend. And once you have the sponge technique down, my aura nails guide uses exactly the same skill in a different shape.
A jelly base makes a gradient blend more smoothly, because there is no opaque edge for the fade to end against. My jelly nails post covers building one.