Press on nails have gotten genuinely good, and most people who say otherwise last tried them in 2015. The current sets are thin, curved properly, and finished well enough that people ask where you got your nails done. The failure rate is almost entirely down to two things nobody explains on the box: sizing and prep.
This is how to pick a set, size it properly, apply it so it lasts a full two weeks, and take it off without wrecking your natural nail. There’s a section on glue versus adhesive tabs, honest price ranges, 15 design ideas worth searching for, and a FAQ. If you’re weighing this against salon options, my gel vs dip vs acrylic comparison covers the alternatives.
Why press on nails fall off
Almost every failed set fails for one of four reasons, and all four are fixable in about ten minutes of prep.
The first is sizing. A press-on that’s even slightly too narrow leaves the sidewalls exposed, and water gets under the edge within a day. It should span the full width of your nail bed and touch both sidewalls without pinching.
The second is oil on the nail plate. Your nails have natural oils and glue does not stick to them. Wiping each nail with rubbing alcohol right before you glue is the single biggest improvement most people can make.
The third is not pushing back the cuticle, which leaves the press-on sitting on skin at the base rather than on nail. The fourth is too little glue, which people do because they’re afraid of the mess. A full thin layer edge to edge is what you want.
How to size press on nails
Sizing is where the whole thing is won or lost, and it takes five minutes the first time and thirty seconds every time after.
Lay every press-on out and match each one to a nail before you open the glue. Set the ten you’ll use aside in order, left hand and right hand separately. Doing this mid-application with glue on your fingers is how sets end up crooked.
When you’re between two sizes, go up rather than down. A slightly wide press-on can be filed in at the sides after it’s on. A narrow one leaves your sidewalls exposed and there’s no fixing that.
Write your sizes down. Most brands number their tips, and once you know you’re a 4 on your thumb and a 9 on your pinky, every future set takes a fraction of the time. Sizes differ between brands, so note the brand too.
Glue or adhesive tabs
These are two different products for two different situations and most disappointment comes from using the wrong one.
Adhesive tabs are the sticky double-sided ovals that come in the box. They last one to three days, come off with warm water, and do no damage at all. Use them for a single event, a weekend, or if you want to reuse the set repeatedly.
Nail glue lasts one to two weeks and is what you want for everyday wear. It’s a cyanoacrylate, same family as superglue, and it does bond to the nail plate. Removing it carelessly is what damages nails, not the glue itself.
A brush-on glue is much easier to control than the pointed-nozzle kind, and it costs a couple of dollars more. If your press-ons keep sliding off centre while you’re pressing them down, the nozzle is why.
Applying press on nails so they last two weeks
The whole process takes about twenty minutes and roughly half of that is prep, which is exactly the part people skip.
Start by pushing back the cuticles gently with a wooden stick, ideally after a shower. Then file the free edge short and buff the surface of the nail lightly, just enough to take the shine off. You’re creating texture for the glue, not thinning the nail, so a few light passes only.
Wipe every nail with rubbing alcohol and let it dry fully. Then apply glue to the natural nail rather than to the press-on, which gives you far more control. A thin layer covering the whole surface, not a blob in the middle.
Press the tip on at a 45 degree angle starting at the cuticle line, then roll it down flat. Hold for a full thirty seconds per nail, which feels like a long time and is not negotiable. Then leave your hands alone for an hour, no washing up.
Taking press on nails off without damage
Every horror story about press-ons ruining nails is a removal story. Prying them off takes layers of nail plate with them, and that’s what causes the thin, bendy nails people blame the product for.
The safe method is a bowl of warm soapy water and ten to fifteen minutes of soaking. The glue softens and the tips lift with almost no force. Add a little oil to the water and it goes faster.
If soaking isn’t enough, use pure acetone rather than force. Soak a cotton pad, wrap each finger in foil, and give it ten minutes. This dissolves the glue completely and it’s the same process as removing gel.
Afterward, buff off any glue residue gently and oil your nails. Give them a day or two bare between sets if you wear press-ons constantly. That gap is what keeps nails healthy long-term.
15 press on nail designs worth looking for
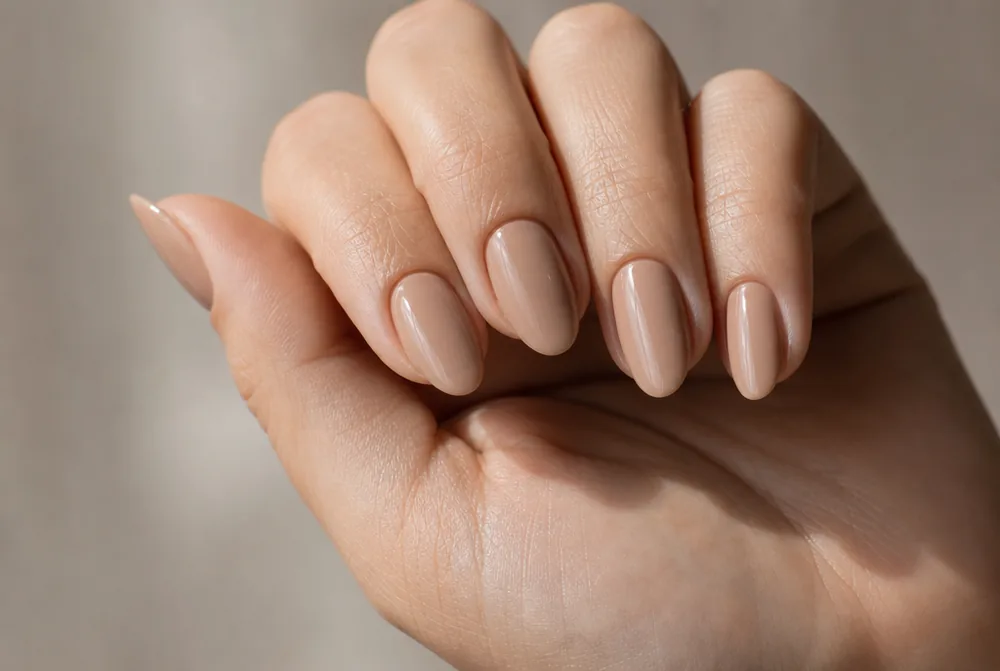
1. Short Almond Nude
The most useful set to own. Short almond in a matched nude works everywhere and nobody will read it as press-ons. Buy this one first.
2. Milky White Squoval
Milky white on a short squoval, which reads as a very good natural manicure. It’s the clean-girl set. More on the finish in my milky white nails guide.
3. Classic French Tip
A thin white French is the single most-sold press-on design and the hardest to paint yourself. This is where press-ons genuinely beat a home manicure.
4. Chrome Mirror
Chrome is impossible without gel and a lamp, so a press-on set is the only realistic way to wear it at home. Silver and pearl are the two that sell out.
5. Blackened Cherry Almond
Deep red with black in it on a medium almond. It’s the dressiest single-color set you can buy and it works from October to February.
6. Glitter Ombre Tips
Champagne glitter fading from the tip. It’s the party set and it’s a genuine pain to do by hand, which makes it worth buying rather than attempting.
7. Long Coffin Nude
Long coffin is where press-ons beat natural nails outright, since most people can’t grow the length. Full shape guidance in my coffin nail designs post.
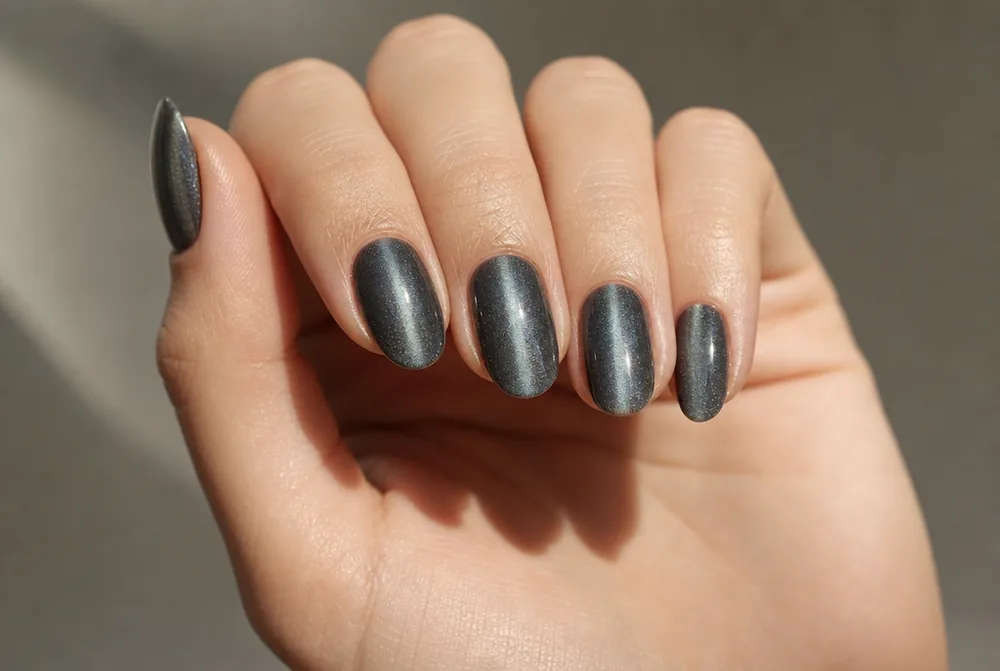
8. Cat Eye Magnetic
A cat eye finish needs magnetic gel and a magnet, so this is another effect that only reaches home users through press-ons. Deep blue and burgundy are the best versions.
9. Micro French
A hairline of white at the very tip. It’s the most current French variation and almost impossible to paint evenly on ten nails yourself.
10. Marble
Marbling is a real skill and the printed press-on versions have gotten good. Look for irregular veining rather than a repeated pattern.
11. Red Square Short
Bright red on a short square. It’s the sharpest set on this list and the one that photographs best. Cool-toned reds flatter more hands than warm ones.
12. Emerald Jewel
Saturated emerald on a medium almond, which looks far more expensive than it costs. More on the shade in my emerald green nails guide.
13. Aura Glow
Airbrushed aura sets are one of the newer press-on categories and they look genuinely salon-done. Soft pink and blue are the versions that work everywhere.
14. Gold Foil Accent
Nude with gold leaf on two nails. Look for irregular torn edges rather than neat printed shapes, which is how you tell a good set from a cheap one.
15. Seasonal Sets
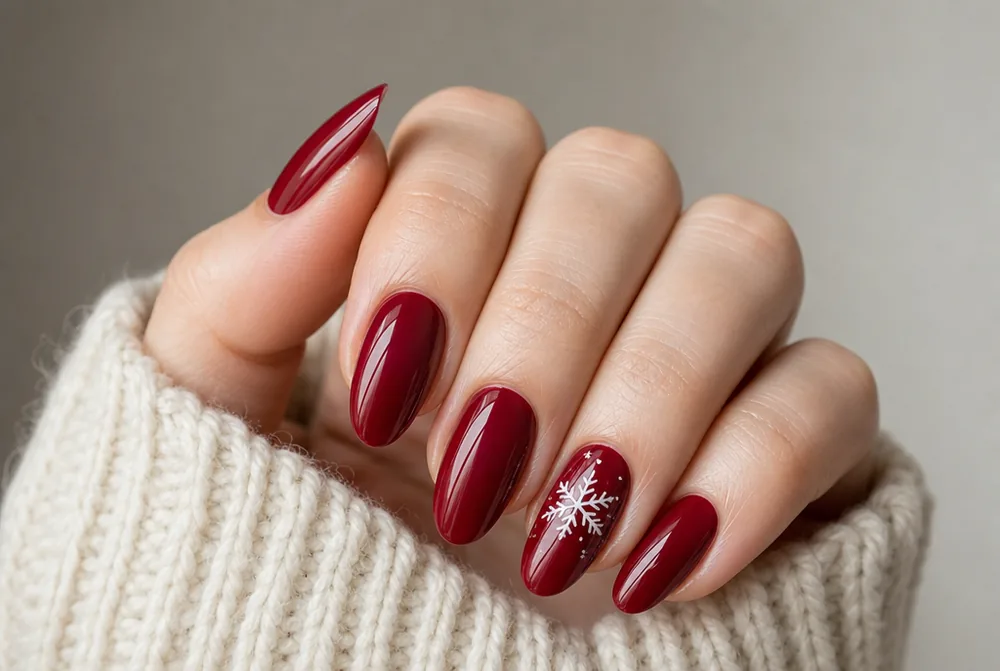
Holiday and seasonal designs are the strongest argument for press-ons, since you wear them for two weeks and never again. Buying a Christmas set beats paying for nail art you’ll want gone by January, and my Christmas nails 2026 post has the designs to look for.
What press on nails cost
The price range is wide and it correlates with thickness and finish more than with brand name.
Drugstore sets from KISS and imPRESS run roughly $6 to $12 and are widely available. imPRESS sets come with the adhesive already on the tip, which makes them the easiest entry point and the least long-lasting.
Mid-range brands like Olive & June, Static Nails, and Glamnetic sit around $12 to $30. This is where the tips get thinner, the curve fits real nail beds better, and the finishes start looking salon-done.
Custom hand-painted sets from independent makers run $40 to $90 and are reusable for months if you remove them carefully. Compared to $60 for a single salon set, that math works if you look after them.
Picking the right length and shape to buy
The most common regret with press-ons is not the design, it is buying a length you cannot live with. Online photos are always shot on long shapes because they photograph better.
Short and medium sets are what most people actually wear more than once. If you type, cook, or have small children, buy short, and buy it in almond or squoval so nothing catches. A short set that stays on for two weeks beats a long set you take off on day three.
Long coffin and stiletto are worth buying for a specific event rather than as a default. That is genuinely the best argument for press-ons: you get a dramatic shape for one weekend without committing to extensions and fills.
Most sets can be filed shorter after they are on, so buying slightly long and trimming is safer than buying short and wishing. File them once they are glued down, not before, so you can match the length across all ten. My nail shapes guide covers which shape suits your hands.
Press ons versus a salon set
These solve different problems and the honest comparison is about time and flexibility rather than which one looks better.
A salon gel set runs $45 to $65, takes an hour of someone else’s time, and lasts two to three weeks. A press-on set runs $6 to $30, takes twenty minutes of your own time, and lasts one to two weeks. Per week worn, press-ons are cheaper by a wide margin.
Where the salon wins is fit and finish. A gel set is applied to your actual nail, so there is no edge to lift and no sizing to get wrong. It also survives being knocked in a way a glued tip does not.
Where press-ons win is change. You can wear chrome for a wedding on Saturday and be back to a bare nude on Monday, which no salon service allows without a removal appointment. If you like changing your nails often, that flexibility is the whole case.
FAQ
How long do press on nails last?
One to two weeks with nail glue and one to three days with adhesive tabs. The difference between a set that lasts two days and one that lasts two weeks is almost always prep: pushing back cuticles, buffing off the shine, and wiping each nail with rubbing alcohol before gluing. Correct sizing matters just as much as the glue does.
Do press on nails damage your nails?
Not if you remove them by soaking rather than prying. Damage comes almost entirely from pulling a glued tip off, which takes layers of nail plate with it. Soak in warm soapy water for ten to fifteen minutes, or use acetone and foil wraps, and press-ons are gentler on nails than acrylic.
Can you reuse press on nails?
Yes, if you remove them by soaking and scrape the old glue off the underside gently afterward. Sets applied with adhesive tabs are the most reusable, often five or six wears. Glued sets can usually be reused two or three times before the fit gets loose.
Do press on nails look fake?
Good ones don’t, and the giveaways are thickness and sizing rather than the fact that they’re press-ons. A tip that’s too narrow leaves visible sidewalls, and a thick tip sits proud of the cuticle. Short and medium lengths in nude, milky white, or a thin French are the most convincing.
If you’re buying your first set, get a short almond nude in the size range you measured and use glue rather than tabs. And if you’d rather have the same finishes on your own nails, my short gel nails post covers what holds up.
Two companion pieces: my removing gel at home guide and my making a manicure last longer guide.
Squoval is the easiest shape to fit in a press-on, because a flat tip hides a slightly wrong width better than a curve does. My squoval nails post covers the shape in detail.
Getting two weeks out of a set rather than two days comes down to prep and sizing. My making press-ons last longer post covers both.