
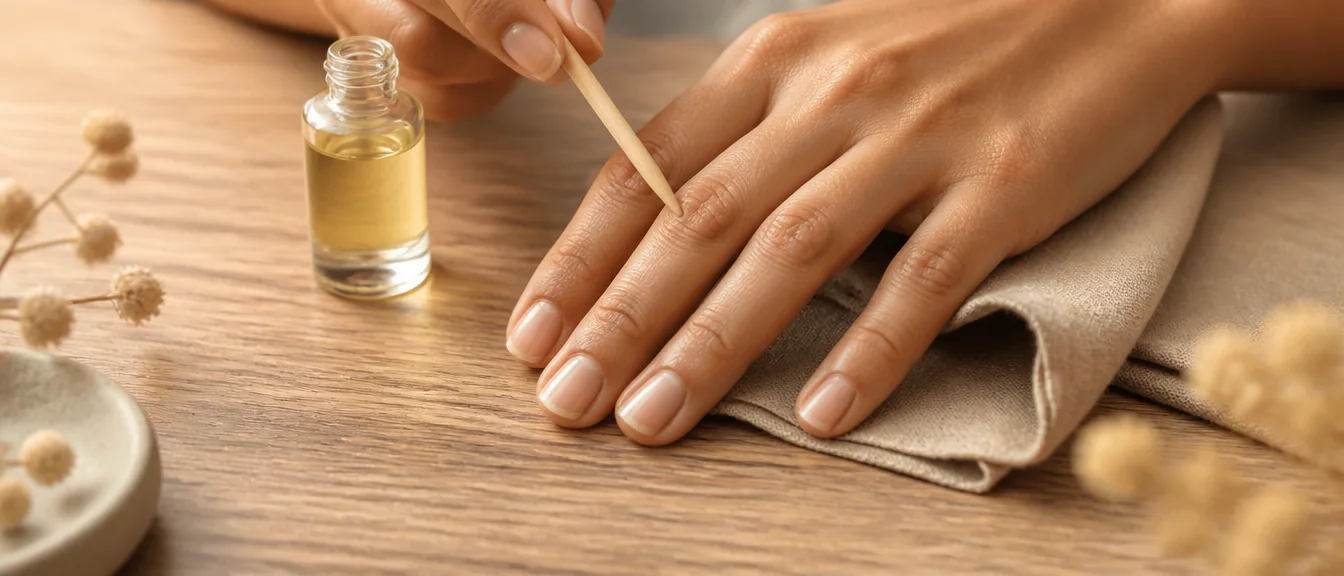
Push your cuticles back after a shower, when the skin is soft, using a rubber-tipped pusher held almost flat against the nail. Work in small sweeps, stop the moment there is any resistance, and oil afterwards. It takes about two minutes for both hands and it is the single most effective thing you can do to make nails look longer.
Here is the method in full, the difference between the two things people both call cuticle, and why cutting is worth avoiding. If length is what you are after, our making short nails look longer post covers where this fits.
Two different things called cuticle
This distinction is the reason so much cuticle advice contradicts itself, and it makes everything else make sense.
The eponychium is the living fold of skin at the base of your nail. It is attached, it has a blood supply, and it seals the gap between nail and finger against bacteria. This should never be cut. It is the part people usually mean when they say cuticle.
The cuticle proper, sometimes called the pterygium, is a thin layer of dead tissue that the eponychium sheds onto the nail plate as it grows out. It is not alive, it has no purpose, and it is what you are actually removing.
So pushing back is really two actions: moving the living skin gently out of the way, and scraping the dead layer off the nail underneath it.
Why this makes nails look longer
The gain is bigger than people expect and it is not an illusion.
That dead layer is nearly transparent when dry, so most people take the edge of it as where their nail begins. It is not. There is commonly two to three millimeters of perfectly good nail bed sitting underneath it.
Removing it exposes nail you already own, immediately, with no growing required. For short nails it is the highest-impact thing available and it costs nothing.
It also gives polish a clean surface to bond to, which is why manicures done over unpushed cuticles lift at the base within days.
The method
Timing matters more than technique here.
Do it straight after a shower or bath, or soak your fingertips in warm water for three or four minutes first. Soft skin moves willingly; dry skin tears. This one detail is the difference between a safe job and a damaging one.
The American Academy of Dermatology advises never cutting or forcefully pushing back your cuticles, and says that if you do push them back, do it gently after a shower or bath.
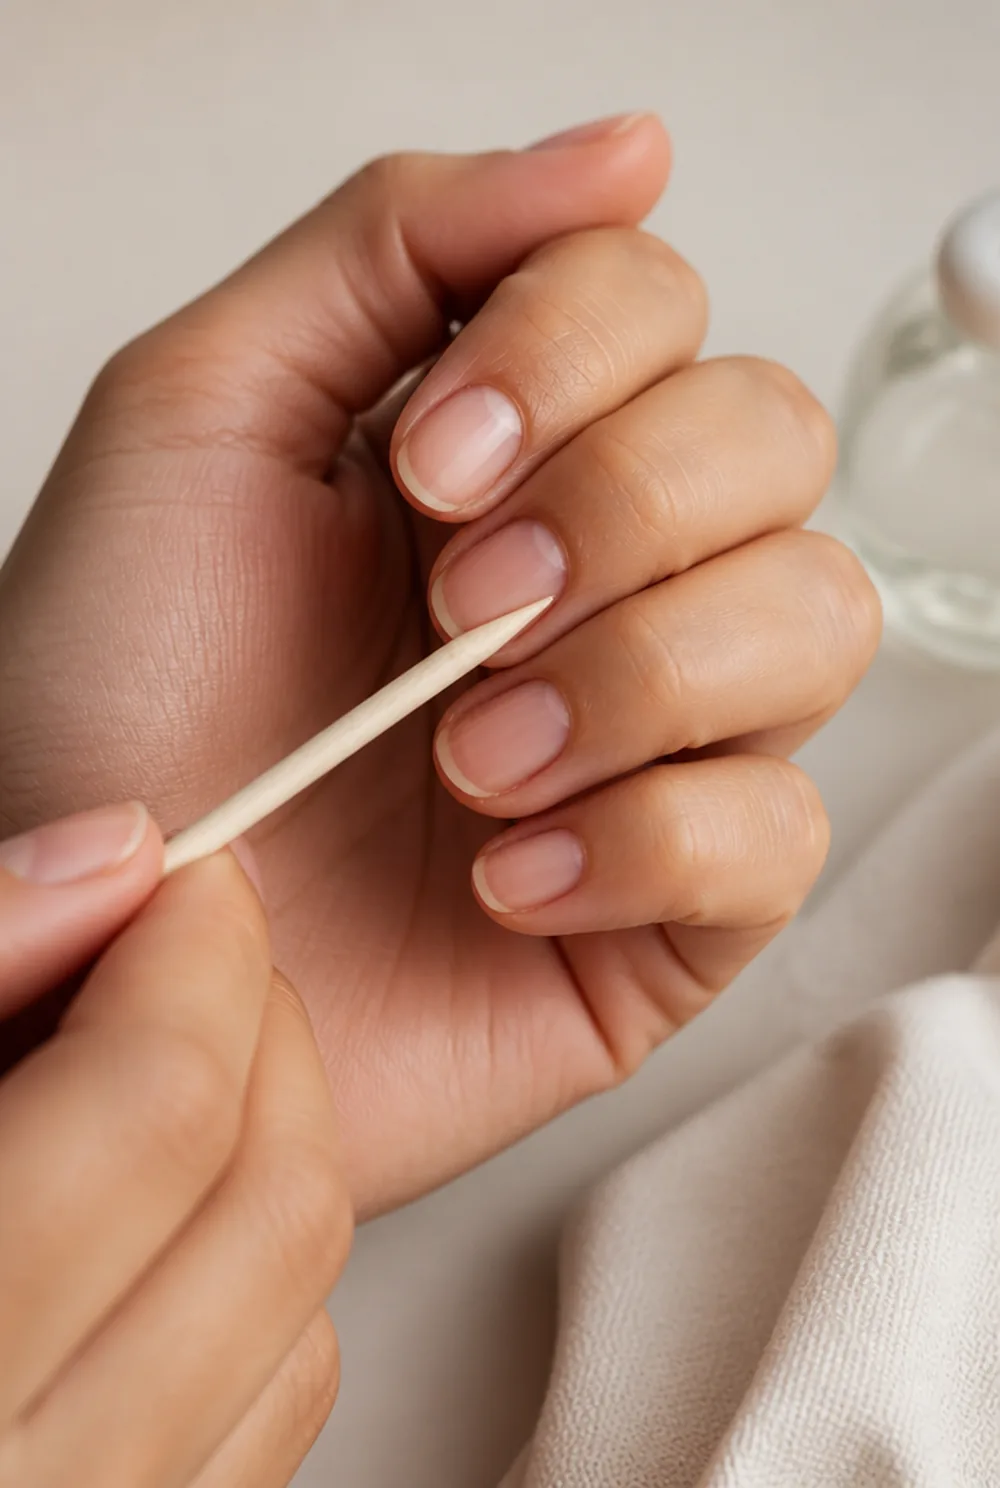
Hold the pusher almost flat against the nail, at no more than about a 20 degree angle. Work from the center outward to each side in small sweeps rather than one hard push. Use light pressure and stop the moment you meet resistance or feel any discomfort.
Then, with the same flat angle, gently scrape the nail plate itself to lift off the translucent dead layer. You will often see it come away as a fine film. Wipe it off, and finish with cuticle oil.
What to use

The tool matters less than how you hold it, and some are safer than others.
A rubber-tipped pusher, sometimes called a hoof stick, is the safest and the one we recommend for home use. It cannot gouge the nail plate and it is difficult to use with too much force. They cost about $4.
An orange wood stick is the classic option, cheap and disposable, and gentle enough. It softens in water, which limits how hard you can press. Discard it after a few uses, as wood cannot be properly cleaned.
Metal pushers are what salons use and they are the easiest to do damage with, because it is simple to scrape the nail plate itself and leave grooves or white marks. If you use one, keep it flat and keep the pressure light.
Cuticle remover liquid
Worth knowing about, worth using sparingly.
These are alkaline solutions, usually potassium hydroxide, that dissolve the dead tissue chemically so it wipes away with almost no pressure. On stubborn or thick buildup they work very well and they make the job faster.
The catch is that they cannot tell dead tissue from living skin. Left on too long they irritate and can burn, and repeated use dries the surrounding skin badly.
Follow the timing on the bottle exactly, usually 15 to 60 seconds, rinse thoroughly, and oil afterwards. Once a month rather than weekly.
Why not to cut them
Cutting the living cuticle is common in salons and it is worth understanding what you are trading.
The eponychium is a seal. It closes the gap between the nail plate and the finger, and cutting it opens that gap to water and bacteria. Infections around the nail, called paronychia, can start this way, and they are painful and slow to clear.
Cleveland Clinic lists trauma to the cuticle area, including from frequent manicures, among the common causes of paronychia.
The other problem is that cut skin grows back thicker and more raggedly. People who cut their cuticles end up needing to cut them again sooner, which is a cycle rather than maintenance.
Nippers have one legitimate use, which is clipping an actual hangnail flush. Clip it, do not pull it, and do not trim the healthy fold around it.
How often
Once a week is right for most people and there is a reason not to do it more.
The dead layer takes roughly that long to build back up to a point worth removing. Pushing daily means working on skin that has nothing to shed, and you end up irritating the living tissue instead.
Oil is the daily part, not pushing. Cuticle oil once or twice a day keeps the skin supple, means it moves easily when you do push, and prevents most hangnails from forming at all.
Jojoba oil is the usual recommendation because its molecules are small enough to actually penetrate the nail plate. A bottle costs about $8 and lasts months.
If yours are dry, ragged, or overgrown
If it has been a long time, do not try to fix it all in one session. That is where damage happens.
Heavily overgrown cuticles are attached more firmly than a week’s worth, and forcing them back in one go tears the seal and leaves the area sore and prone to infection. Spread it over three or four weekly sessions, taking a little each time, and the tissue releases willingly.
Start oiling twice a day immediately, before you push anything. Two weeks of oil first makes the whole job easier and safer, and often lifts a surprising amount of the dead layer on its own.
For genuinely stubborn buildup, one careful use of a cuticle remover liquid at the start is reasonable, following the timing on the bottle exactly. After that, weekly pushing keeps it under control with no chemicals at all.
Before painting
There is one important ordering rule if a manicure is coming next.
Push the cuticles back, then wipe every nail with alcohol or remover before any base coat. The oil you just used, and the natural oil brought to the surface by warm water, will stop polish adhering and cause lifting within days.
This matters even more for gel, where oil on the nail plate is the single most common cause of a set peeling off. My gel peeling post covers it.
Ideally push cuticles the night before and paint the next day, so the skin has settled and the oil has absorbed. My painting nails neatly post covers the rest.
FAQ
How do you push back cuticles at home?
After a shower or a three-minute soak, hold a rubber-tipped pusher almost flat against the nail and work from the center outward in small light sweeps. Then gently scrape the translucent dead layer off the nail plate, wipe it away, and finish with cuticle oil. Stop at any resistance.
Should you cut your cuticles?
No. The living fold of skin at the nail base seals the gap between nail and finger against bacteria, and cutting it opens that gap to infection. It also grows back thicker and more raggedly. Push it back instead, and only use nippers to clip an actual hangnail flush.
How often should you push back your cuticles?
Once a week. The dead layer takes about that long to build back up, and pushing more often irritates the living skin without removing anything. Oil is the daily habit, not pushing.
Does pushing back cuticles hurt?
It should not. Pain means either the skin is too dry or the angle and pressure are wrong. Always soften the skin in warm water first, hold the tool nearly flat against the nail, and stop the moment you feel resistance or discomfort.
Buy a rubber-tipped pusher and a bottle of jojoba oil and you have everything you need. My manicure longevity post covers the rest of the prep.