
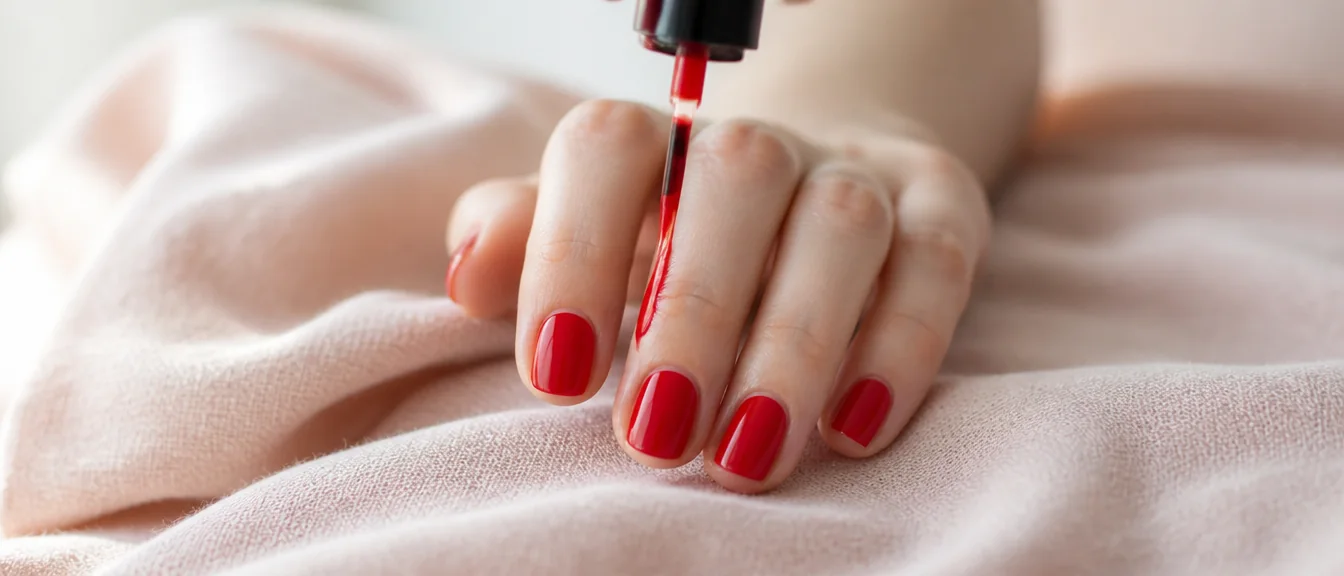
The single change that stops polish going onto your skin is where you start the stroke. Almost everyone puts the brush down right at the cuticle, which floods the skin immediately. Start about 2mm away instead, push the bead of polish back toward the cuticle with the tip of the brush, then draw down to the free edge.
Here is that technique in full, plus barrier liquid, the cleanup brush that professionals use, and why a neat cuticle line makes a manicure look salon-done more than the color ever does. If your polish is going on unevenly as well, our streaky nail polish post covers that.

Start away from the cuticle
This is the whole technique and it takes about three nails to get used to.
Load the brush, then place it down on the nail roughly 2mm from the cuticle rather than against it. A small bead of polish will sit under the bristles. Use the tip of the brush to nudge that bead back toward the cuticle until it stops just short of the skin, then pull the brush straight down to the free edge in one stroke.
The reason this works is that the bristles carry most of their product at the point of first contact. Putting that point of contact 2mm inside the nail means the flood happens where you want polish, and you are only ever moving a controlled amount toward the skin.
Repeat down each side of the nail. Three strokes total, all in the same direction.
Wipe the brush properly
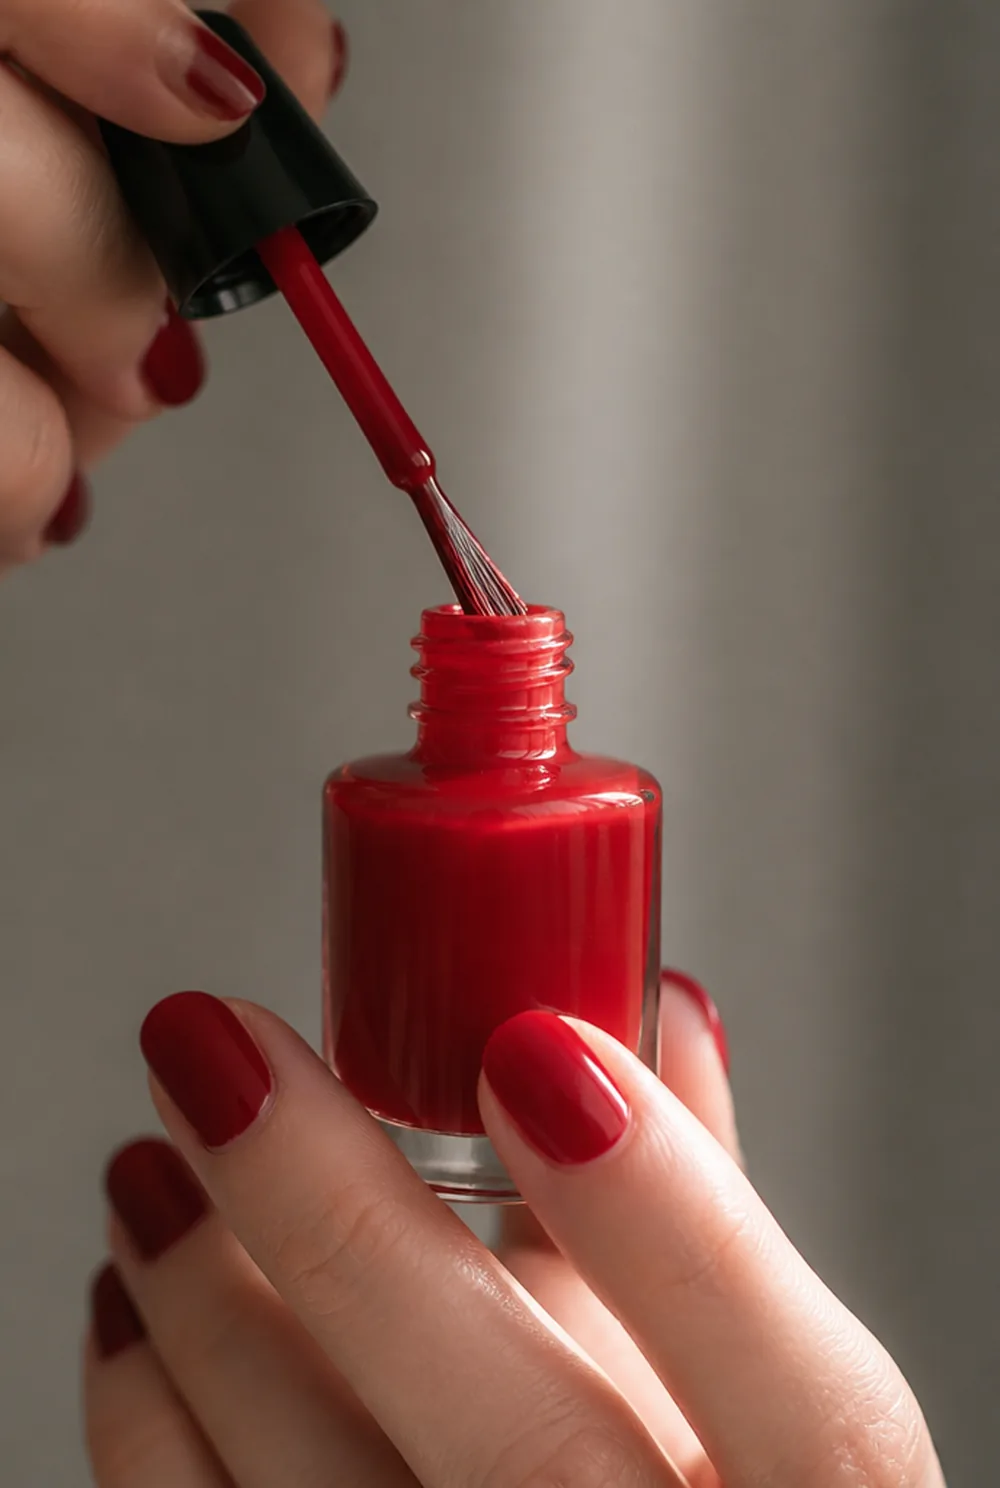
Most skin flooding is simply too much polish on the brush.
Wipe one side of the brush firmly against the neck of the bottle and leave the other side loaded. You want a brush that is coated rather than dripping. If polish is running toward the cuticle on its own after you lay it down, there was too much on it.
Fanning the bristles slightly by pressing them flat against the nail also helps. A brush spread wide covers the nail in fewer strokes, and fewer strokes means fewer chances to touch skin.
Leave a hairline gap
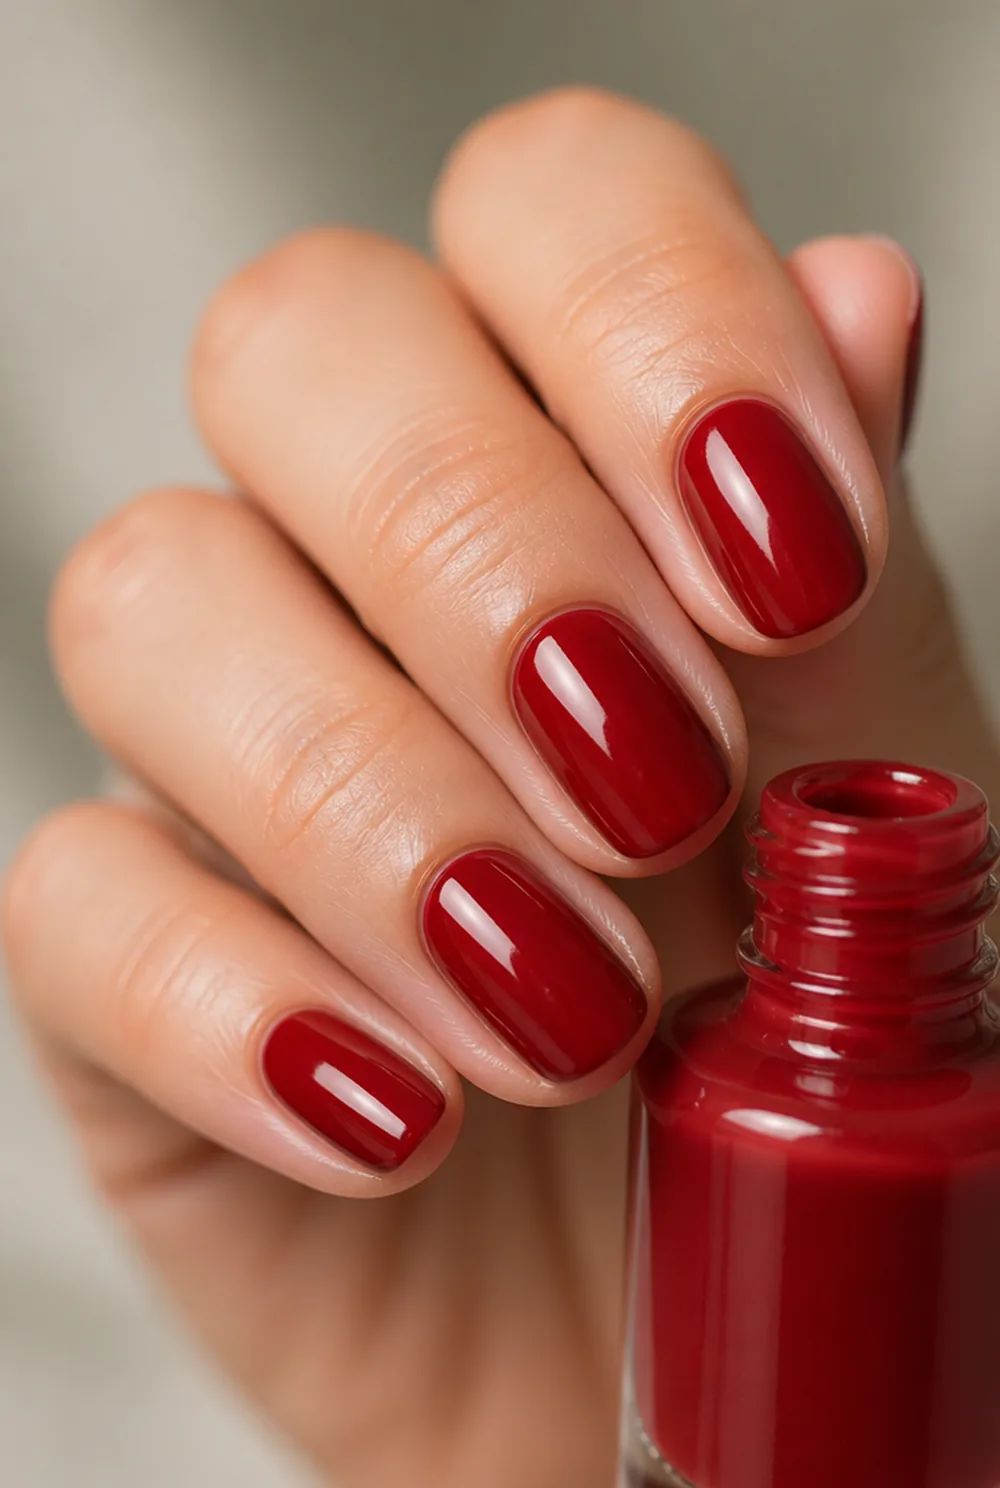
Polish is not supposed to touch the skin at all, and a visible gap looks better rather than worse.
Aim to stop a hair’s width short of the cuticle all the way around, including down both sidewalls. From normal viewing distance that gap is invisible, and what you notice instead is a clean, defined edge that reads as professional.
The alternative, polish pushed right up to and over the skin, always looks messy no matter how good the color is, and it lifts within days because the polish on skin peels away and takes the edge with it.
A gap also makes grow-out less obvious, because there is already a small band of bare nail and the eye is used to it.
Push your cuticles back first
Half of what people think is polish on skin is actually polish on cuticle that has grown onto the nail.
There is a thin translucent layer that creeps out from the cuticle onto the nail plate, and it is nearly invisible when dry. Polish over it looks like it is on your skin, and it lifts within a couple of days as that layer sheds.
Push the cuticles back gently after a shower, when they are soft, and scrape the nail plate clean with the flat edge of a pusher. You will often be surprised how much further back the nail actually goes. My cuticle pushing guide covers doing it without causing damage.
The American Academy of Dermatology gives the same advice, saying cuticles should never be cut or forcefully pushed back and only eased back gently after a shower or bath.
Barrier liquid
If you want to skip cleanup entirely, this is the product to buy.
Peel-off barrier liquid, sometimes sold as liquid latex or liquid palisade, is painted around the nail onto the skin and left to dry for about a minute. You then paint as normal, and once the polish is touch dry you peel the barrier away with all the overspill attached.
It costs about $7 and it is genuinely the easiest route for glitter, dark shades, and anything with loose pigment, which are the hardest to clean off skin. Latex-free versions exist if you have a latex allergy.
Do not let it dry onto the nail itself, and peel it away before the polish is fully hard or it can drag the edge.
The cleanup brush method
This is what technicians do, and it is faster and far more precise than a cotton bud.
Take a small flat synthetic brush, an angled eyeliner brush works perfectly, and dip it in remover. Press most of the remover out against a tissue so the brush is damp rather than wet. Then run it along the edge of the polish, cutting a clean straight line.
Wipe the brush on the tissue after every nail, or you just move polish around. Work on one nail at a time while the polish is still slightly soft, which is roughly the first two minutes.
Avoid cotton buds. They shed fibers into wet polish and they are too fat to cut a precise line, so you end up removing polish you wanted to keep. Keep the remover capped between nails and paint somewhere airy, since the FDA advises good ventilation and warns some nail products can catch fire near heat.
Getting the sidewalls right
Sidewalls are harder than the cuticle and they get much less attention.
The groove where the nail meets the skin down each side collects polish easily, and because it sits in shadow most people never see it until the manicure starts lifting from the edges a few days later.
Turn your hand sideways under a lamp and look along the nail rather than down at it. Anything sitting in the groove needs cleaning out with the brush and remover.
Pressing the skin gently away from the nail with your other thumb while you paint that side also helps, since it opens the groove up and lets you see where the edge really is.
Painting your dominant hand
Everyone paints one hand well and one hand badly, and there is a fix that is not just practice.
Rest both elbows or forearms on a table so neither hand is unsupported. Most of the wobble in a weaker hand comes from holding it in mid-air rather than from the hand itself.
Then move the finger being painted rather than the brush. Keep the brush hand still and rotate the nail underneath it. This gives you a far steadier line than trying to steer a brush with your non-dominant hand.
Do the awkward hand first, while you are patient and the polish bottle is at its best. Short nails are also far more forgiving here, because there is less surface to cross in a single stroke. My extra short nail ideas post covers making that length look deliberate.
FAQ
How do you get nail polish off your skin?
Use a small flat synthetic brush, such as an angled eyeliner brush, dipped in remover and squeezed almost dry against a tissue. Run it along the polish edge to cut a clean line, wiping the brush on the tissue between nails. Do it within the first couple of minutes while the polish is still slightly soft.
Should nail polish touch the cuticle?
No. Leave a hairline gap of bare nail all the way around, including the sidewalls. The gap is invisible from normal distance and gives a clean defined edge, and polish that touches skin peels away within days and takes the edge with it.
What is liquid latex for nails?
A peel-off barrier painted onto the skin around the nail and left to dry for about a minute before polishing. Once the polish is touch dry you peel it off with the overspill attached. It costs around $7 and is the easiest option for glitter and dark shades.
Why does my polish always end up on my cuticles?
Usually because the brush is put down at the cuticle, where it releases most of its polish. Start the stroke 2mm inside the nail, nudge the bead back toward the cuticle with the brush tip, then draw down. Wiping one side of the brush against the bottle neck also stops overloading.
Start the stroke 2mm in and buy an angled brush for cleanup. Those two things fix nearly all of it. My beginner nail designs post covers what to do once the base is neat.