
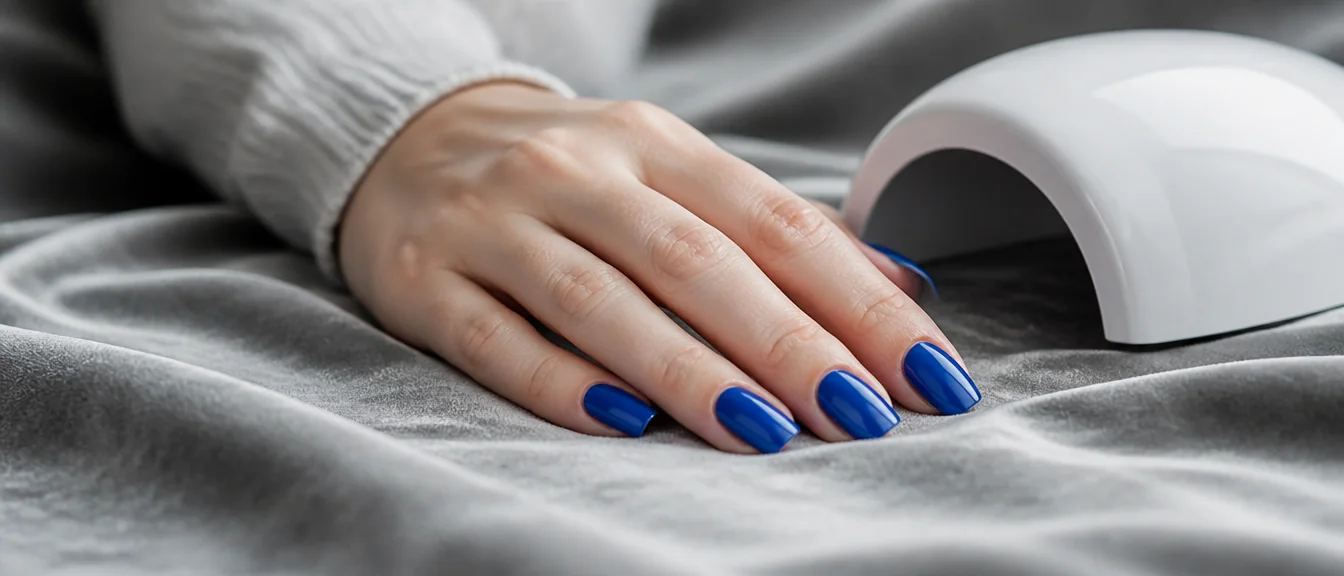
Gel polish goes streaky when there is not enough product on the nail to form an even film. The instinct is to fix it by brushing back over the thin patches, and that is exactly what makes it worse, because gel does not self-level once it has been laid down.
Here is why it happens, which colors are worst for it, and the three-coat method that gets even color without building up a thick set. If your gel is bubbling instead of streaking, our gel polish bubbling post covers that.
Wiping too much off the brush
Everyone is told to apply gel thinly, and it is possible to overdo that advice.
A coat that is too thin does not have enough pigment in it to cover, and it also breaks up into patches as it settles, because there is not enough product to hold a continuous film. Thin means a film you can see the nail through, not a film that barely wets the surface.
Wipe one side of the brush against the neck of the bottle and leave the other side loaded. Lay that loaded side down and let the product flow off it rather than scrubbing it on. The OPI gel application steps say the same thing: wipe the excess from one side of the brush, then apply a thin coat.
Brushing back over a set coat
This is the habit that turns a slightly uneven coat into a genuinely streaky one.
Gel is thick and it stays where you put it. Once a coat has been laid down and started to settle, going back over a thin area drags product away from the areas that were fine and leaves brush marks in it. You end up with more streaks than you started with.
Three strokes per nail, one down the middle and one down each side, all cuticle to tip. Then stop and cure, however it looks. Unevenness in coat one disappears under coat two.
The colors that streak worst
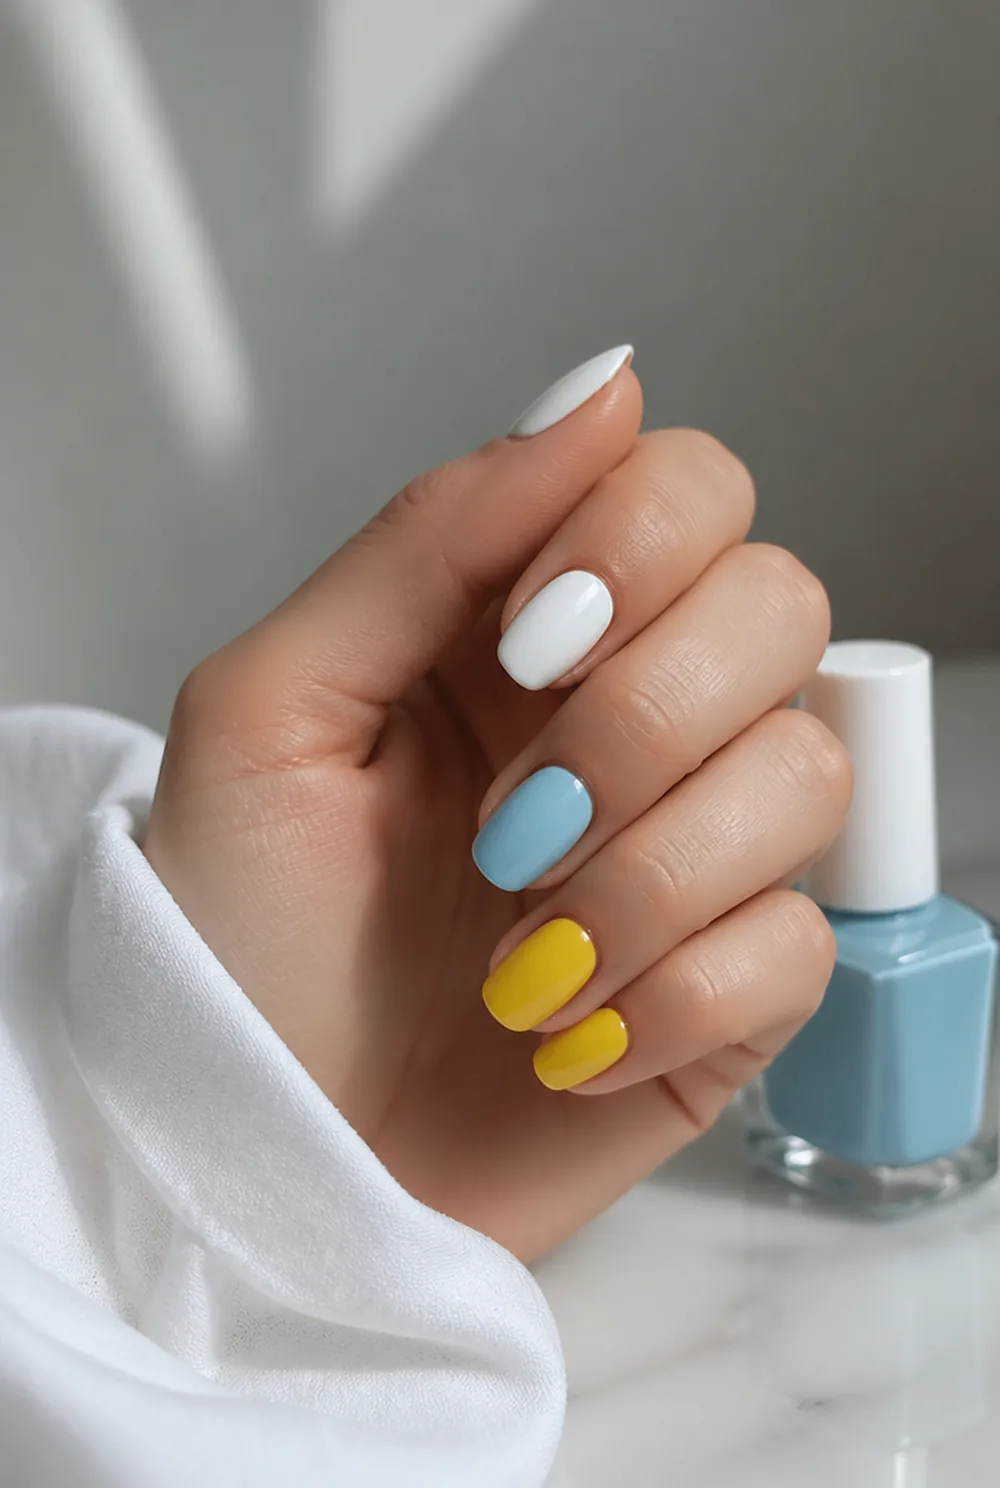
Some shades are far harder than others and it is a property of the pigment rather than your technique.
Whites, pale nudes, and pastels are the worst. White pigment is heavy and has poor covering power for its weight, so it needs more product to look solid, which fights the requirement to keep coats thin.
Reds and deep colors are usually easy because the pigment is dense. Neons are hard for a different reason, which is that neon pigments are semi-transparent by nature and need a white base under them.
Glitters and shimmers hide streaking entirely, which is why they feel easier. If you are struggling with a white, expect three coats rather than two and accept it. My milky white nails post covers working with pale shades.
Not curing between coats

Every coat has to cure fully before the next one goes on, and undercuring shows up as streaks.
A coat that is still soft underneath will move when the next brush stroke passes over it. The two layers blend into each other unevenly and the result reads as patchiness rather than as two clean layers. NAILS Magazine lists the signs of under-curing, including dull, soft areas where the coating wipes or files away too easily.
Use the full cure time on the bottle rather than guessing, and cure thumbs separately if they sit at an angle in your lamp. A thumb that only gets partial light is the nail that will look worst.
The three-coat method
This is what actually works, and it takes no longer than fighting with two coats.
Coat one is a color wash. Apply it thin and do not expect coverage. It will look patchy and that is correct. Its job is to give the next coat something to sit on. Cure fully.
Coat two is the color coat. Slightly more product, still thin enough to see through in places, three strokes, no going back. Cure fully. Most colors are solid at this point.
Coat three is only for pale shades that still look uneven. Apply it as thinly as coat one, targeting the whole nail rather than the patches. Cure, then top coat.
Three thin coats is a thinner set overall than two heavy ones, and it cures properly all the way down.
Why gel streaks differently from regular polish
If you have painted nails for years and only started struggling with gel, this is why.
Regular polish contains solvent that keeps it liquid for a minute or two after it goes on, which gives it time to flow out and level itself. Brush marks disappear on their own. Gel contains no solvent at all. It sits exactly where the brush left it until light hardens it.
So every habit that works with lacquer works against you with gel. Flooding the nail and letting it settle produces a thick coat that cures badly. Going back to tidy an edge leaves a permanent ridge.
The mental shift is to treat gel as placing product rather than painting with it. My streaky nail polish post covers the lacquer version of this problem, which has almost the opposite fix.
Streaky at the cuticle end only
Patchiness concentrated near the base of the nail is a placement problem rather than a product one.
It happens when the brush is started right at the cuticle. The bristles are fully loaded at that point, product floods into the cuticle area, and then you pull most of it away trying to avoid the skin, leaving too little behind.
Start the stroke about 2mm away from the cuticle instead, then gently push the bead of gel back toward it with the tip of the brush before drawing down to the free edge. The product goes where you want it and the skin stays clean.
Keeping gel off your skin protects you too, because the British Association of Dermatologists warns that uncured gel touching the skin is how allergies to these products can start.
This also leaves the hairline gap that stops gel lifting. My gel lifting post covers why that gap matters.
Brush condition
A brush that has cured product in it cannot lay down an even film, and this happens more than people realize.
Gel cures in ambient light, slowly. A brush left out on a sunny worktop will stiffen at the base of the bristles over weeks, which spreads the tips apart and leaves tramlines in every stroke.
Cap bottles straight after use and keep them out of direct light. If a brush already splays, wipe it flat against the bottle neck each time to reshape it, and replace the bottle if it has gone stiff.
Streaking that is really the base showing through
Sometimes what looks like streaky color is uneven nail underneath.
Ridges, white patches, and staining from a previous dark polish all show through pale gel, and no number of coats hides them evenly because the coats follow the contour. Cleveland Clinic notes that many people develop vertical ridges on their nails as they get older, and those lines are not dangerous. The color is fine; the surface is not.
A rubber base gel solves this. It is thicker than a standard base and self-levels into ridges, giving a flat surface for color to sit on. It is the single most useful product for anyone with uneven nail plates.
If the nail underneath is stained or damaged, that needs its own fix first. My brittle nails post covers recovery.
What to ask for at the salon
Streaky color in a professional set is worth flagging before the top coat goes on, because after that it is a full redo.
Ask for a third coat if you have picked a white or a pale nude. Technicians default to two because that is what most colors need, and a pale shade in two coats is the single most common source of a patchy salon set.
Ask for a rubber base if your nails have ridges. Most salons carry it and there is usually no extra charge, and it makes far more difference to the finish than another coat of color would.
FAQ
Why is my white gel polish streaky?
White pigment has poor covering power for its density, so it needs more product than a dark shade to look solid. Expect three thin coats rather than two, and do not brush back over a coat to fix a thin patch. The next coat evens it out.
How many coats of gel polish should you use?
Two for most colors and three for whites, nudes, pastels, and neons. Three thin coats give a thinner and better-cured set than two thick ones, so adding a coat is not the same as building up bulk.
Can you fix streaky gel after curing?
Yes, in most cases. Apply another thin coat of the same color over the cured surface and cure again, treating the whole nail rather than just the patches. If the streaking is severe or the set is already thick, file that nail back and start it again.
Does a rubber base coat stop streaking?
It stops the kind caused by an uneven nail plate, which is common with ridges or staining. Rubber base is thicker than standard base and self-levels, giving a flat surface for color to sit on. It does not fix streaking caused by application technique.
Do not go back over a coat. That one habit fixes most of it. My short gel nails post has the rest of the at-home routine.