
Gel polish bubbles because air gets trapped in the product and the lamp cures it in place. Once a bubble is cured it is permanent, so everything about fixing this happens before the nail goes under the light.
Here is what puts air into gel in the first place, why bubbles sometimes appear only after curing, and the changes that stop it. If your gel is going patchy rather than bubbly, our streaky gel polish post covers that instead.
Shaking the bottle
This is the most common cause and it is a habit carried over from regular polish.
Shaking whips air through the gel and it stays there. Gel is thicker than polish, so those bubbles cannot rise and escape the way they would in a thin lacquer. They sit suspended in the bottle, come out on the brush, and cure into the surface of your nail.
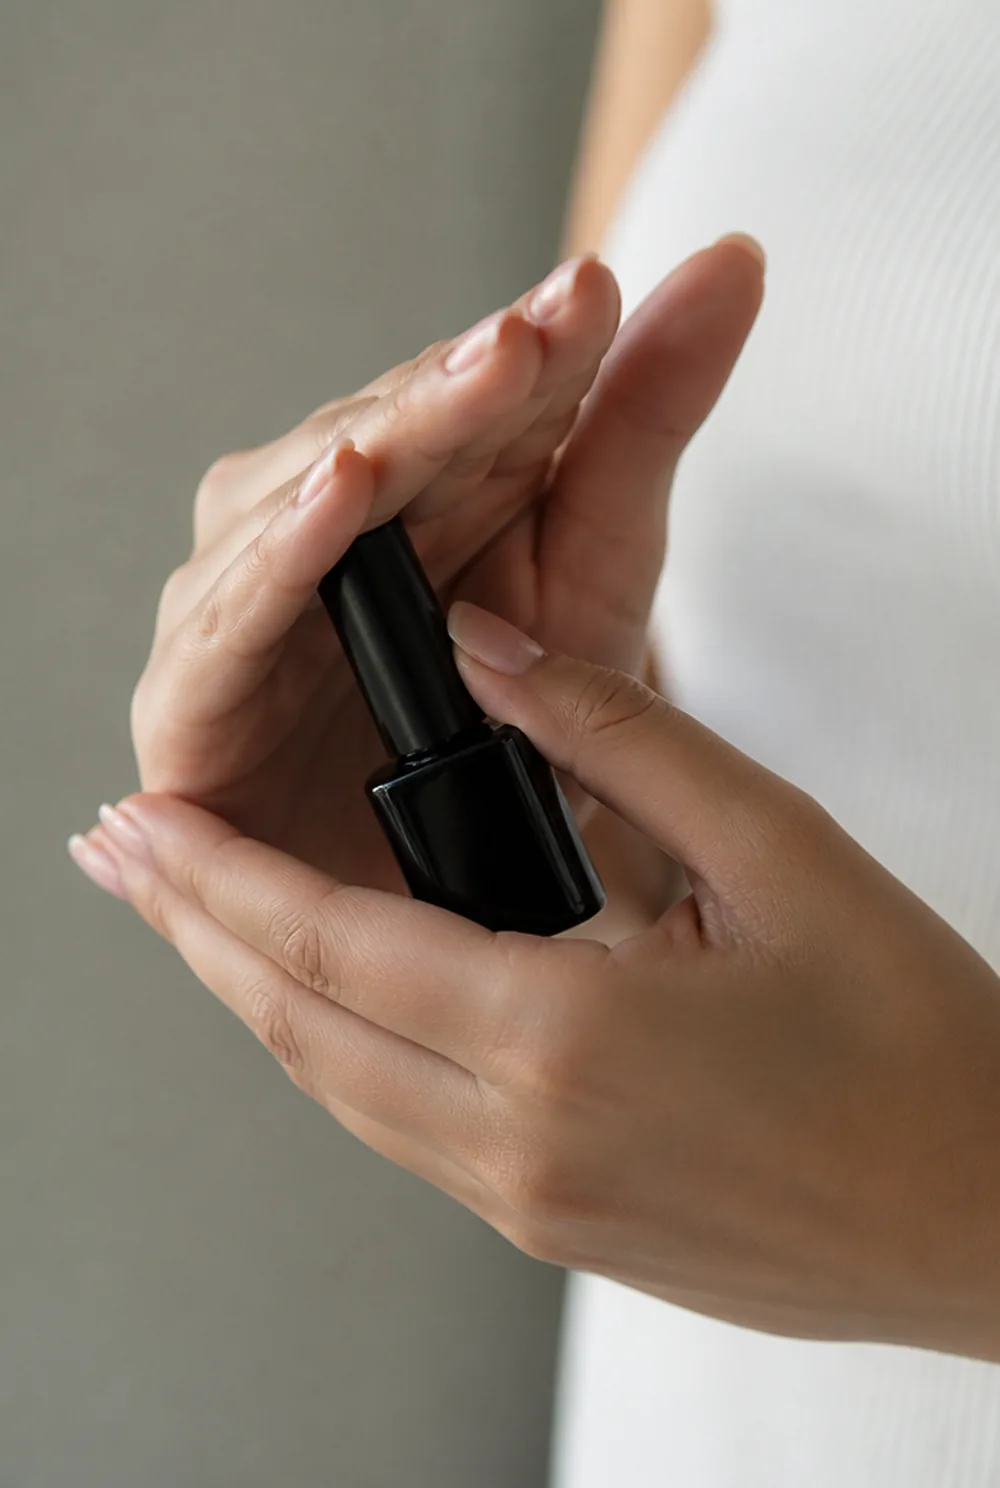
Roll the bottle between your palms instead, slowly, for about twenty seconds. That mixes the pigment without introducing air. If a bottle has already been shaken, stand it upright for an hour or two before using it and most of the air will settle out.
Coats applied too thick

Thick gel traps air and it also cures badly, which makes the bubbles worse.
Light cannot penetrate a thick layer evenly. The surface hardens first, sealing everything underneath, and any air that would otherwise have worked its way out is now locked in. That is why thick coats often look fine going on and bubbly once cured. NAILS Magazine lists air pockets under the coating as one of the signs that gel has not cured properly.
Three thin coats beat two thick ones every time. Each coat should be thin enough to still see the nail through it. Wipe the brush properly against the neck of the bottle so you are working with a film rather than a load.
Brushing back and forth
How you move the brush matters as much as how much is on it.
Going back over gel that has already been laid down drags air into it. Gel is viscous enough that it does not self-level the way polish does, so every extra stroke leaves the air where you put it.
Work in three strokes per nail. One down the center, one down each side, all in the same direction from cuticle to tip. Then stop, even if it does not look perfect. The next coat will even it out.
Resist the urge to fix a thin patch mid-coat. That is the moment most bubbles get made.
Gel that is too cold
Temperature changes gel viscosity more than people expect.
Cold gel is thicker, and thicker gel holds air rather than letting it escape. If your bottles live somewhere cold, or you have just brought them in from a car or a cold room, they will bubble more. Scratch Magazine explains that cooler temperatures can cause gel to thicken and take longer to self-level.
Let bottles come to room temperature before use, and hold one in your hand for a minute if it feels cold. Do not warm them on a radiator, which can affect the formula.
Bubbles that appear only after curing
This one confuses people, because the nail looks smooth going into the lamp and comes out pitted.
It is caused by heat. Gel cures through an exothermic reaction, meaning it generates its own heat as it hardens. A thick coat generates more heat, and rapid heating makes any dissolved air expand and rise, which is exactly what a bubble is.
This is also the cause of the heat spike that makes gel sting. Thinner coats fix both problems at once.
If your lamp has a low-heat or flash-cure setting, use it for the first few seconds of each coat. It ramps the light up gradually so the reaction is slower and cooler. Scratch Magazine explains how lamps with a low heat mode start the cure slowly to avoid a heat spike, and why thin layers help too.
Old or thickening gel
Gel that has been open a long time thickens as small amounts of solvent escape past the cap.
Thicker gel means more trapped air, worse leveling, and more bubbles. Unlike regular polish, gel cannot be thinned. There is no gel equivalent of polish thinner, and adding anything to it will stop it curing correctly.
Keep caps tight and wipe the threads clean before closing, because a bottle that cannot seal properly will thicken within months. Store bottles upright and out of direct light. My nail polish storage post covers the same principles for lacquer.
Once a gel is too thick to lay down smoothly in a thin coat, it is finished. Replace it.
Can you fix bubbles after curing?
Not really, and this is worth being straight about.
A cured bubble is a void inside hardened gel. Adding top coat over it fills the surface dimple but the void stays, and the nail is weaker there. If the bubbles are shallow and only in the top coat, you can file the surface smooth with a fine buffer and re-apply top coat.
If the bubbles are in the color layer and visible, the honest answer is to file back that nail and redo it. One nail takes five minutes; living with it takes three weeks.
If bubbles have broken open at the surface, remove the set. An open void lets water in against the nail plate, which is how staining and lifting start. My gel lifting post covers what happens next.
Bubbles under the top coat
Top coat bubbles look different from color bubbles and they have a different cause.
They tend to be larger, sit right at the surface, and appear in a line or a cluster rather than scattered. That pattern comes from the brush dragging air along as it moves over a cured, slightly tacky surface instead of gliding on it.
Float the top coat on rather than brushing it. Load the brush more than you would for color, touch it down in the middle of the nail, and let it spread outward under its own weight with almost no pressure. Then one stroke each side and cap the tip.
Top coat is the one layer where a slightly generous coat is correct, because it needs the body to self-level.
If it happens at the salon
Bubbling in a professional set is unusual and it is worth mentioning at the time rather than after you have left.
The usual cause in a salon is a bottle that has been in heavy rotation and thickened, or a busy technician working faster than the product allows. Neither is your problem to solve, and most salons will redo a bubbled nail on the spot.
Check your nails under the lamp light before you pay. Bubbles are much easier to see at an angle than straight on, so tilt your hand.
The routine that avoids it
Put together, the fixes are all small.
Roll the bottle rather than shaking it, and let it reach room temperature. Wipe the brush well. Apply three strokes per nail in one direction and do not go back over. Keep every coat thin enough to see the nail through. Cure fully before the next coat.
Full curing matters for your skin as well as your finish, since a 2026 review in the journal Advances in Dermatology and Allergology notes that gel which does not cure completely can lead to acrylate allergies (Kaminska J. et al., ‘Is hybrid and gel manicure safe? Current stage of knowledge’, Postepy Dermatologii i Alergologii (Advances in Dermatology and Allergology), 2026).
Doing all five removes bubbles almost entirely, and it also fixes streaking, heat spikes, and most peeling at the same time, because those problems share the same causes. My short gel nails post covers the wider at-home routine.
FAQ
Why is my gel polish bubbling after curing?
Curing generates heat, and heat makes air already dissolved in the gel expand and rise. Thick coats generate the most heat, so the fix is thinner layers. If your lamp has a low-heat or flash-cure mode, use it so the reaction starts more gradually.
Should you shake gel polish?
No. Shaking whips air into a product too thick for the bubbles to escape, and they cure into the nail. Roll the bottle slowly between your palms for about twenty seconds instead. A bottle that has been shaken should stand upright for an hour or two before use.
Can you fix bubbles in gel nails without redoing them?
Only if they are shallow and confined to the top coat, in which case buff the surface smooth and re-apply top coat. Bubbles inside the color layer are voids in cured gel and cannot be filled, so that nail needs filing back and redoing.
Does thick gel polish cause bubbles?
Yes, and it is the second most common cause after shaking the bottle. Thick coats trap air, cure unevenly, and generate more heat, all of which make bubbling worse. Gel cannot be thinned the way lacquer can, so a bottle that has thickened with age needs replacing.
If you change one habit, stop shaking the bottle. My gel peeling post covers the other common at-home gel failure.