
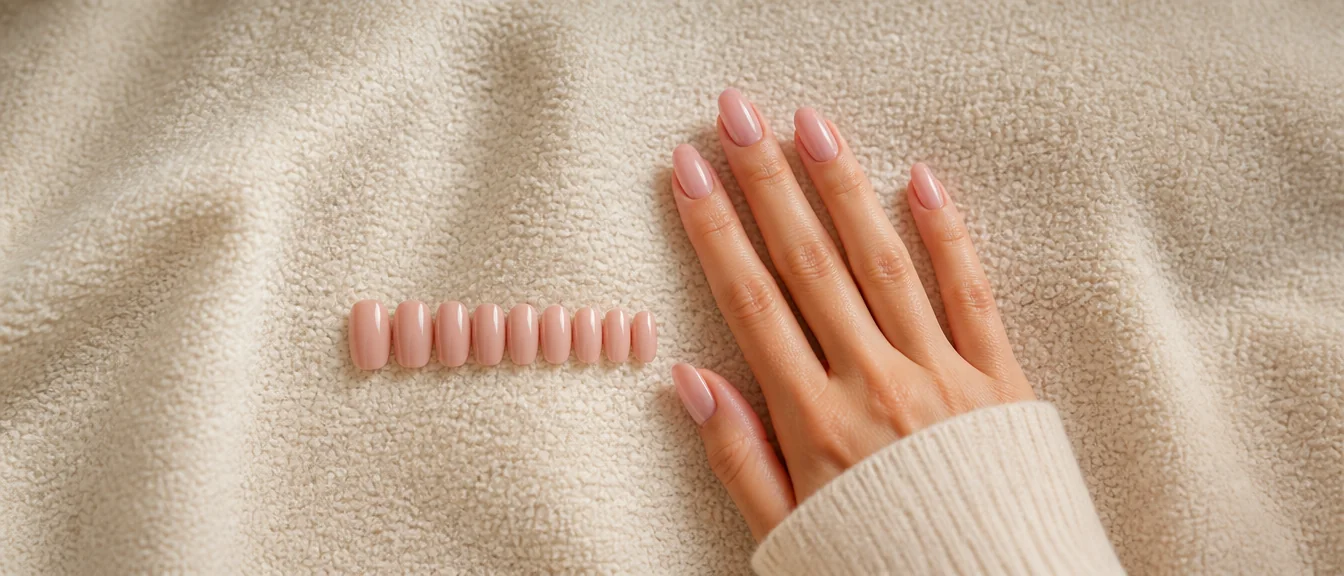
Press-on nails fall off early for two reasons: oil left on the nail plate, and a nail that is the wrong size. Fix both and a glue application lasts one to two weeks rather than two days. Everything else is a refinement on top of those two things.
Here is the prep that actually matters, how to size properly, when to use glue versus tabs, and how to take them off without wrecking your nails. My press-on nails post covers choosing a set in the first place.
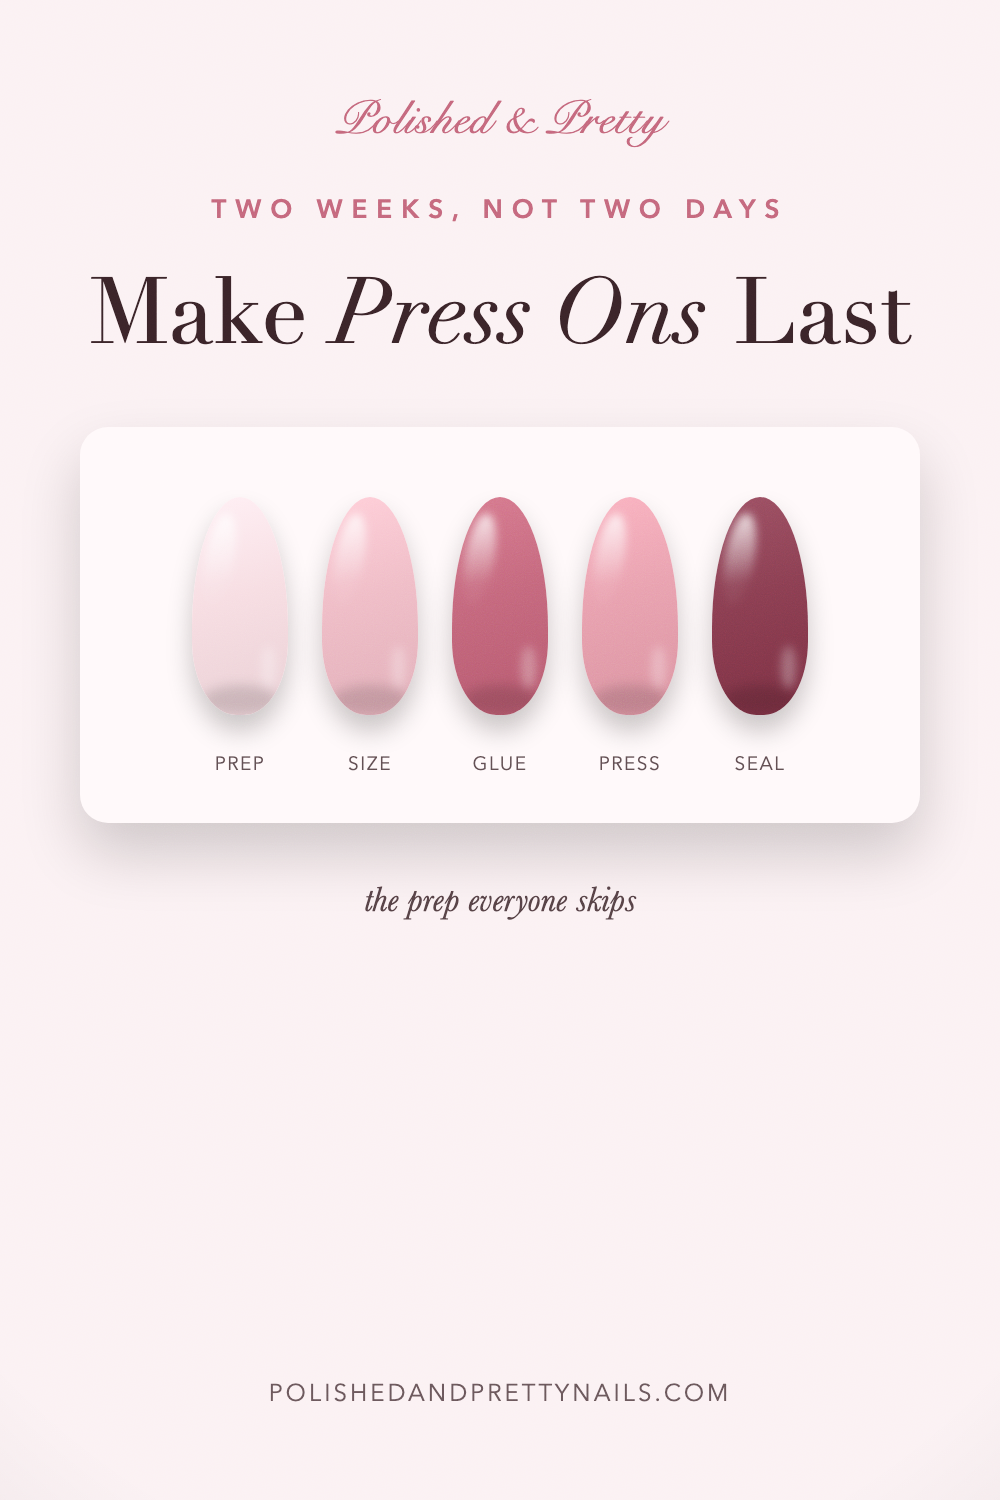
Oil is why they fall off
This is the cause in most cases and it is the step almost everyone skips.
Your nail plate produces oil continuously. Glue bonds to keratin, not to oil, so any film on the surface acts as a release layer. Hand cream from that morning, cuticle oil from the night before, or the oil that resurfaces in the few minutes while you sort through sizes is enough to halve the wear time.
Wipe every nail with 91% isopropyl alcohol or an alcohol wipe immediately before applying, and do not touch them afterwards. Not to check them, not to move hair. Then get the nails on within a minute or two.
If your nails are naturally oily, wipe a second time halfway through the hand.
Size to the widest point
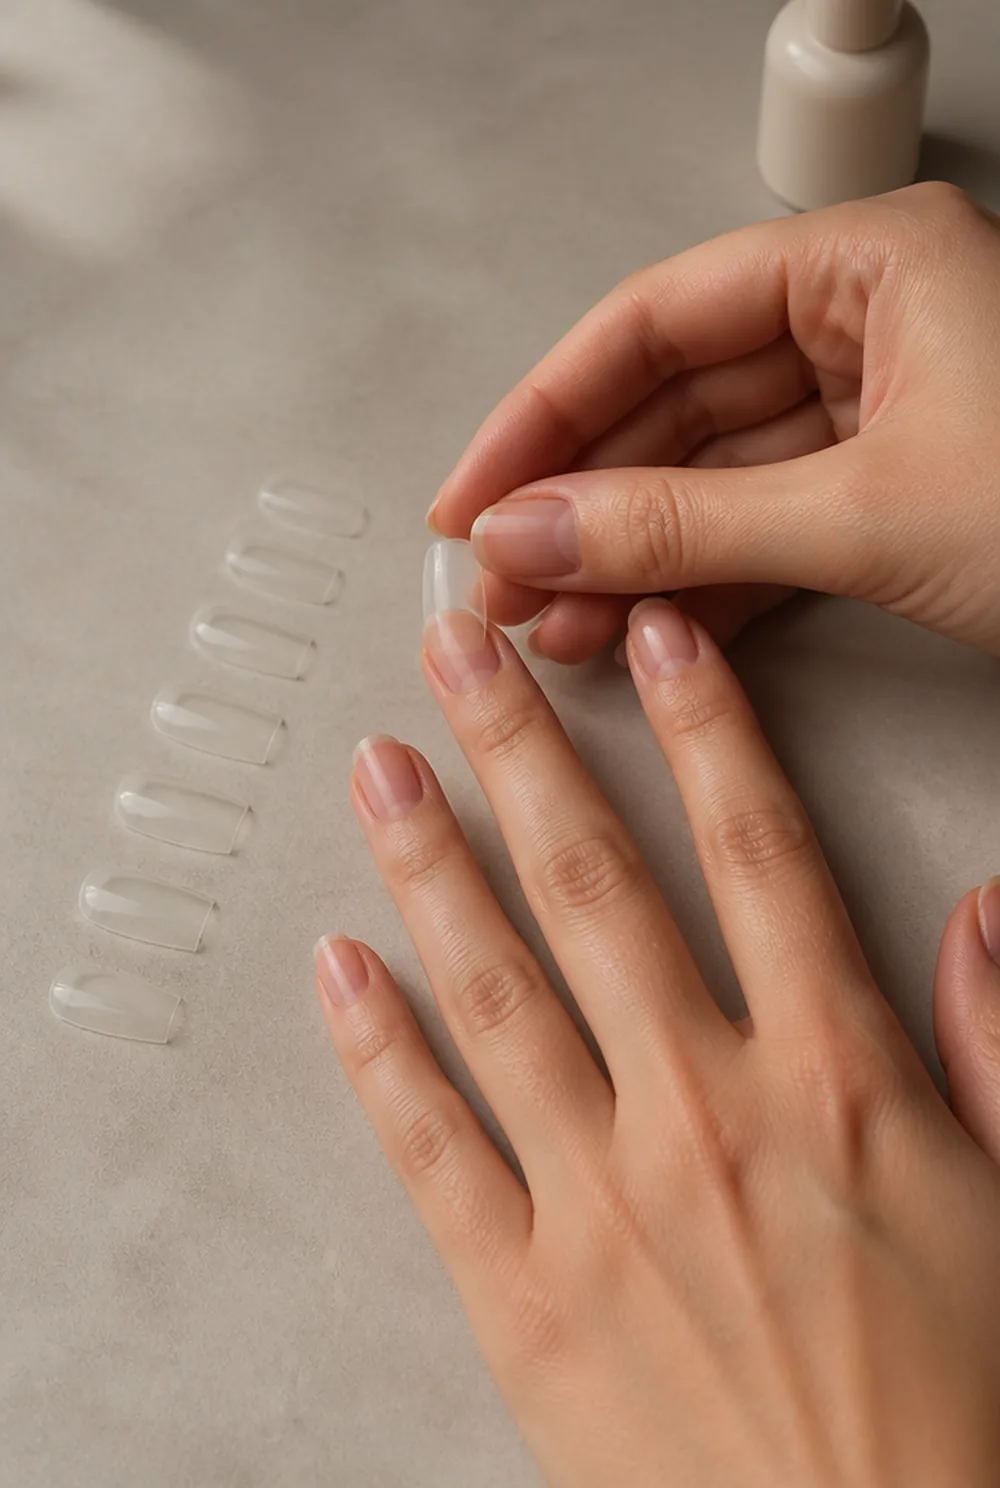
The second most common cause, and the one people get backwards.
A press-on that is too narrow only touches the nail in the middle and leaves the sidewalls unsupported, so it lifts from the sides within a day. It also looks obviously fake, because your natural nail is visible either side of it.
Always size up rather than down. Pick the nail that matches or slightly exceeds the widest part of your nail bed, then file the sides down to fit. A press-on filed to fit is far better than one that nearly fits.
Lay out all ten before you glue anything, in order, on a table. Trying to size mid-application with glue drying is how you end up with a thumb nail on an index finger.
Prep the natural nail
Beyond the alcohol wipe, three things make a real difference.
Push your cuticles back and clear the dead layer off the nail plate. Glue applied over that layer bonds to something that is going to shed on its own schedule, which is a common cause of nails popping off at the base. My cuticle pushing guide covers it.
File your own nails short and level. A press-on sitting over a long natural nail has a step underneath it, and that step becomes a lever every time you knock the tip.
Buff the shine off lightly with a fine buffer. You are dulling the surface, not thinning the nail, and ten seconds per nail is plenty.
Glue versus tabs
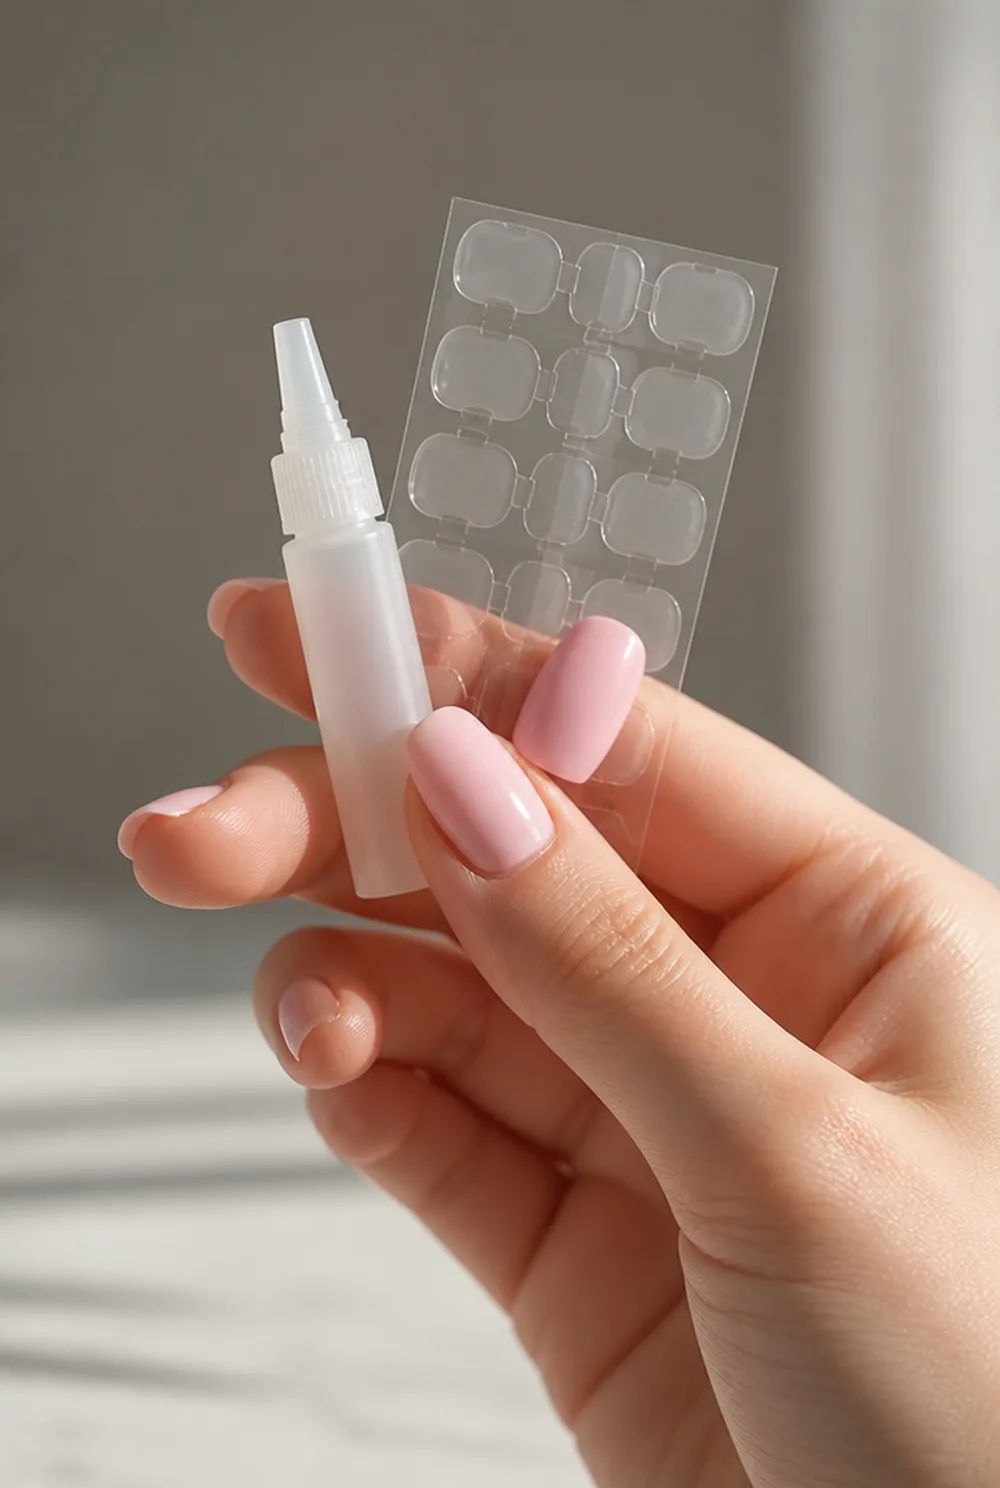
These are two different products for two different purposes and the choice decides everything about wear time.
Adhesive tabs are double-sided stickers. They give one to three days of wear, come off with warm water in minutes, and do no damage at all. They are the right choice for a single evening, for trying a set, or for anyone with fragile nails.
Glue gives one to two weeks and needs an acetone soak to remove. It is the right choice for a holiday or a fortnight of wear.
Tabs also fail in water, so anything involving swimming, long baths, or a lot of washing up needs glue.
The glue method
Glue on both surfaces is the detail that separates two days from two weeks.
Apply a thin layer to your natural nail and a thin layer to the inside of the press-on. Most people glue only one, and the bond is far weaker for it. Thin layers, not blobs, since excess glue squeezes out at the sides and leaves gaps.
Set the press-on at the cuticle first, angled at about 45 degrees, then roll it down flat toward the tip. That rolling motion pushes air out ahead of it. Pressing straight down traps a bubble in the middle, which is a weak point that becomes a lift.
Hold each nail with firm pressure for 30 full seconds. Count it. This is the step people rush most and it matters more than the glue brand.
Leave a gap at the cuticle
The press-on should sit close to the cuticle without touching it.
Glue on the skin gives the nail somewhere to lift from, since skin flexes and sheds. It also stings and can irritate the eponychium. A Cleveland Clinic dermatologist warns that an allergy to press-on nails or their glue can develop at any time, so watch for redness or swelling. A hairline gap of bare nail all the way round is what you want.
Too far back is a different problem: it looks obviously false and grow-out becomes visible within days.
If glue does get on your skin, leave it to dry and it will wear off. Picking at it takes skin with it.
The first two hours
Nail glue takes far longer to reach full strength than it takes to feel solid.
It sets in seconds and cures over a couple of hours. Getting hands wet in that window is the most common reason a careful application still fails on day one, because water gets into a bond that has not finished forming.
Avoid water for at least two hours, and ideally apply them in the evening so they cure overnight.
After that, wear gloves for washing up and cleaning. Hot water and detergent together are what shorten a set more than anything else.
The American Academy of Dermatology recommends wearing gloves when cleaning or washing dishes, since too much water exposure weakens your natural nails too.
Filing and shaping them
Shaping a set to your hands is what makes press-ons stop looking like press-ons.
File the sides to fit before you glue, and shorten the length after they are on. Most sets are longer than anyone actually wants, and a shorter nail has far less leverage on the bond, so shortening improves both the look and the wear time.
You can reshape them too. A square set files down to a soft squoval or oval easily. My squoval nails post covers that shape.
A coat of gloss top coat over the whole nail, wrapping the free edge, seals the join and adds a few days.
Taking them off safely
This is where the damage people blame on press-ons actually happens.
Never pull one off. Glue is bonded to the top layer of your nail plate and pulling takes that layer with it, which leaves nails thin and rough and makes the next set adhere worse.
Soak your fingertips in acetone, or in warm soapy water with a little oil for tab-applied nails, for ten to fifteen minutes. The nail should lift on its own or slide off with gentle pressure from an orange stick at the edge. If it resists, soak longer rather than forcing it.
The American Academy of Dermatology notes that removing artificial nails usually means soaking them in acetone or filing them off.
Buff off any remaining glue gently rather than scraping, and oil afterwards. My brittle nails post covers recovery if nails are already thin.
FAQ
How long do press on nails last?
One to two weeks with glue and one to three days with adhesive tabs. Getting the full two weeks depends mostly on wiping the nail with alcohol before applying, sizing to the widest part of your nail bed, and holding each nail down for a full 30 seconds.
Why do my press on nails keep falling off?
Almost always oil on the nail plate, or a press-on that is too narrow so only the center makes contact. Wipe every nail with 91% isopropyl alcohol immediately before applying, and always size up and file the sides down rather than choosing a nail that is slightly too small.
Should you put glue on the nail or the press on?
Both, in thin layers. Gluing only one surface is one of the most common reasons a set fails early. Set the nail at the cuticle at about 45 degrees and roll it down toward the tip to push air out, then press firmly for 30 seconds.
Do press on nails damage your nails?
Not if they are removed properly. Damage comes from pulling them off, which takes the top layer of the nail plate with the glue. Soak in acetone for ten to fifteen minutes and let them lift on their own, and buff off residue gently rather than scraping.
The alcohol wipe and a full 30 seconds of pressure are the two things worth never skipping. My press-on nails post covers choosing a set.