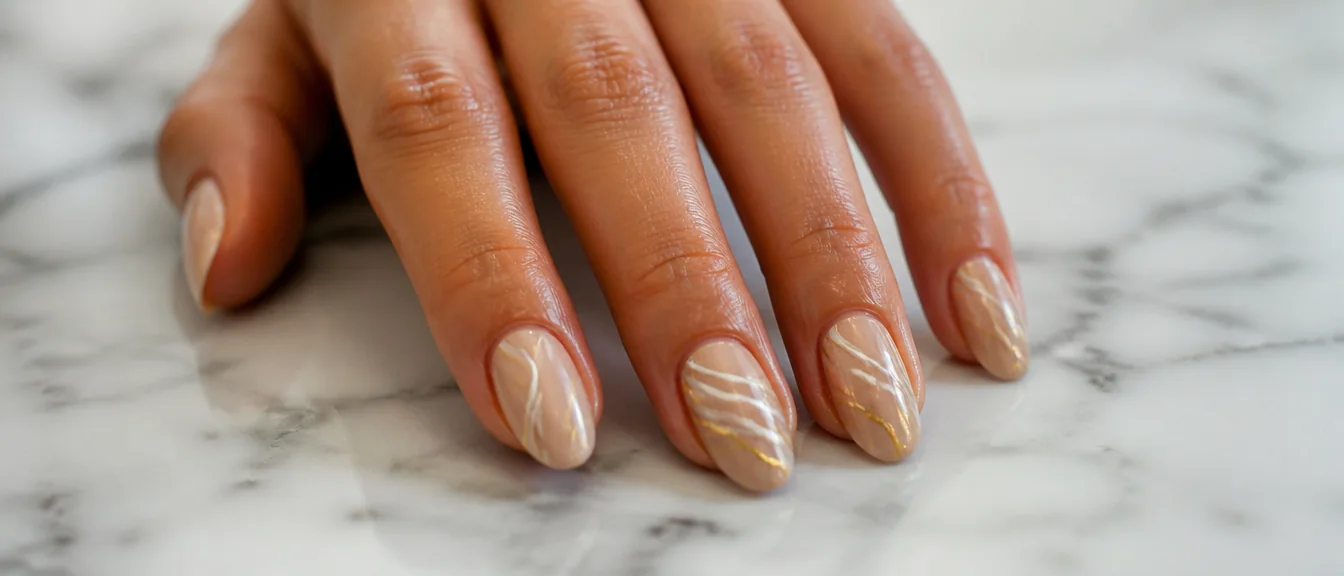
Swirl nails are one curved line, repeated. That is genuinely the whole design, and it is why they took over Instagram and then every salon menu. A single sweeping S-curve across a nude base looks like it took skill, and it takes about forty seconds once you own the right brush.
Here are 18 swirl nail designs, the brush that makes a clean line possible, the color pairings that work, and how to rescue a swirl that goes wobbly halfway across. If you want more beginner-friendly art, our simple nail designs for beginners post is the place to start.
Editor’s picks
Browse all 18 designs
18 designs 1Single White Swirl on Nude
 2Double Swirl
 3Color Block Swirl
 4Pastel Rainbow Swirl
 5Black Swirl on White
 6Gold Swirl
 7Swirl French
 8Two-Tone Swirl
 9Swirl Accent Nail
 10Swirl on Sheer Jelly
 11Chrome Swirl
 12Groovy Seventies Swirl
 13Swirl with Dots
 14Neon Swirl
 15Swirl Ombre
 16Micro Swirl
 17Swirl on Black
 18Swirl with One Rhinestone
18 swirl nail designs
1. Single White Swirl on Nude
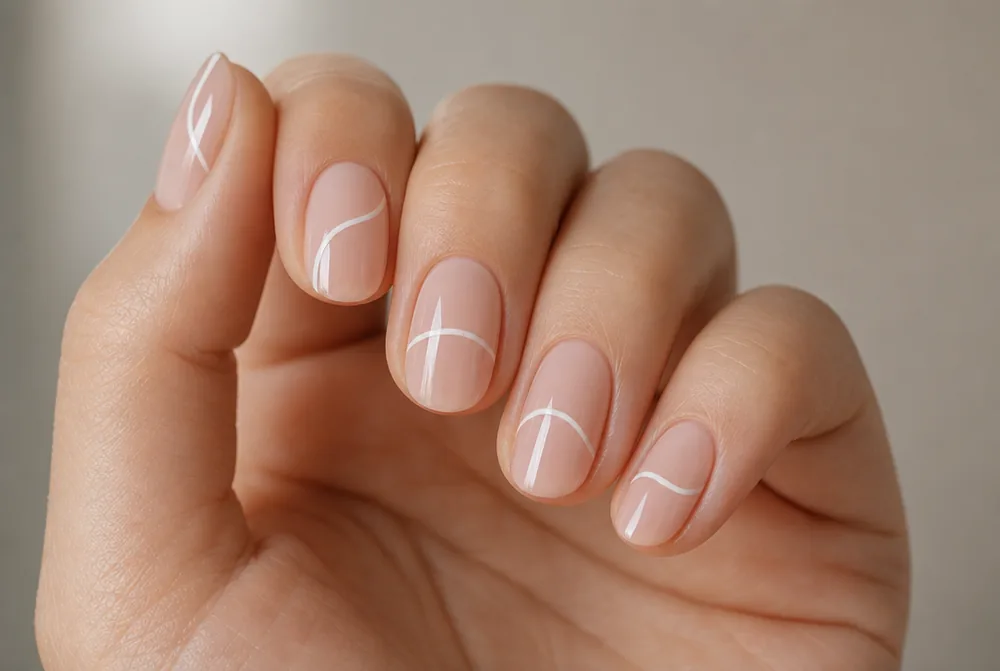

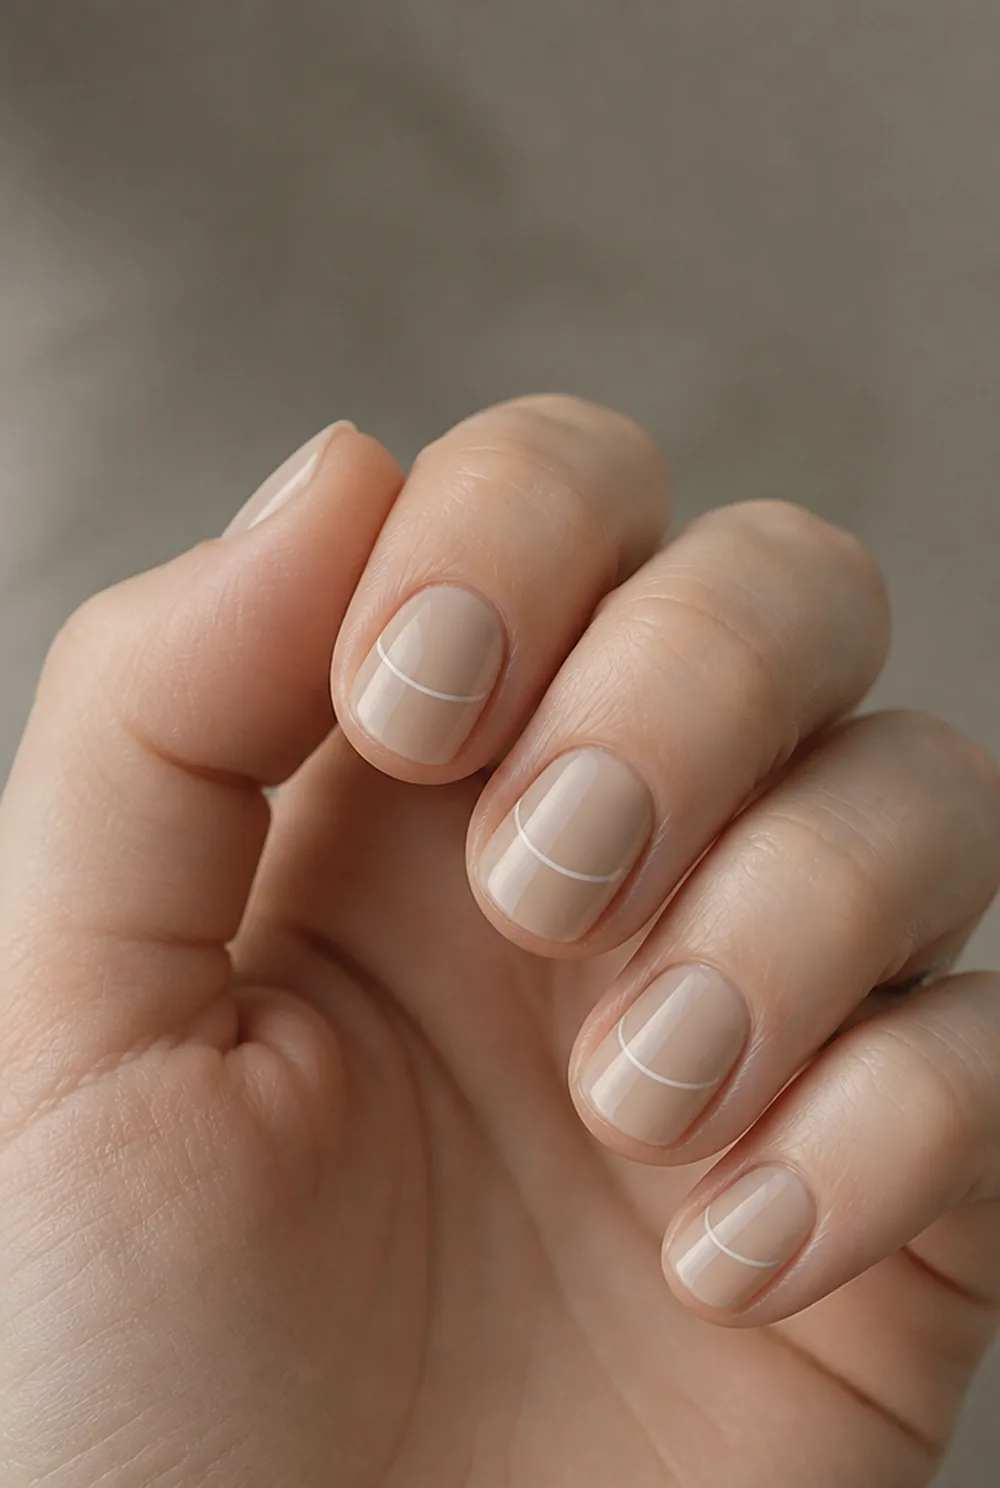
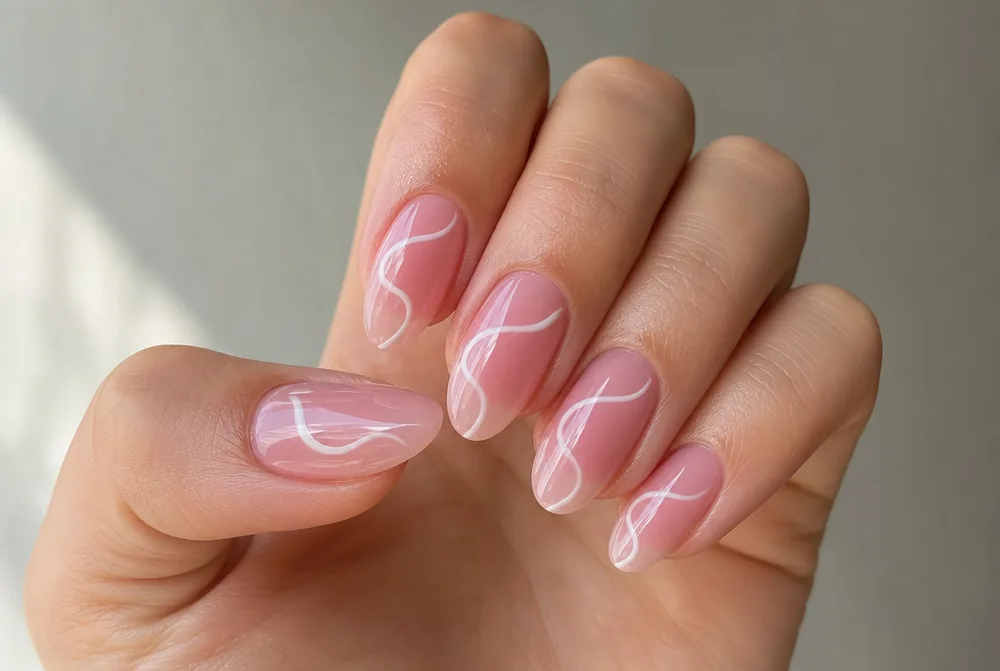
white S-curve on nude base, thin line running off edges
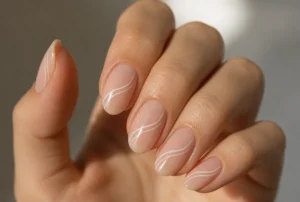
One white S-curve on a nude base. This is the original and still the best version. Keep the line under 2mm wide and let it run off both sides of the nail rather than stopping short.
2. Double Swirl

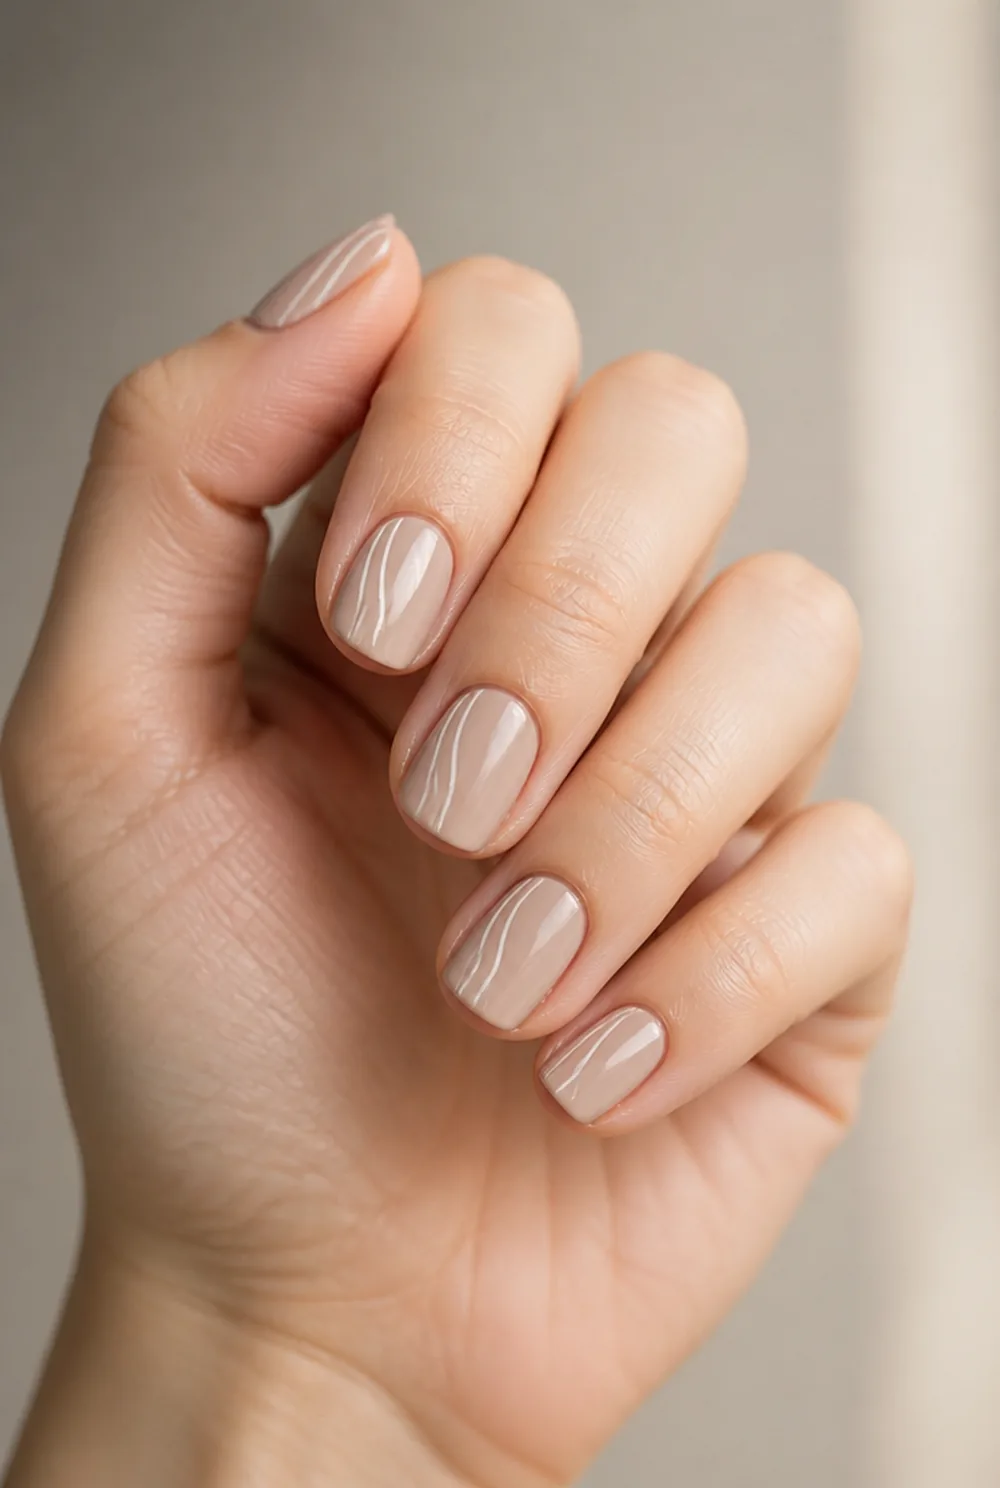
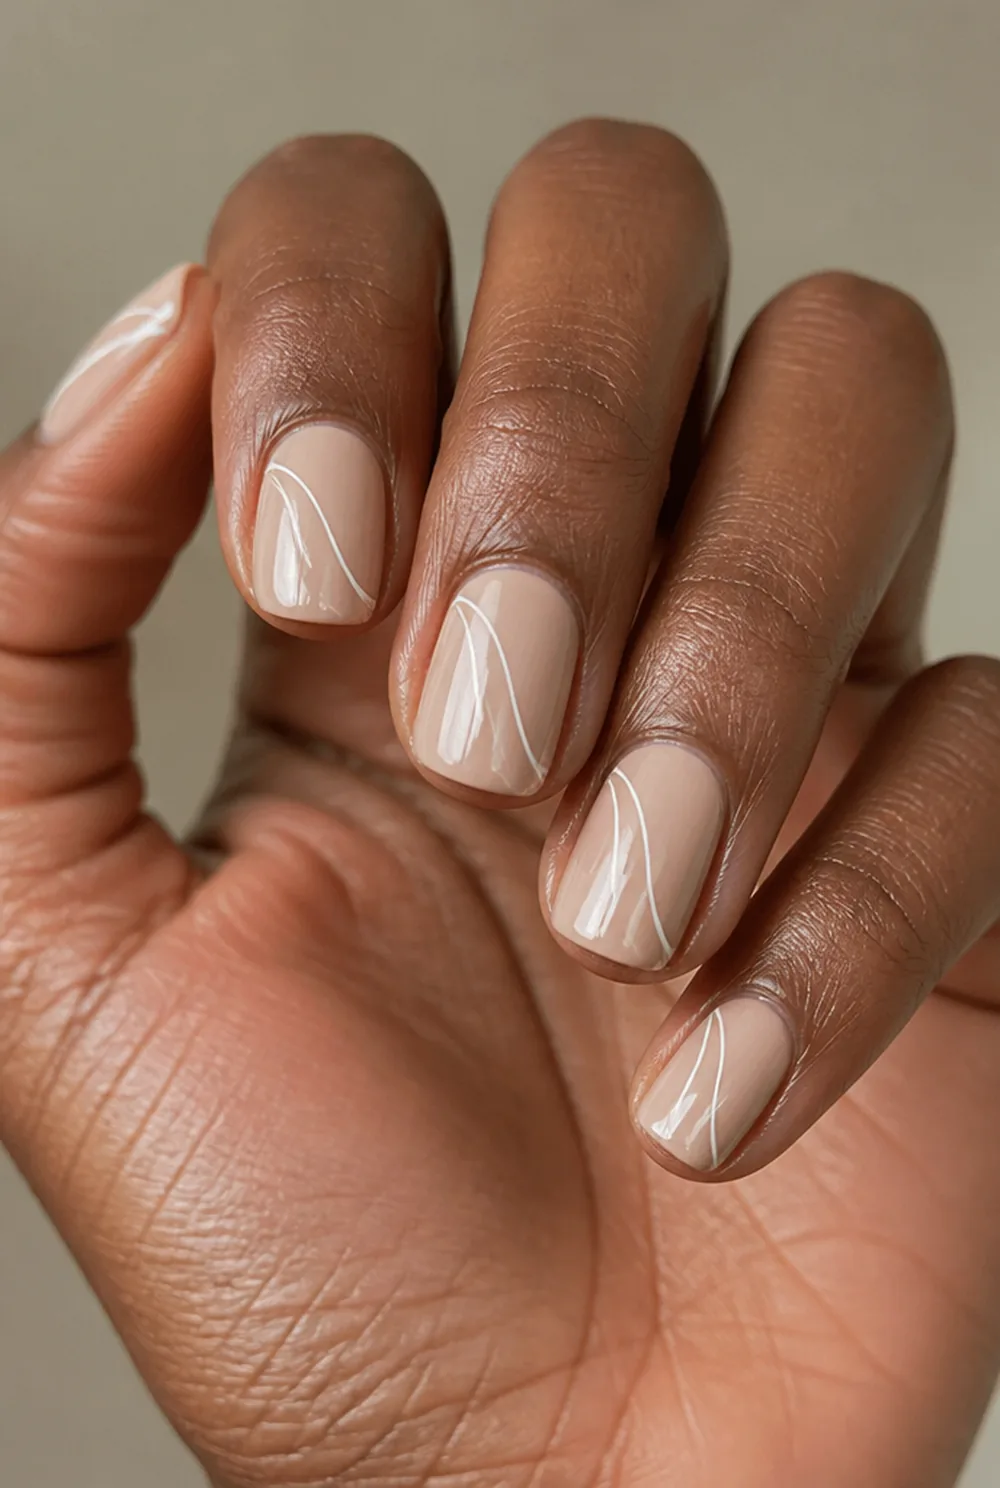
two parallel white curves following same path
Two parallel curves following the same path. The trick is drawing the second line while the first is still your guide, not after it dries and you have lost the rhythm.
3. Color Block Swirl
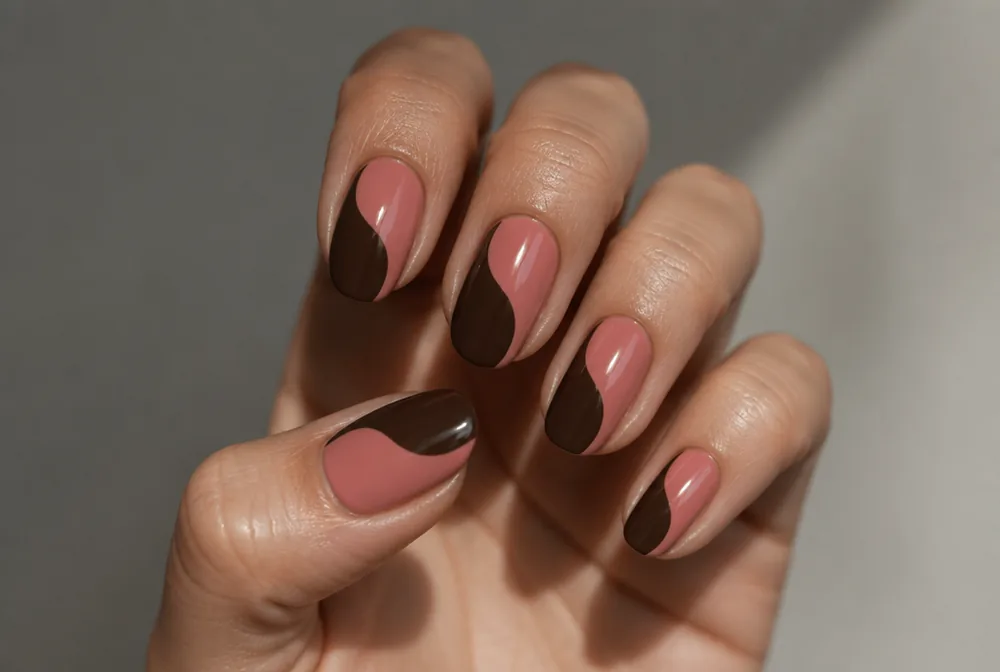
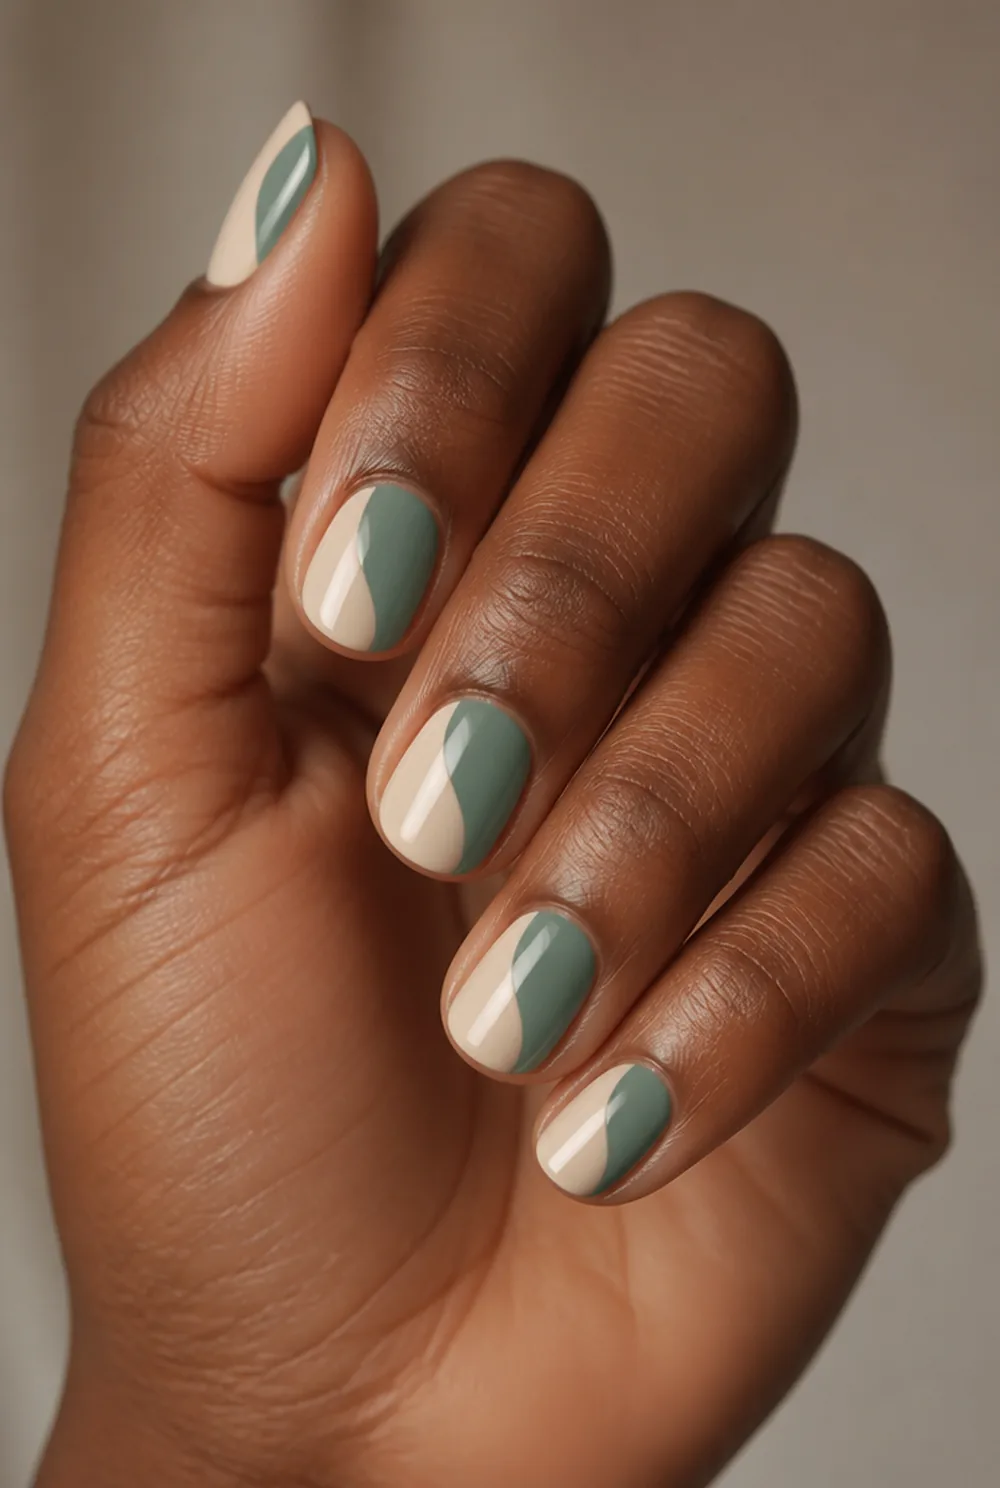

swirl dividing nail into two filled color blocks
The swirl divides the nail into two filled areas rather than sitting on top as a line. Paint the lighter color first, let it cure, then edge the darker one along the curve.
4. Pastel Rainbow Swirl


four thin pastel swirls on milky white base
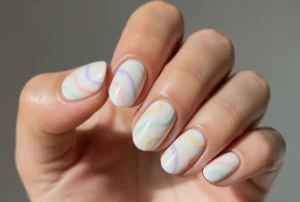
Four thin swirls in pastel pink, blue, lilac, and yellow across a milky white base. It is the version that reads as spring, and no two nails need to match.
5. Black Swirl on White


thick black swirl on white base for contrast
Maximum contrast, and the version that photographs best. A black line needs to be slightly thicker than a pale one to look intentional. More in our black and white nails post.
6. Gold Swirl

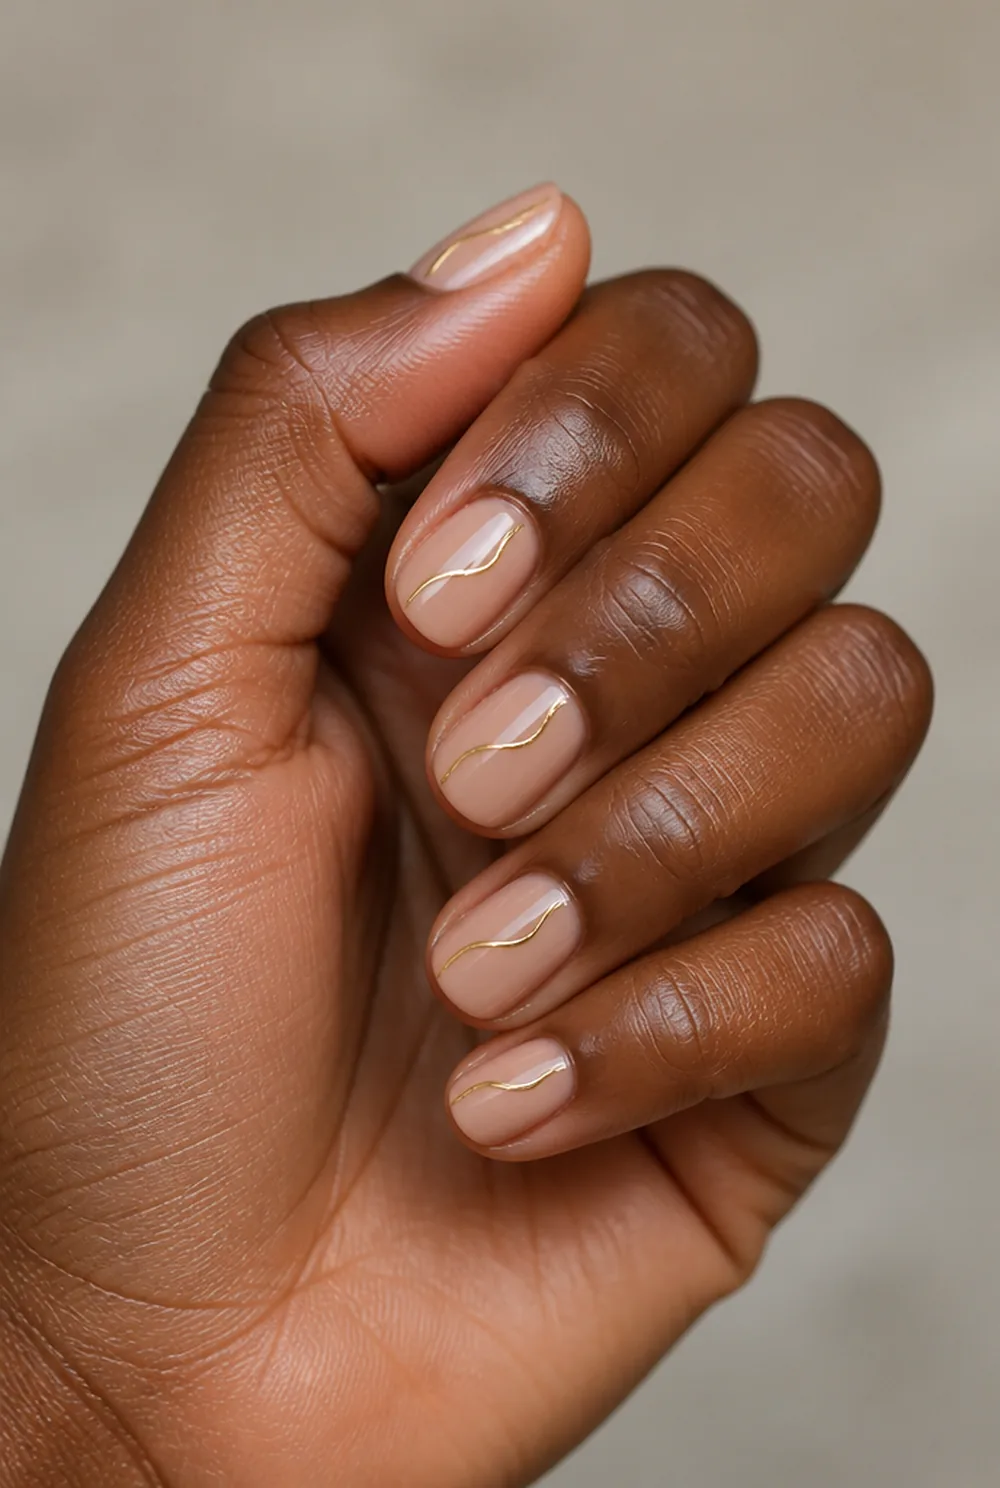

metallic gold swirl on sheer nude base
A metallic gold line on sheer nude. Metallic polish is thinner and flows better than creme, so a gold swirl is genuinely easier to draw than a white one. See our gold nail designs post.
7. Swirl French
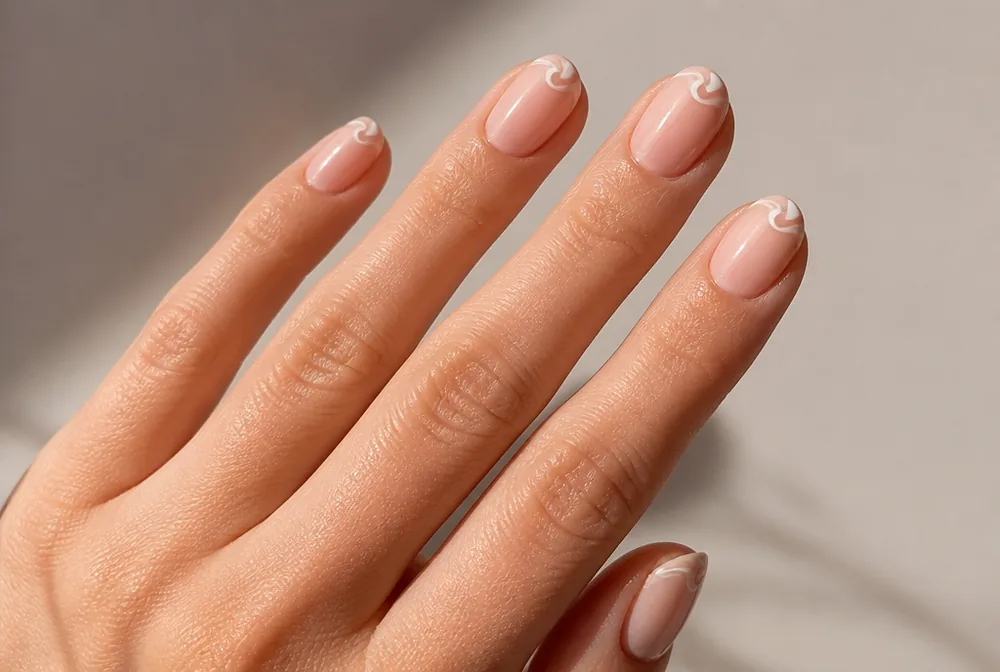


French tip with wavy smile line instead of curve
A French where the smile line waves instead of curving evenly. It is far more forgiving than a real French because a wobble reads as part of the design. See our colored French tip guide.
8. Two-Tone Swirl


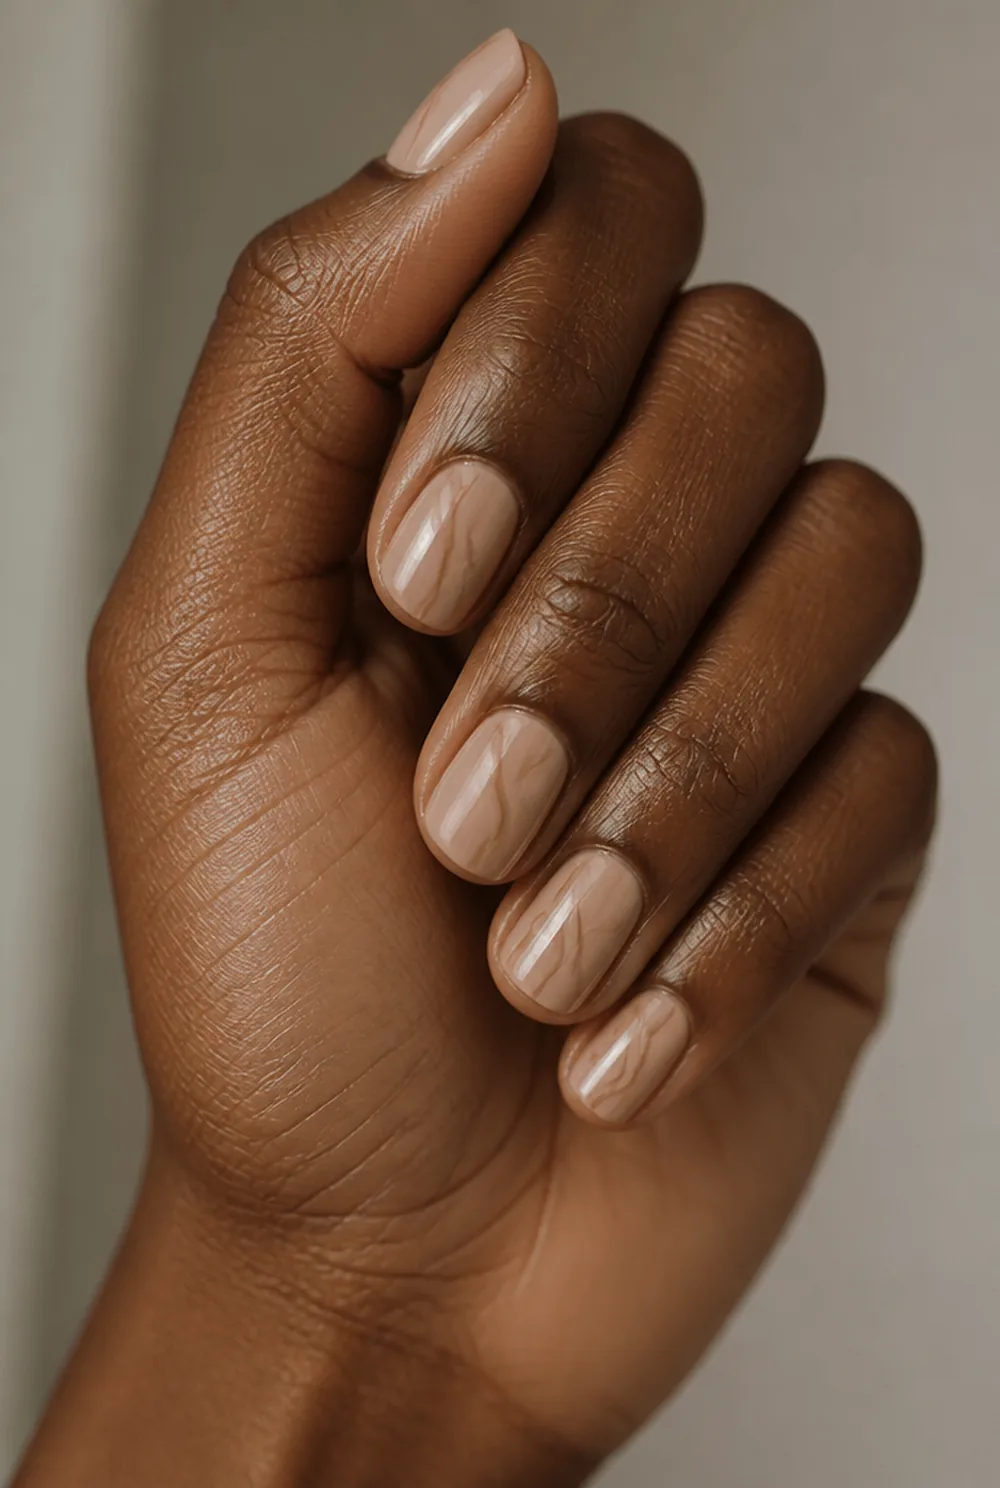
two close-toned swirls like cream and terracotta
Two swirls in shades that sit close together, like cream and terracotta. Close tones look considered where clashing ones look accidental.
9. Swirl Accent Nail

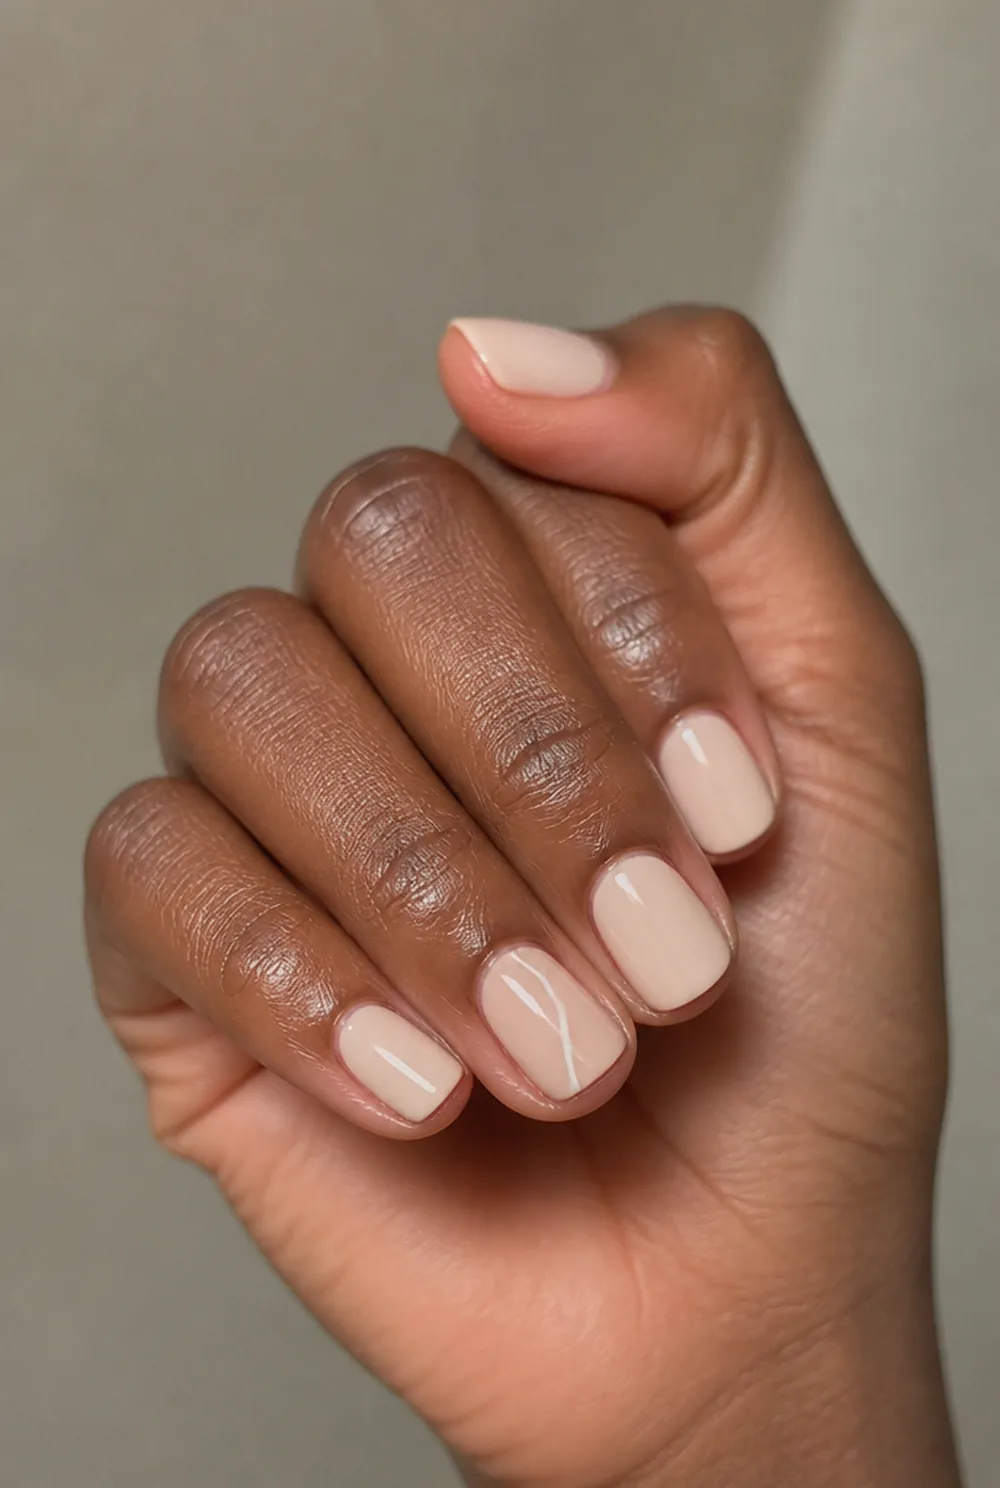

one swirl accent nail on four plain nails
Four plain nails and one swirl. If you have never drawn a line before, do this version first. One nail is a manageable amount of practice and it still changes the whole hand.
10. Swirl on Sheer Jelly

white swirl on translucent pink jelly base
A white swirl floating on a translucent pink base. Because the base is see-through, the line looks suspended above the nail rather than painted on it.
11. Chrome Swirl
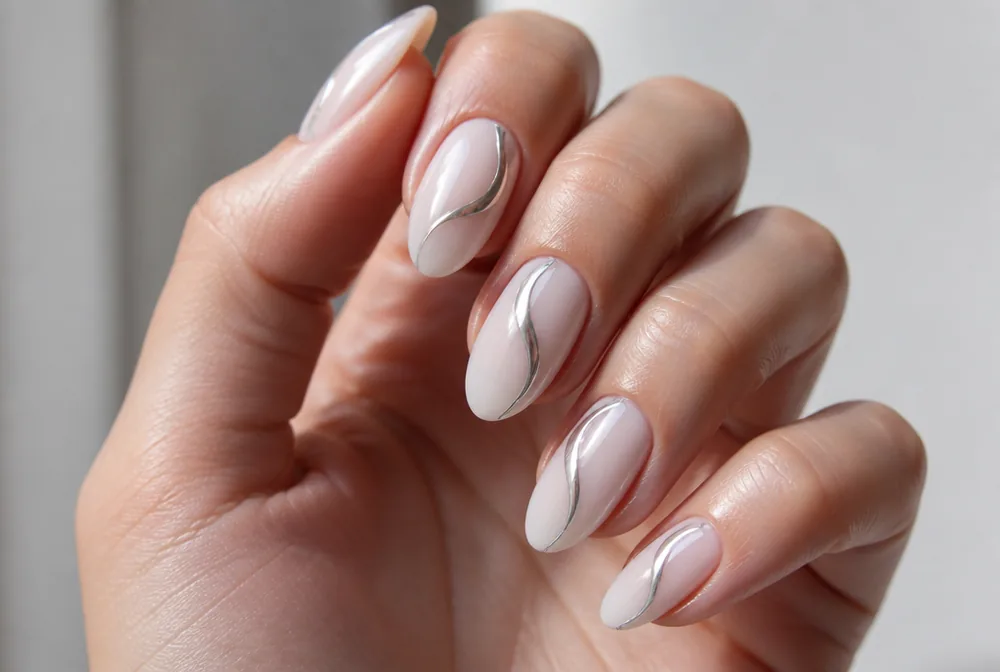
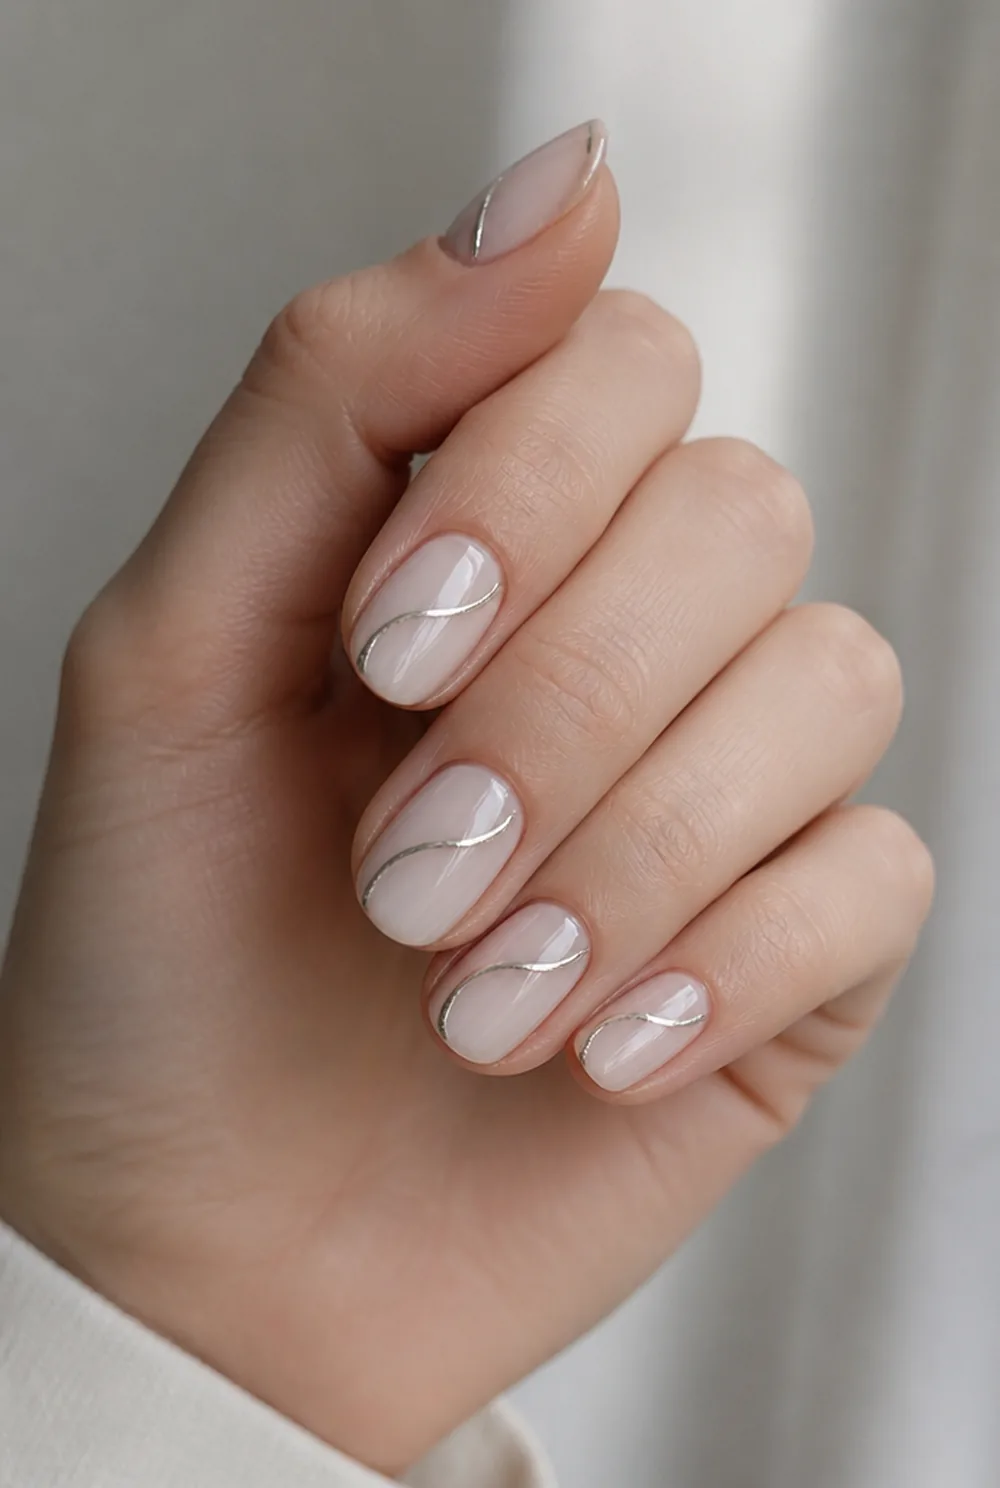
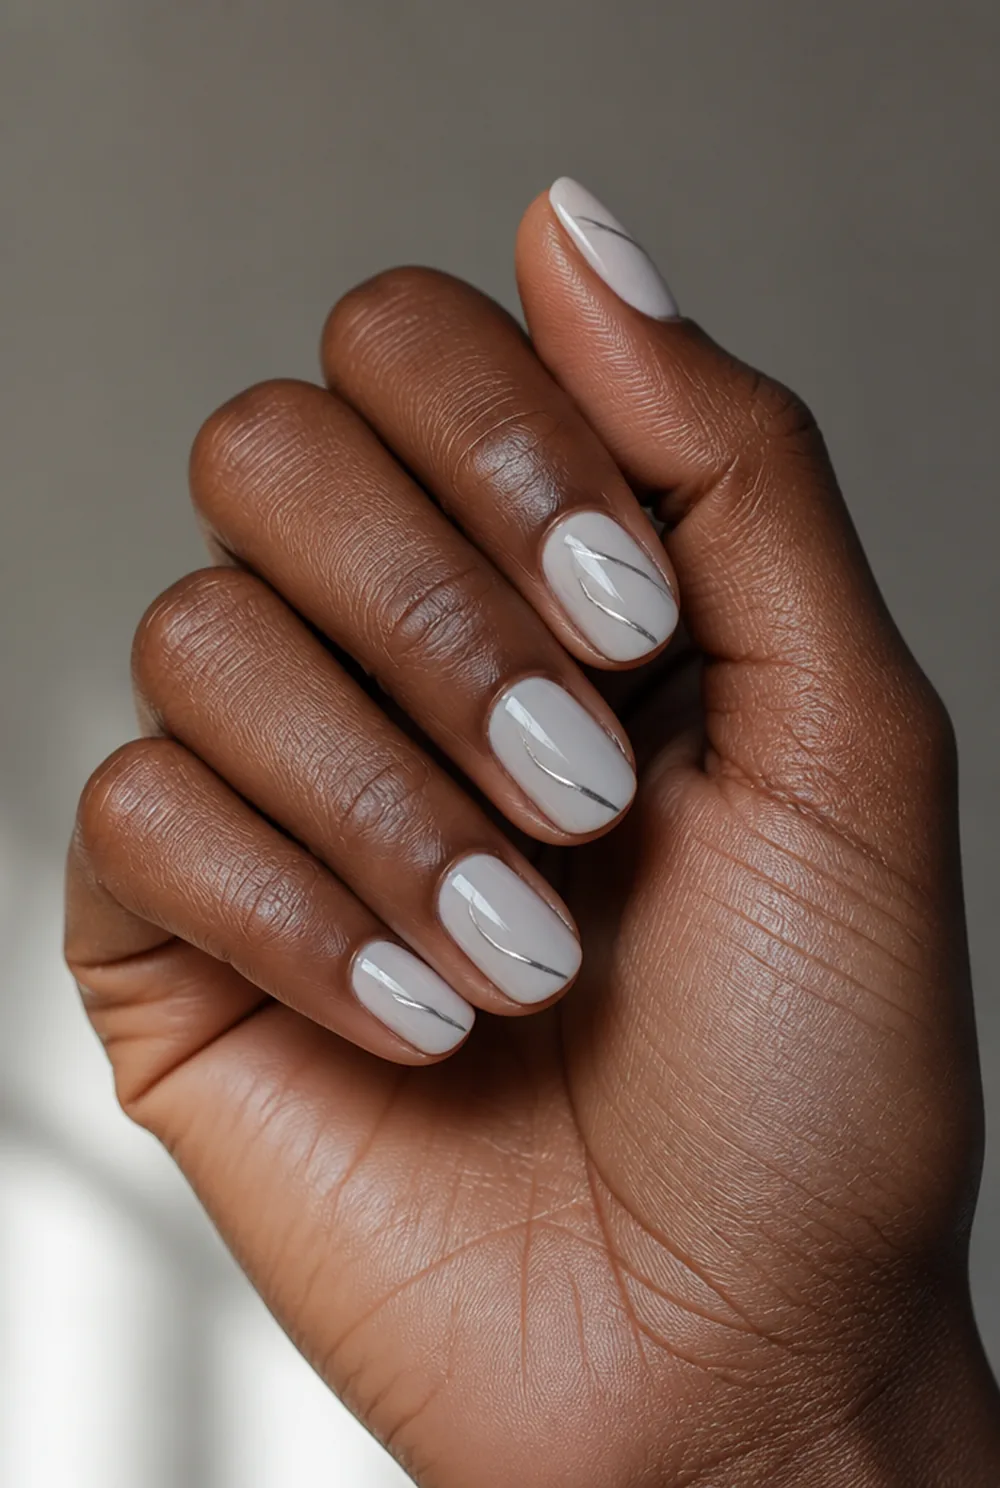
chrome powder swirl over gel line on milky base
The swirl done in chrome powder over a gel line rather than in polish. This is a salon job, and it is the most expensive-looking version on this page. Method in our chrome nails guide.
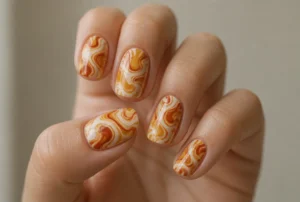
12. Groovy Seventies Swirl
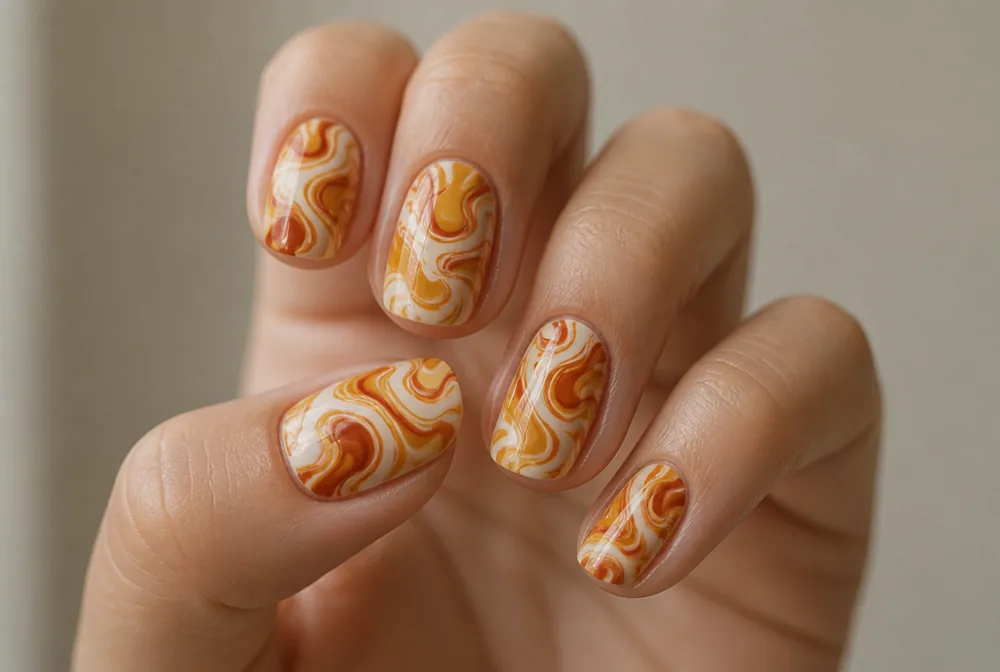

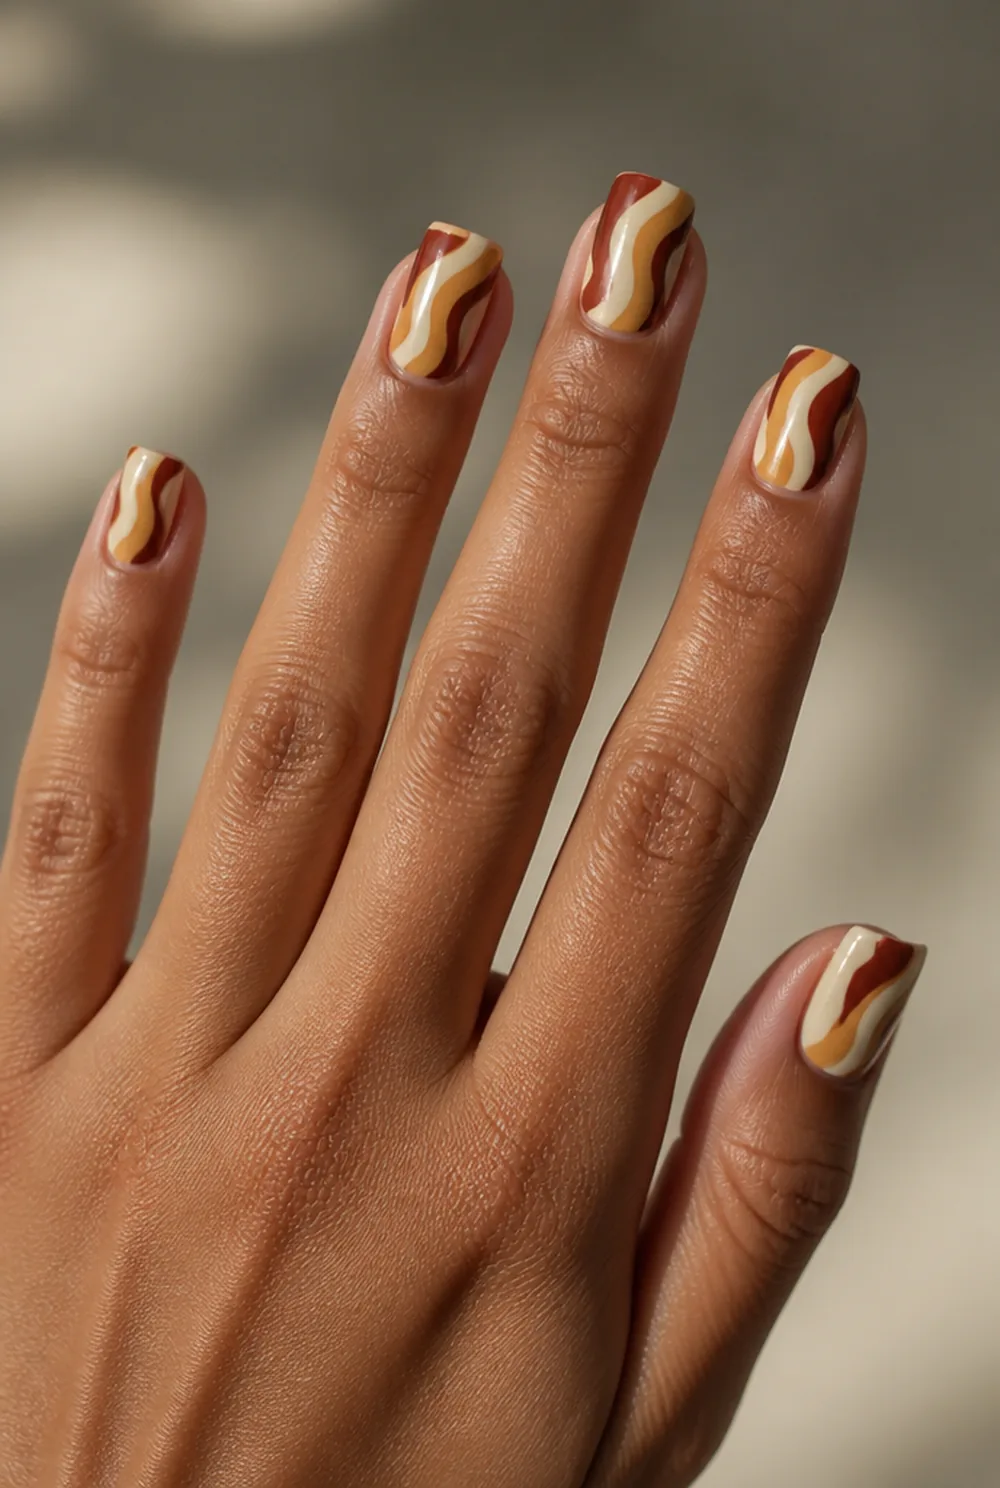
thick swirls in mustard, rust, cream filling nail
Thick swirls in mustard, rust, and cream filling the entire nail. This is the maximalist version and it wants a short square nail so the pattern stays readable.
13. Swirl with Dots


small dots placed along swirl at intervals
Small dots placed along the swirl at intervals. It hides an uneven line better than anything else, because the eye follows the dots rather than the line. See our polka dot nails post.
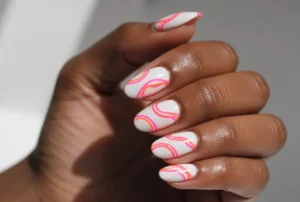
14. Neon Swirl

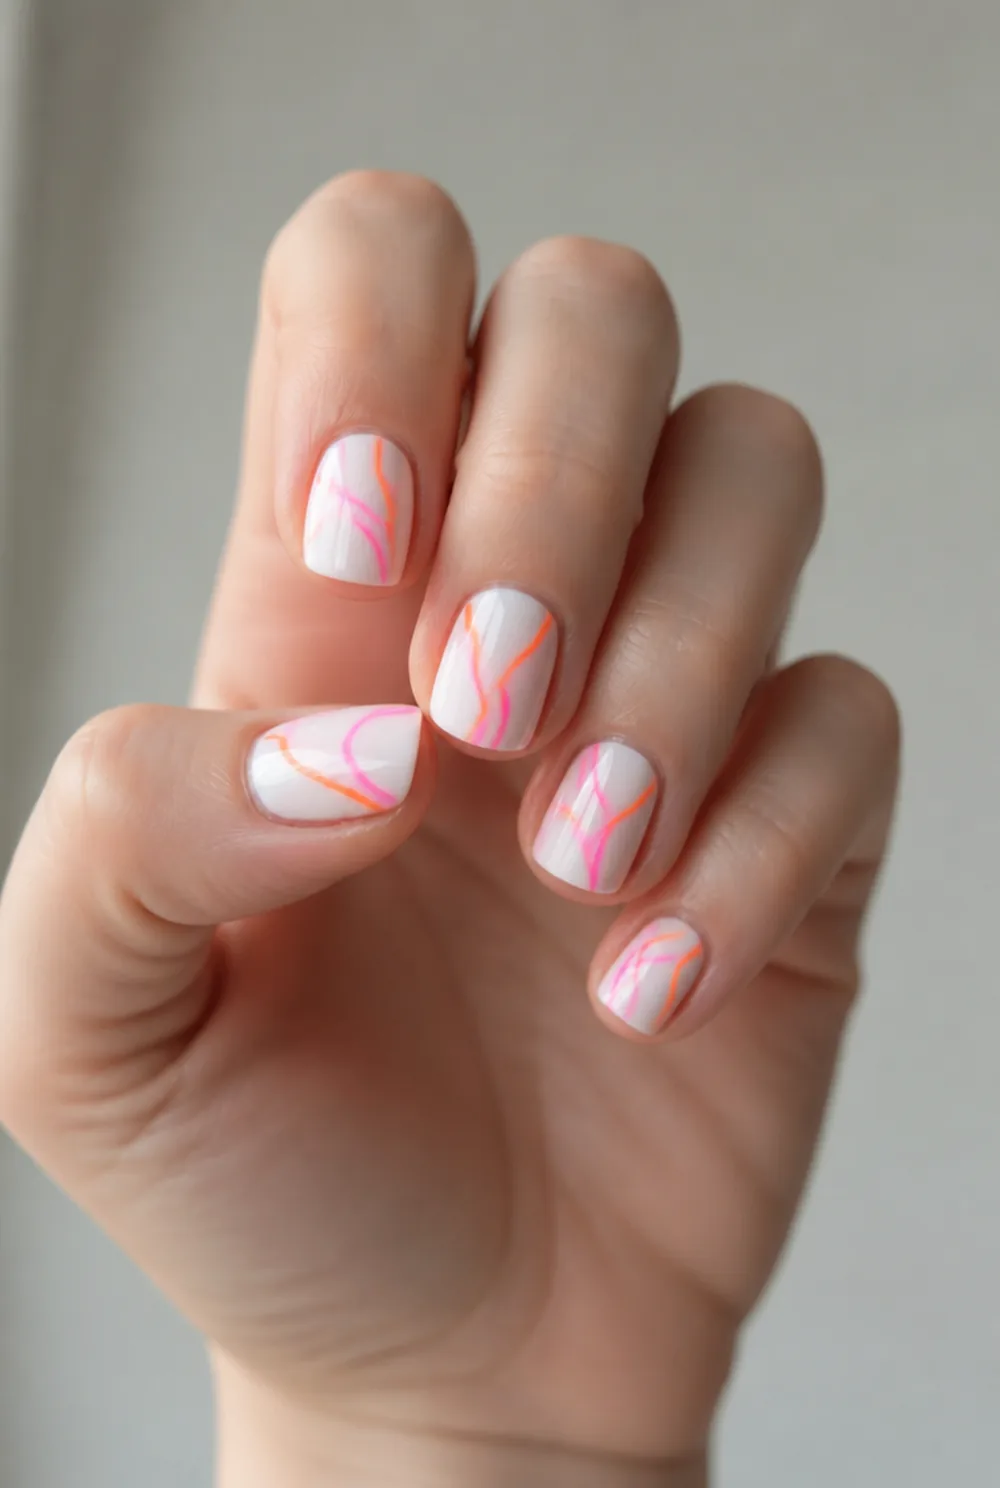

neon pink and orange swirls on opaque white base
Neon pink and orange over an opaque white base. Neons need white underneath or they turn muddy, and that base coat is the step most people skip.
15. Swirl Ombre
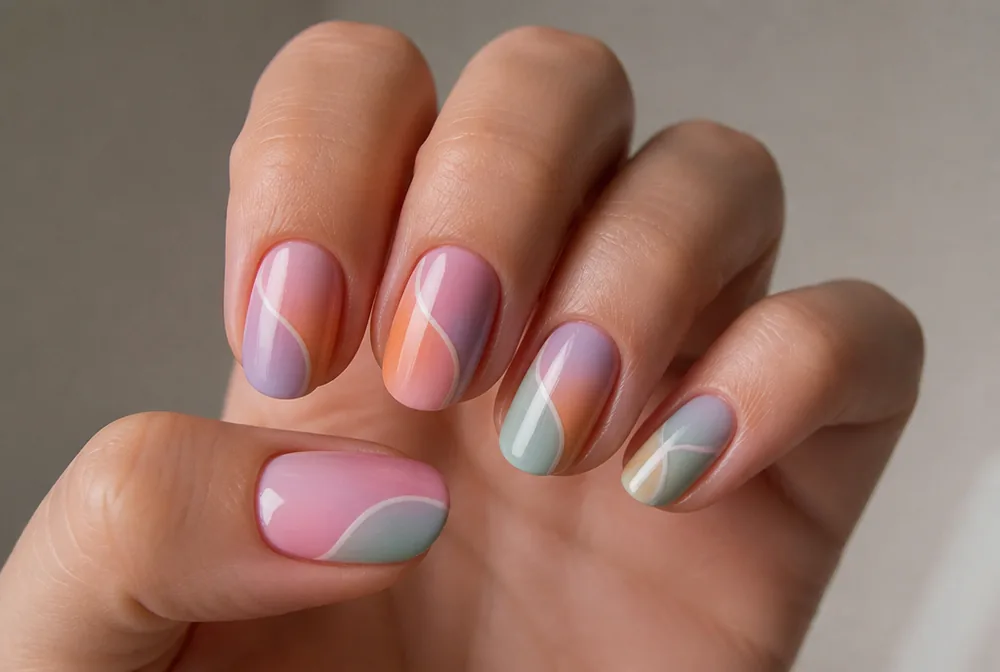

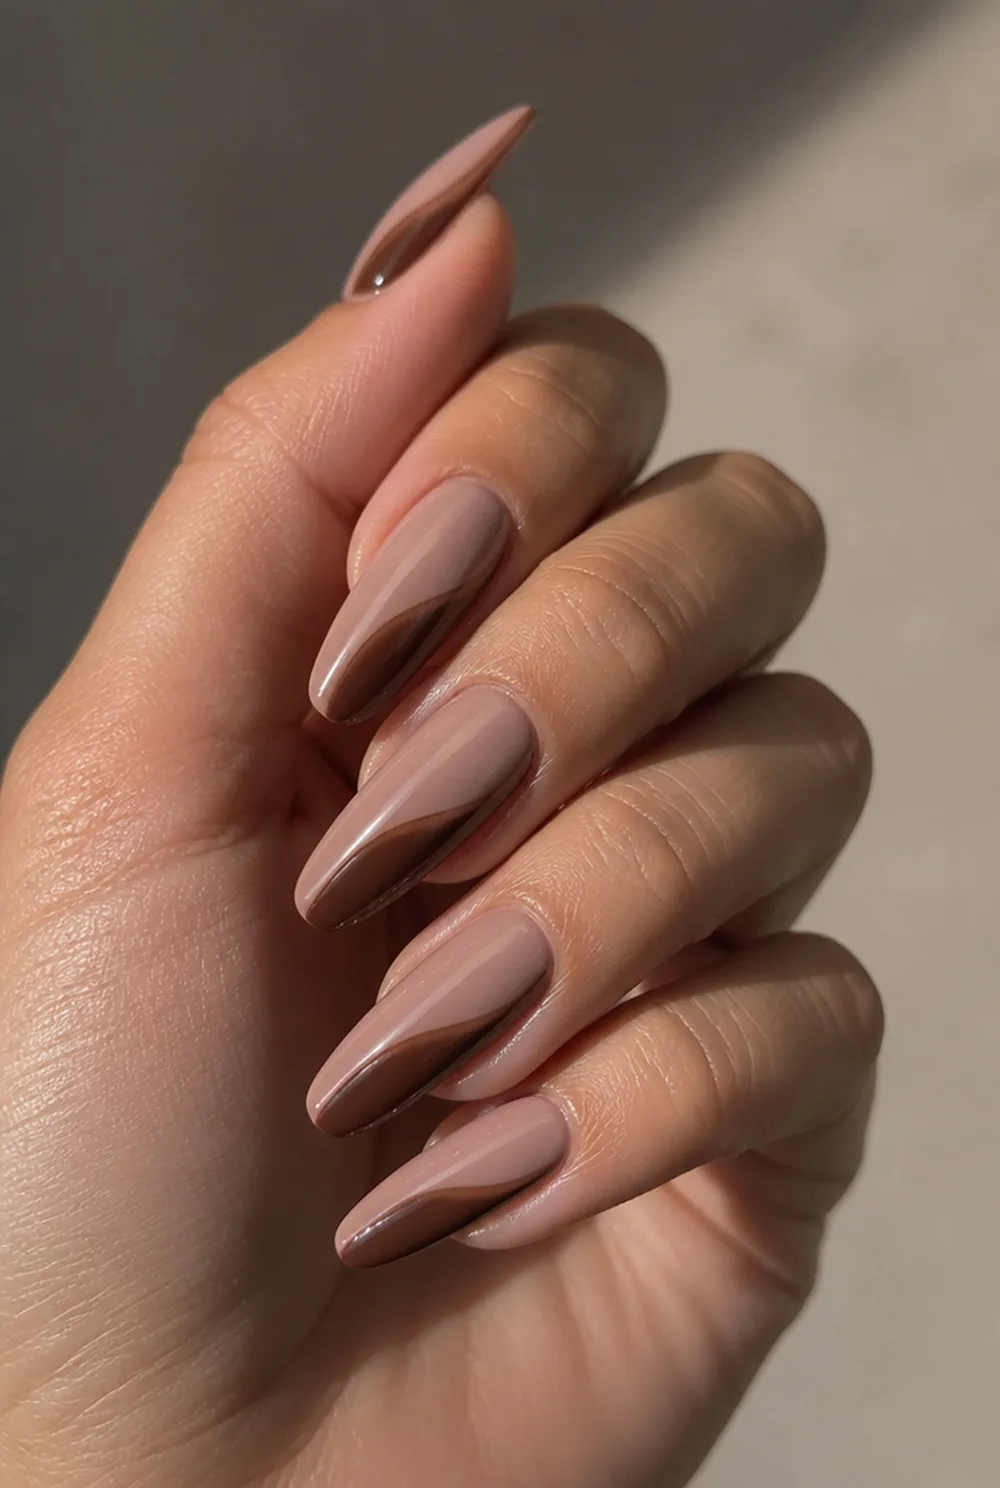
swirl dividing two colors that fade into each other
A swirl dividing two colors that fade into each other rather than meeting hard. It softens the whole design. Technique in our ombre nails guide.
16. Micro Swirl

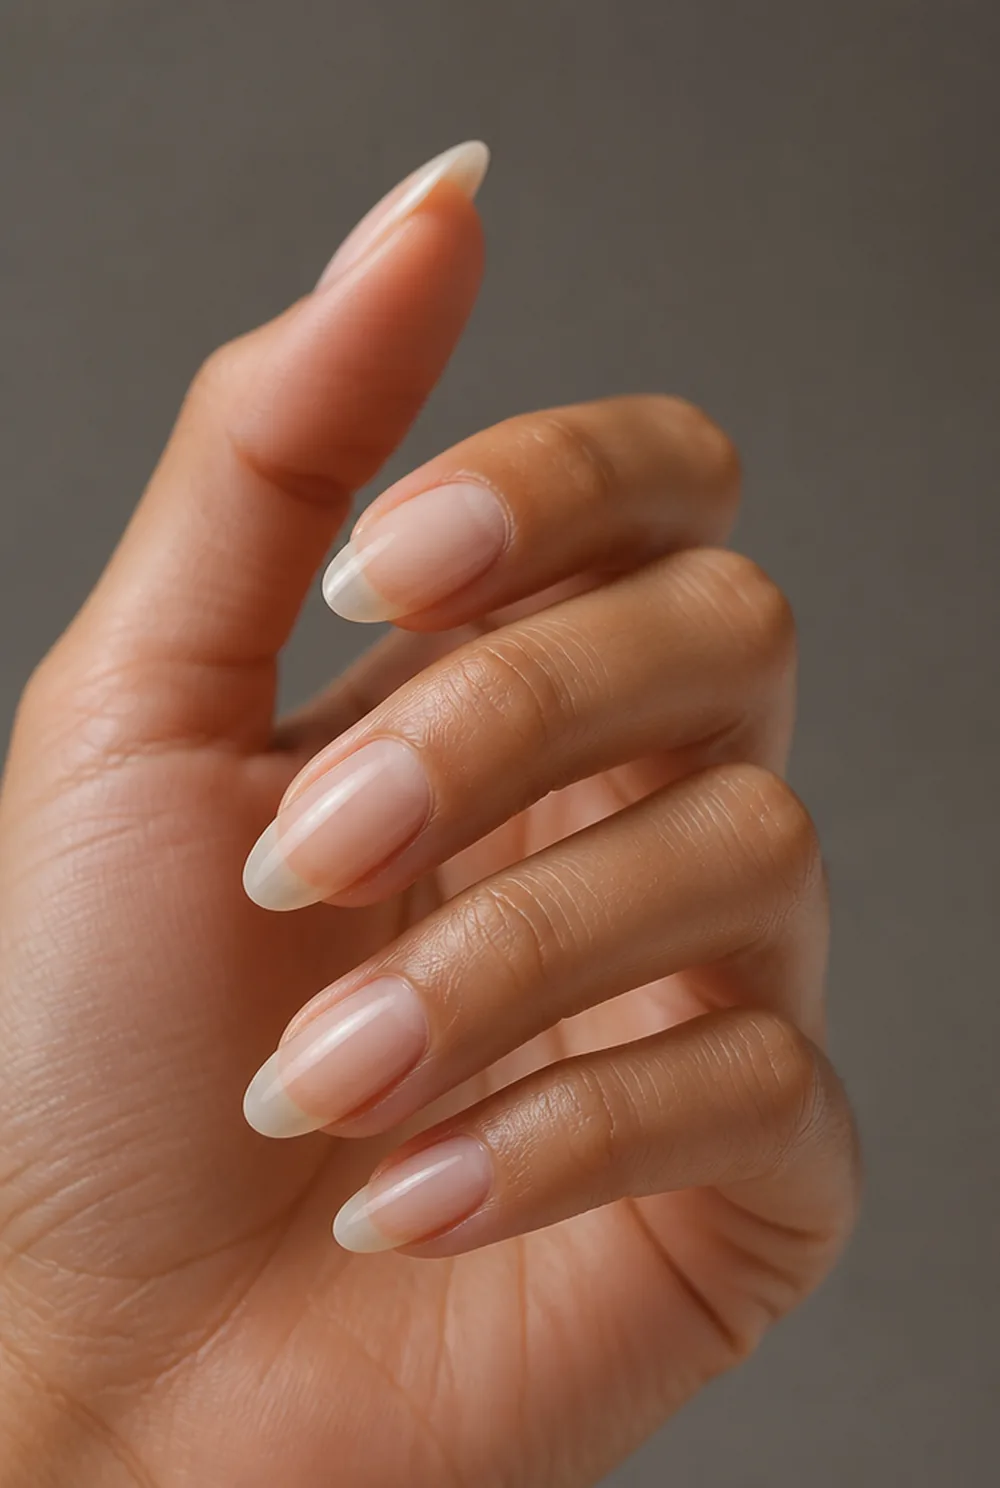
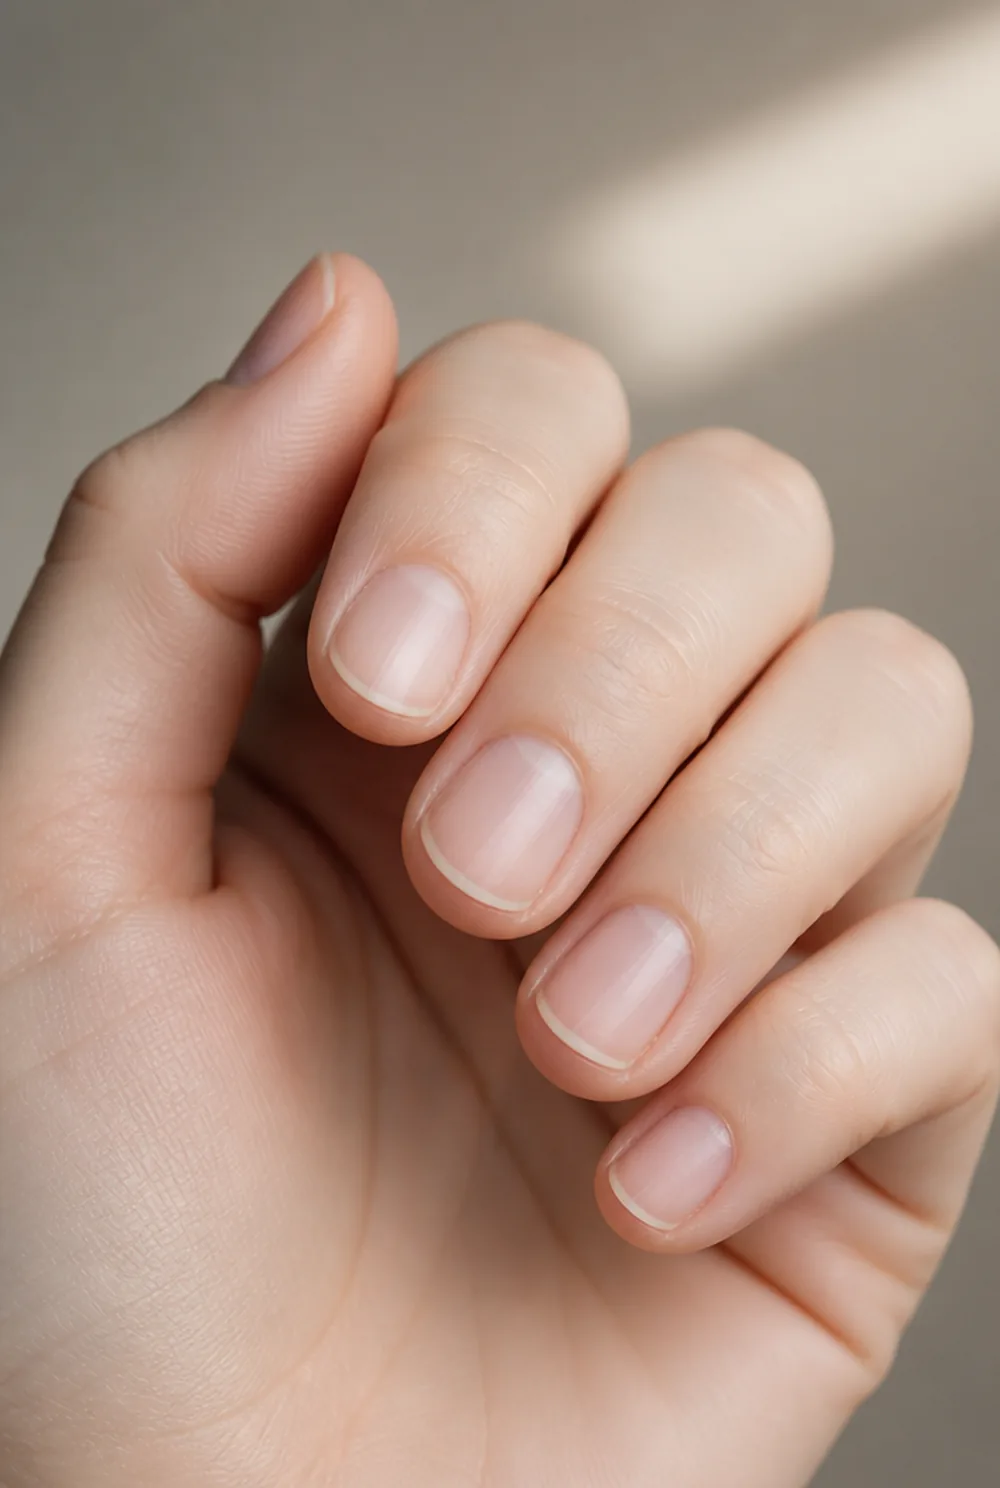
hairline white swirl on almost bare nail
A hairline swirl, barely there, on an almost bare nail. It is the version that works in a conservative office. See our minimalist nails post.
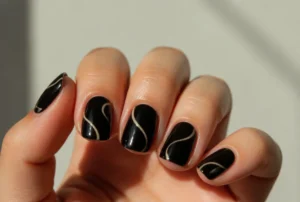
17. Swirl on Black

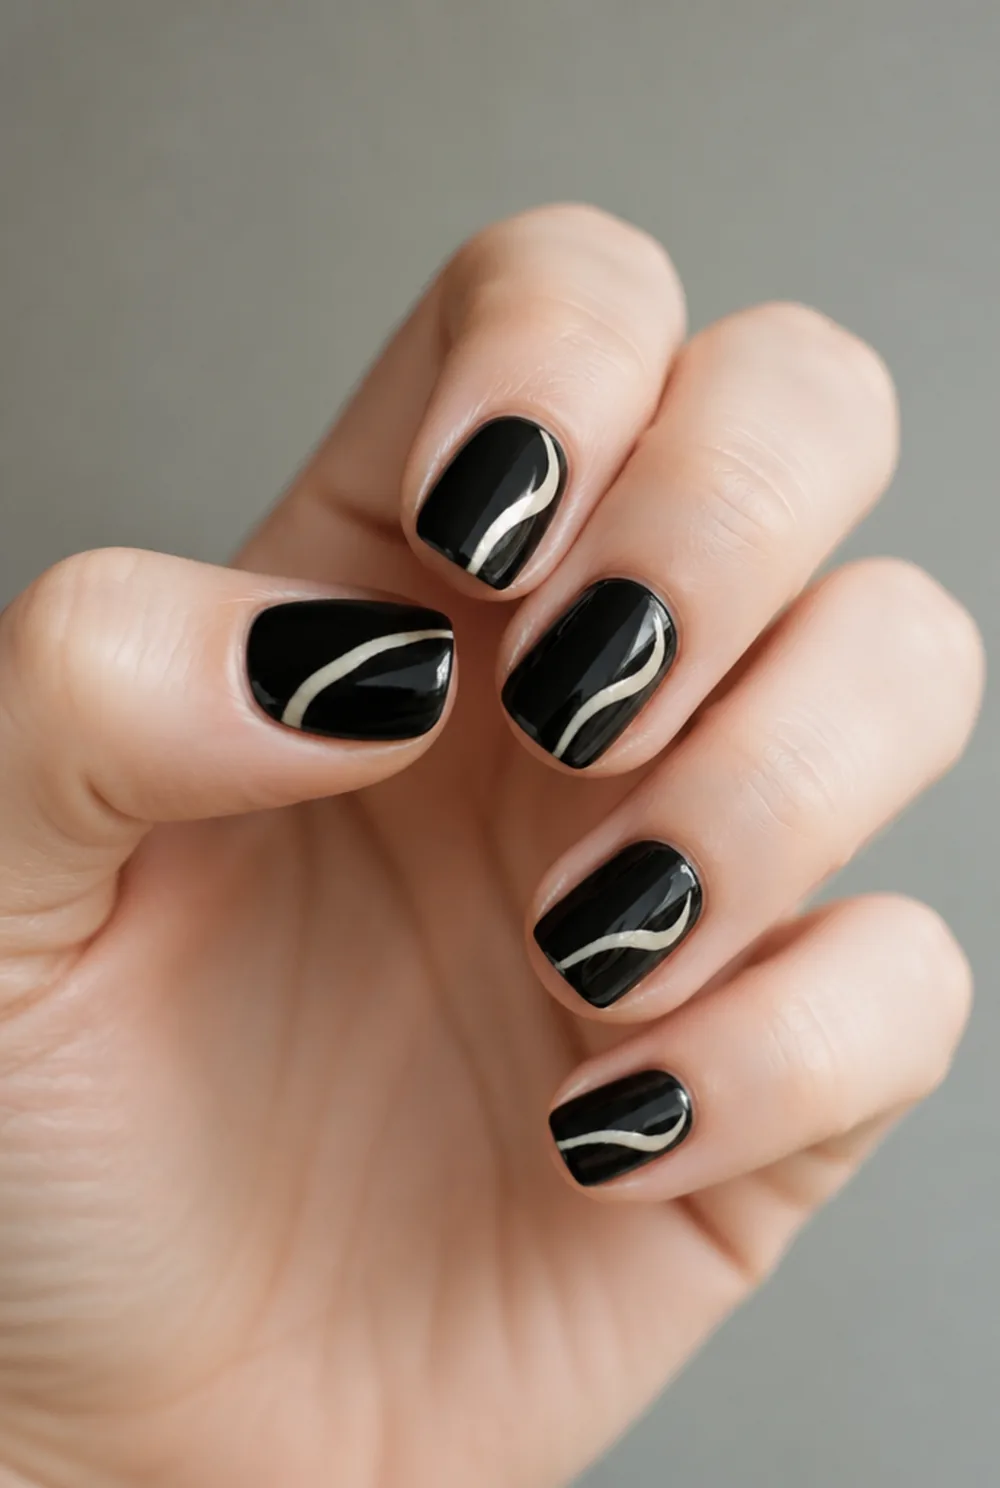

cream swirl on glossy black base
A cream swirl on glossy black. Reversing the usual light-on-light pairing makes it look far more expensive than it is. More in our black nail ideas post.
18. Swirl with One Rhinestone

one small rhinestone where swirl runs off edge
One small crystal set where the swirl runs off the edge. It gives the line somewhere to end, and it costs about ten cents. Gel is needed to keep it on past a few days.
The brush that makes swirl nails possible
Almost everyone who fails at swirl nails is using the wrong brush, and no amount of practice fixes that.
The brush in a polish bottle is short, wide, and designed to flood a surface. It carries far too much product for a line and it has no flexibility, so it drags rather than glides.
What you want is a striper, sometimes sold as a liner. It is a long, very thin brush, usually 7 to 10mm of bristle, and it holds enough polish to draw an entire curve in one stroke without reloading. A set costs about $5.
The length is the part that matters. A long brush lets the bristles bend and follow the curve of your hand movement, which is what produces a smooth arc. A short brush forces you to steer, and steering is what makes lines wobble.
How to draw the line
Move the finger, not the brush. This is the single thing that changes results.
Rest the brush hand on the table so it cannot drift, load the striper, touch it down at one edge of the nail, and then rotate the finger you are painting underneath it. Your hand stays still and the nail travels past the brush. It feels wrong for about three nails and then it feels obvious.
Draw the whole curve in one continuous movement without lifting. A swirl that is drawn in two halves always shows the join, because the two arcs never quite agree.
Run the line off both edges of the nail. A swirl that stops before the sidewall looks like a mistake, and one that runs off looks like a fragment of something bigger.
Getting the polish consistency right
Thick polish will not draw a thin line no matter how good your brush is.
Old polish that has thickened in the bottle is the usual culprit. It clings to the brush in a blob and deposits unevenly, which gives you a line that is thin at the start and fat at the end. Two drops of proper polish thinner fixes it. Never use remover, which breaks the formula.
Wipe most of the polish off the striper before you start, leaving the bristles coated rather than loaded. You want enough for one line and no more.
Gel paint is easier than polish for this because it does not dry while you work. If you own a lamp, a small pot of black and white gel paint will improve every line you draw.
Fixing a swirl that went wrong
Do not try to correct a wobble while the polish is wet. You will smear it into the base coat and lose both.
Let it dry completely, which takes about two minutes for a thin line. Then dip a small flat brush in remover, squeeze most of it out, and cut the edge of the line straight. A dry-ish brush lifts the line without touching the color underneath.
If the line is beyond saving, the honest fix is to turn it into a thicker line rather than removing it. Widen it into a proper curve, or add a second swirl beside it so the pair reads as a design.
Dots along the curve are the other rescue. They break the eye’s path along the line, and an uneven line stops being visible.
Color pairings that work
Swirls live or die on contrast, and there are three combinations that reliably look good.
High contrast is black on white or white on black. It is graphic and it photographs well, and it is the one to use if you want people to notice.
Low contrast is cream on nude, or beige on milky white. The swirl is barely visible in normal light and catches only when the hand moves. This is the office version and the most wearable one.
Metallic on anything works because gold and silver read as texture rather than as color, so they never clash. If you cannot decide, gold on nude is the safe answer.
Which nail shapes suit swirls
Swirls need surface area, and shape decides how much you have.
Square and squoval are the best canvases because the nail keeps its full width all the way to the tip, so a curve has room to travel. My squoval nails post covers that shape.
Almond and stiletto narrow toward the tip, which compresses the end of the curve. A swirl still works but keep it in the lower two thirds of the nail rather than running it to the point.
On very short nails, use one swirl rather than two and make it thinner. Two lines on a small nail turn into a smudge from a foot away.
Making swirls last
Nail art fails at the edges of the design before it fails anywhere else, and a swirl is nearly all edge.
Let the line dry properly before you top coat, at least five minutes. Top coating a wet line drags the color sideways and blurs it, which is the most common way a good swirl gets ruined at the last step.
Float the top coat on rather than brushing it. Load the brush more than usual, touch it down in the middle of the nail, and let it spread outward with almost no pressure.
Seal the free edge and reapply top coat every third day. My manicure longevity post covers the rest of it.
What to ask for at the salon
Swirls are cheap nail art by salon standards, usually $3 to $5 a nail on top of a gel set, because they take one stroke rather than a build-up of layers.
Bring a photo. Swirl is a broad word and it covers everything from a hairline curve to a full seventies pattern, so a picture saves you both a conversation. Say how many nails you want it on, because two accent nails costs a fraction of ten.
Ask for gel paint rather than polish for the line. It cures hard, it will not smear under the top coat, and it holds a crisp edge for the full three weeks. Any technician doing art will have it. Gel means a curing lamp, so the Skin Cancer Foundation suggests broad spectrum sunscreen on your hands 20 minutes before.
If your nails are short, ask them to keep the line thin. Technicians default to a medium line that suits the longer nails they see most, and on a short nail that reads heavy. My short gel nails post has more on scaling art down.

FAQ
How do you do swirl nails at home?
Paint a base color and let it dry fully, then use a long striper brush to draw one continuous S-curve across each nail. Rest your brush hand on the table and rotate the finger underneath the brush rather than moving the brush itself. Run the line off both edges of the nail.
What brush do you use for swirl nails?
A striper or liner brush with 7 to 10mm of bristle length. The length lets the bristles flex and follow a curve, which is what makes the line smooth. A polish bottle brush is too short and carries far too much product to draw a thin line.
Are swirl nails hard to do?
They look harder than they are. The design is a single line, so there is only one thing to get right, and any wobble can be hidden by adding dots along the curve or widening the line. Start with one accent nail rather than all ten.
Are swirl nails still in style?
Yes, though the styling has shifted from thick seventies swirls toward fine single lines in low-contrast colors. The micro swirl on a nude or milky base is the current version and it is a lot more wearable than the maximalist original.
Buy the striper brush before you buy anything else. My nail art ideas post has the rest of the beginner designs worth learning.