
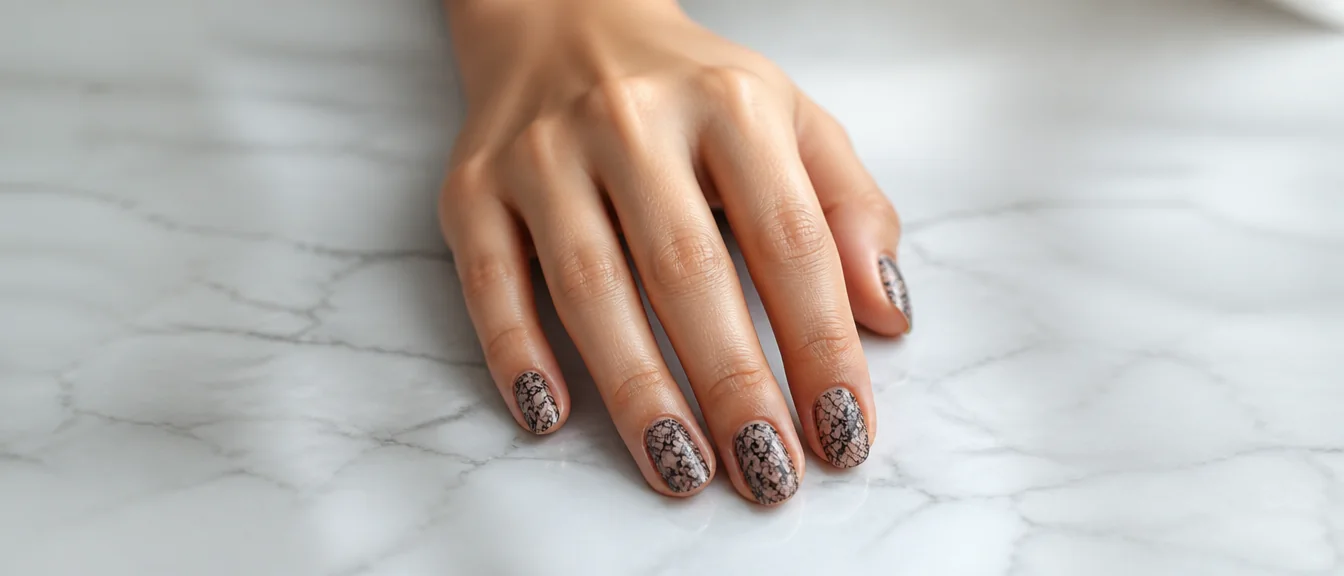
Nail stamping puts a printed pattern on your nail in about ten seconds, which makes it the only way to get detailed nail art without being able to draw. A full kit costs under $20. The reason most people give up on it in week one is a single product choice nobody explains.
Here are 18 nail stamping designs, why regular polish will never work for this, the scraping angle that fixes most failed transfers, and what to buy. If you want art you paint by hand instead, our simple nail designs for beginners post covers that.
Editor’s picks
Browse all 18 designs
18 designs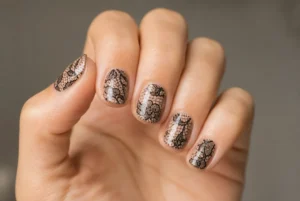 1Black Lace on Nude
 2White Florals on Blue
 3Newspaper Print
 4Stamped French Tip
 5Gold Filigree on Black
 6Stamped Leopard Print
 7Stamped Snowflakes
 8Stamped Checkerboard
 9Stamped Accent Nail
 10Stamped Halloween Nails
 11Stamped Marble Veins
 12Reverse Stamping
 13Stamped Botanicals
 14Stamped Polka Dots
 15Stamped Text Nails
 16Stamped Geometric Lines
 17Stamped Christmas Nails
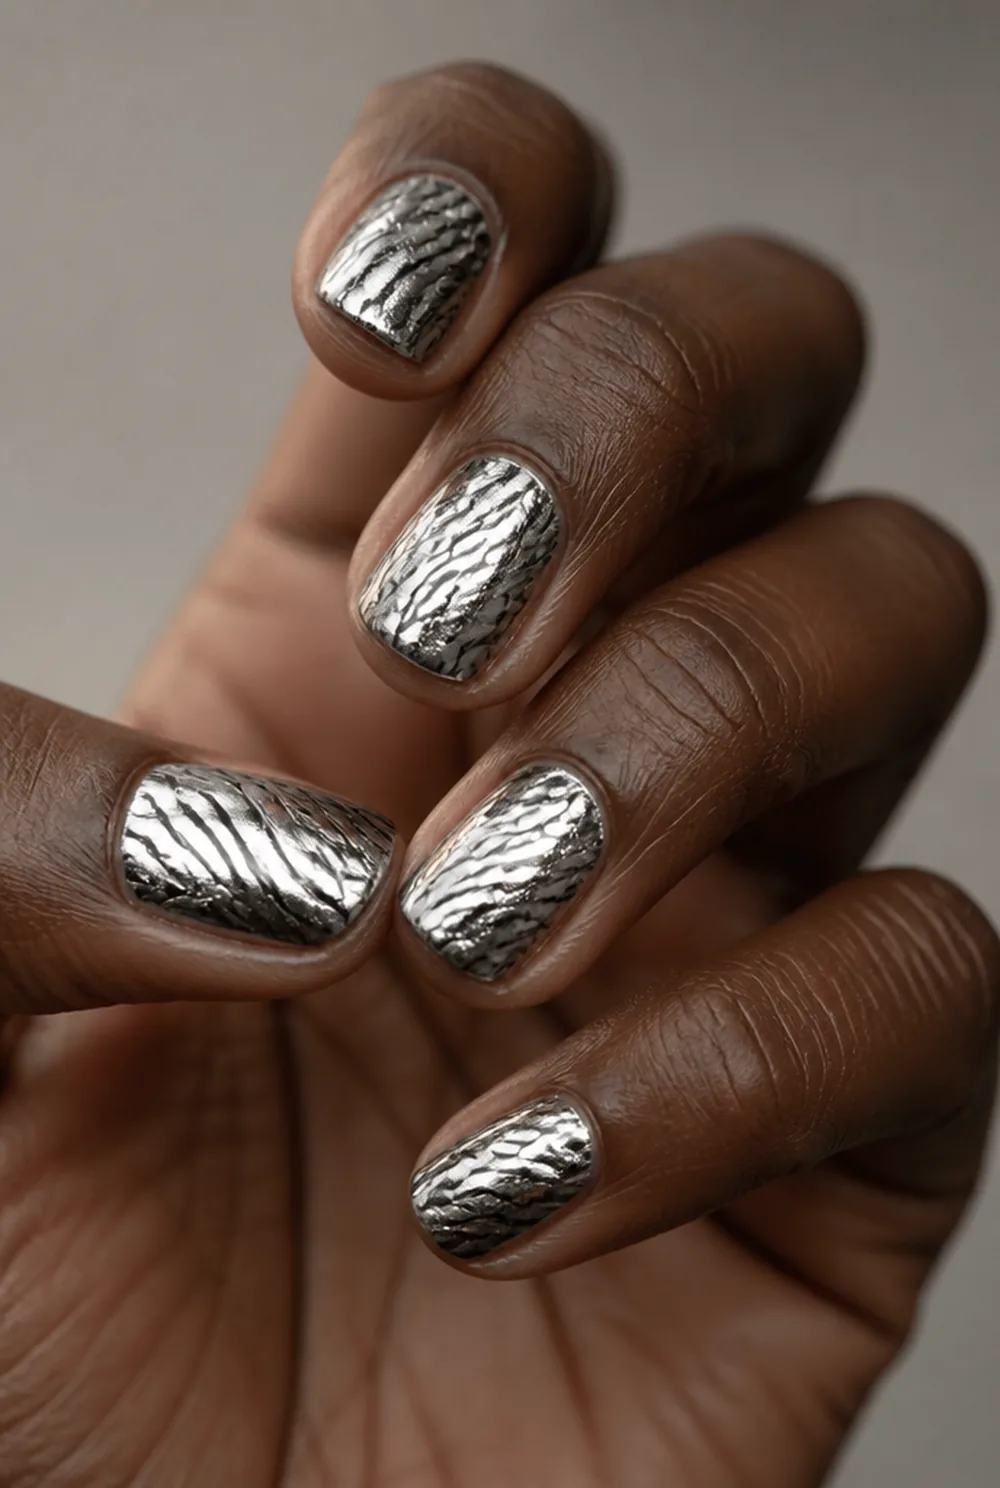 18Stamped over Chrome
18 nail stamping designs
1. Black Lace on Nude
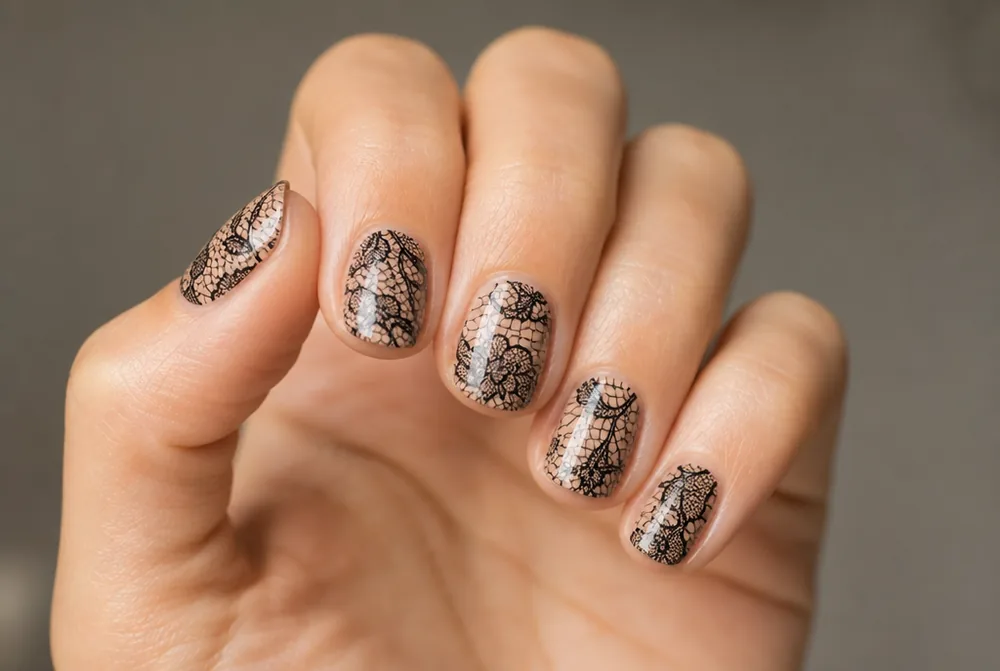
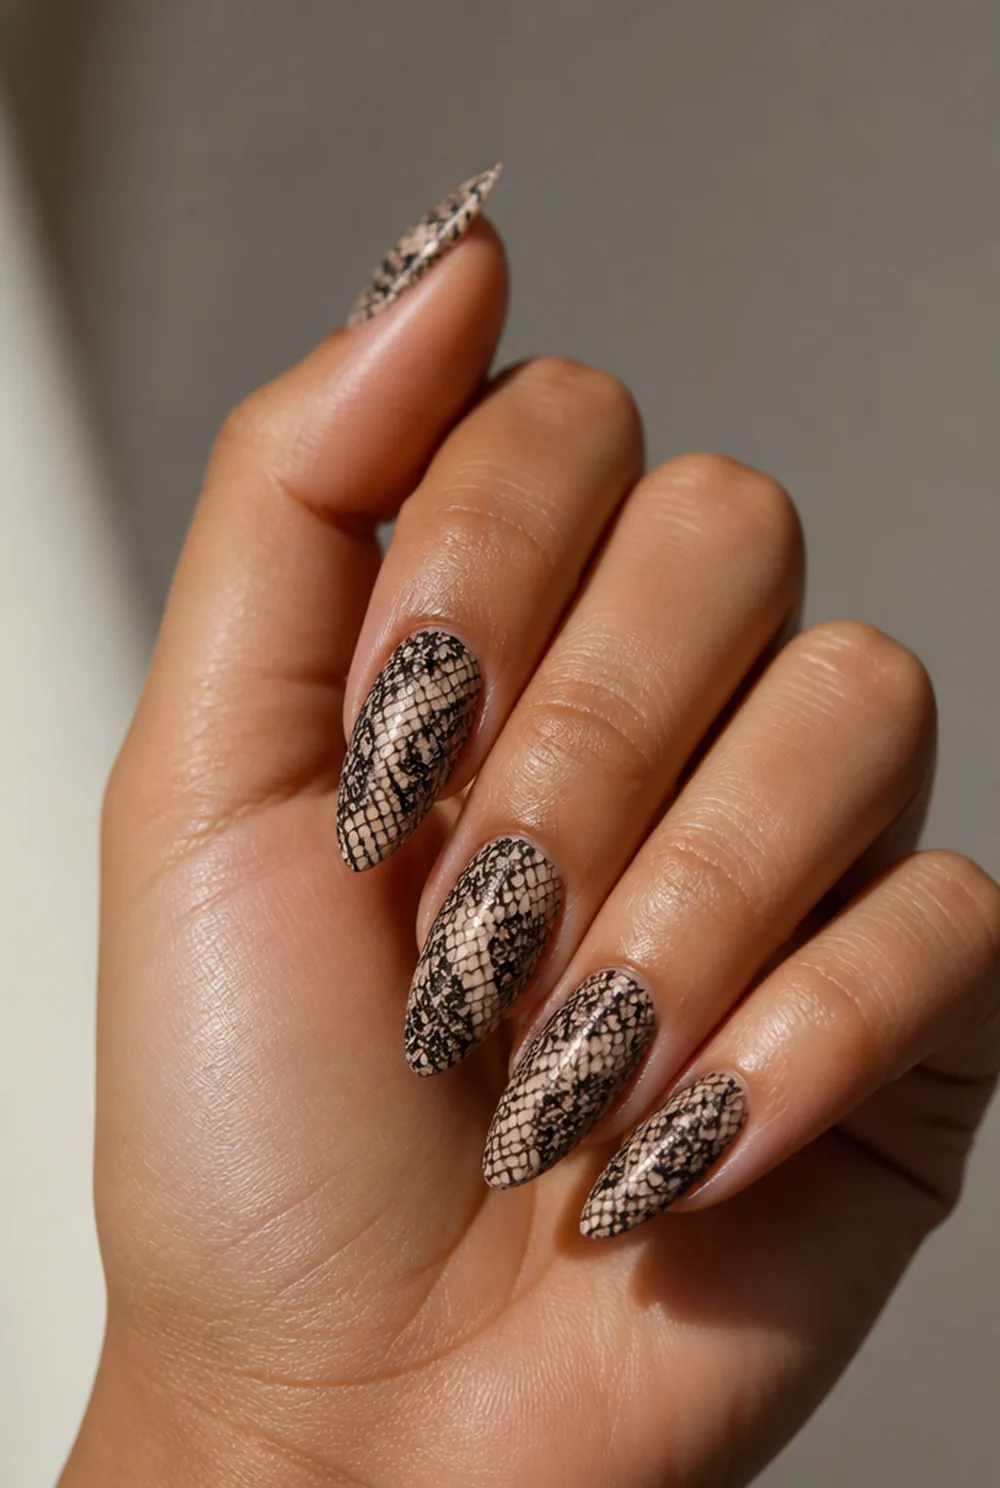

black lace stamped over nude base
Fine black lace over a nude base. Lace is the pattern stamping does better than any hand-painted method, because the detail is far finer than a brush can manage.
2. White Florals on Blue


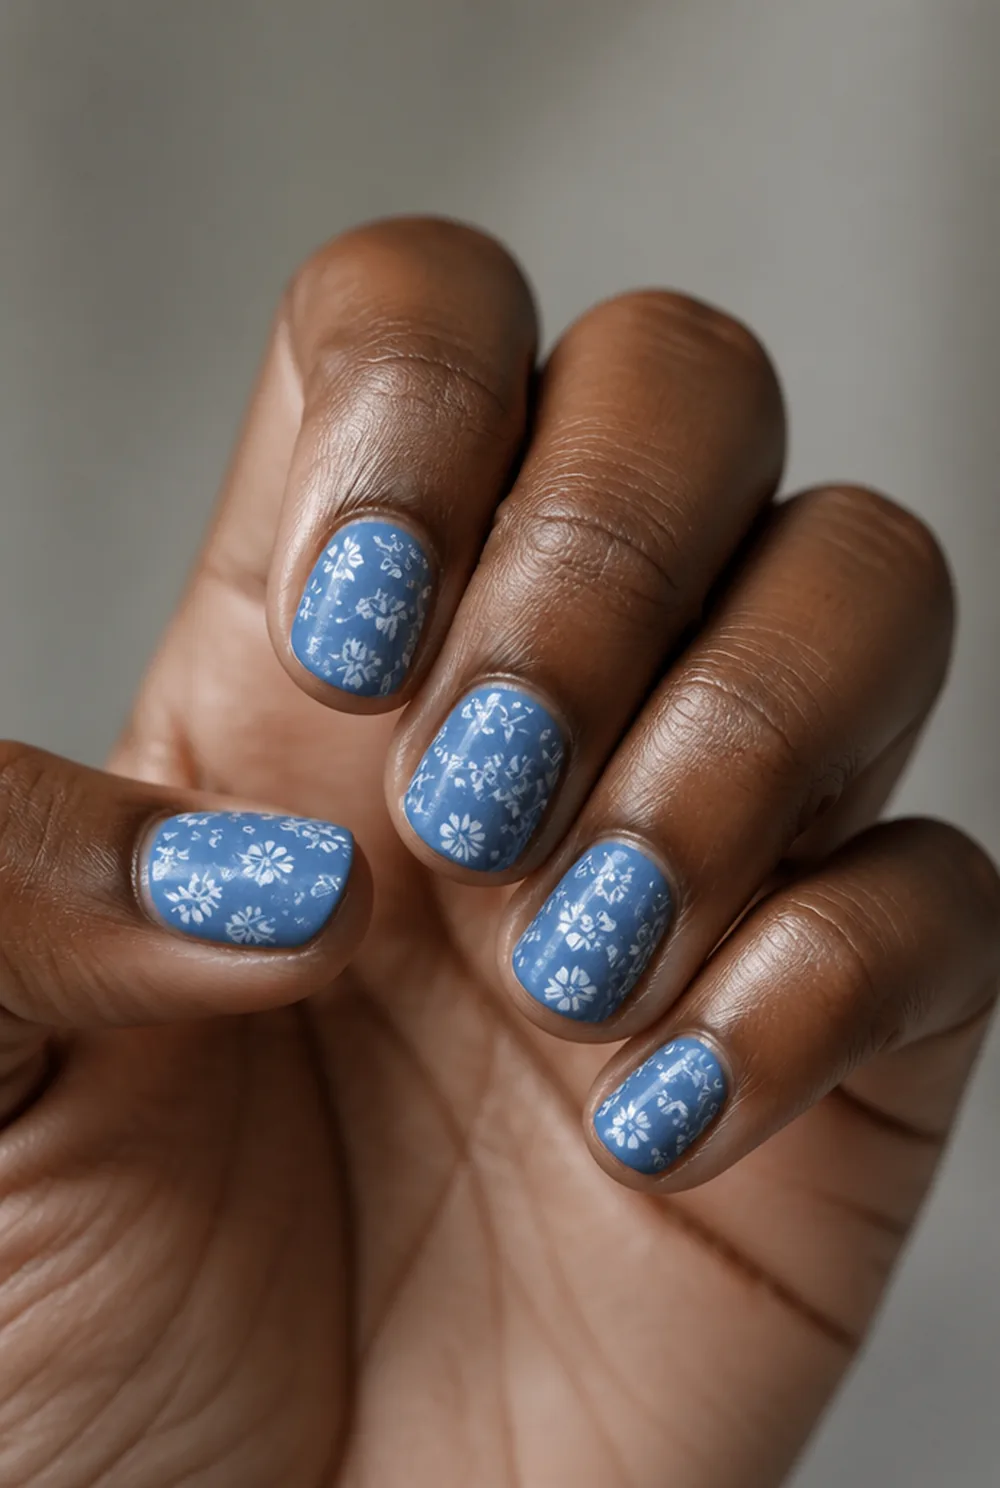
white flowers stamped on denim blue
Small white flowers over denim blue. White stamping polish is the hardest color to get an opaque transfer with, so buy a dedicated one rather than using a normal white.
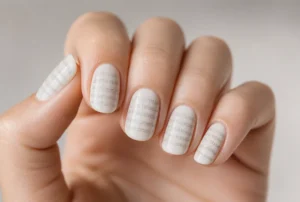
3. Newspaper Print
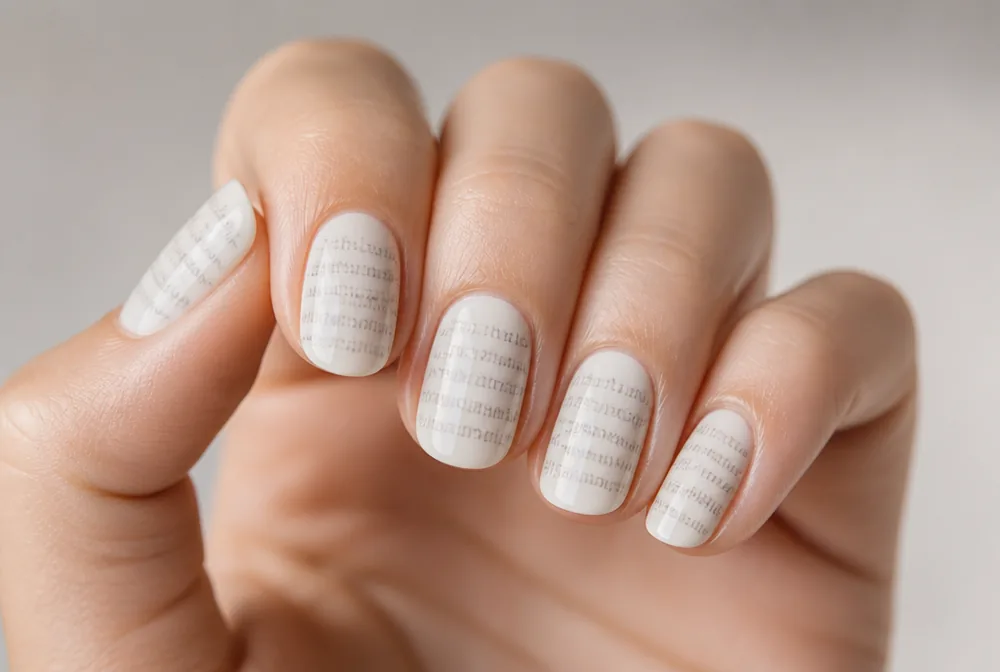
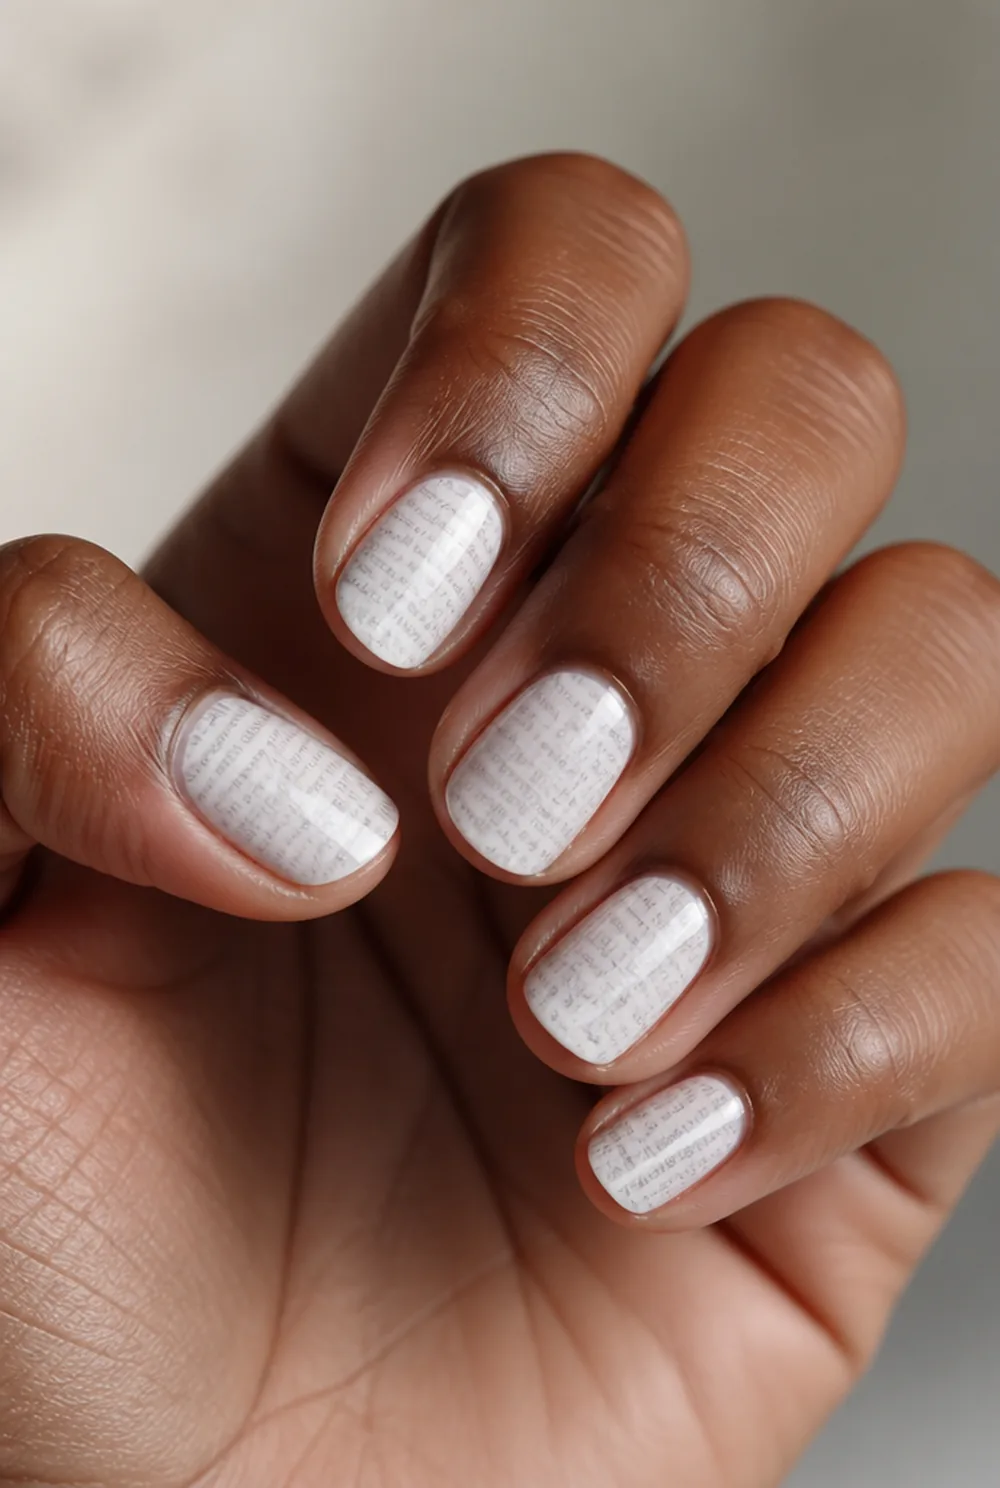
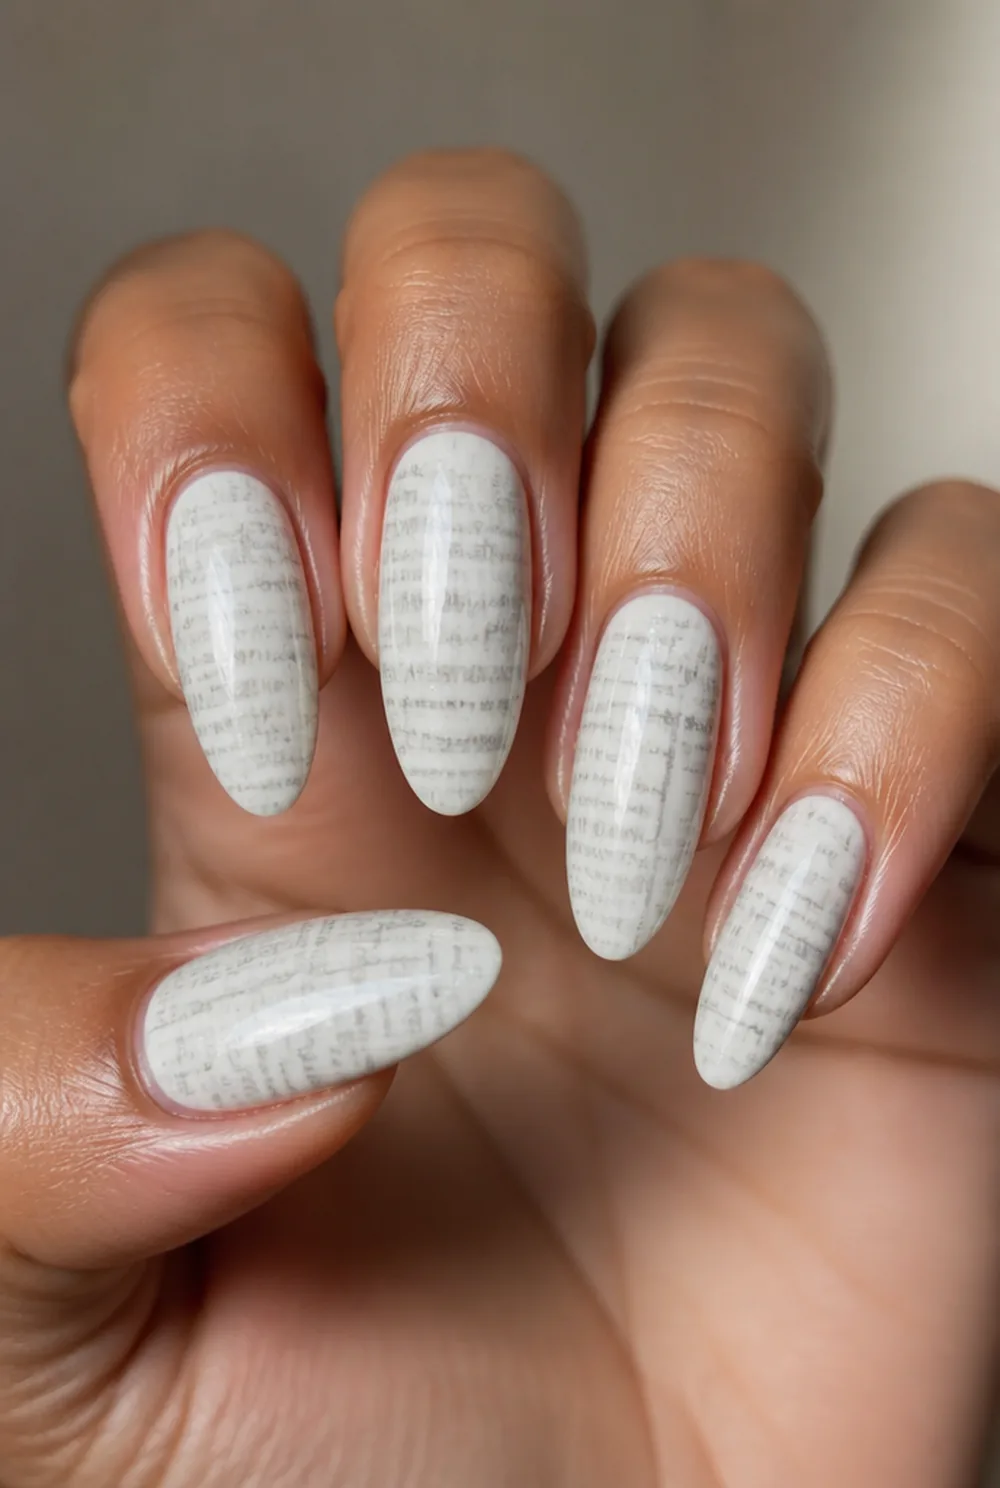
gray newsprint stamped on milky white
Gray newsprint over milky white. It is the design everyone tries first and it works because tiny text is impossible to fake any other way.
4. Stamped French Tip
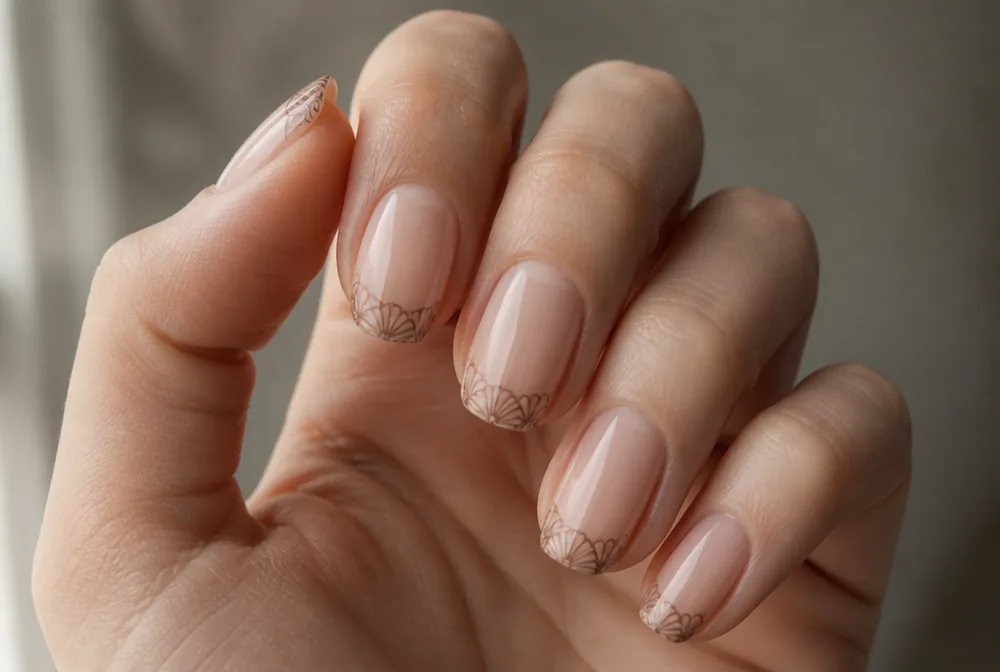


pattern stamped only on the free edge
A pattern stamped only across the free edge as a French. Position the plate so the design lands on the tip, and the rest of the nail stays bare. See our colored French tip guide.
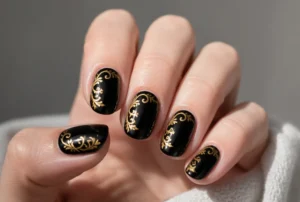
5. Gold Filigree on Black
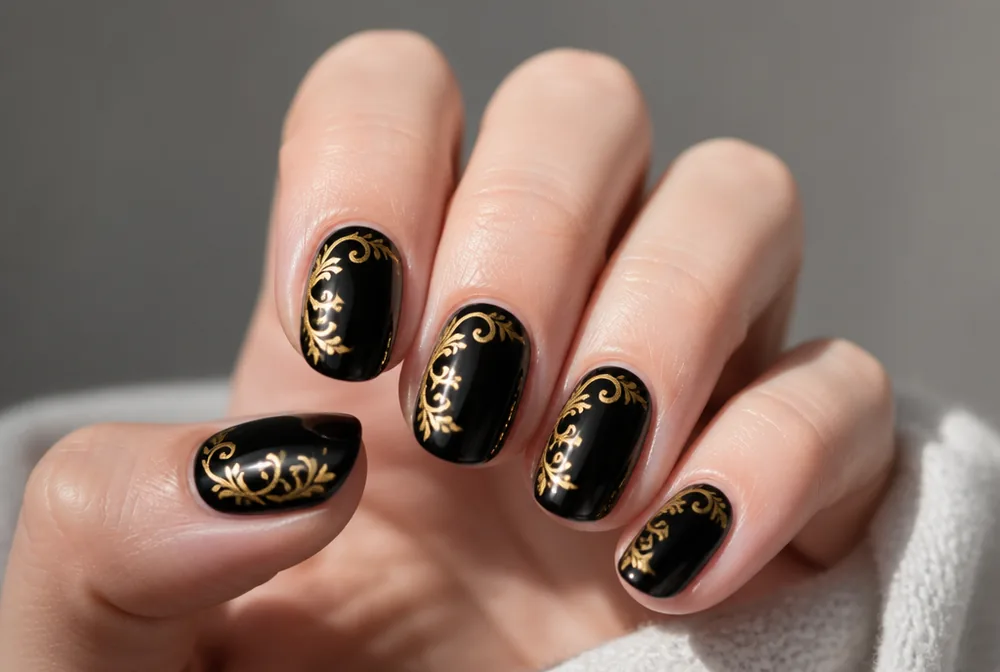


gold filigree scrollwork stamped on glossy black
Gold scrollwork on glossy black. Metallic stamping polishes transfer more reliably than any other color because of their pigment density. See our black nail ideas post.
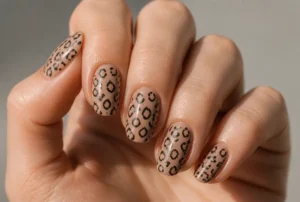
6. Stamped Leopard Print
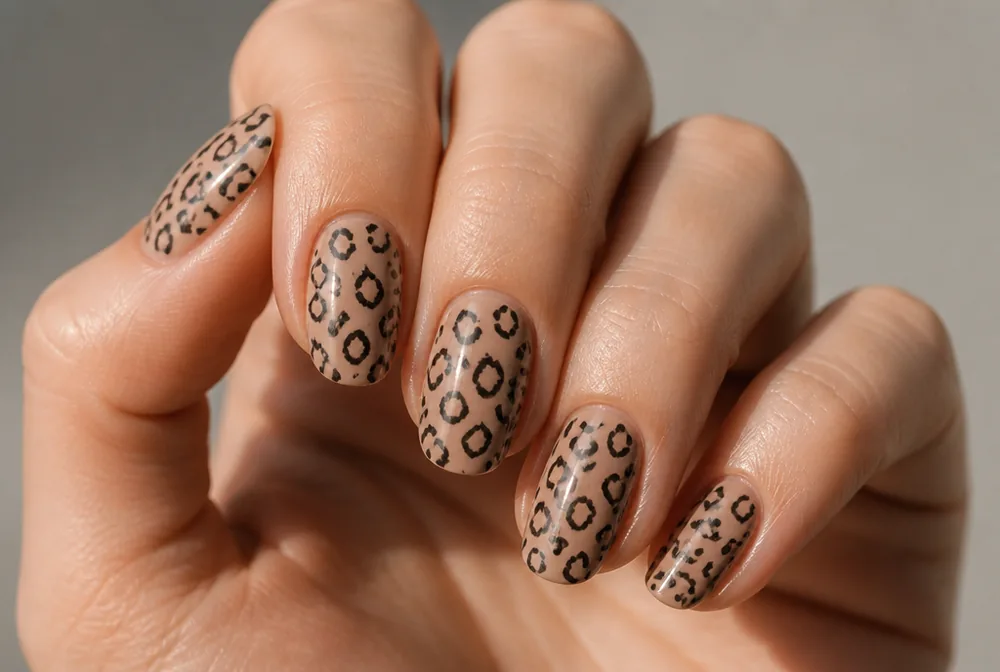

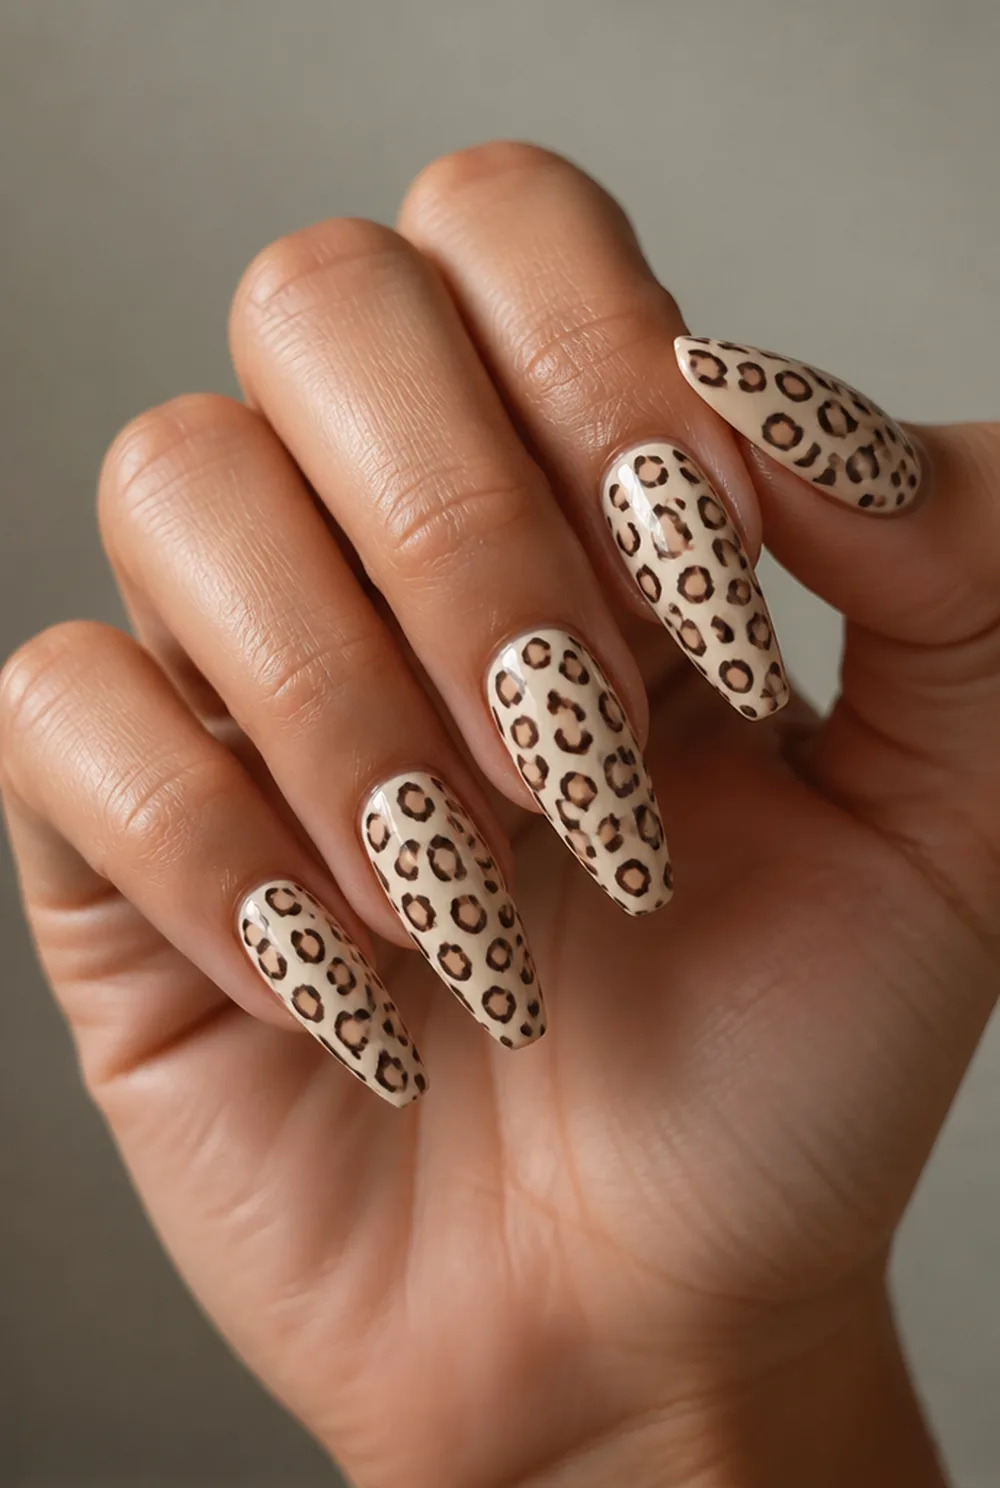
leopard print stamped on nude
Leopard is far quicker stamped than painted and the spacing is even every time. My leopard print nails post covers the freehand version if you want it.
7. Stamped Snowflakes
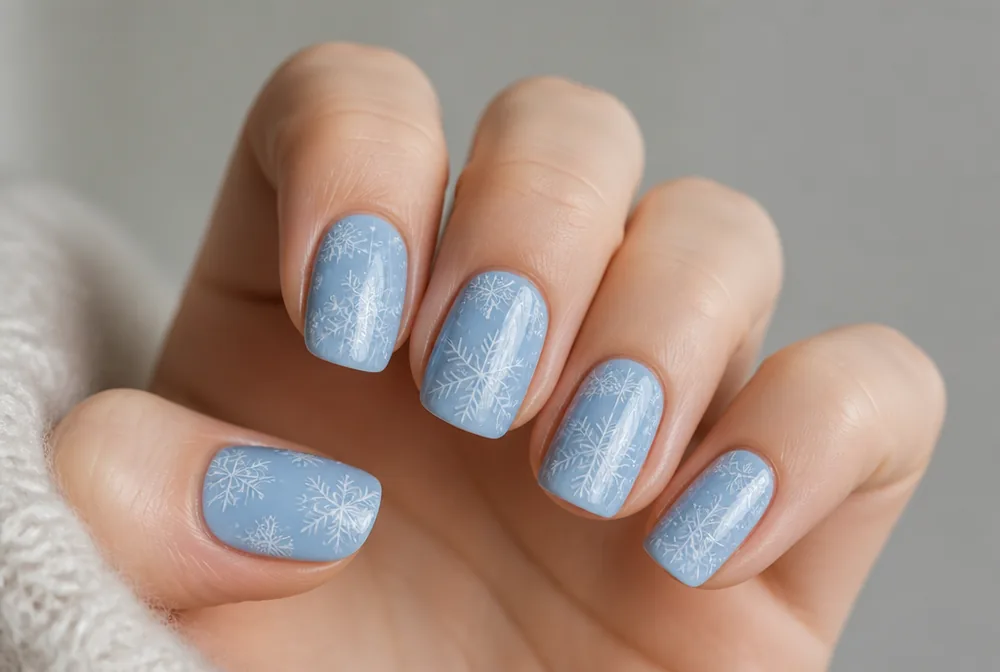
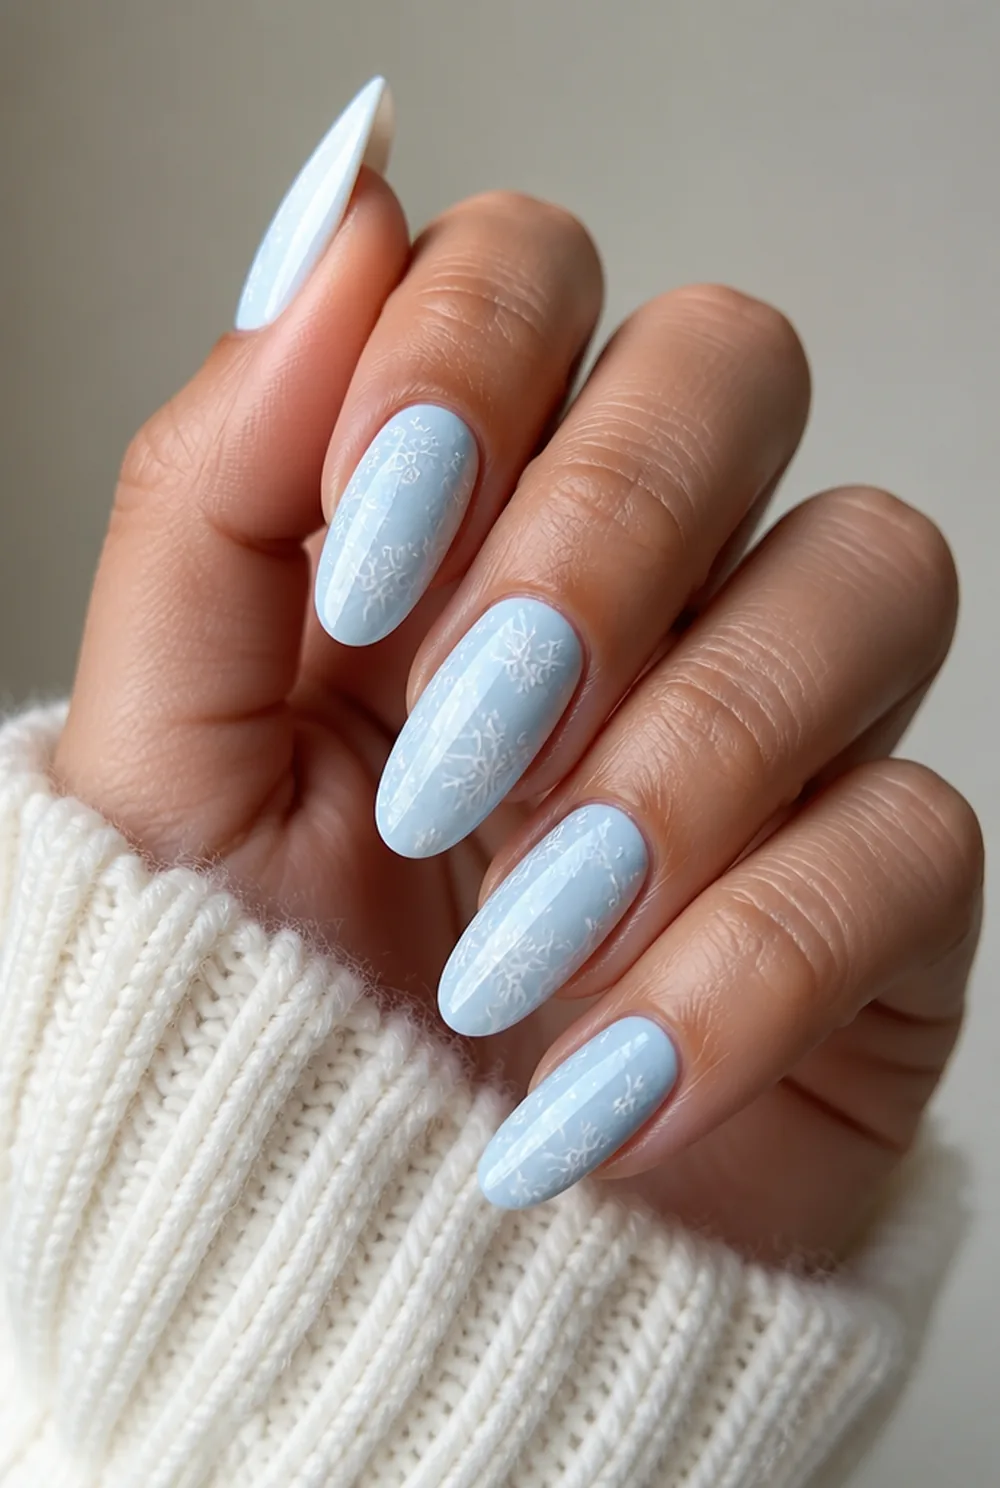

fine white snowflakes stamped on pale blue
Fine white snowflakes on pale blue. Snowflakes have exactly the kind of thin radiating detail that no brush can produce cleanly. See our snowflake nails post.
8. Stamped Checkerboard

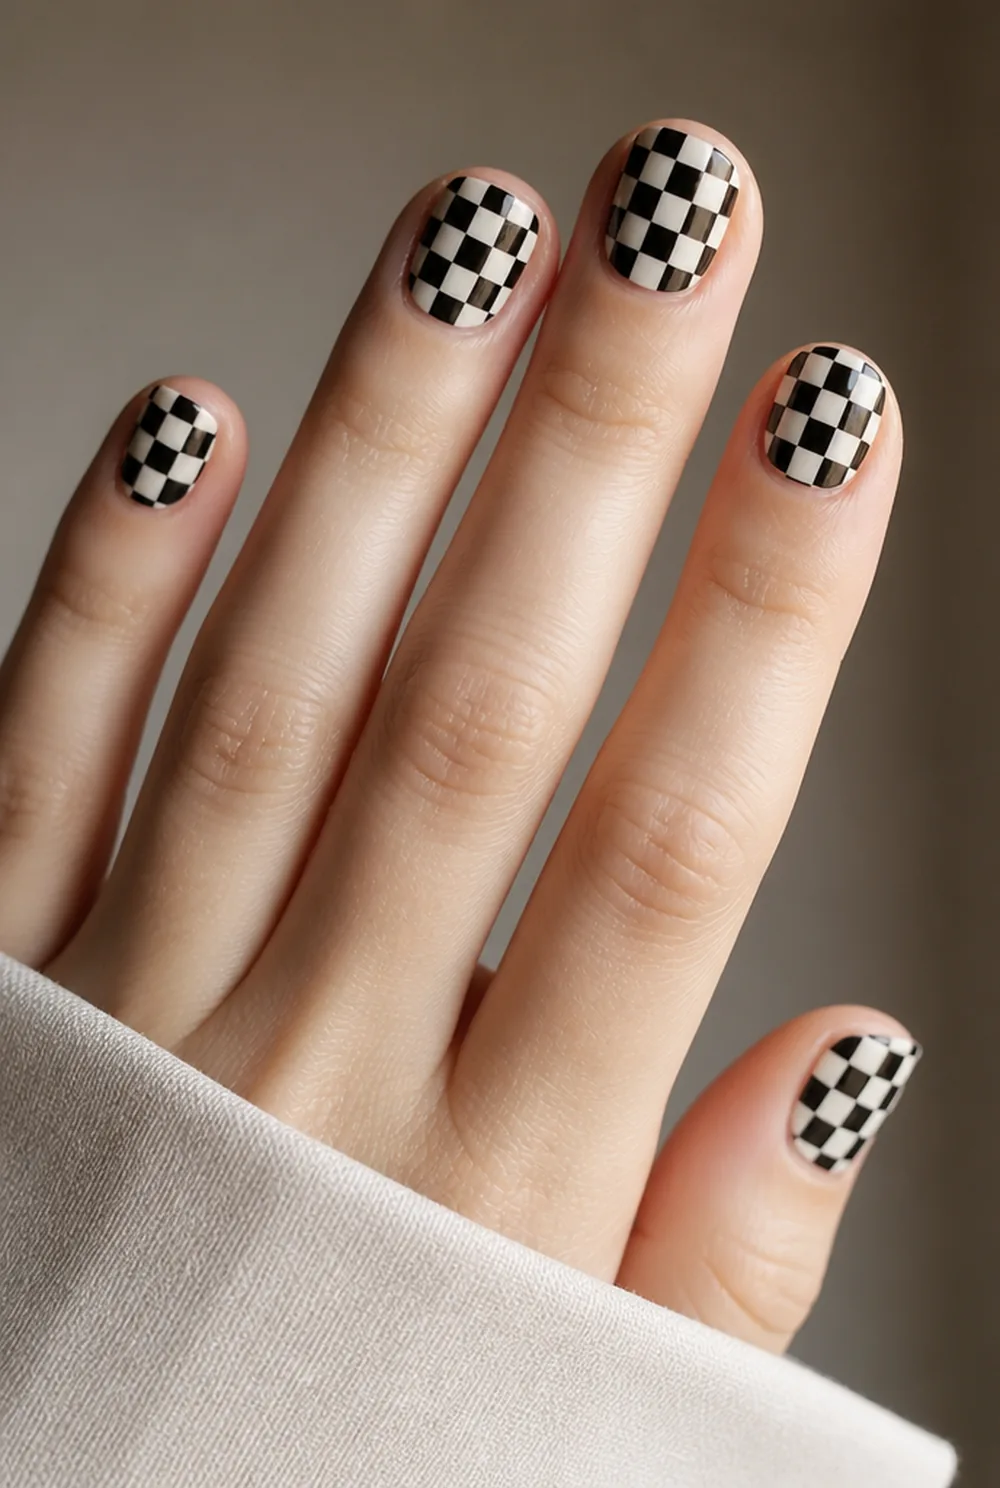

black checkerboard stamped on cream
A perfectly even checkerboard, which is the version that is genuinely tedious to paint by hand. Stamping gets you straight lines with no measuring.
9. Stamped Accent Nail
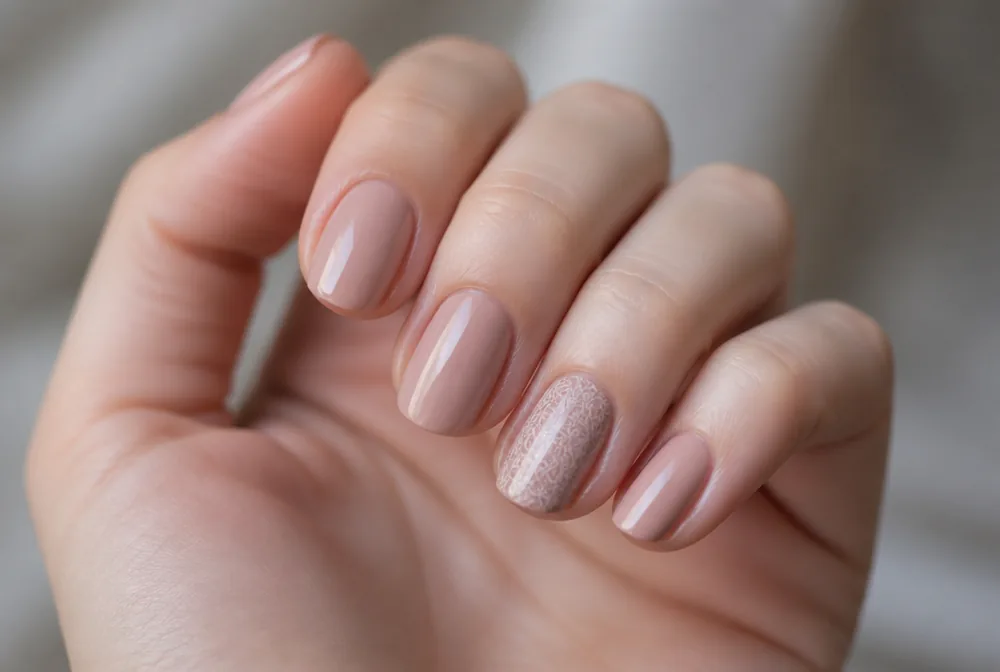
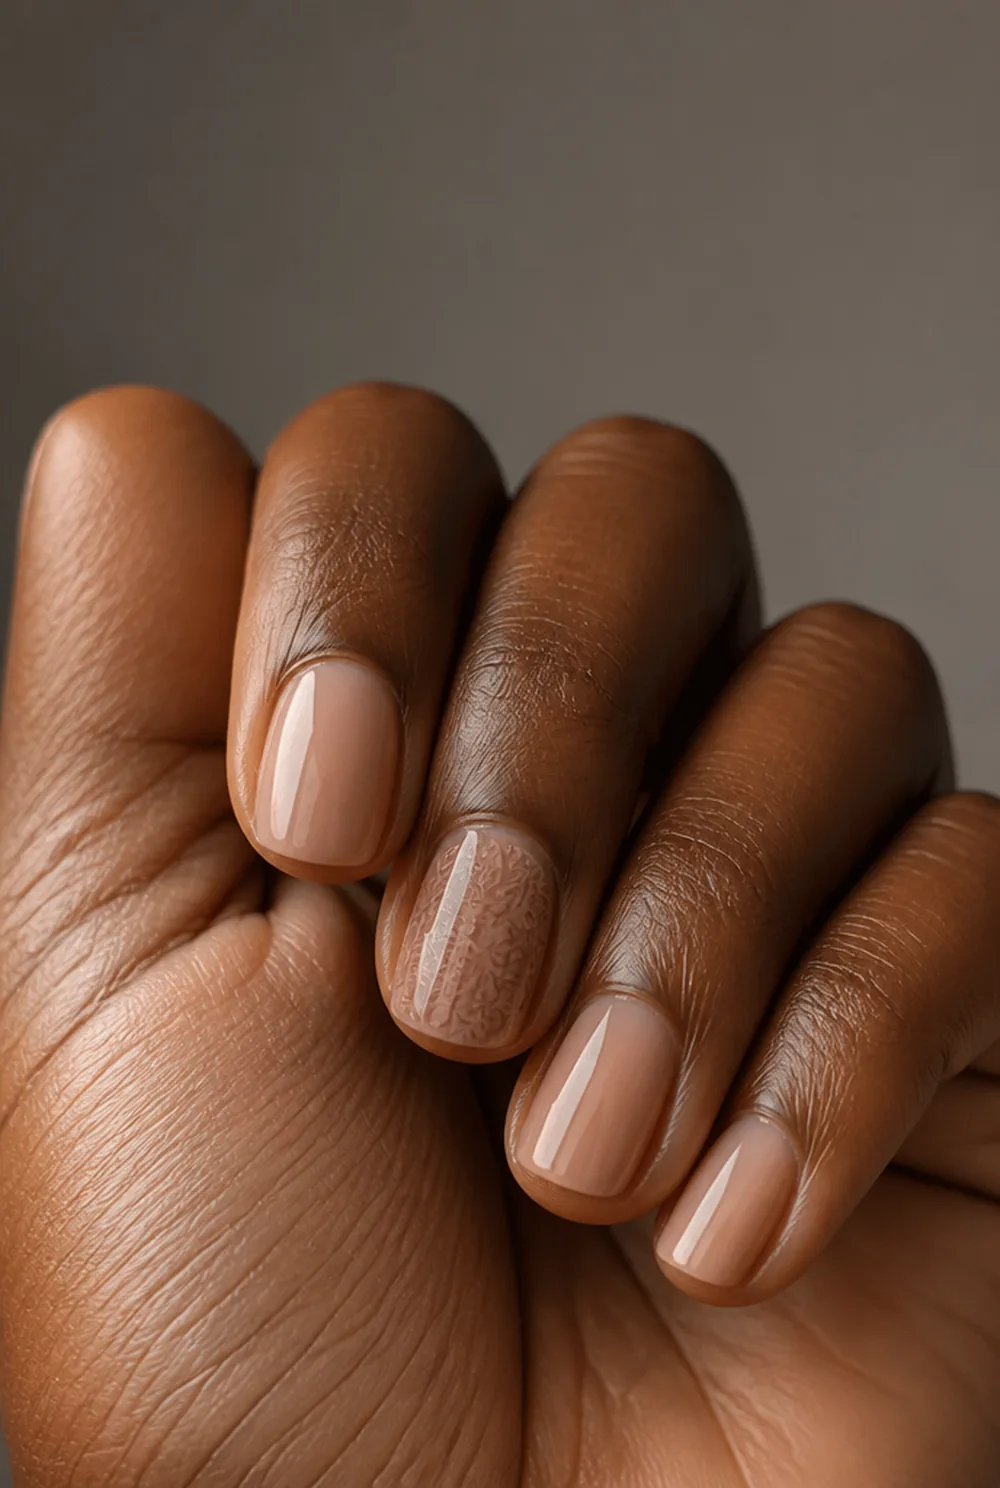
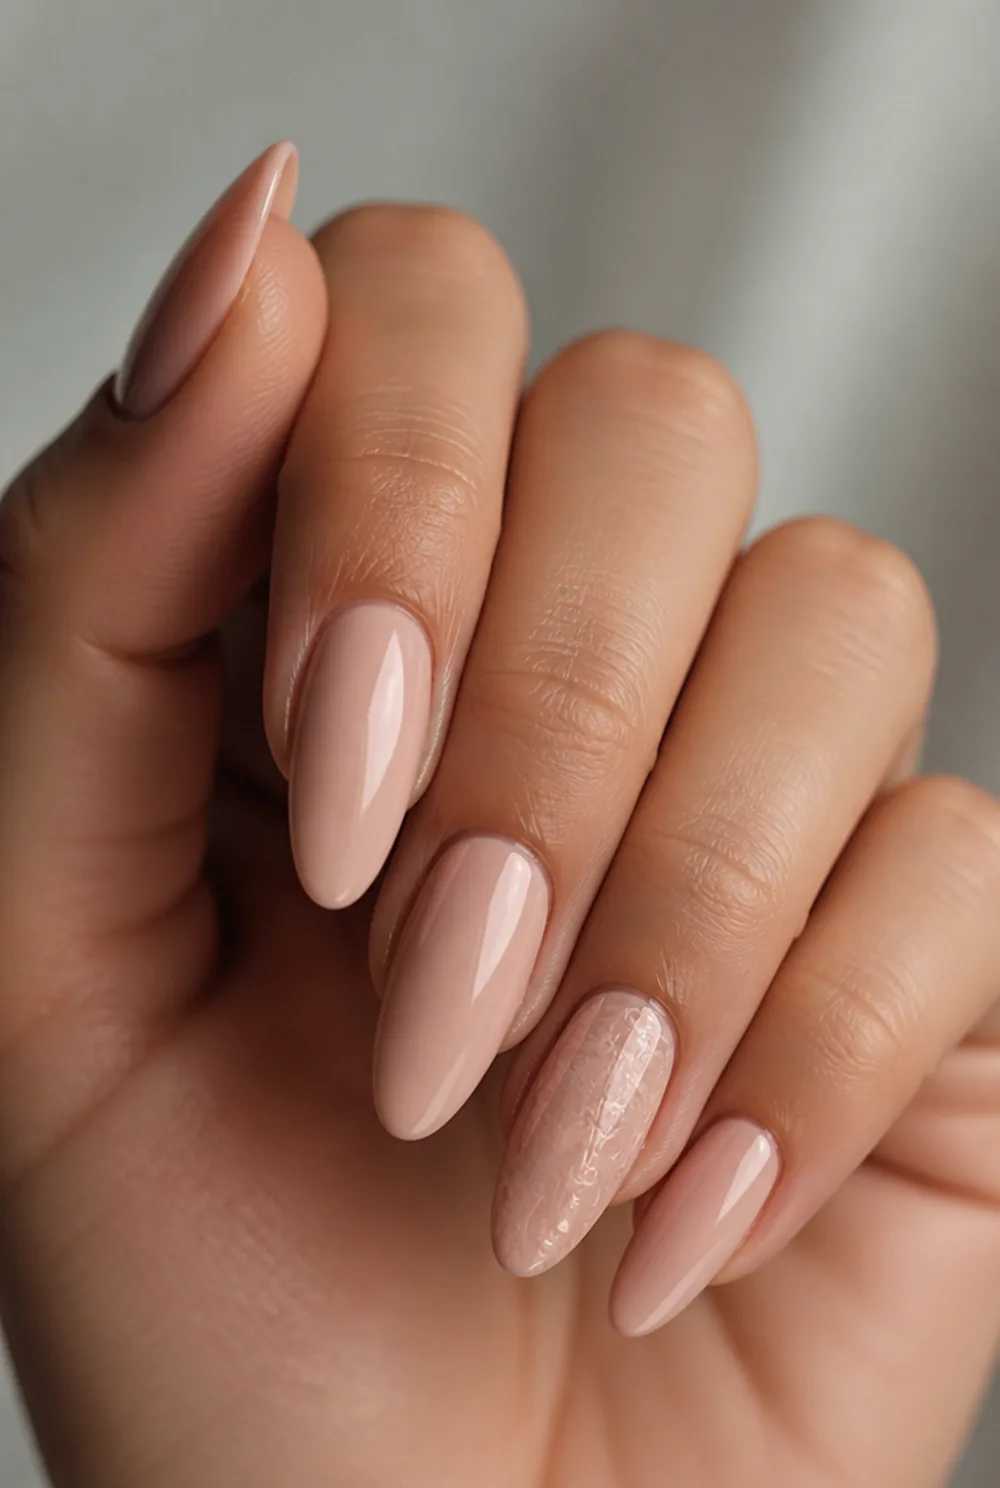
one stamped accent nail, four plain
One stamped nail and four plain. Start here, because one nail is a manageable amount of practice and the failure rate on your first few attempts will be high.
10. Stamped Halloween Nails

black bats and cobwebs stamped on orange
Small black bats and cobwebs on orange. Seasonal plates are cheap and stamping is how you get detailed novelty designs without the skill. See our Halloween nail designs post.
11. Stamped Marble Veins
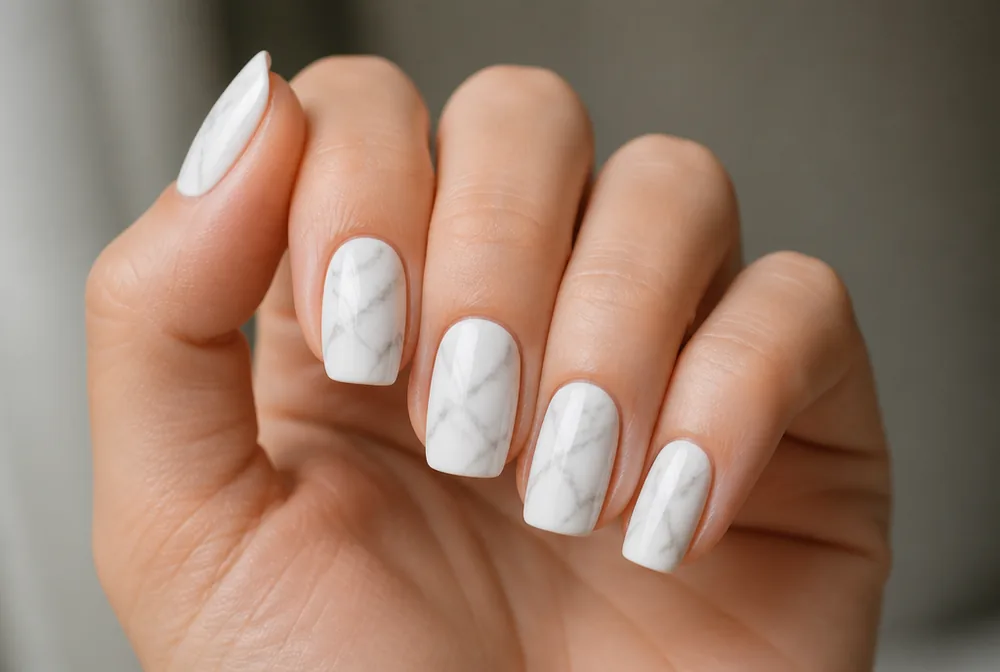

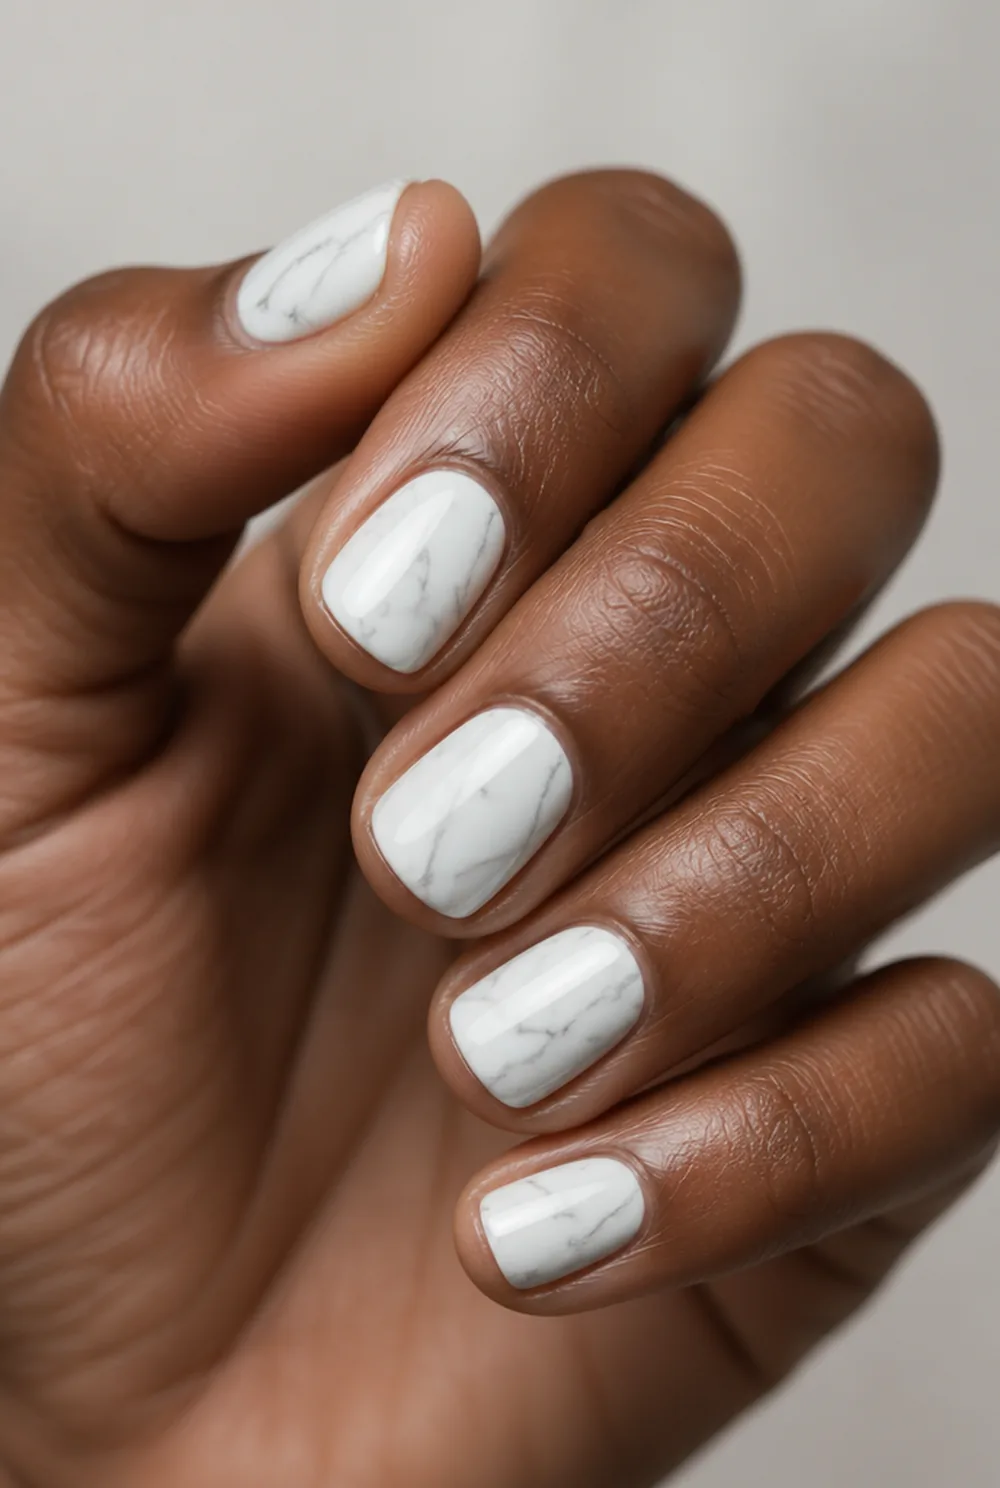
gray marble veining stamped on white
Gray veining stamped rather than painted, which gives a consistency freehand marbling never has. My marble nails post covers the hand method.
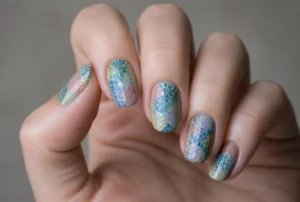
12. Reverse Stamping
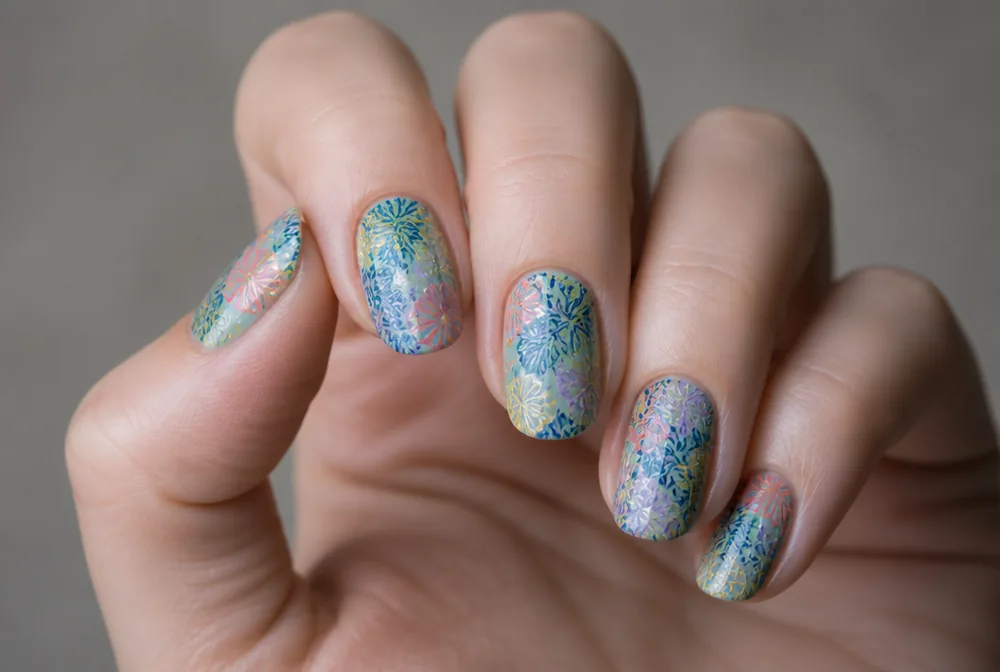
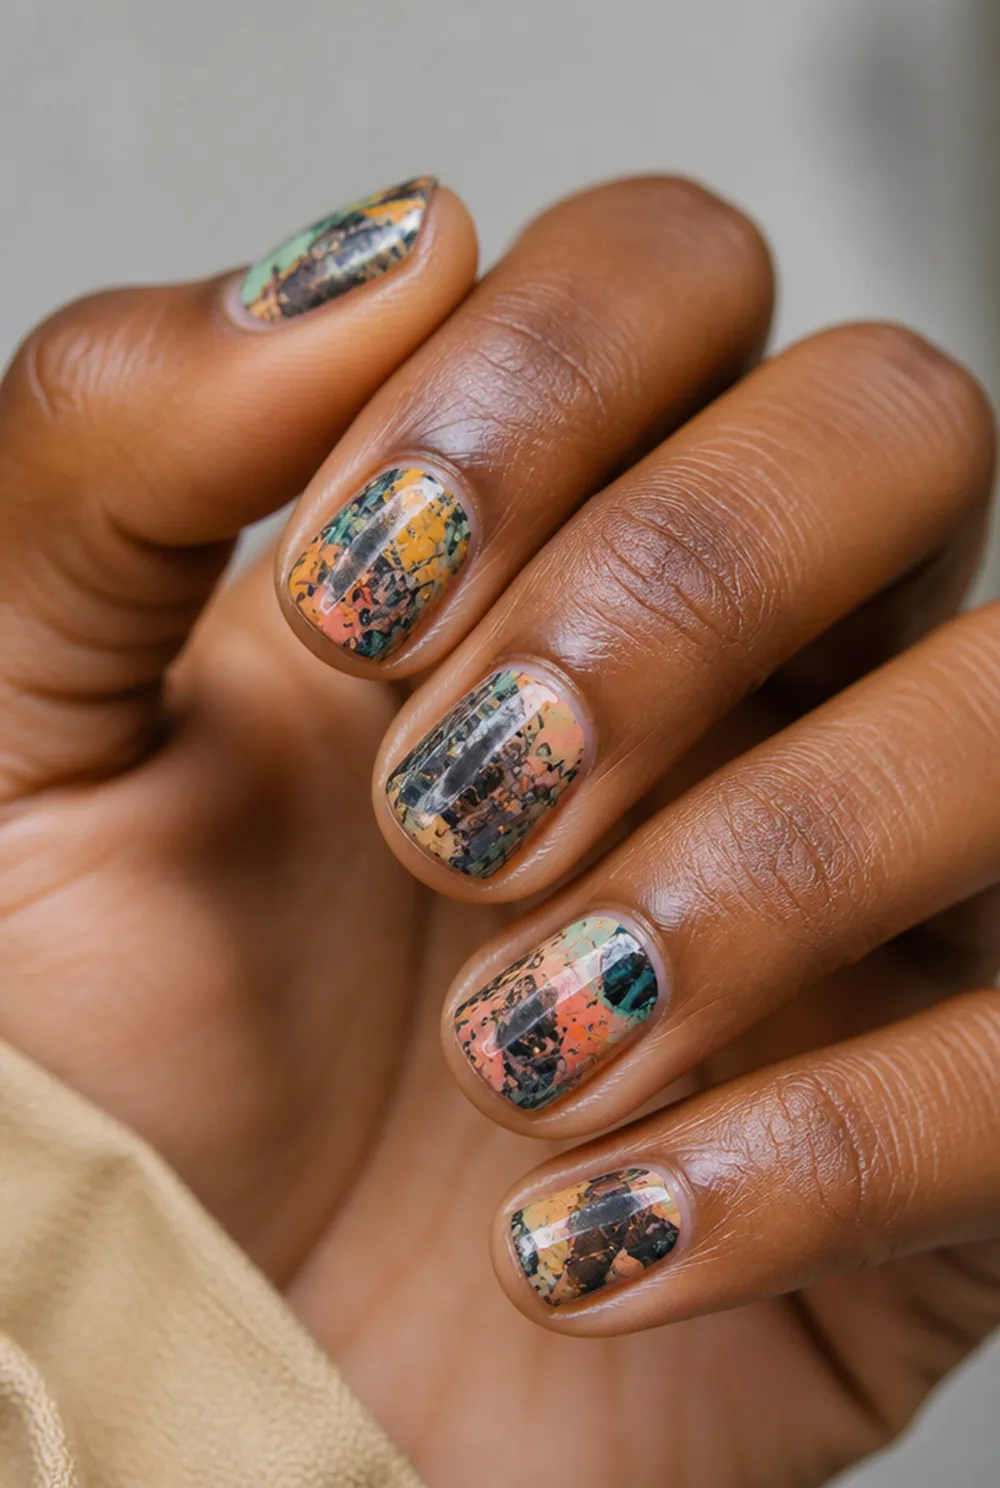
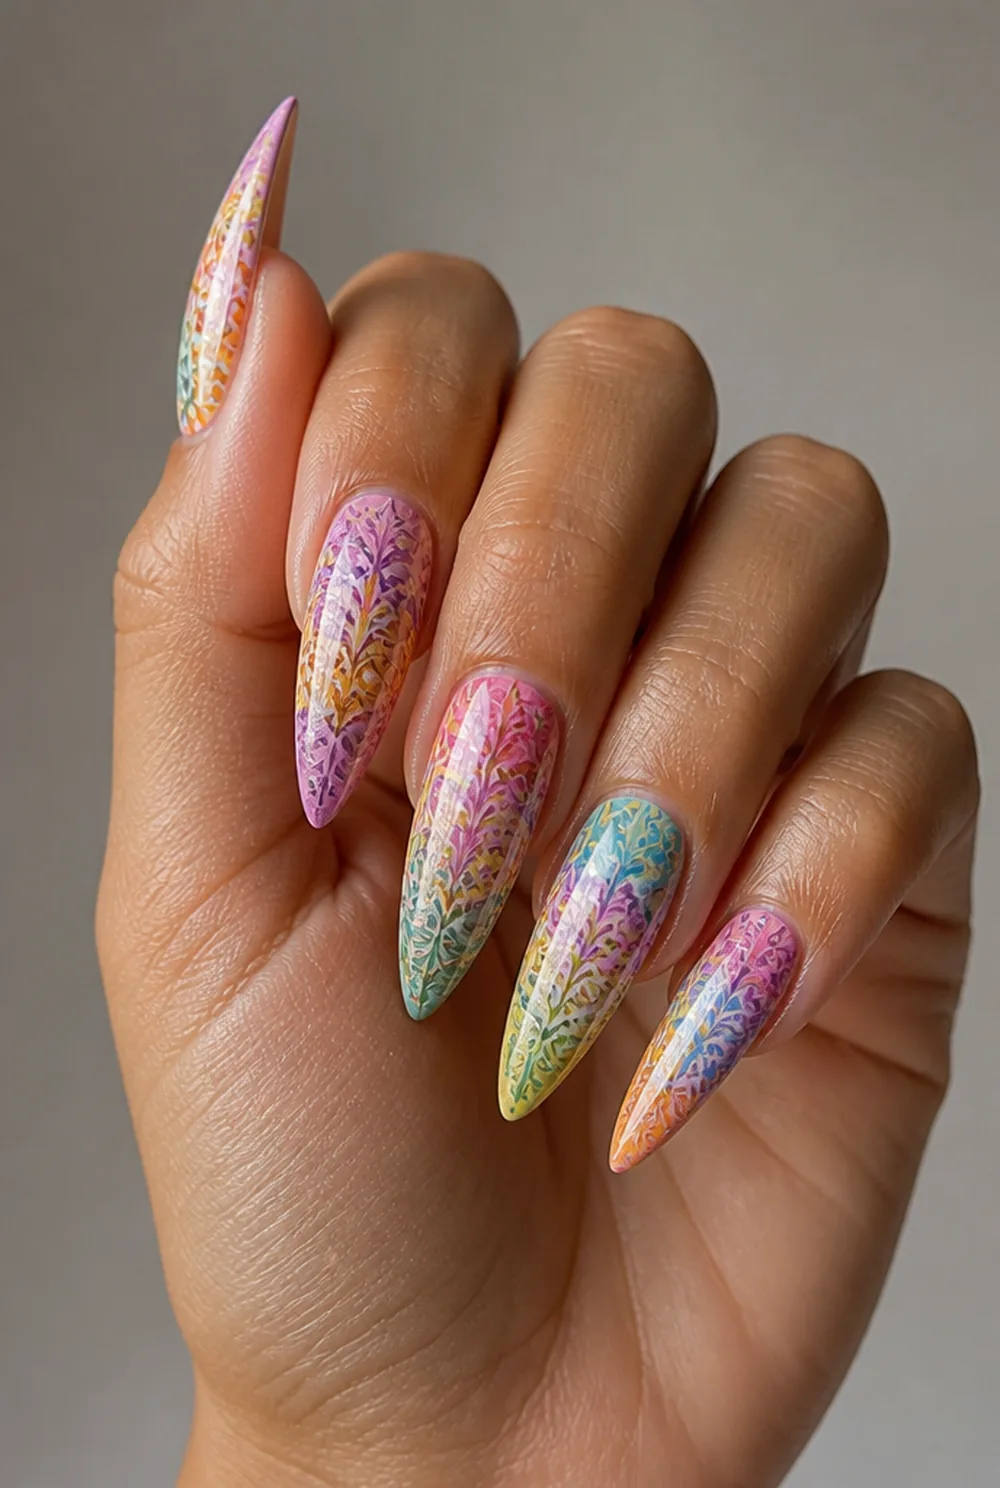
multicolored design using reverse stamping
The image is filled in with colors on the stamper before transferring, so you get a multicolored design. It is slower but it is the only way to stamp in more than one color.
13. Stamped Botanicals
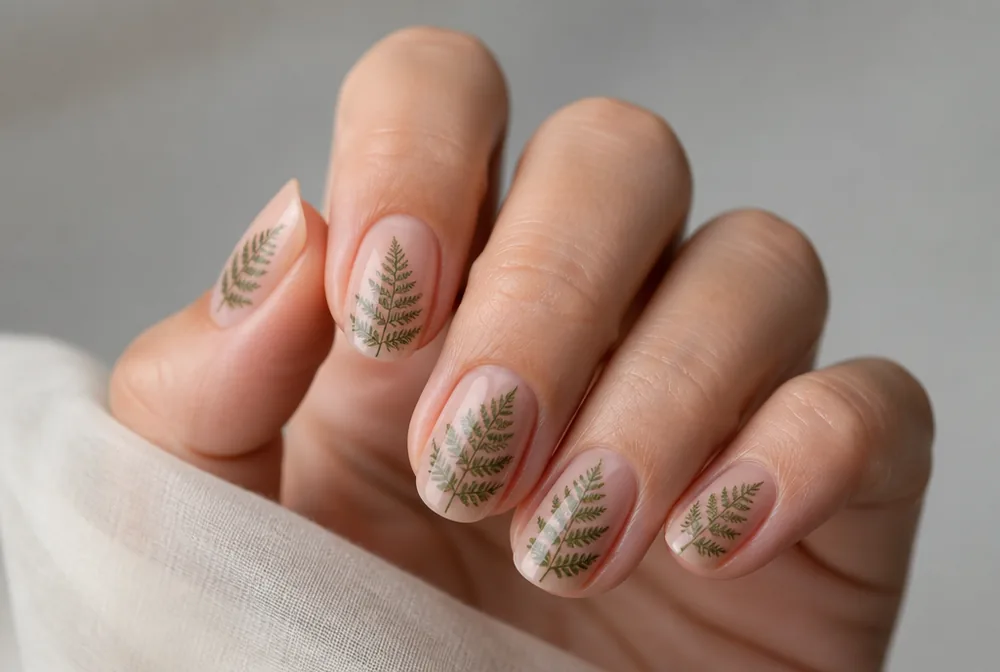


fine green fern fronds stamped on sheer base
Fine fern fronds in green over a sheer base. Botanical plates have the finest lines of any category and they show off what stamping does best.
14. Stamped Polka Dots
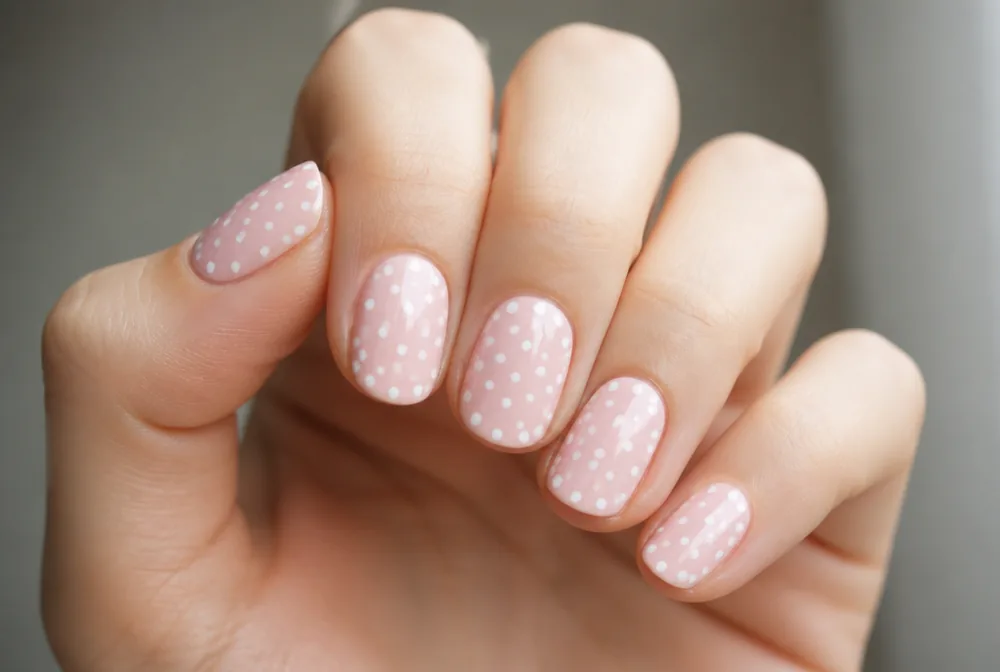
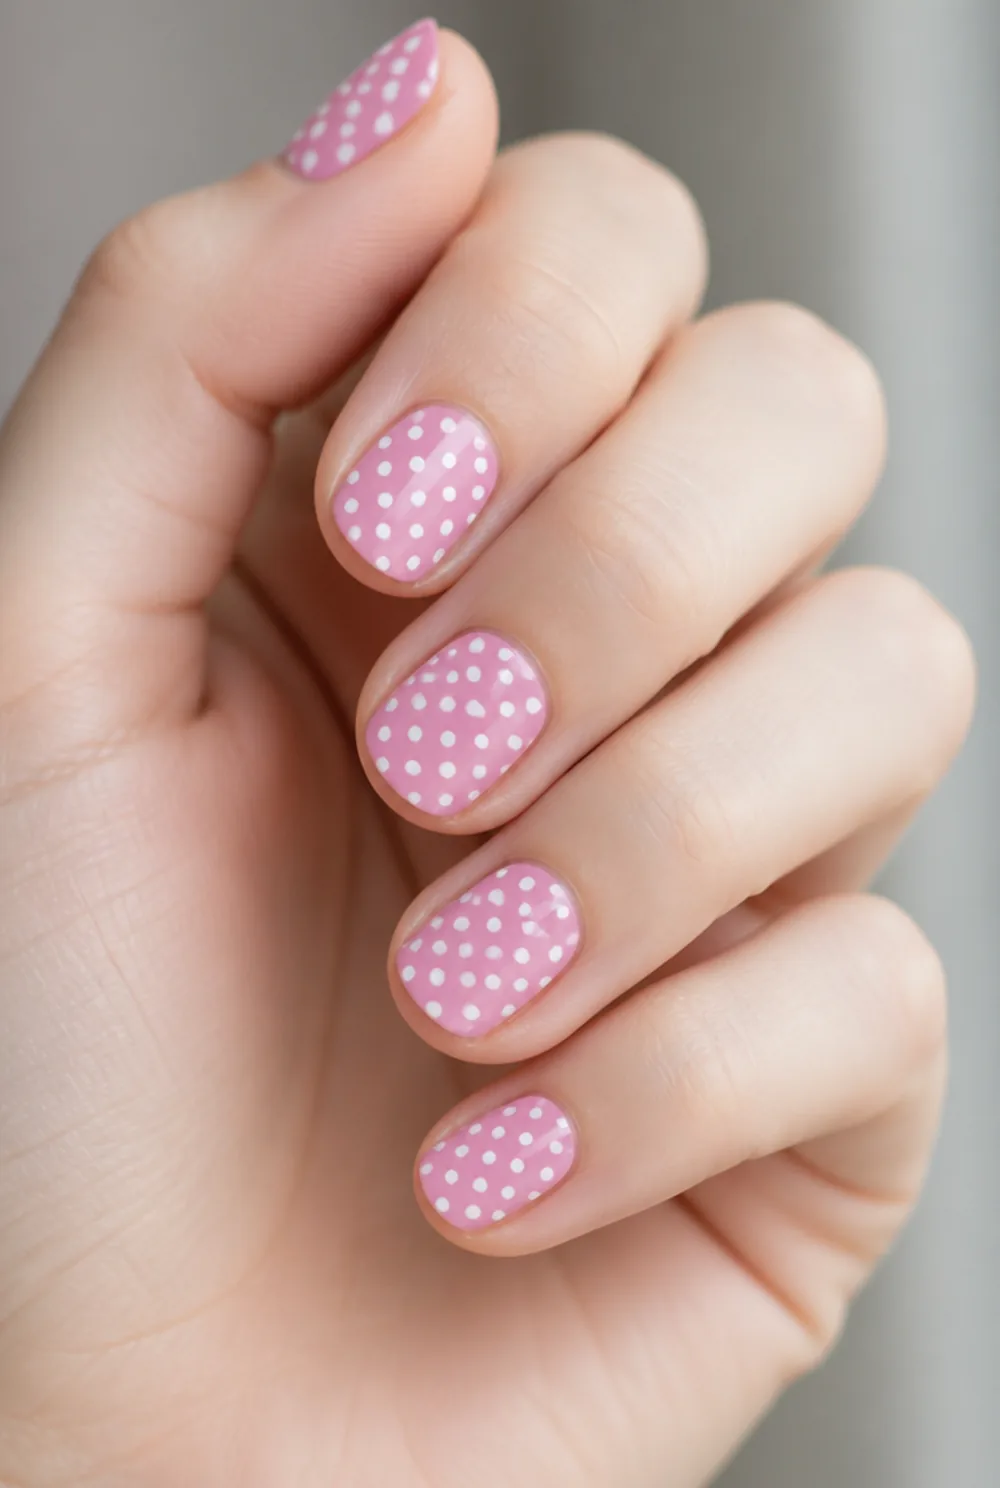
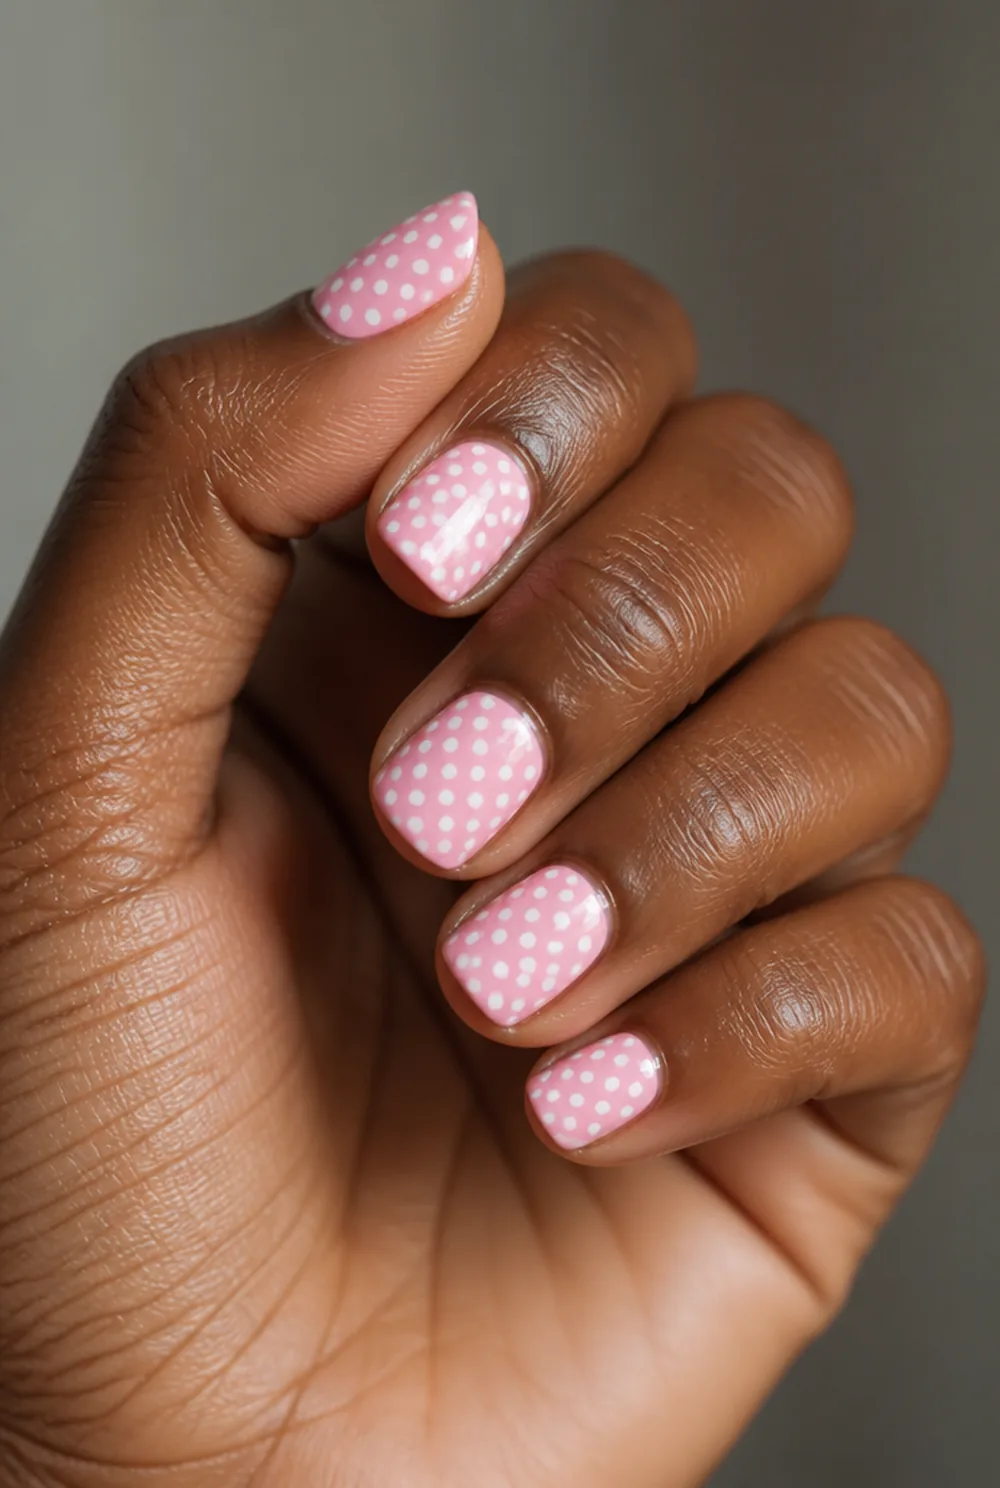
evenly spaced white polka dots stamped on pink
Evenly spaced dots, which are surprisingly hard to place by hand across ten nails. See our polka dot nails post for the dotting tool version.
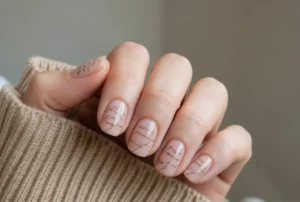
15. Stamped Text Nails
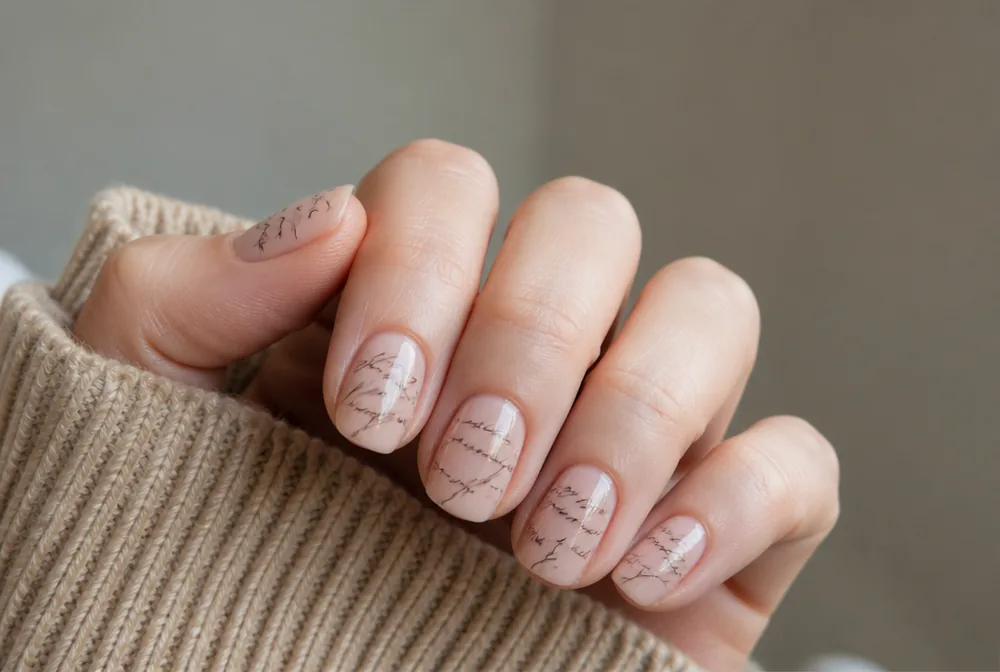

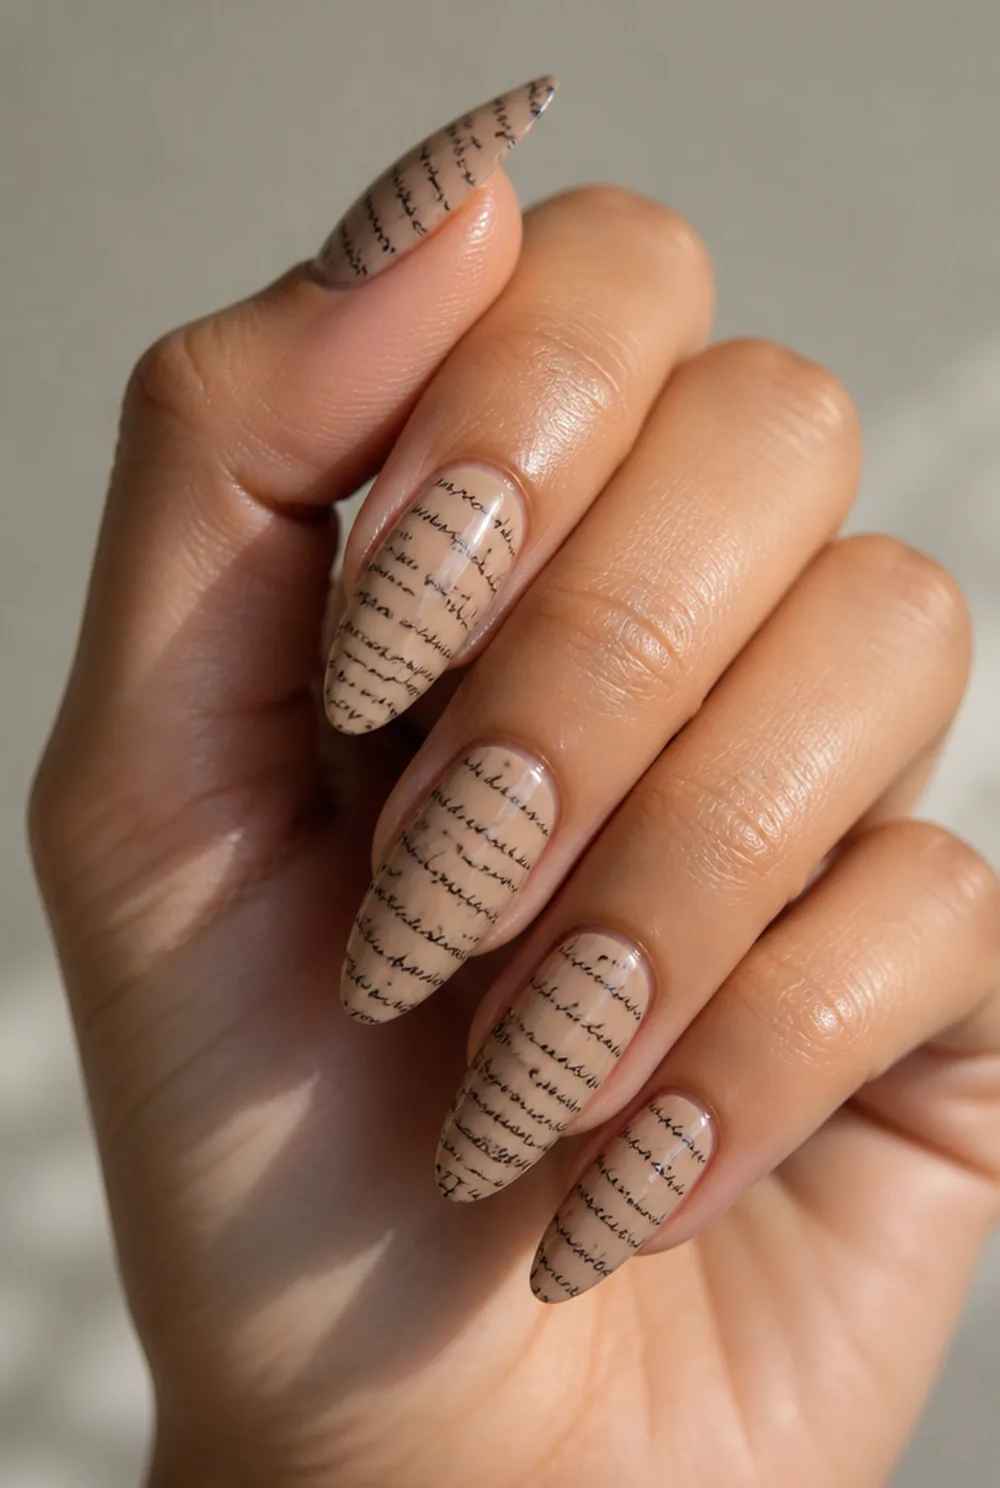
small script lettering stamped across nails
Small script lettering across the nail. Text is the one design category that is essentially impossible freehand at this scale.
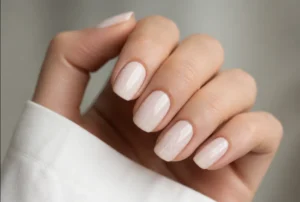
16. Stamped Geometric Lines
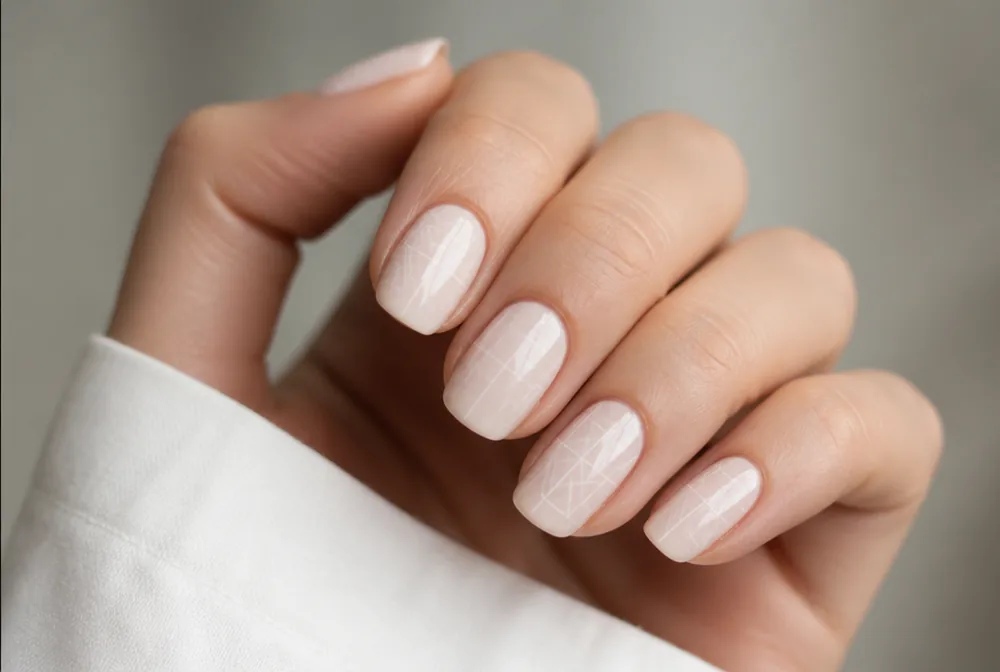


fine geometric grid lines stamped on milky base
Fine geometric grids in black on a milky base. Straight lines are where a wobbly hand shows most, so this is a good argument for stamping.
17. Stamped Christmas Nails

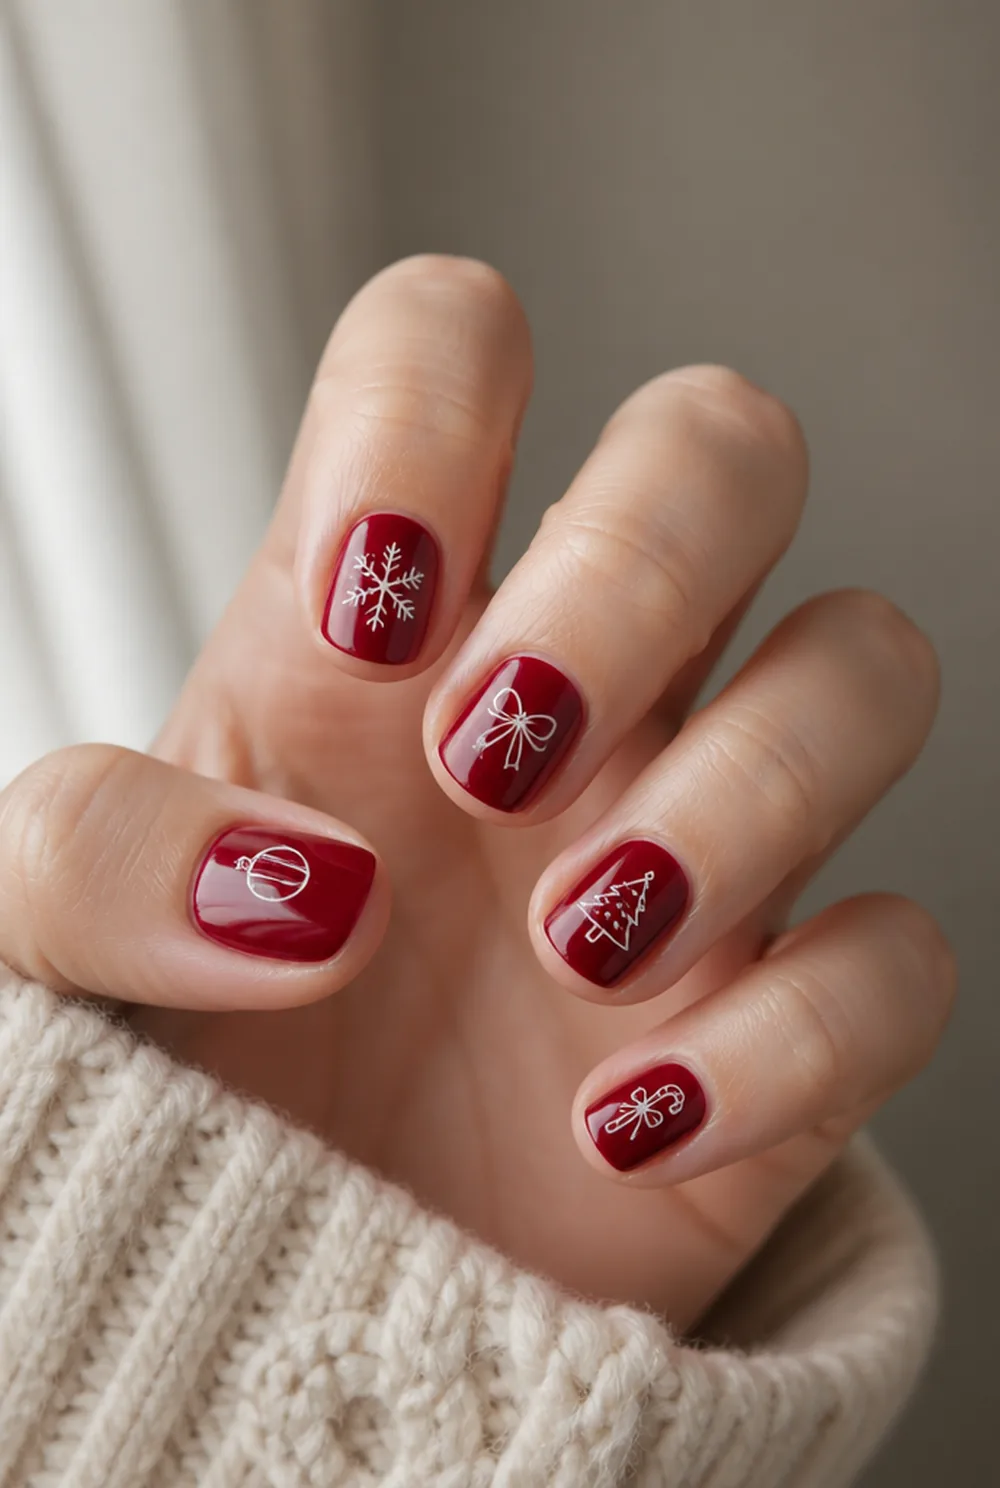

small white holiday motifs stamped on deep red
Small white motifs on deep red. Holiday designs are where stamping earns its keep, because the alternative is painting tiny detail ten times. See our Christmas nails post.
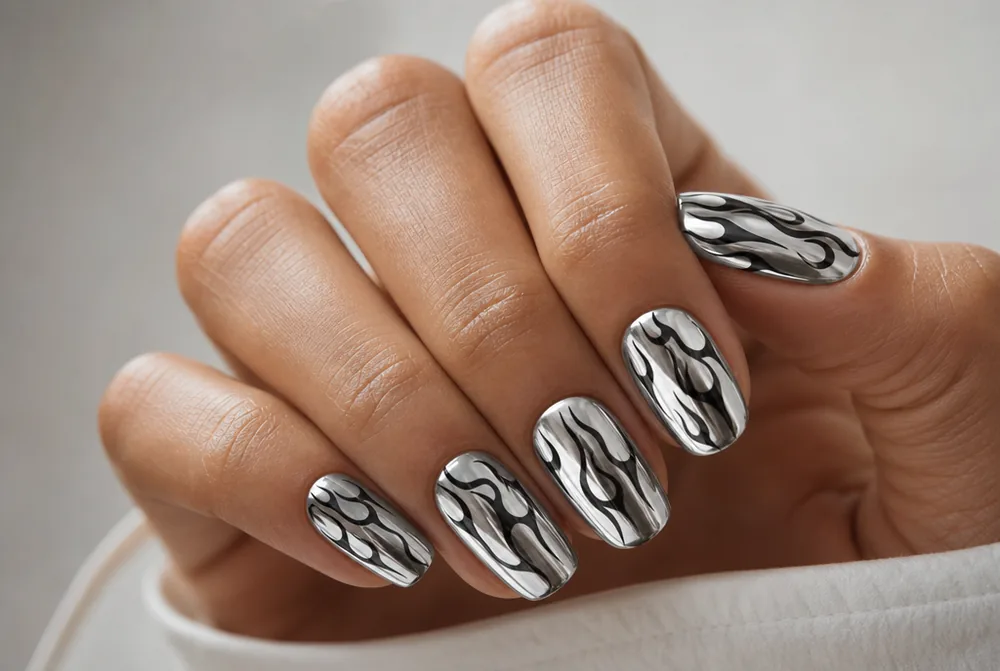
18. Stamped over Chrome
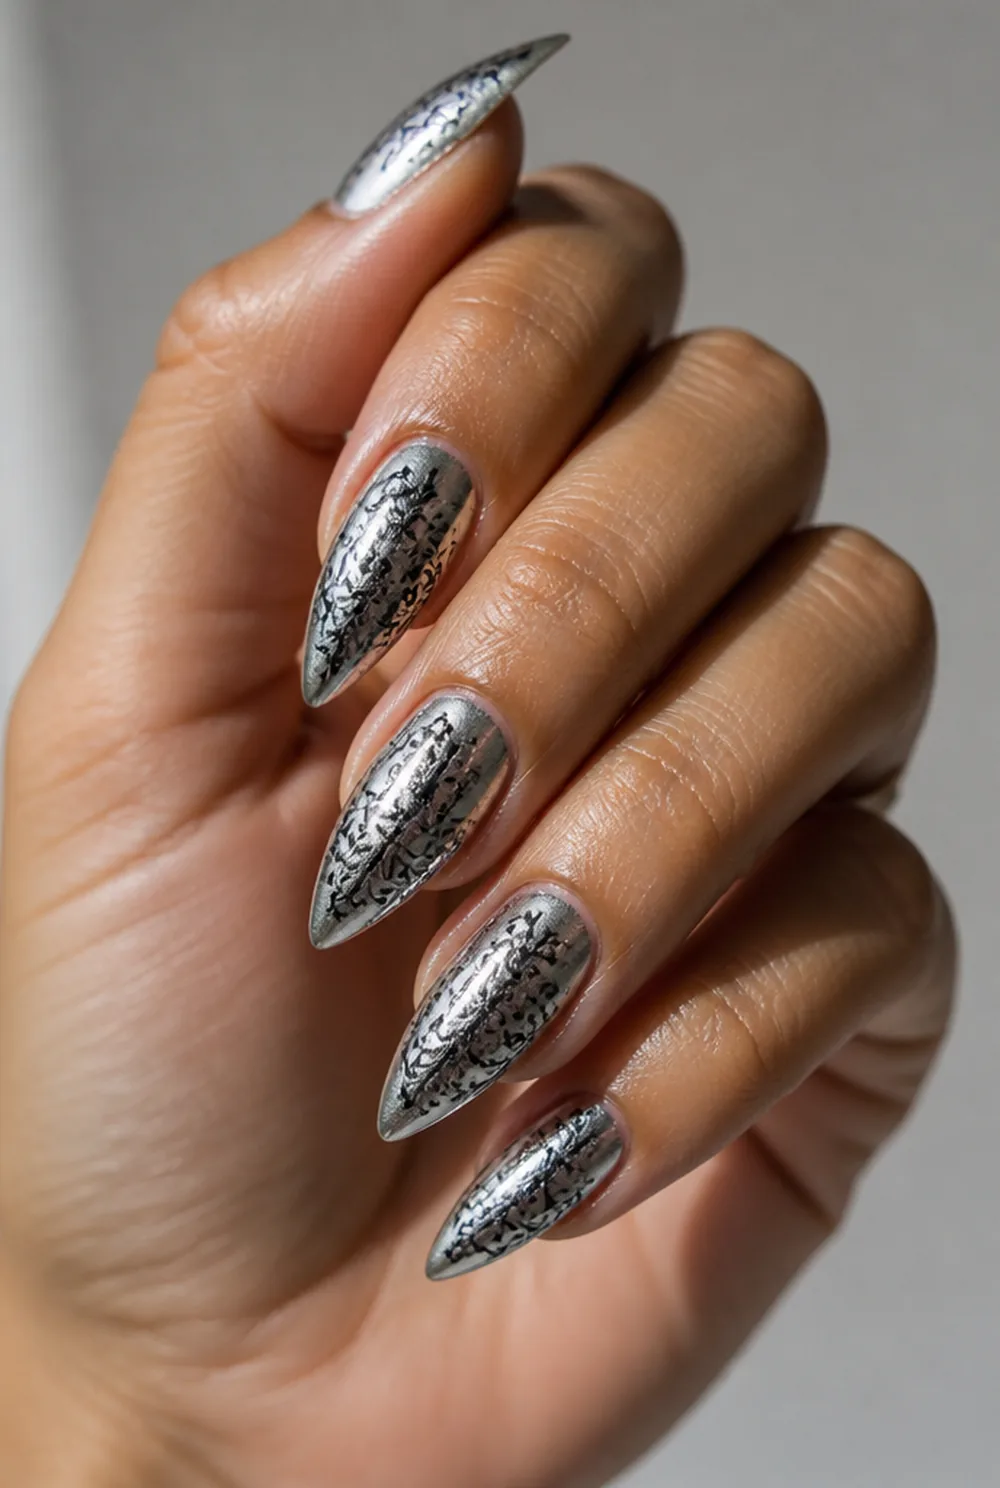
black pattern stamped over chrome base
A black pattern stamped over a chrome base. The pattern reads as etched metal, and it is the most striking combination here. See our chrome nails guide.
Why regular polish will not stamp
This is the reason almost everyone fails, and it has nothing to do with technique.
Stamping polish is far more heavily pigmented than normal polish and it is formulated to stay slightly flexible rather than drying fast. Both properties matter. The pigment load means a layer thin enough to sit in an etched groove is still opaque, and the slower dry means it is still tacky when it meets the stamper.
A regular creme polish is neither. It is thin enough that the film left in the groove is nearly transparent, and it skins over within seconds, so by the time you press the stamper down there is nothing left to lift.
A few normal polishes happen to work, usually very opaque metallics and dense blacks. Everything else will not, and buying two or three dedicated stamping polishes at around $5 each is the difference between this working and not.
The four steps
Stamping is fast once it works, and the whole process is four movements.
Flood the etched image on the plate with stamping polish, more than seems necessary. Scrape the excess off with a plastic card held at a shallow angle, leaving polish only inside the grooves. Roll the stamper over the image to pick it up. Roll the stamper onto your nail to put it down.
Speed is part of it. The whole sequence from flooding to transfer should take under five seconds, because the polish in the groove starts drying immediately.
Roll, do not press. Both pickup and transfer are a rocking motion from one side to the other. Pressing straight down flattens the image and smudges the edges.
The scraping angle
More failed transfers come down to scraping than to anything else.
Hold the card at roughly 45 degrees, not upright. An upright card acts like a squeegee and digs polish back out of the grooves, leaving you with an image too thin to pick up. A shallow angle skims the surface and leaves the grooves full.
Use one firm stroke rather than several passes. Each extra pass removes more polish from the groove, so a second scrape usually turns a good image into a broken one.
Use a plastic card rather than a metal scraper. Metal scrapes the plate clean and, over time, damages the etching itself.
Why the image will not transfer
When nothing lifts onto the stamper, it is almost always one of three things.
The stamper head has not been prepared. New heads come with a shine on them and pick up nothing at all. Buff it lightly with a fine nail file or a piece of tape lifted on and off a few times, and it will start gripping immediately.
You were too slow. If more than five seconds passed between scraping and stamping, the polish in the groove has skinned over. Wipe the plate and start again rather than trying to rescue it.
The base coat was still wet. Stamping onto a base that has not fully set means the image sinks into it and smudges. Give a polish base at least ten minutes, or cure a gel base fully.

What to buy
A complete starter setup is under $20 and there are only four things in it.
A clear jelly stamper, around $6, which is worth more than a solid rubber one because you can see through it and position the image exactly where you want it on the nail. This is the single best upgrade in stamping.
Stamping plates, roughly $2 to $5 each, or $12 for a set of five. Buy plates with deep etching from a known brand rather than the cheapest bundle, because shallow etching holds too little polish to transfer.
Two or three stamping polishes at about $5 each. Black, white, and a metallic covers most designs. A plastic scraper is usually included with the plates.
Sealing a stamped design
Stamped images smear under top coat more easily than painted ones, because the layer is very thin and stays flexible.
Wait at least five minutes after stamping. Then float the top coat on: load the brush heavily, touch it down in the middle of the nail, and let it spread outward with no pressure. Dragging a brush across a fresh stamped image is the single most common way a good transfer gets ruined.
Avoid quick-dry top coats on stamped designs. Their solvent content is high and it can dissolve the thin stamped layer on contact.
A gel top coat has no smearing problem at all, which is another reason stamping over gel is easier. My manicure longevity post covers the rest.
Stamping over gel
If you already own a lamp, stamping over gel is easier than stamping over polish in every way that matters. LED lamps still give off UV light, so the Skin Cancer Foundation suggests broad spectrum sunscreen on your hands 20 minutes before you cure.
The base is fully cured and rock hard, so the image cannot sink into it and smudge, which removes the drying-time guesswork entirely. Wipe the tacky layer off with alcohol first so the surface is dry, then stamp onto it as normal.
You still stamp with regular stamping polish rather than gel, since gel does not sit in the plate grooves properly. Let it dry for two minutes, then cure a gel top coat over the top. The image is sealed permanently and there is no smearing risk at all.
The result also lasts the full three weeks rather than the week or so you get over polish. My short gel nails post covers the gel base itself.
Cleaning up the edges
A stamped image will usually overrun the nail onto the skin, and that is normal rather than a mistake.
Do not try to place the image perfectly. Position it to cover the nail fully and accept the overlap, because an image placed short leaves a bare margin that is far more obvious than any cleanup.
Clean the skin with a small flat brush dipped in remover once the image has dried for a couple of minutes. A stiff synthetic brush cut down works better than a cotton bud, which sheds fibers into the design. Keep that remover away from candles and heat and open a window, since the FDA warns some nail products can catch fire and advises good ventilation.
Applying a peel-off barrier liquid around the nail first saves the whole step. It costs about $7 and you peel it away with the overspill attached.
FAQ
Can you use regular nail polish for stamping?
Usually not. Stamping polish is far more heavily pigmented and dries more slowly, so the thin film left in the plate’s grooves is still opaque and still tacky when the stamper touches it. Most regular polishes are too thin and dry too fast, though very dense blacks and metallics sometimes work.
Why is my nail stamp not picking up?
Most often the stamper head has not been buffed. New heads have a shiny surface that grips nothing, so buff it with a fine file or lift tape on and off it a few times. The other causes are scraping too hard, taking more than five seconds between scraping and stamping, or stamping onto a base coat that is still wet.
Is nail stamping easy for beginners?
It is easy once the setup is right, and frustrating until then. There is no drawing skill involved at all, so the whole learning curve is in the products and the scraping angle. Expect several failed transfers on your first attempt and start with one accent nail.
How much does a nail stamping kit cost?
Under $20 for everything. A clear jelly stamper is about $6, plates are $2 to $5 each or around $12 for a set, and stamping polishes are roughly $5 each. Buy the clear jelly stamper rather than solid rubber, since seeing the image through it is what lets you place it accurately.
Buy the clear stamper and one black stamping polish before anything else. My nail art ideas post covers what else is worth learning.