
A wedding manicure is easier to plan when you separate three decisions: the look you want, the appointment you need and how the finished nails fit the rest of your week. The aim is to arrive with a design you have already considered, rather than choose a shade while watching the clock.
This guide gives you a flexible planning timeline, a trial scorecard and a booking brief you can copy. The timing below is our suggested planning framework, not a universal salon rule. Adjust it with your nail artist around the product you use, travel and your own experience.
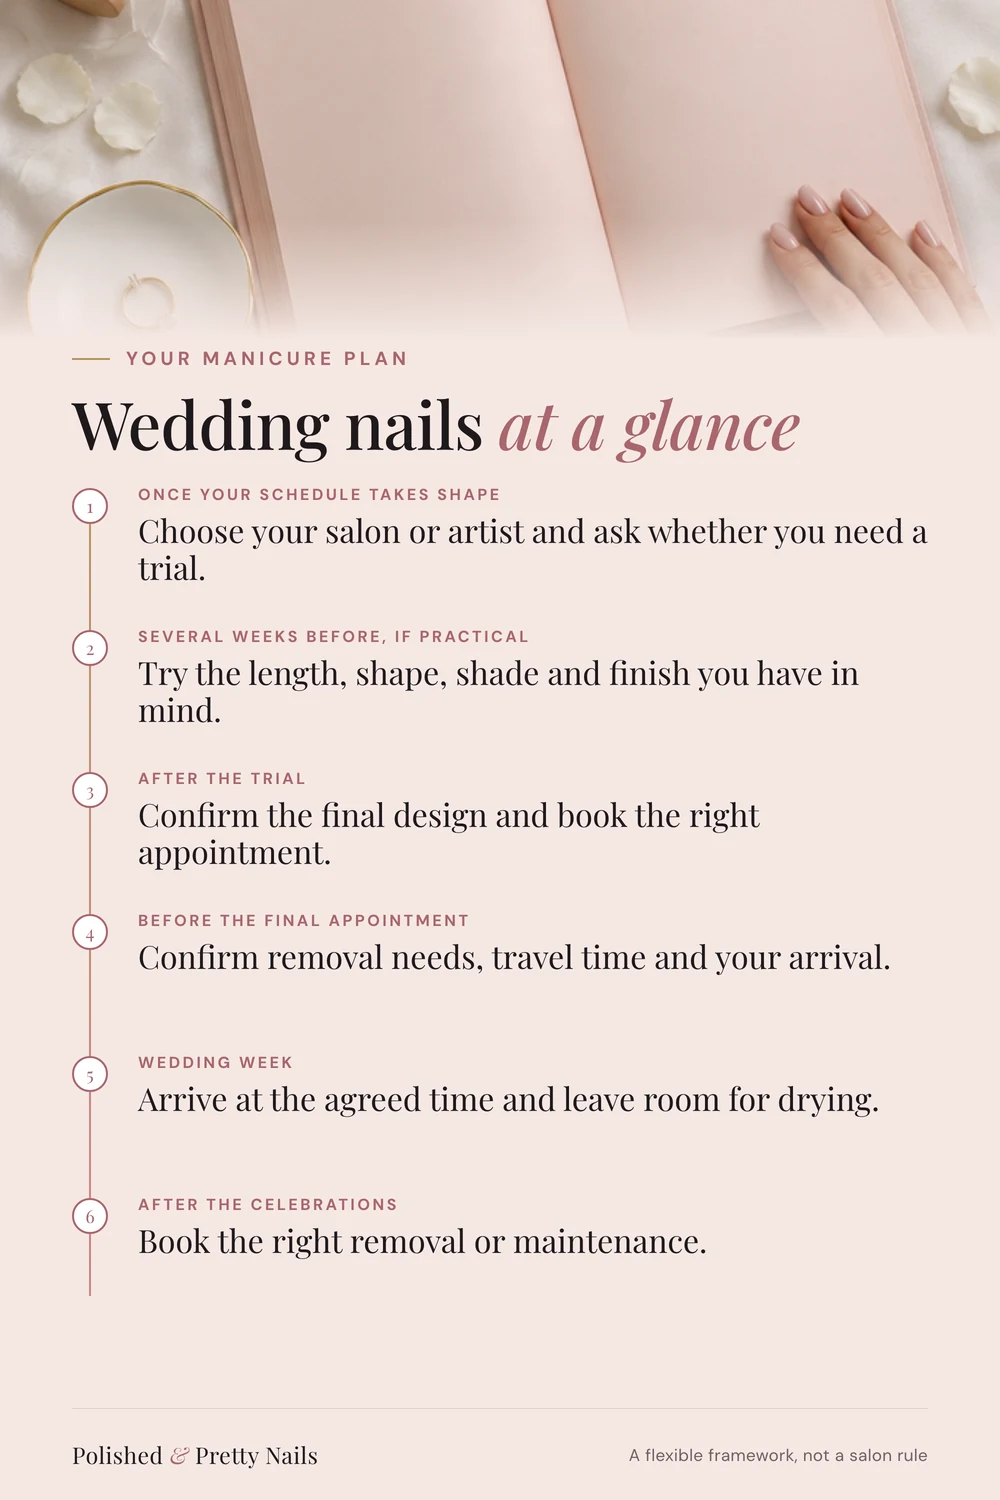
Your wedding manicure plan at a glance
| When | What to decide | What to save |
|---|---|---|
| Once your wedding schedule is taking shape | Choose a salon or artist, ask about availability and discuss whether you need a trial. | Contact details, appointment options and booking terms. |
| Several weeks before, if practical | Try the intended length, shape, shade and finish with enough time to change your mind. | Photos, product details and notes on comfort and wear. |
| After the trial | Confirm the final design and the correct wedding appointment. | A completed booking brief and written quote. |
| Before the final appointment | Confirm removal needs, travel time, any design changes and your arrival time. | Confirmation message and reference photos. |
| Wedding week | Attend at the time agreed with your artist; leave room for drying or any follow-up they advise. | Exact shade details and the salon’s contact information. |
| After the celebrations | Follow the product’s care instructions and arrange the appropriate removal or maintenance. | Any follow-up booking. |
If your wedding is soon, use the same sequence in fewer steps. Prioritize a clear booking, a familiar length and a design the artist has time to deliver. A complicated new nail look is optional; a comfortable appointment plan is useful whatever you choose.
Start with five decisions, not fifty inspiration photos
1. Length: choose a length you can comfortably use. Think about fastening your outfit, handling jewelry and traveling with luggage. If you want added length, discuss the service needed instead of assuming it is included in a color appointment.
2. Shape: save a reference that shows the tip clearly. A front view alone can hide how long or tapered the nails are. Tell the artist which part of the silhouette matters to you.
3. Color: decide whether you want the nails to blend with your hands, provide a pale contrast or make a deliberate color statement. There is no requirement to wear nude or white. Pinterest wedding search data even shows red bridal nails and dusty rose wedding nails on the rise.
4. Coverage: say whether you want your natural nail line to remain visible. A sheer pink and an opaque pink can look very different even when the bottles appear similar.
5. Finish and detail: decide between a simple glossy surface, a soft sheen or more visible sparkle and art. Specify which fingers get each detail. “One tiny pearl on each ring finger” communicates more than “something bridal.”
For a starting mood board, OPI’s bridal shade guide includes French-tip and pearlescent inspiration. Use such references to start a conversation; choose the actual color after seeing it on your hands or a physical swatch.
Use the trial as a practical test
A trial is most helpful when you record what you tried. Ask the artist for the product line, shade name, number of color coats and any layered effect. If your wedding appointment is with someone else, check that they can offer the same products or discuss an alternative in advance.
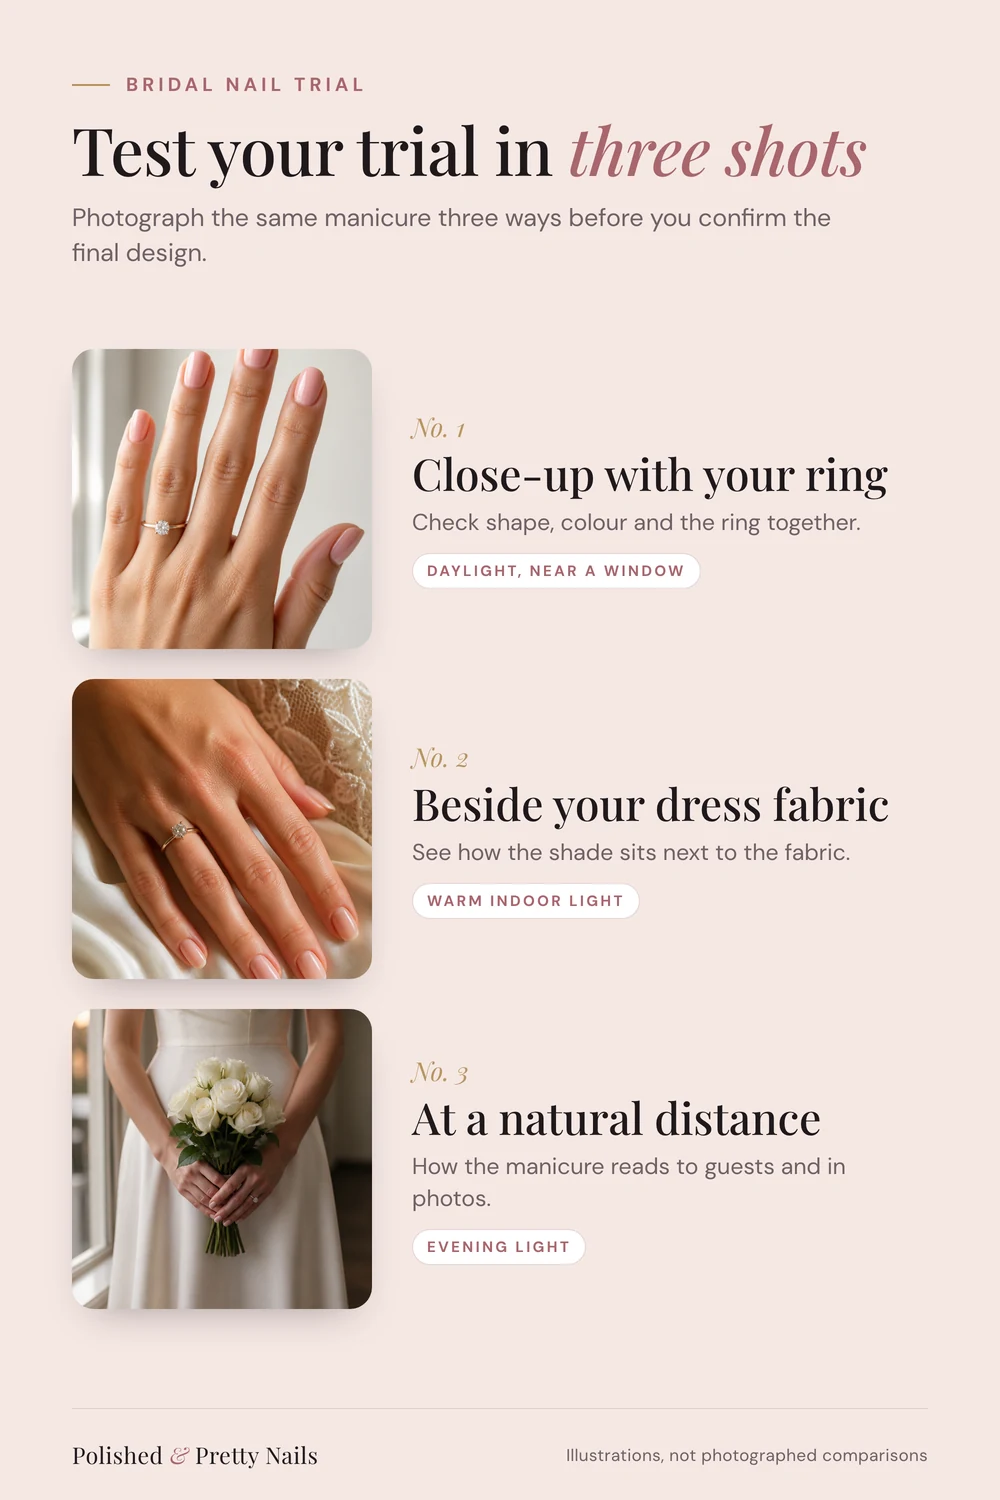
Photograph the manicure with your ring and a fabric swatch if you have one. Take one close view and one at a normal viewing distance. Then look at your hands near a window and under indoor lighting. These are comparison notes, not a guarantee that every wedding photograph will reproduce the color identically.
Wear the chosen length during your normal activities and note what feels awkward. If a detail catches on clothing or you keep noticing a color you dislike, tell your artist. The useful result of a trial can be a shorter shape or a simpler design.
Copy this bridal nail trial scorecard
| Detail | Trial notes | Final decision |
|---|---|---|
| Date / artist | _____ | _____ |
| Product line and shade | _____ | _____ |
| Number of coats / layered products | _____ | _____ |
| Length and shape | _____ | _____ |
| Coverage: sheer or opaque | _____ | _____ |
| Finish and art placement | _____ | _____ |
| Appearance in daylight | _____ | _____ |
| Appearance under indoor light | _____ | _____ |
| Comfort during normal activities | _____ | _____ |
| Wear observations, with dates | _____ | _____ |
| Anything to change | _____ | _____ |
Record actual observations rather than a promised wear time. “No visible chips on day three” describes what happened to your trial manicure. It does not promise the wedding set will behave identically. Keep any photos you want to compare with their dates.
When should you get your wedding nails done?
Agree the final appointment with your nail artist after discussing the finish, your travel and any experience from the trial. A single deadline cannot fit every product or schedule. Ask how much time to leave after the appointment, what to do if a problem occurs and whether the salon can accommodate a small correction before the event.
Work backwards from the first moment you want the manicure photographed—not automatically from the ceremony. That may be your rehearsal dinner, a welcome party or departure for a destination wedding. Include the time needed to reach the salon and finish getting ready afterward.
If you are traveling, save the shade and service details on your phone. Ask the original artist about an appropriate backup plan. Do not assume a different salon will have the same product or be able to remove every type of enhancement.
The booking brief to send your nail artist
“My wedding is on [date], and I leave for / begin events on [date]. I would like [length and shape], [color and coverage], and [finish / art on specified fingers]. My current nails have [existing product or none]. I have attached the final reference and trial notes. Could you confirm the service, appointment length, removal arrangements and full estimated price? What appointment date would you suggest for this plan, and what should I do if I need a correction before the wedding?”
Ask about the difference between a standard appointment and a bridal appointment at that salon. For example, Paintbox describes a dedicated bridal service with consultation time and specific inclusions. That does not mean every salon uses the same package or that you need a bridal-labeled service. Confirm what your booking covers.
Planning nails for a wedding party
Ask each person for their preferred service and whether existing product needs removal. Give the salon the final headcount and ask how many people it can accommodate at once. Build the schedule around its answer, including arrival and payment time.
A coordinated look can be a shared color family or finish rather than identical nails. If you want an exact match, confirm the shade and coverage with the group. Tell everyone the expected cost and who is paying before making a booking on their behalf.
| Person | Service / removal needed | Design | Start / finish time | Payment agreed |
|---|---|---|---|---|
| _____ | _____ | _____ | _____ | _____ |
| _____ | _____ | _____ | _____ | _____ |
| _____ | _____ | _____ | _____ | _____ |
A small wedding-day backup plan
Keep your salon’s contact details, a photo of the finished manicure and its product details with your wedding notes. If you use regular polish, ask whether keeping the matching shade nearby would be useful and what touch-up approach the artist suggests. Follow the product instructions; a bottle with a similar color name may not match the finish.
If an enhancement lifts, breaks or feels painful, get advice rather than pulling it off or disguising a problem for photographs. Your backup plan can be as simple as knowing whom to contact and having time available. You do not need to assemble an unfamiliar repair kit on the morning of the wedding.
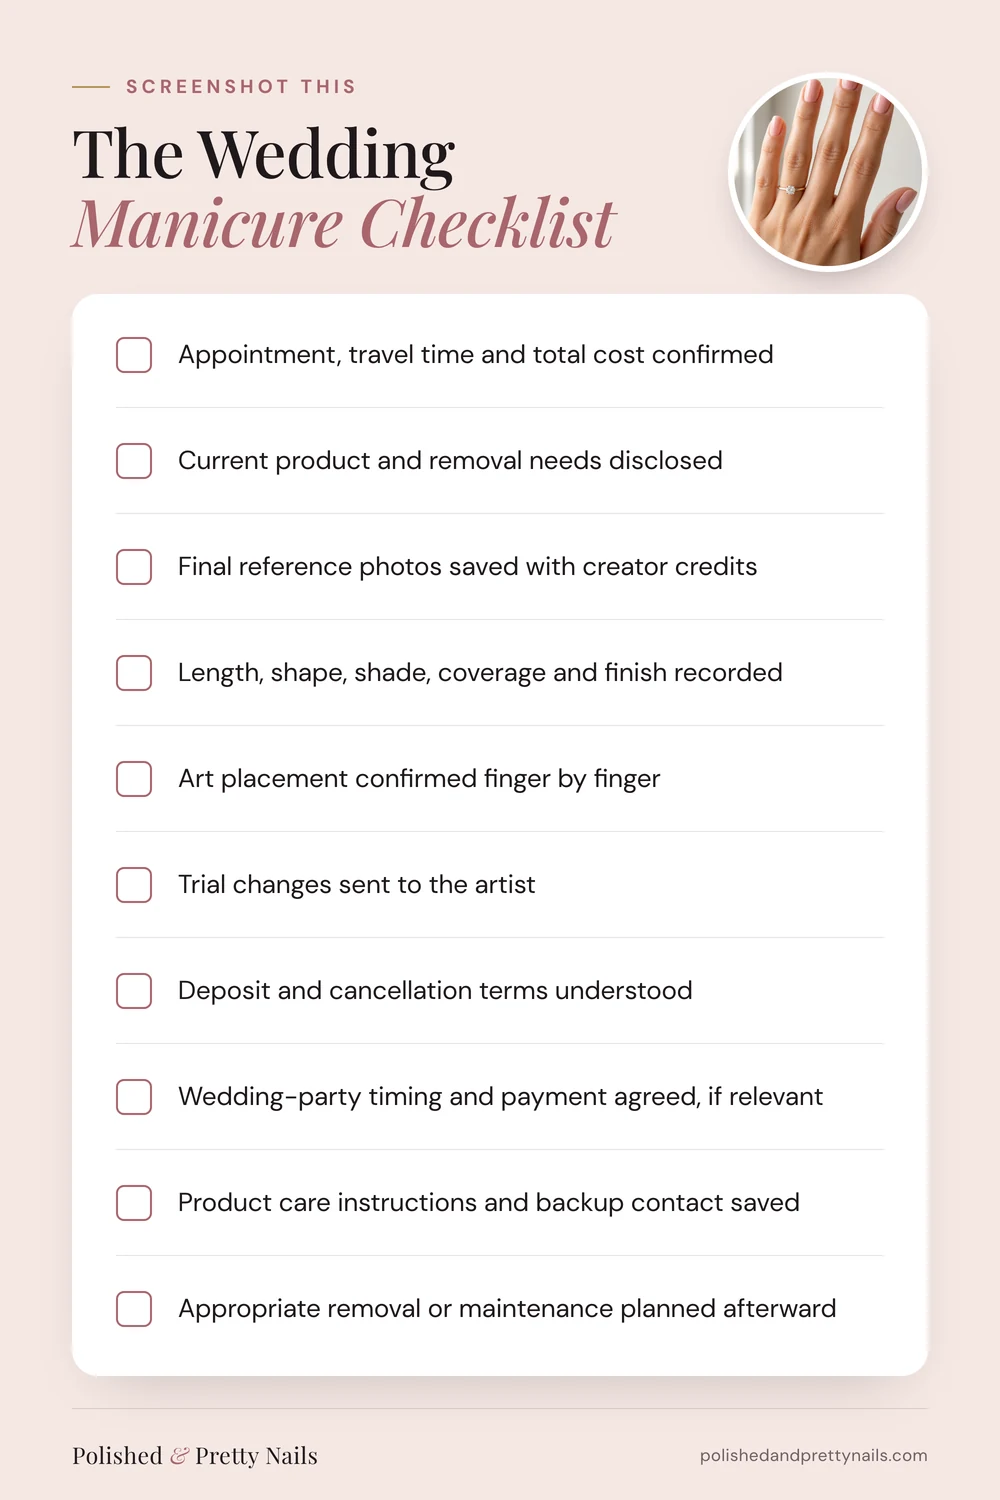
Screenshot this final wedding manicure checklist
☐ Appointment, travel time and total cost confirmed.
☐ Current product and removal needs disclosed.
☐ Final reference photos saved with creator credits.
☐ Length, shape, shade, coverage and finish recorded.
☐ Art placement confirmed finger by finger.
☐ Trial changes sent to the artist.
☐ Deposit and cancellation terms understood.
☐ Wedding-party timing and payment agreed, if relevant.
☐ Product care instructions and backup contact saved.
☐ Appropriate removal or maintenance planned afterward.
Questions brides often ask
Does my manicure have to match my dress? No. Use your outfit, jewelry and flowers as context, then choose a look you enjoy on your hands. A deliberate contrast is a valid choice.
Is a trial necessary for a simple manicure? It is optional. It can still be useful if the shade, finish or length is new to you. If you already wear the exact look regularly, your existing experience may answer many of the same questions.
What if I change my mind after the trial? Send the new plan early. A change in length, product or art may require a different appointment and quote. Confirm the change instead of leaving it to the day.
What should I save for my photographer? If nail details are important to you, tell your photographer and discuss a ring, bouquet or getting-ready photograph. Let them plan the lighting and timing rather than assuming a close-up will happen automatically.