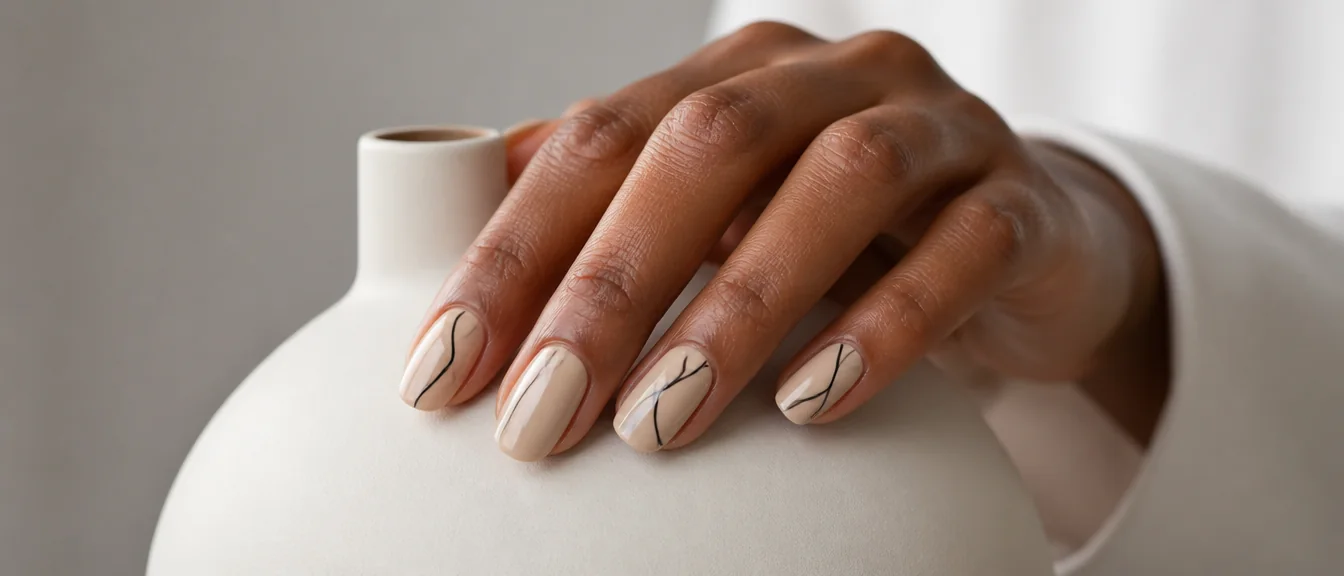
Abstract nails are the only nail art where getting it slightly wrong makes it better. There is no reference to fail against, so a line that bends more than you meant reads as intent rather than as a mistake. That is why it is the best first style for anyone nervous about painting freehand.
Here are 18 abstract nail designs, the rule that keeps a design from turning into a mess, which color combinations hold together, and how to start if you have never drawn on a nail. My nail art ideas post covers the wider range.
Editor’s picks
Browse all 18 designs
18 designs 1Single Black Line
 2Line and Dot
 3Broken Line
 4Color Blocks
 5Brushstroke Nails
 6Abstract Face Line Art
 7Squiggle Nails
 8Abstract Marble
 9Negative Space Triangle
 10Abstract Half Dip
 11Crossed Lines
 12Abstract Gold Leaf
 13Blurred Color Wash
 14Abstract Checkerboard
 15One Accent Nail
 16Abstract on Black
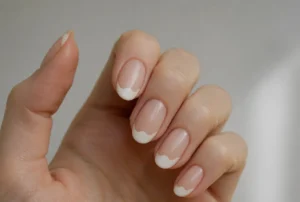 17Abstract French
 18Minimal Abstract on Bare Nails
18 abstract nail designs
1. Single Black Line

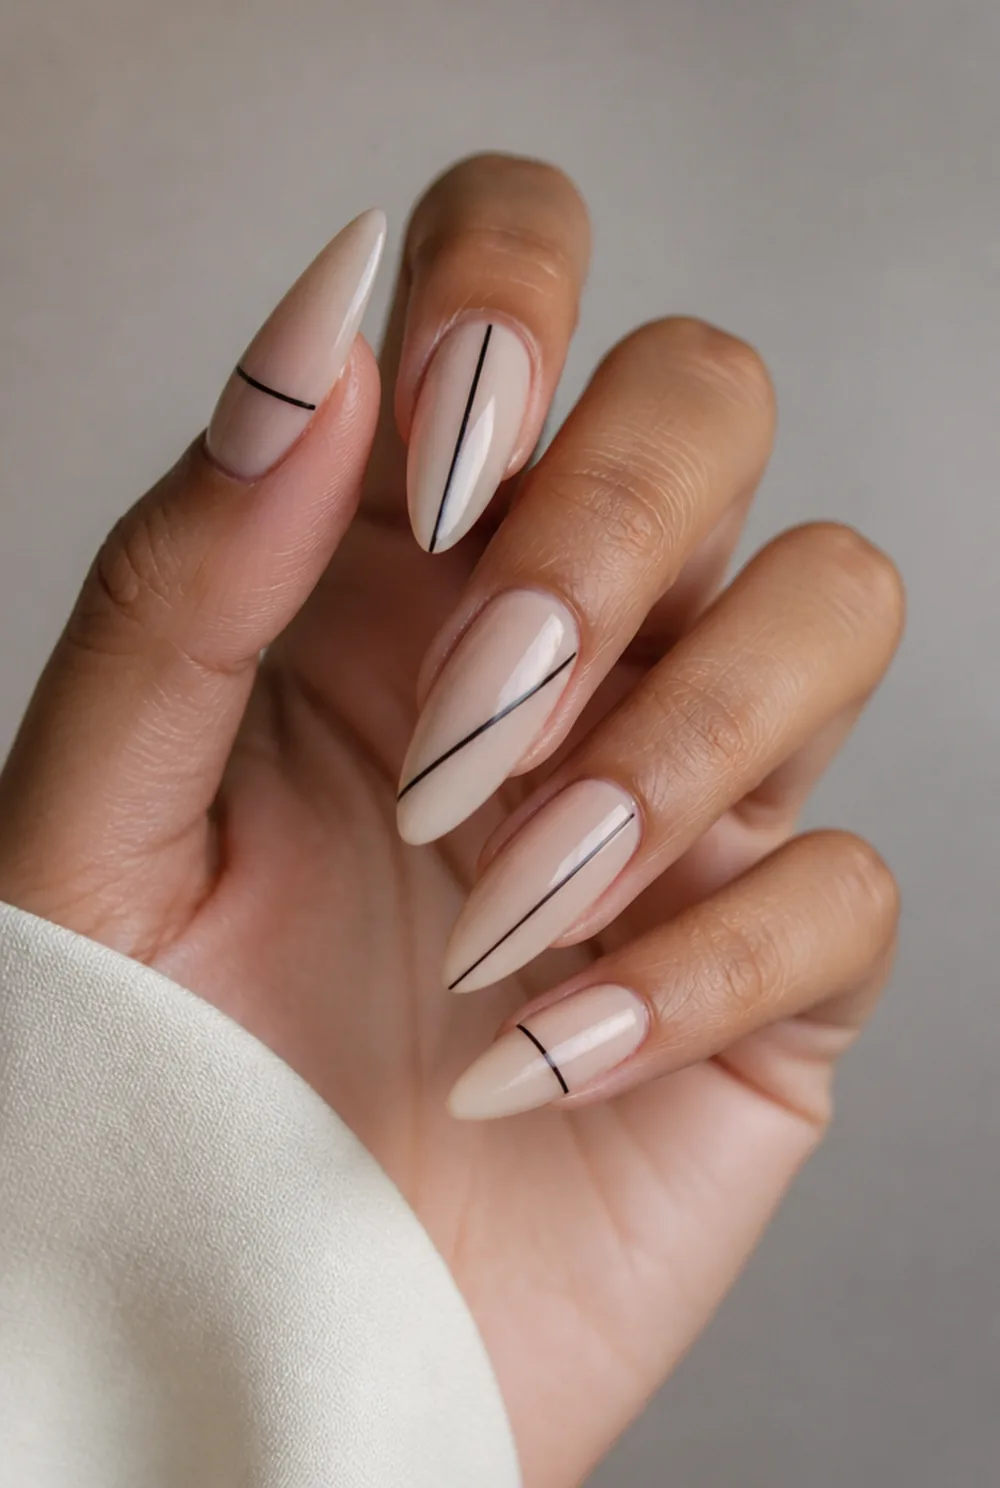
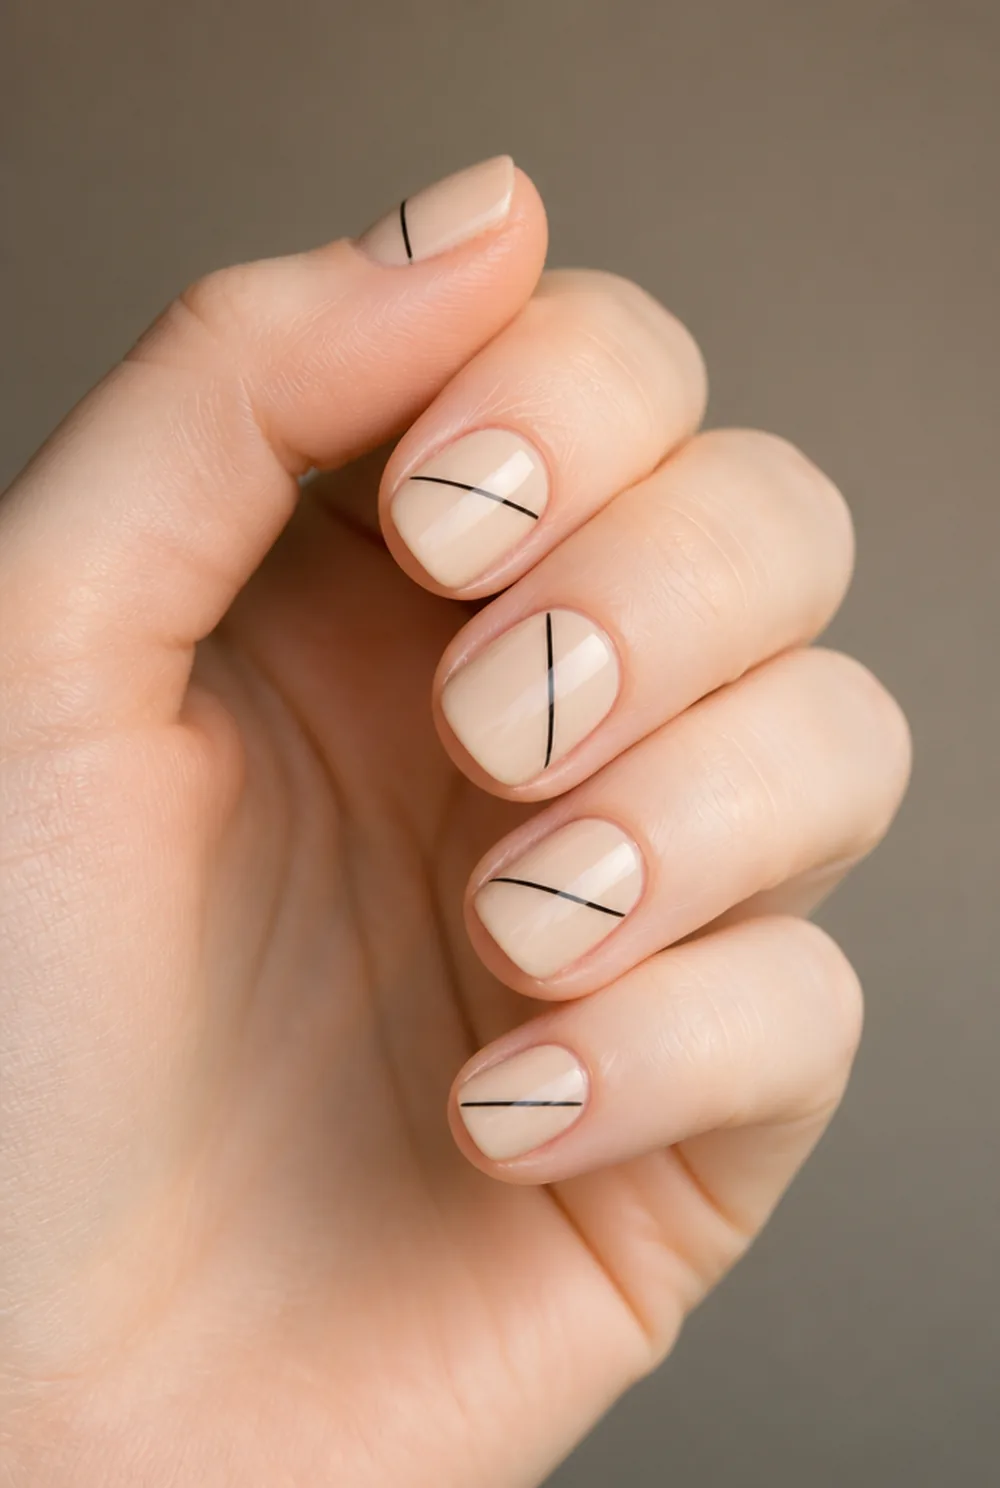
one thin black line at an angle, different on each finger
One thin black line at an angle across a nude nail, different on each finger. It is the simplest abstract design and it still reads as a deliberate set because the angle changes.
2. Line and Dot

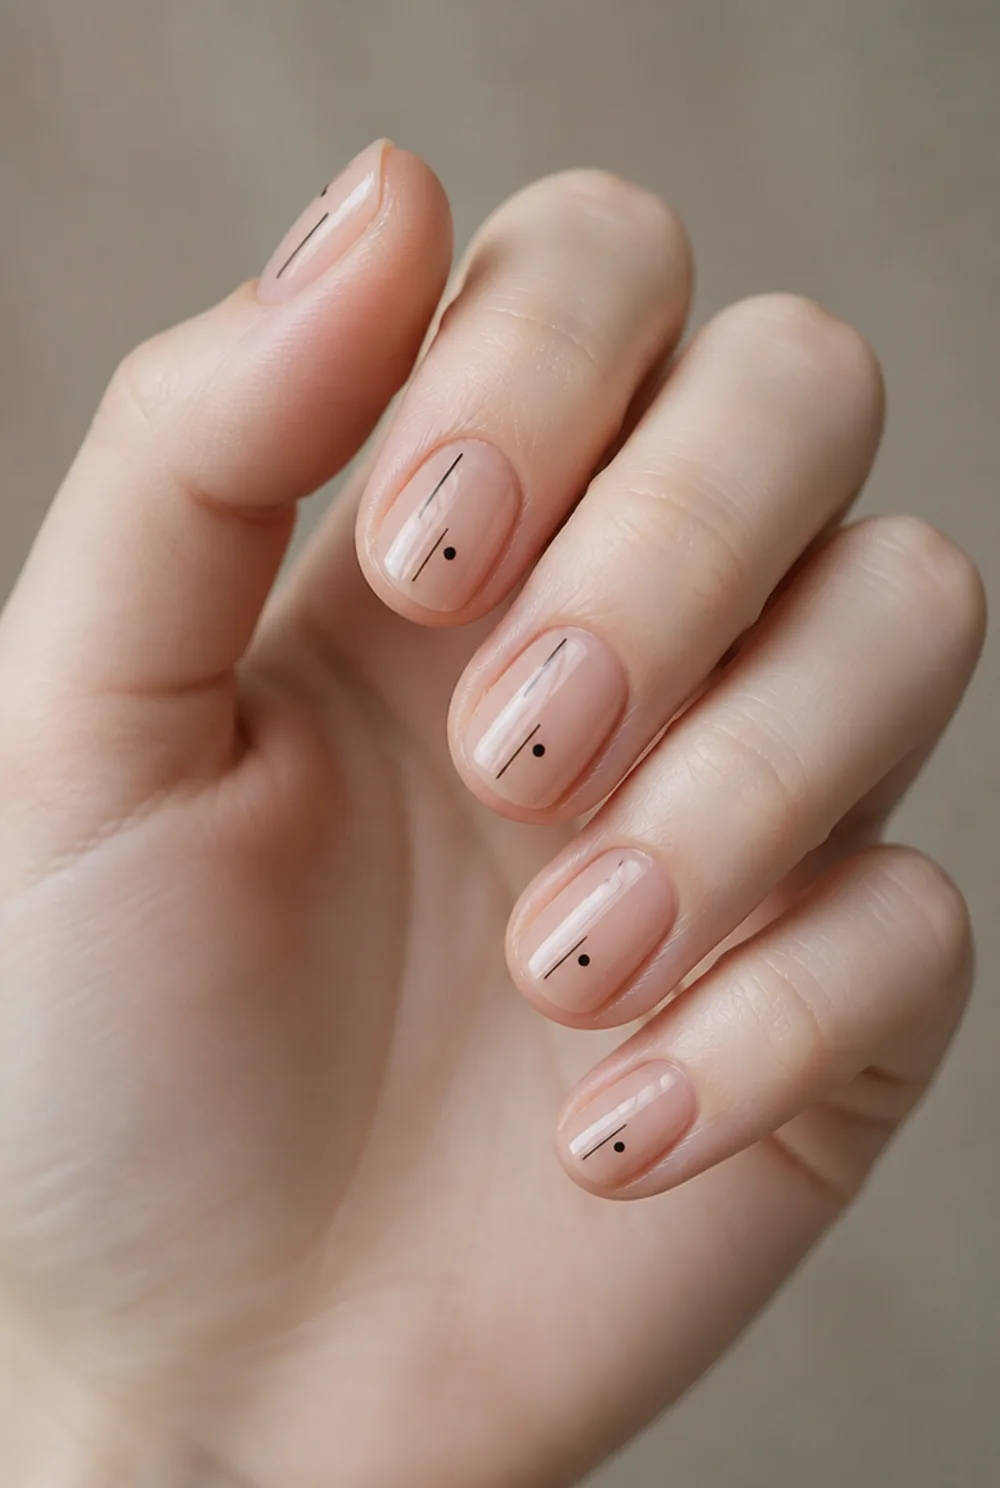
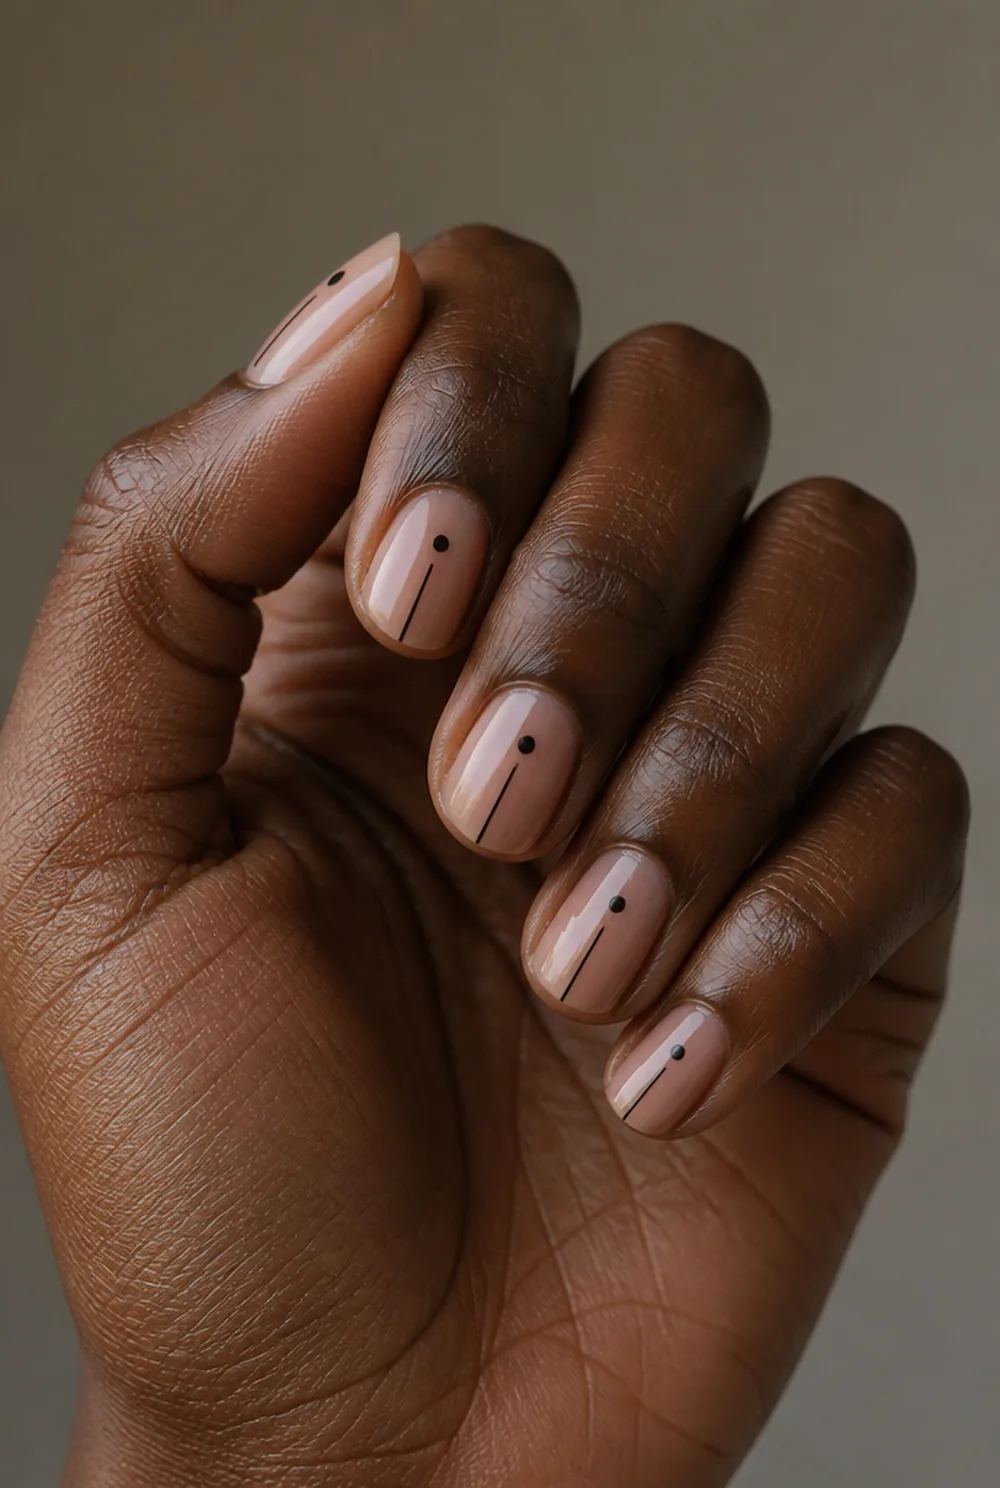
a line and single dot with space between them
A line and a single dot placed somewhere near it but not touching. The gap between them is what makes it look composed rather than random, so leave real space.
3. Broken Line
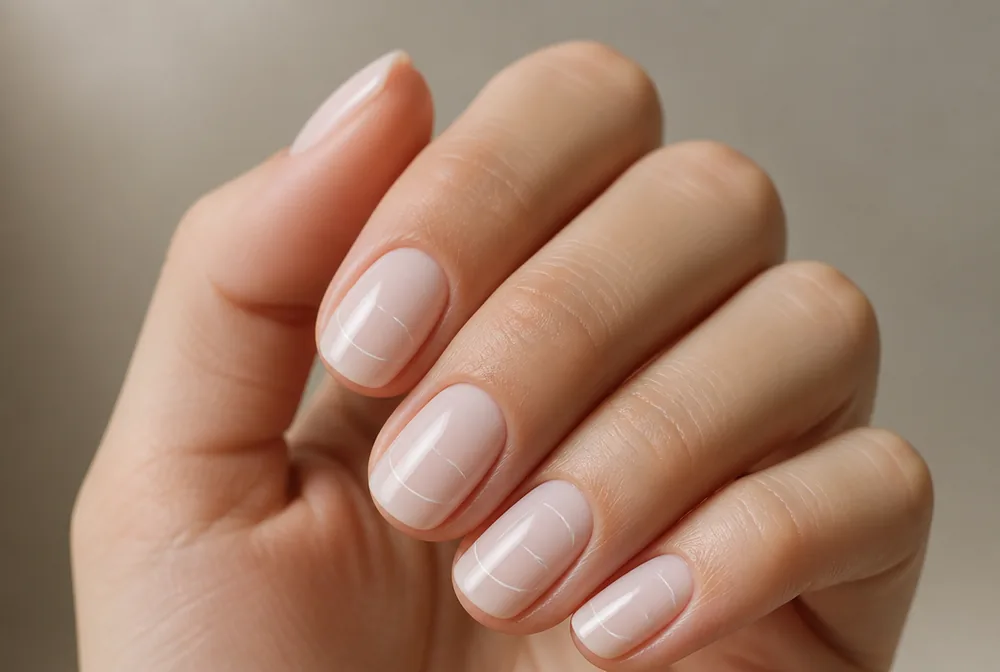
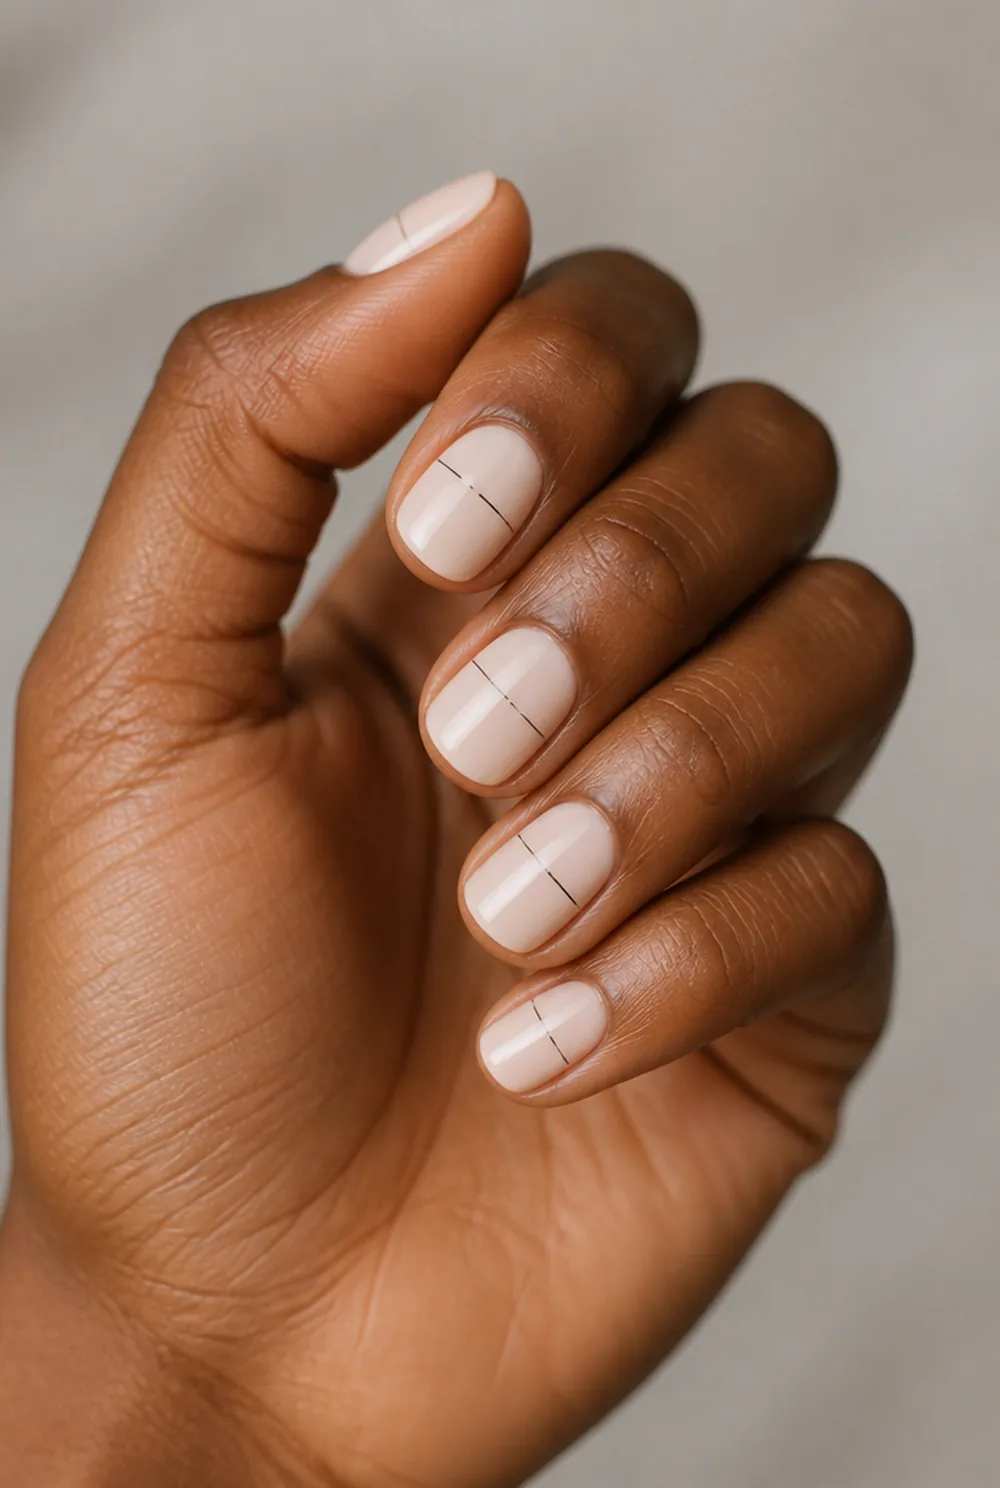
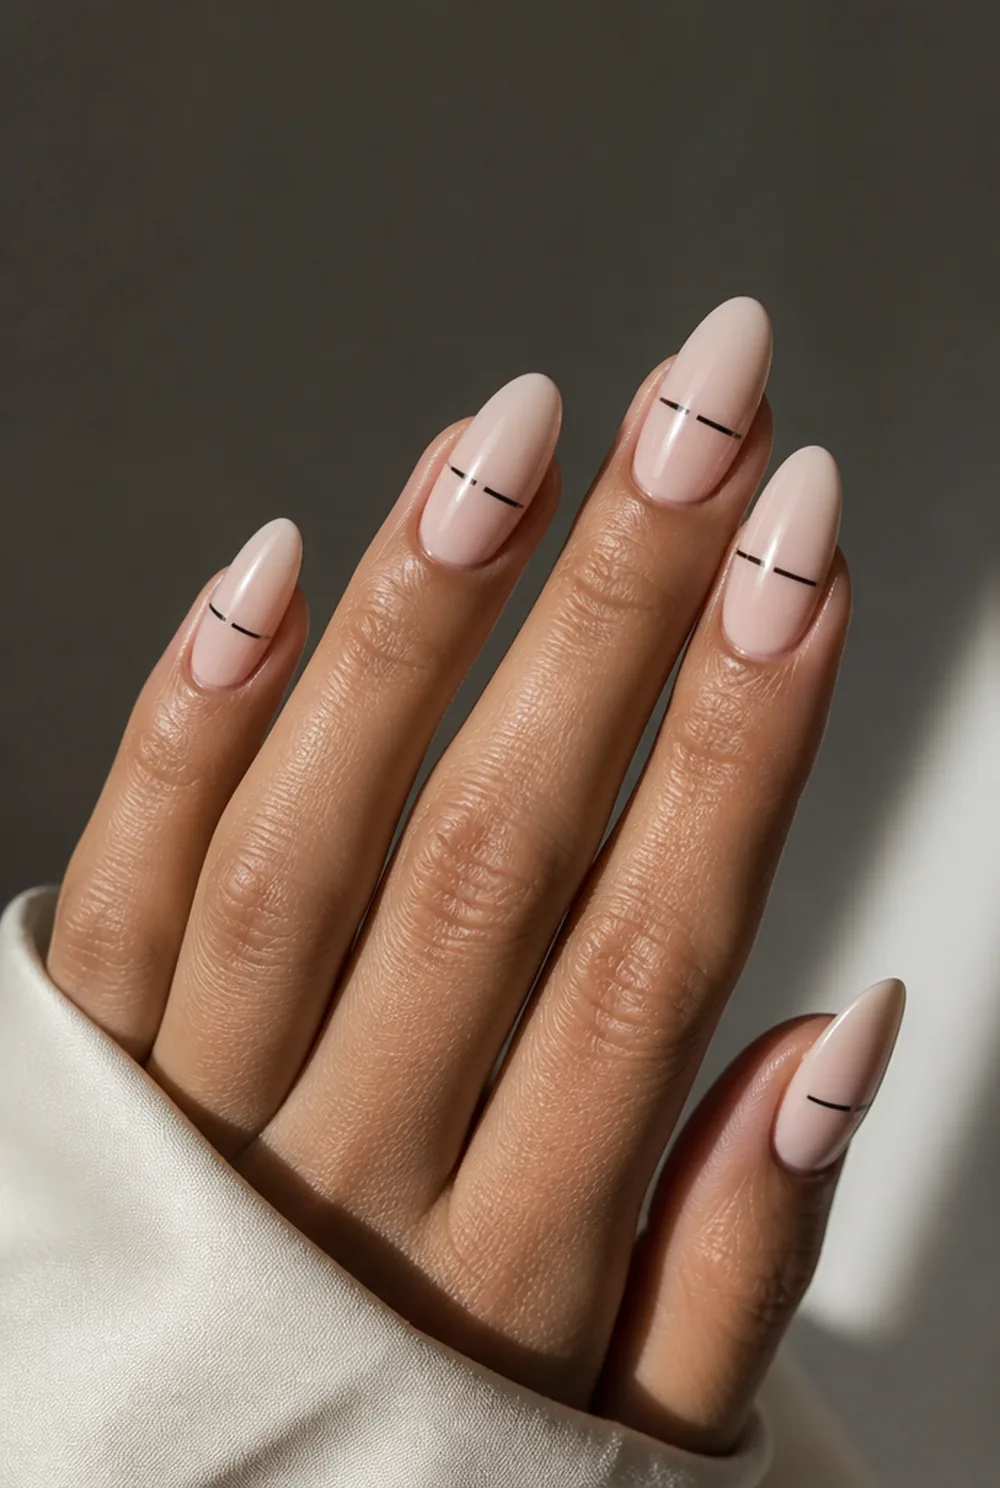
a line drawn in two pieces with a gap in the middle
A line drawn in two pieces with a gap in the middle. The break is the design, and it is the easiest way to make a shaky line look intentional.
4. Color Blocks
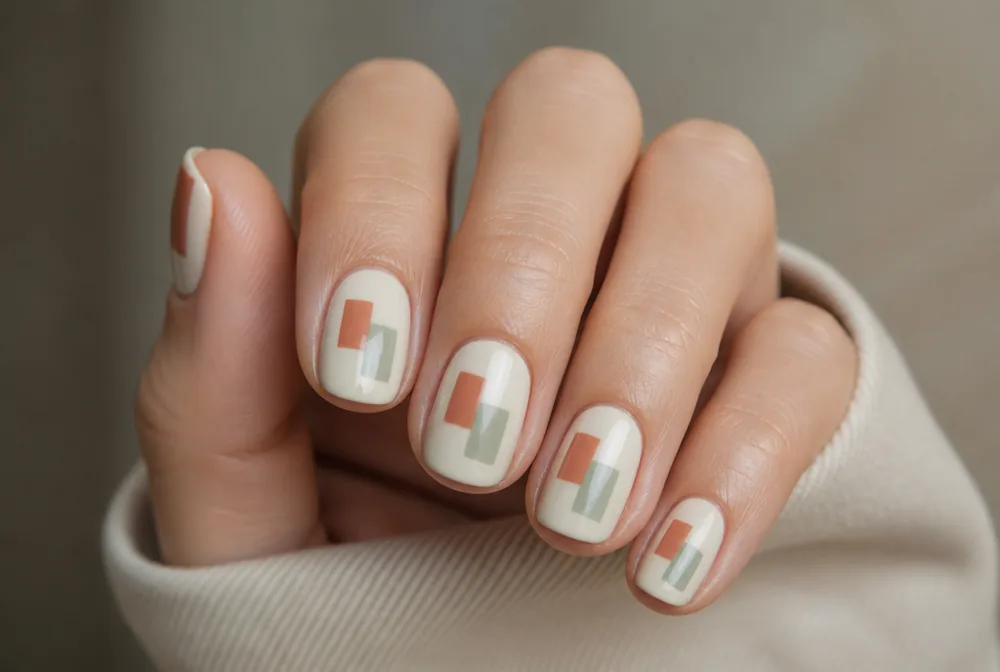
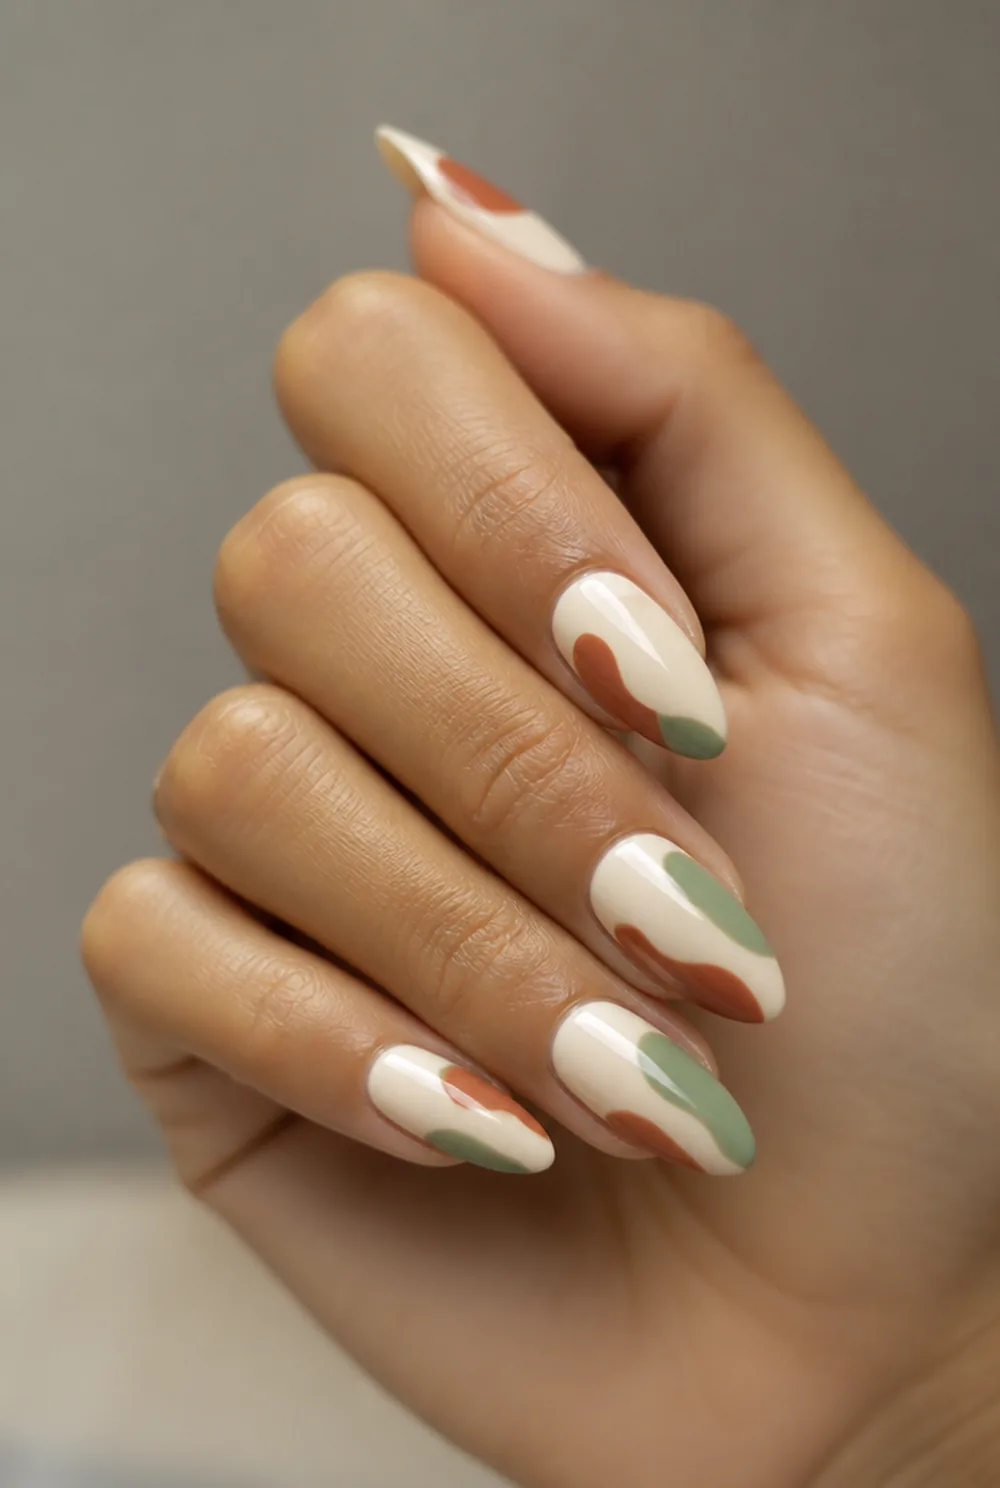
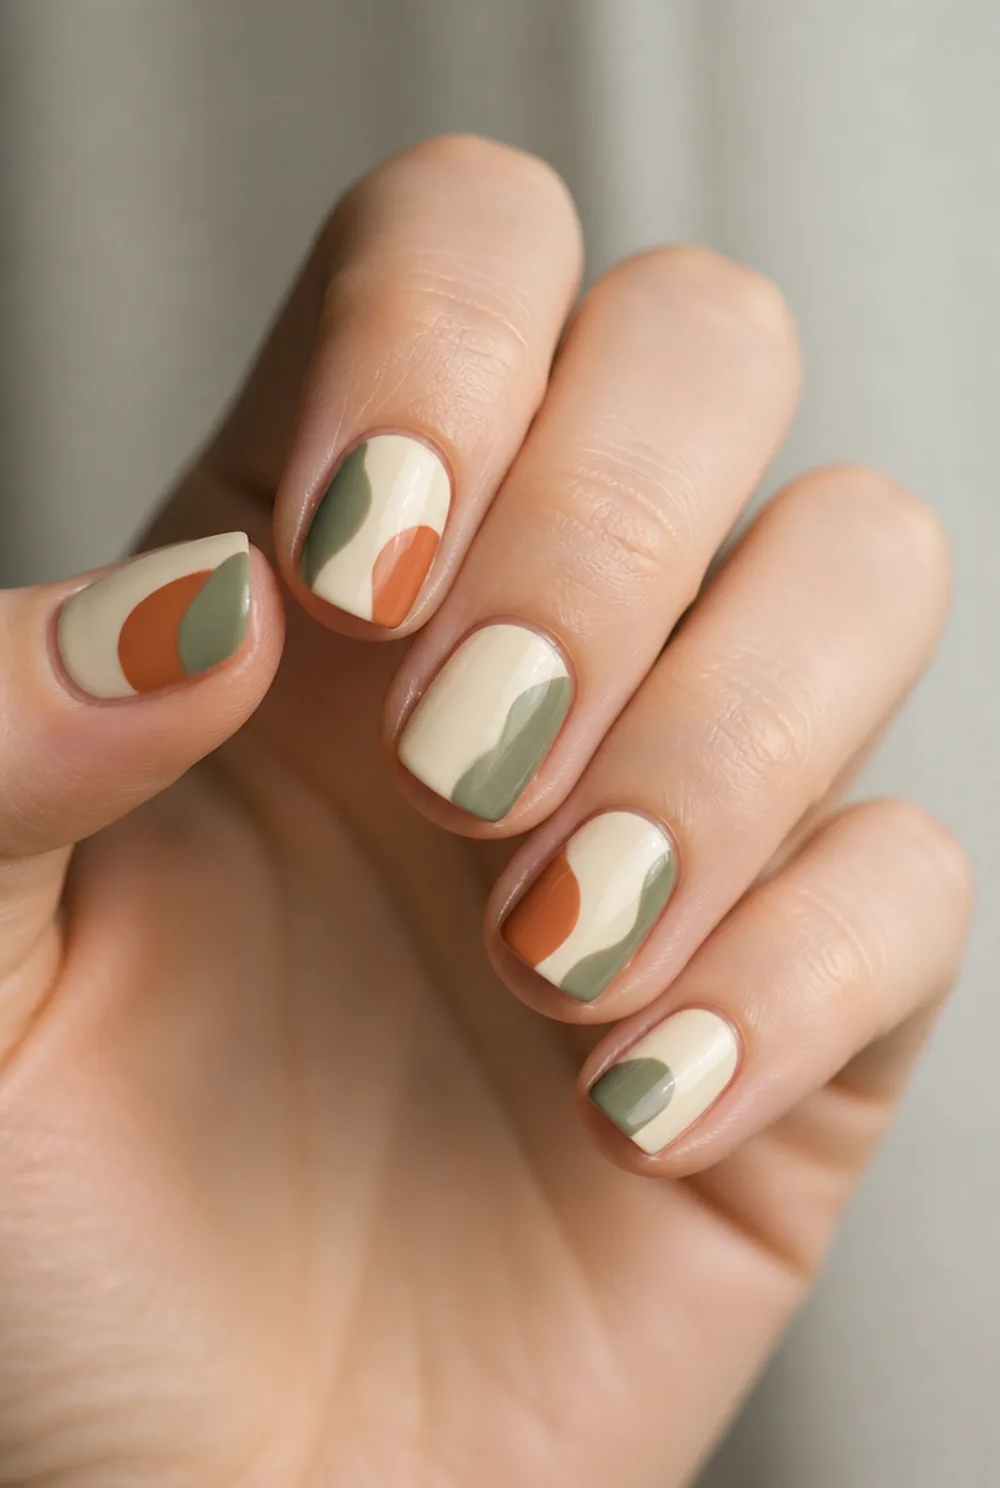
two flat color blocks with deliberately rough edges
Two flat blocks of color on a cream base, edges left slightly uneven. Painting the edges deliberately rough is what separates this from a color block gone wrong.
5. Brushstroke Nails
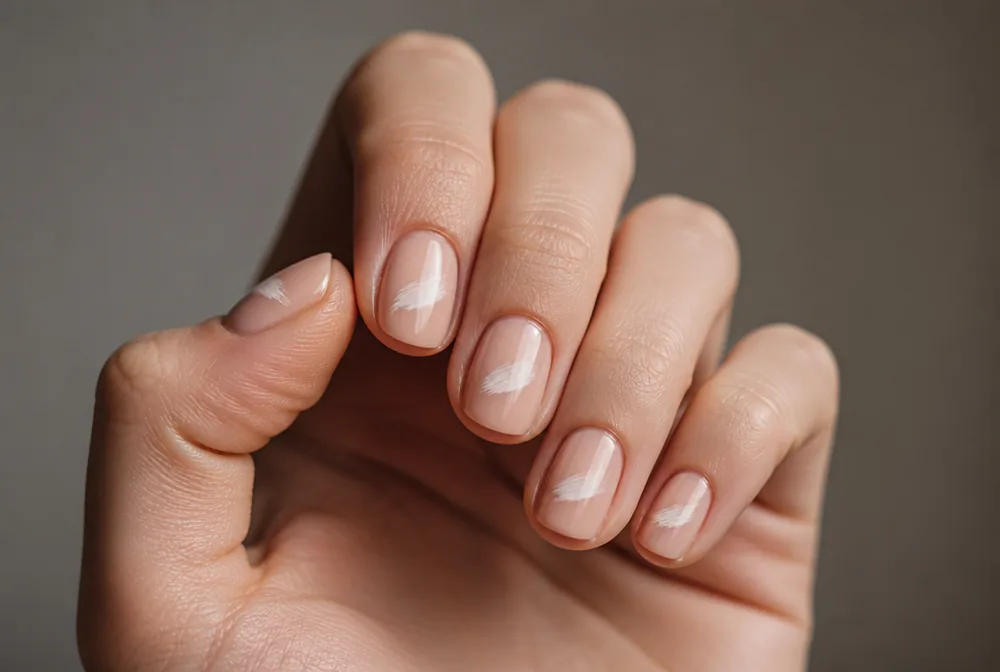
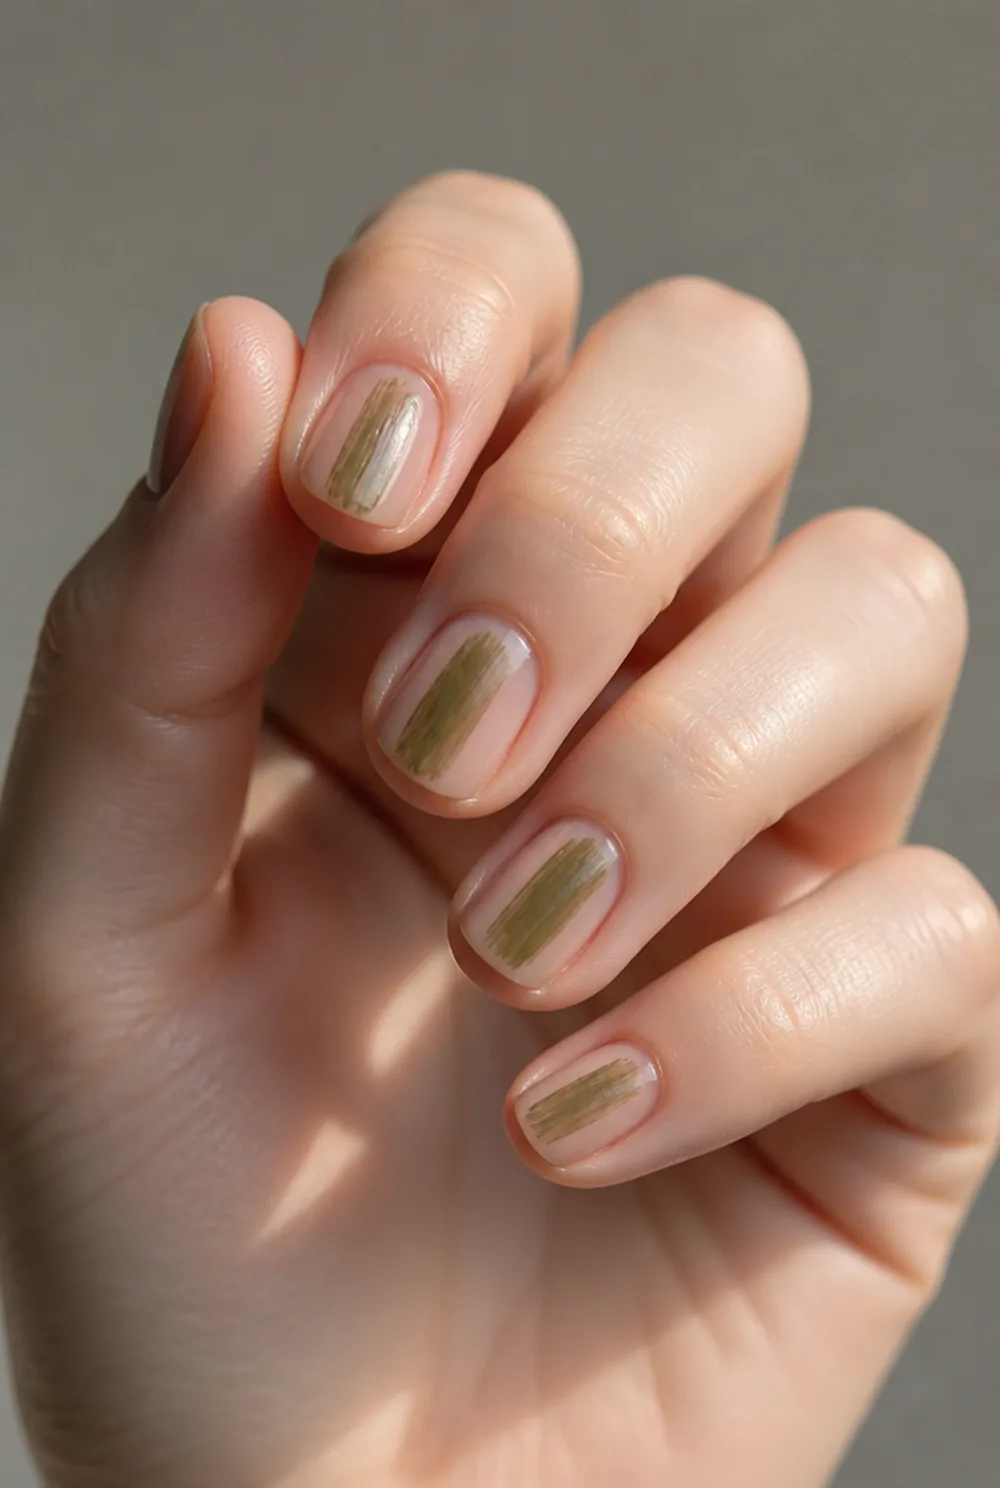
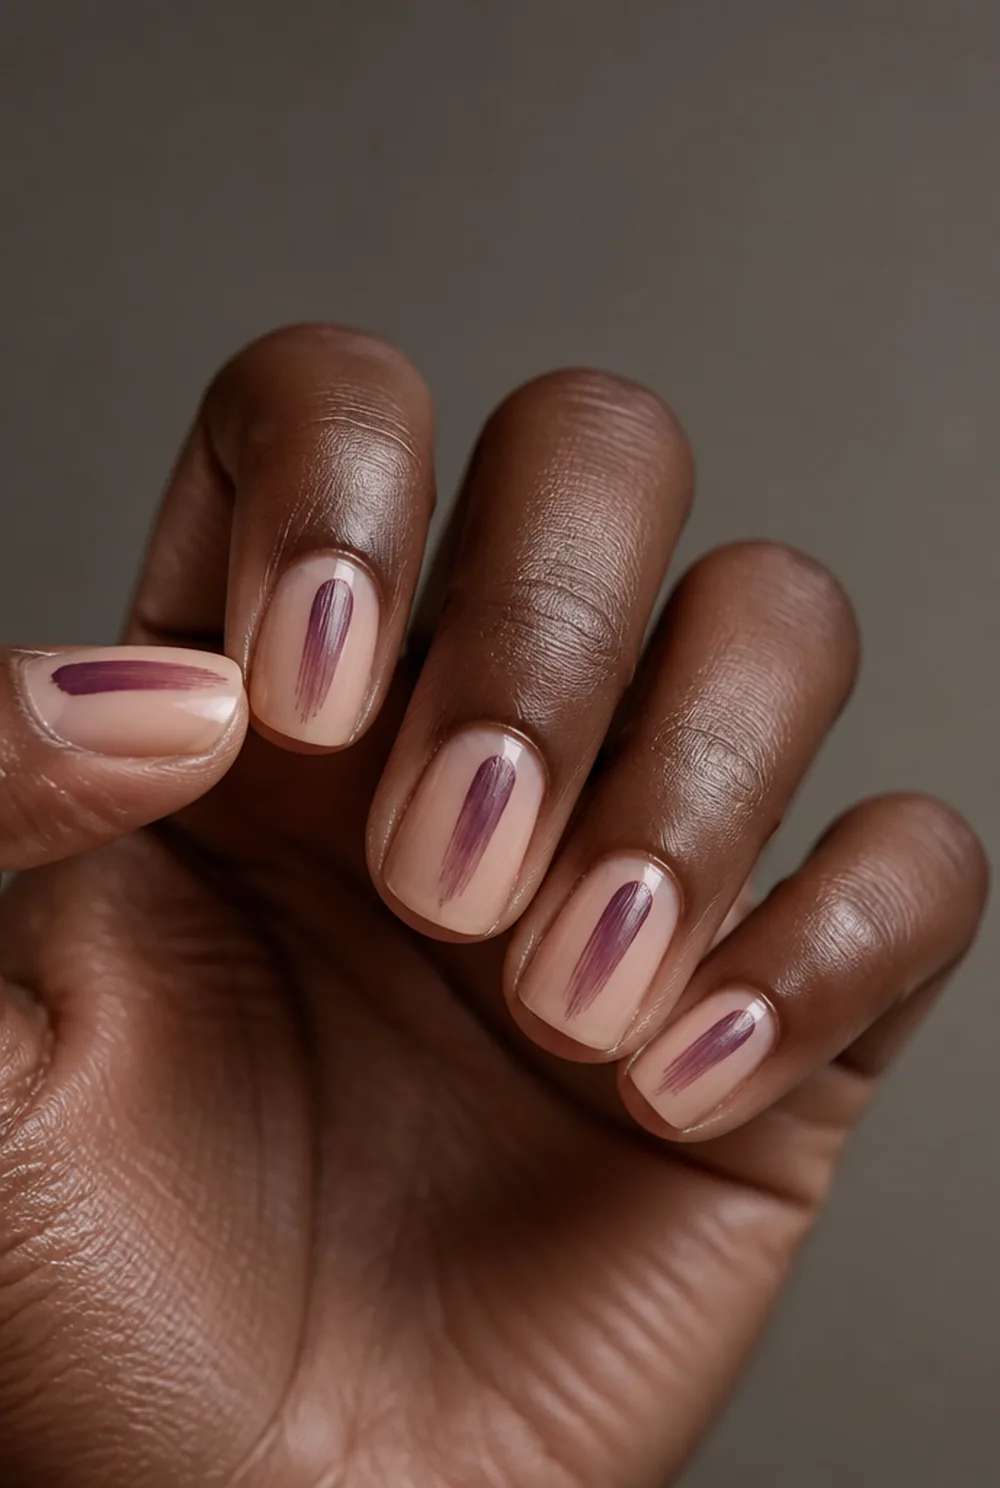
one dry brushstroke with visible bristle marks
One dry brushstroke where the bristle marks stay visible. Wipe most of the polish off the brush first, then drag once. The streaking is the entire point.
6. Abstract Face Line Art

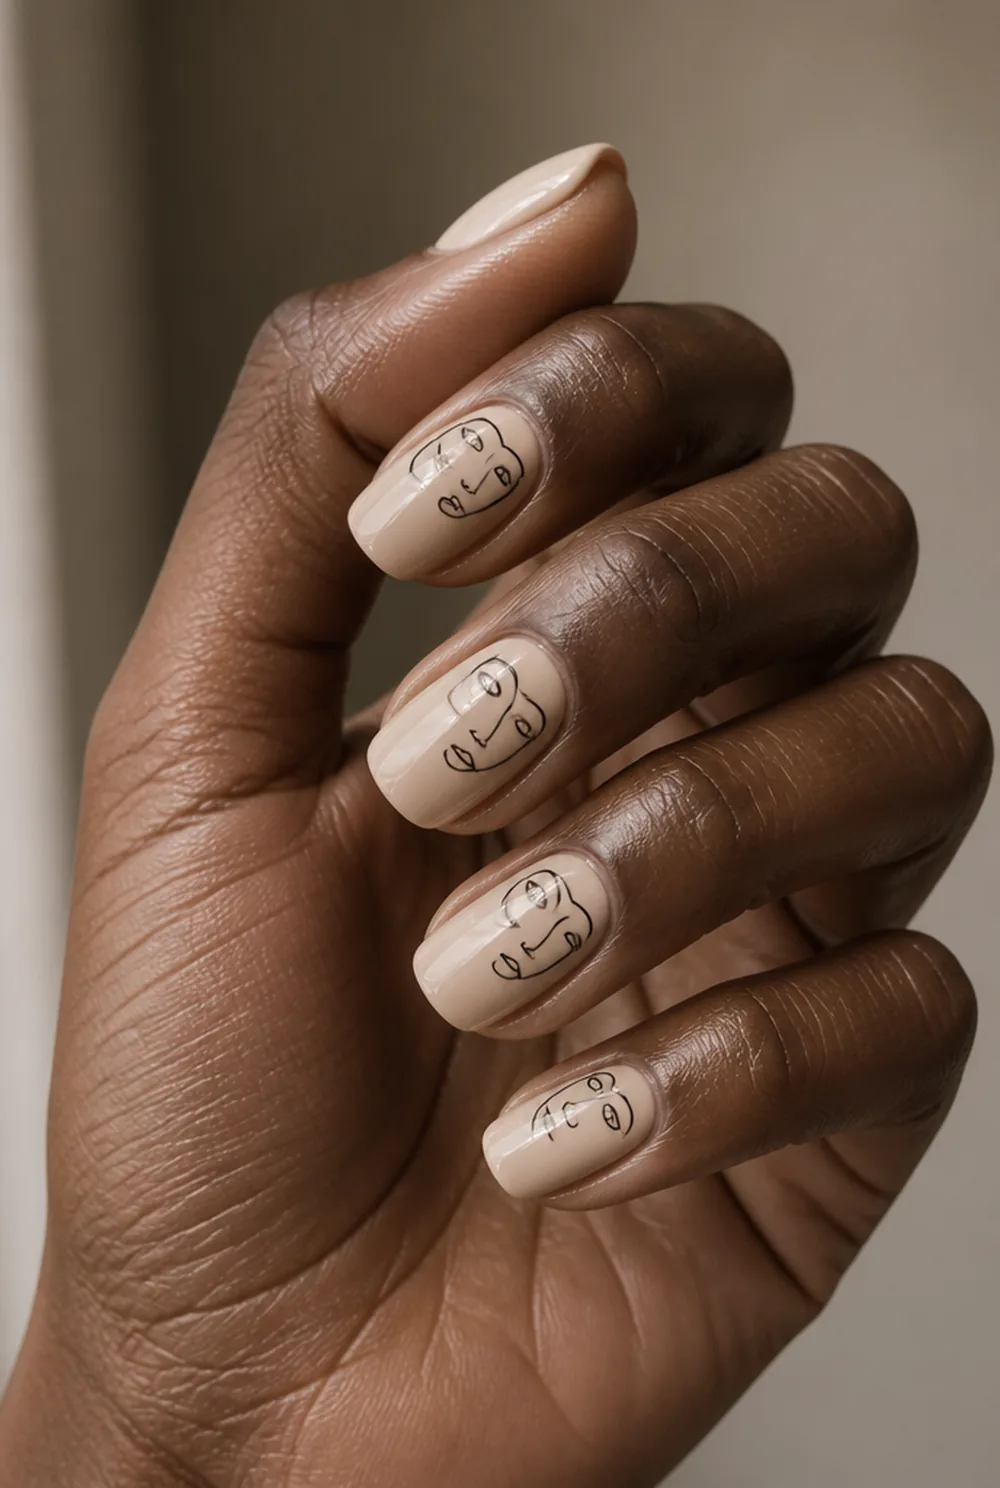

a face drawn in one unbroken line, Picasso style
A face drawn in one unbroken line, the Picasso-ish version that turns up on every gallery tote bag. Practice it on paper twice before you commit to a nail.
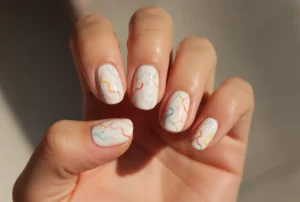
7. Squiggle Nails
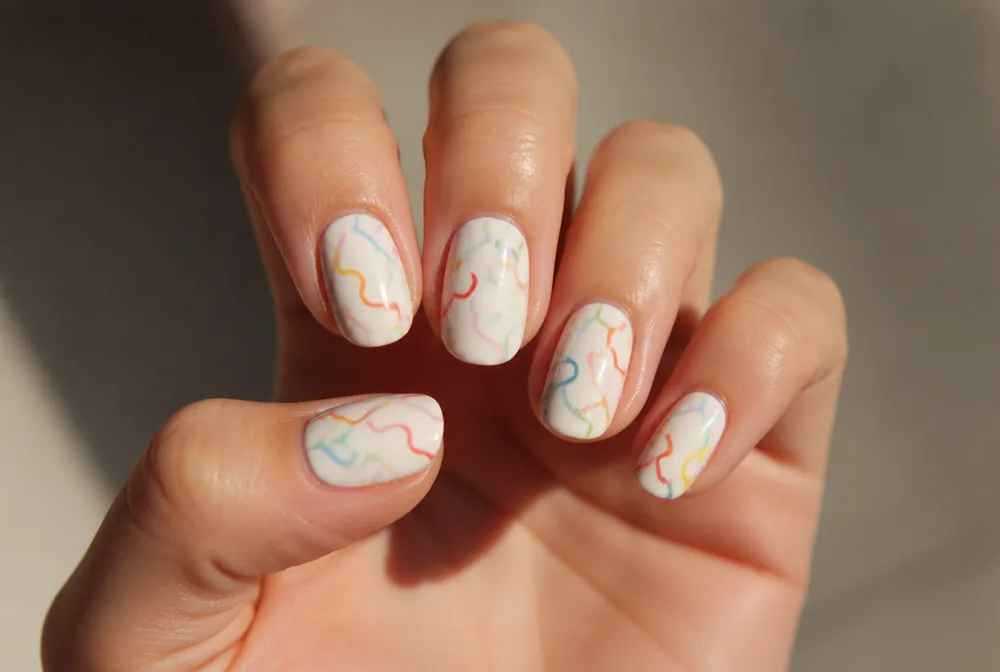
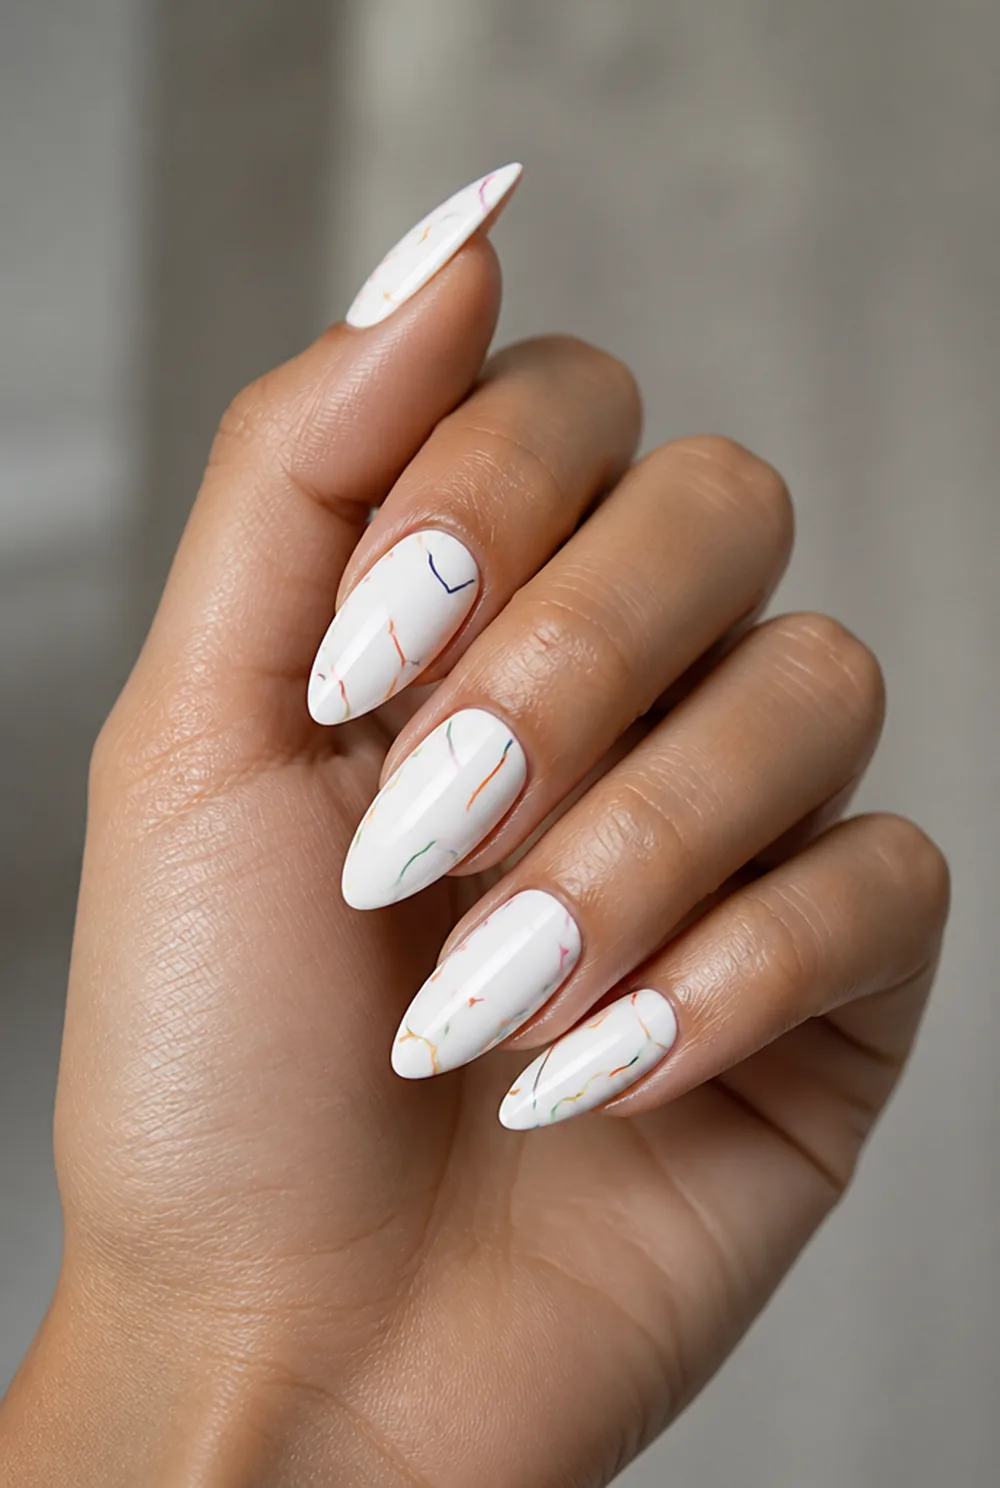

loose squiggles in two or three colors on white
Loose squiggles in two or three colors on a white base. Keep the squiggles small and leave more white than you fill, or it turns into noise.
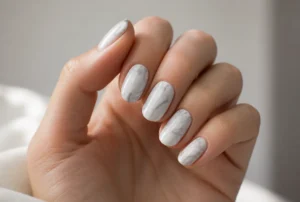
8. Abstract Marble
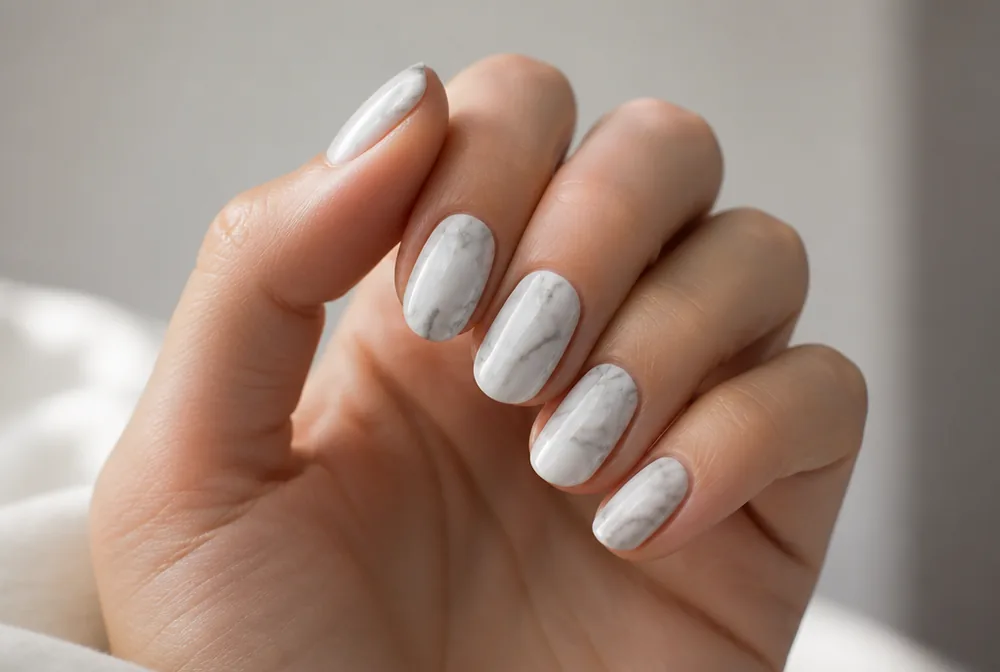
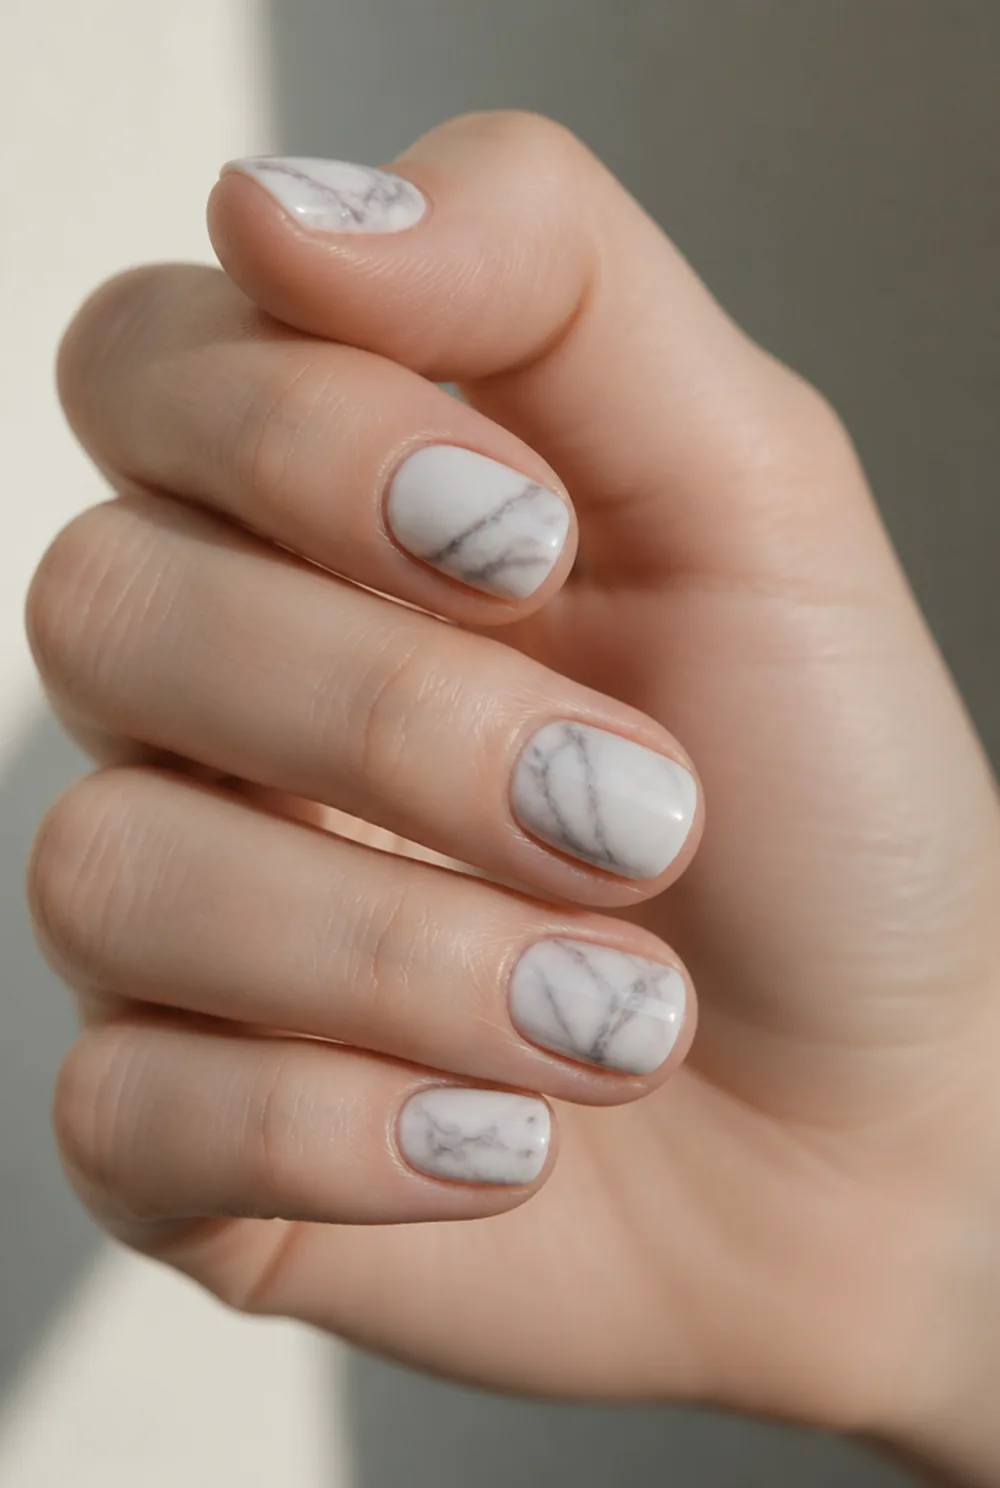
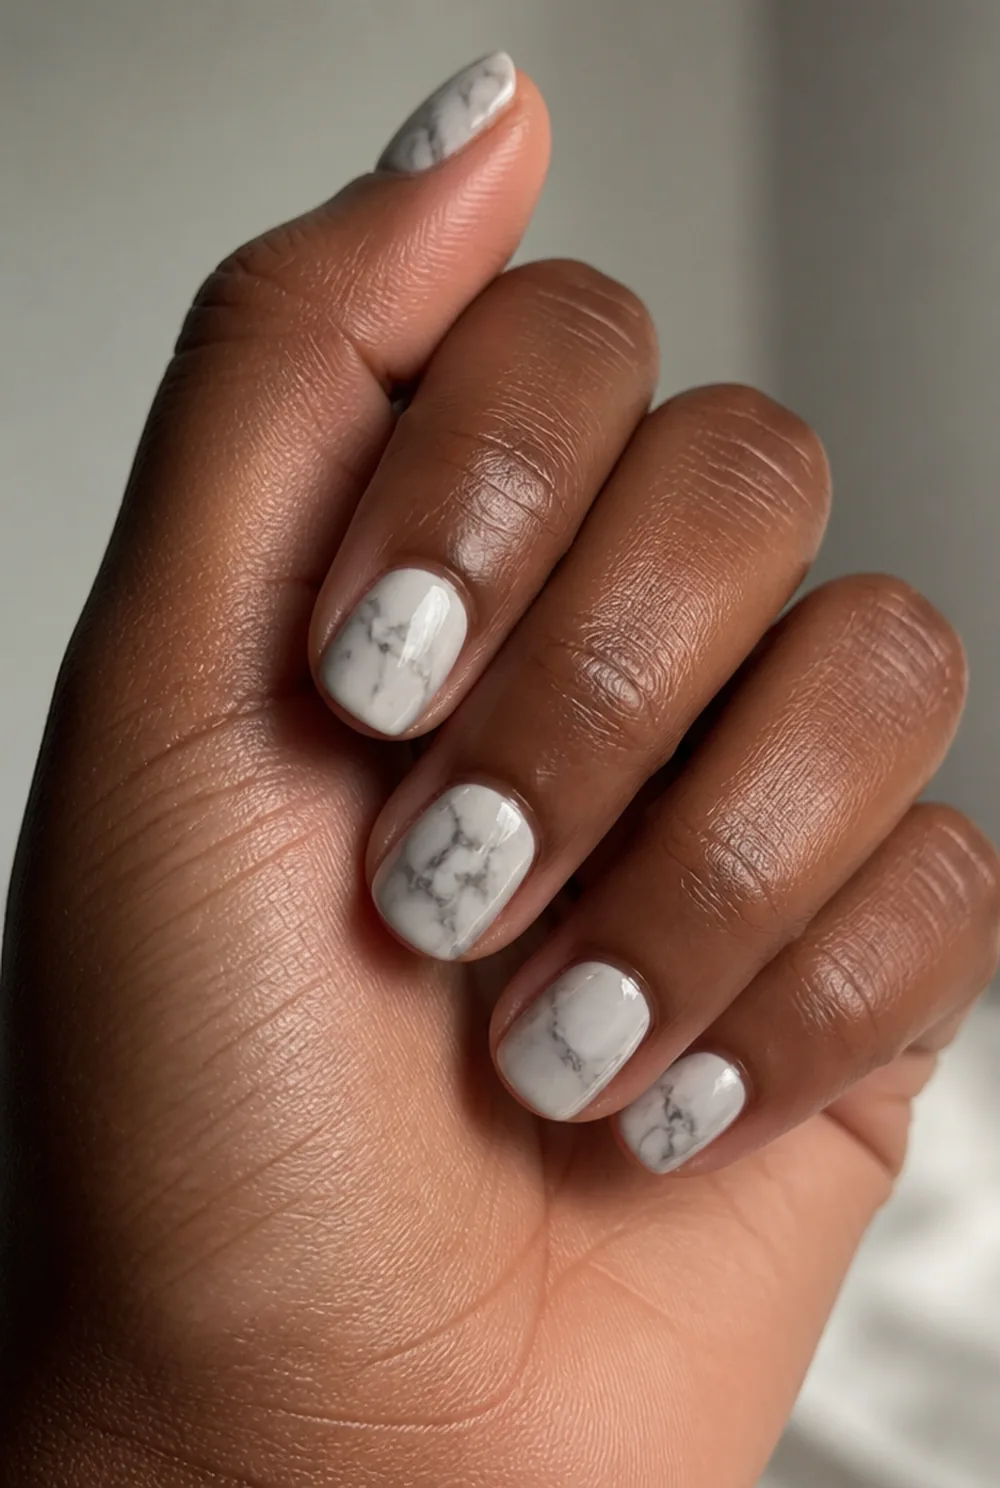
irregular veining that does not imitate real stone
Irregular veining that does not try to imitate real stone. Because it is abstract rather than a copy, there is nothing to compare it to. Blooming gel is another route to soft veining, and Allure reports nail artists are pulling out their kits again for soft, abstract effects. My marble nails guide has the technique.
9. Negative Space Triangle
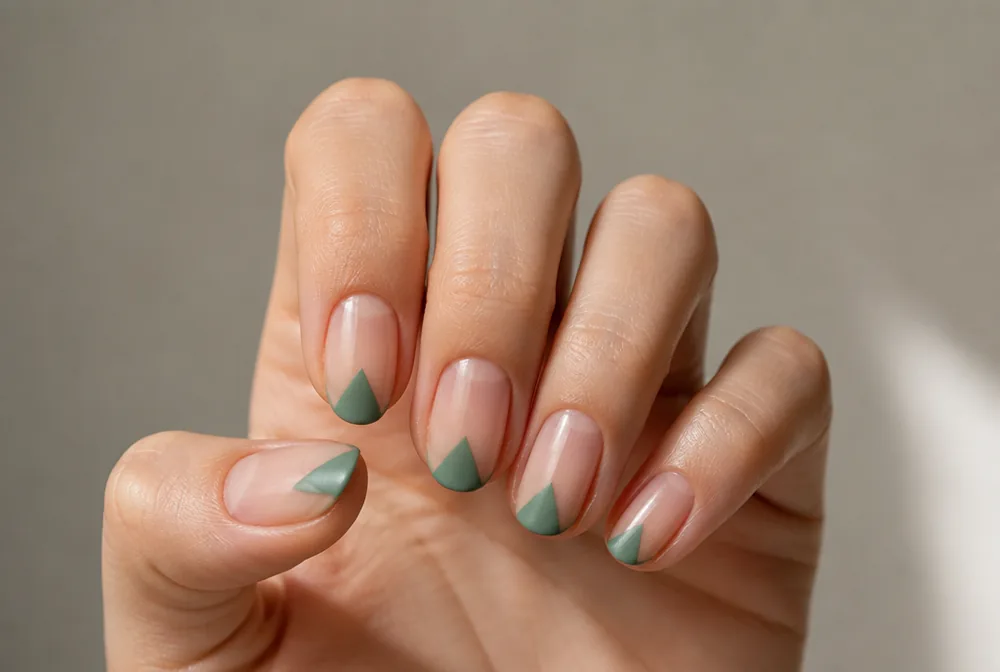
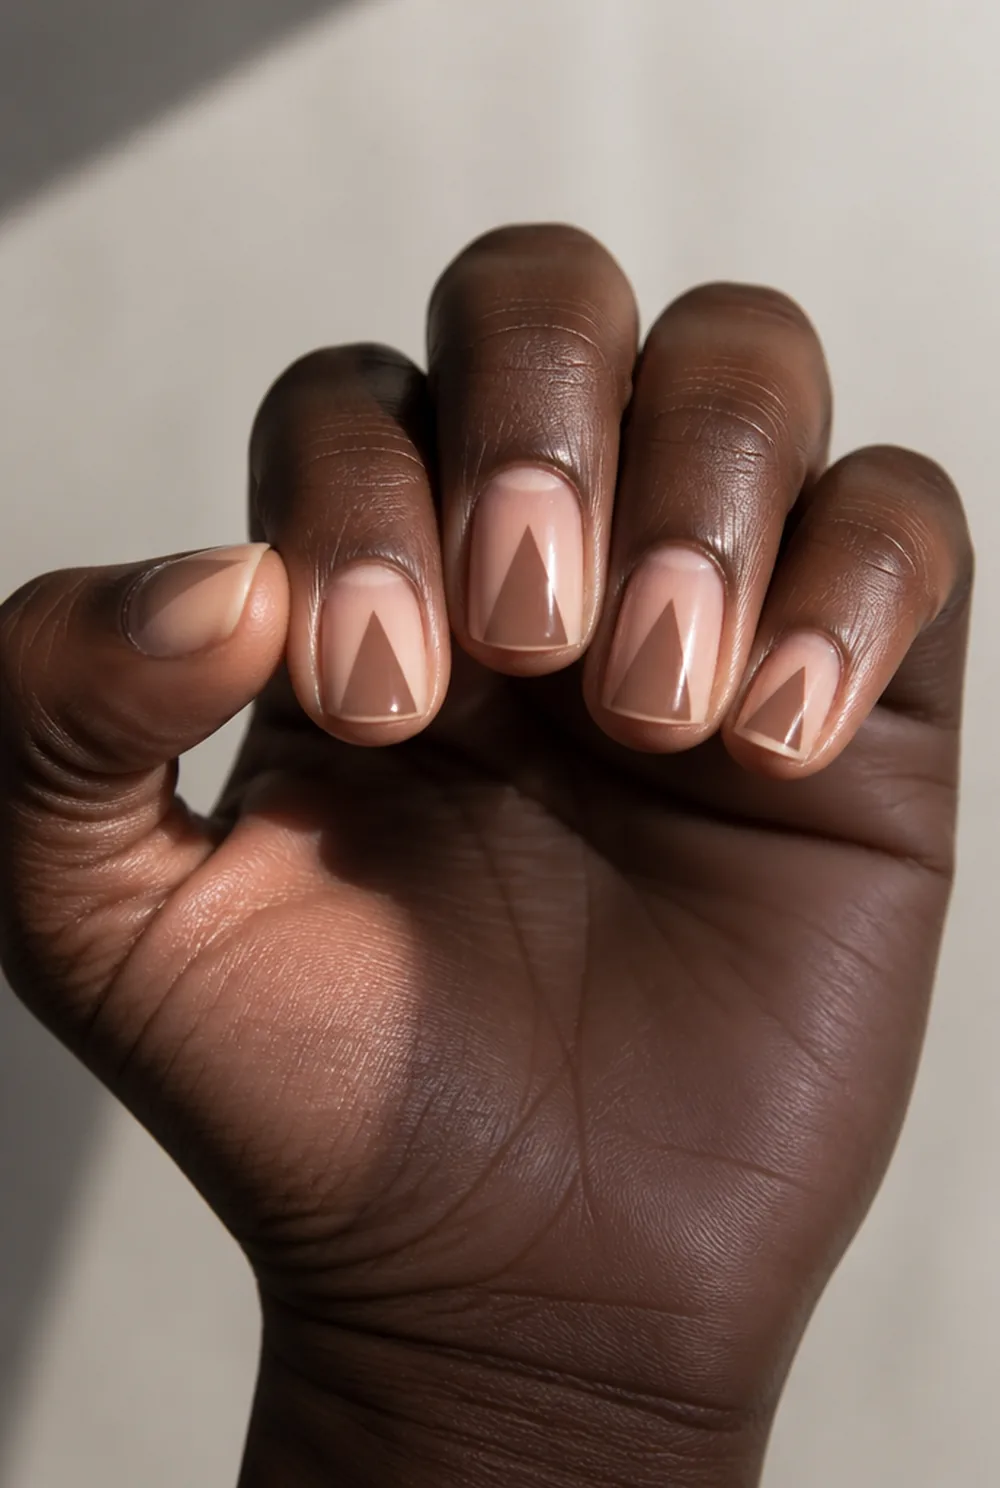
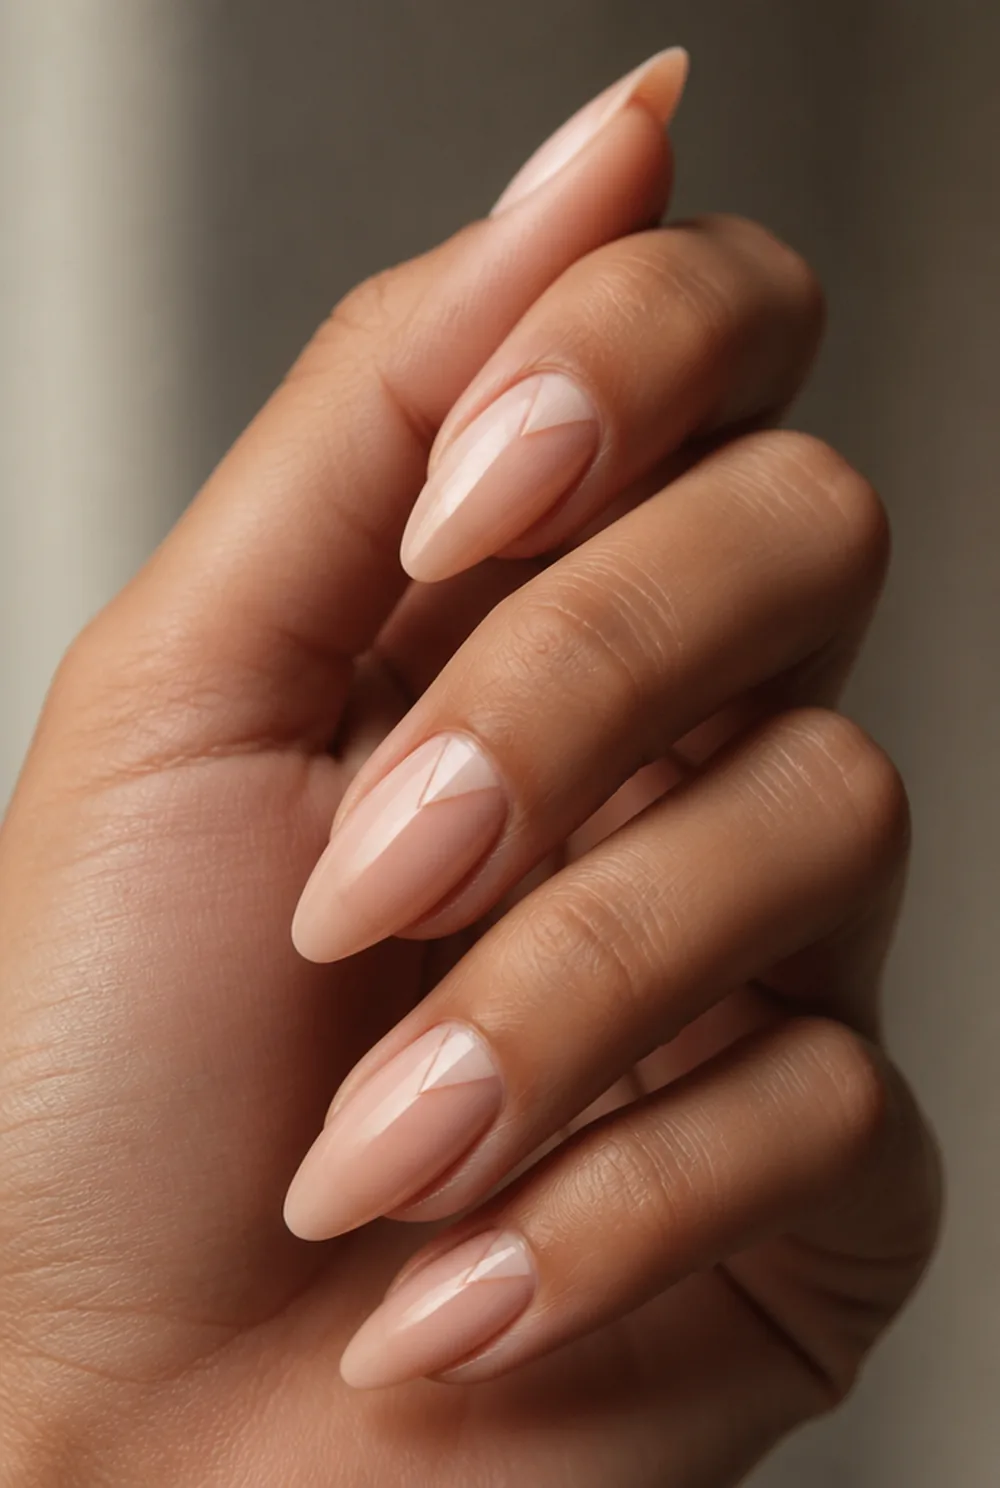
one solid geometric shape with the rest bare
One solid geometric shape with the rest of the nail left bare. Striping tape gives you the clean edges, and you peel it while the polish is still wet.
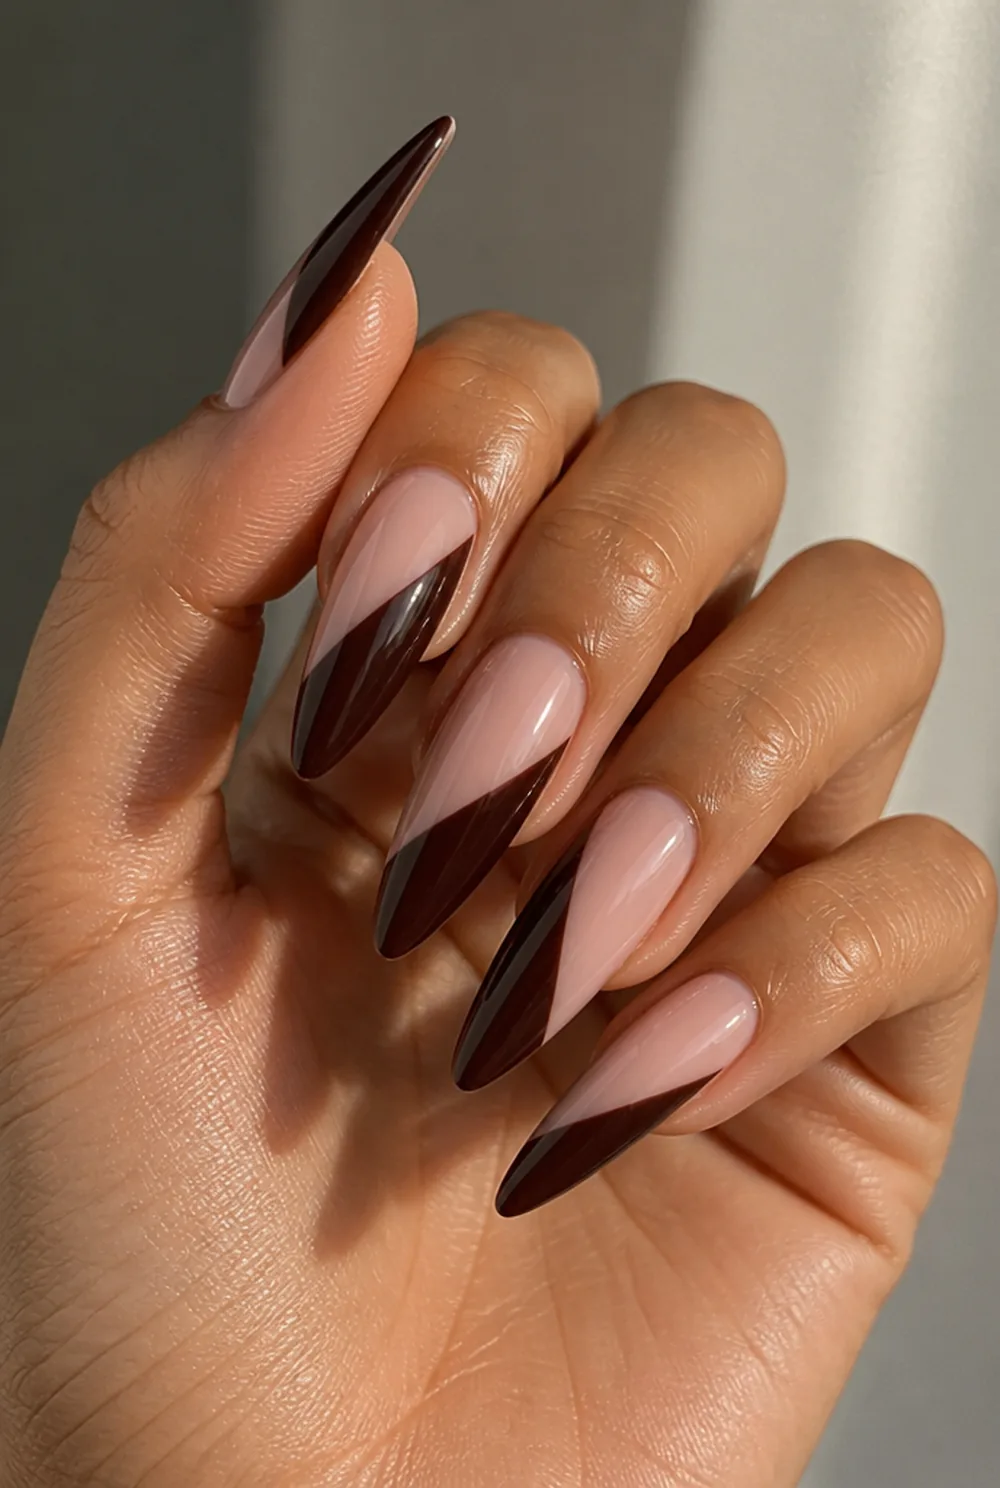
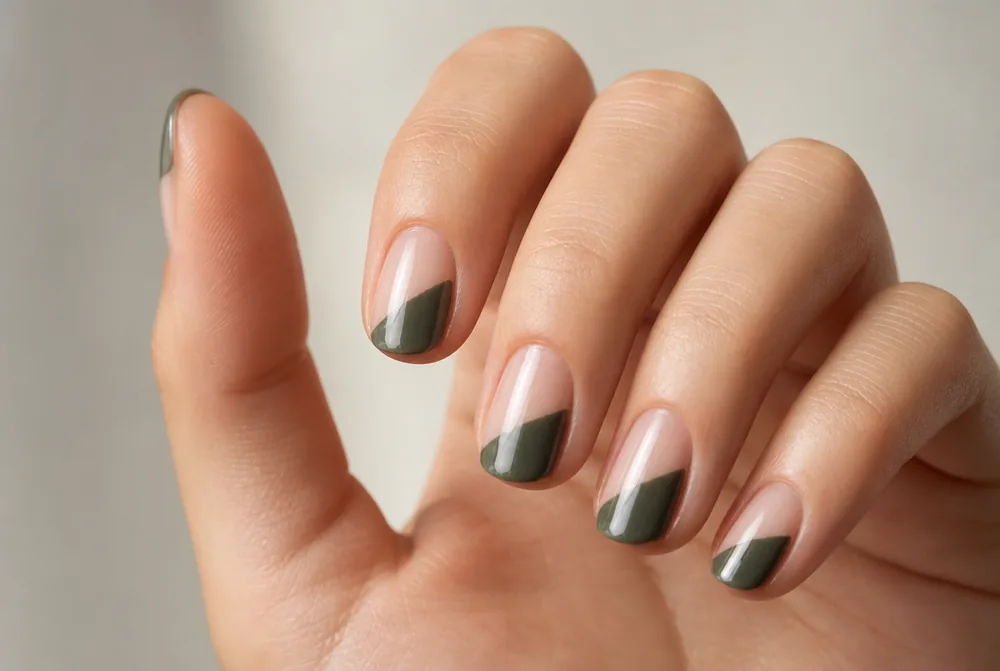
10. Abstract Half Dip
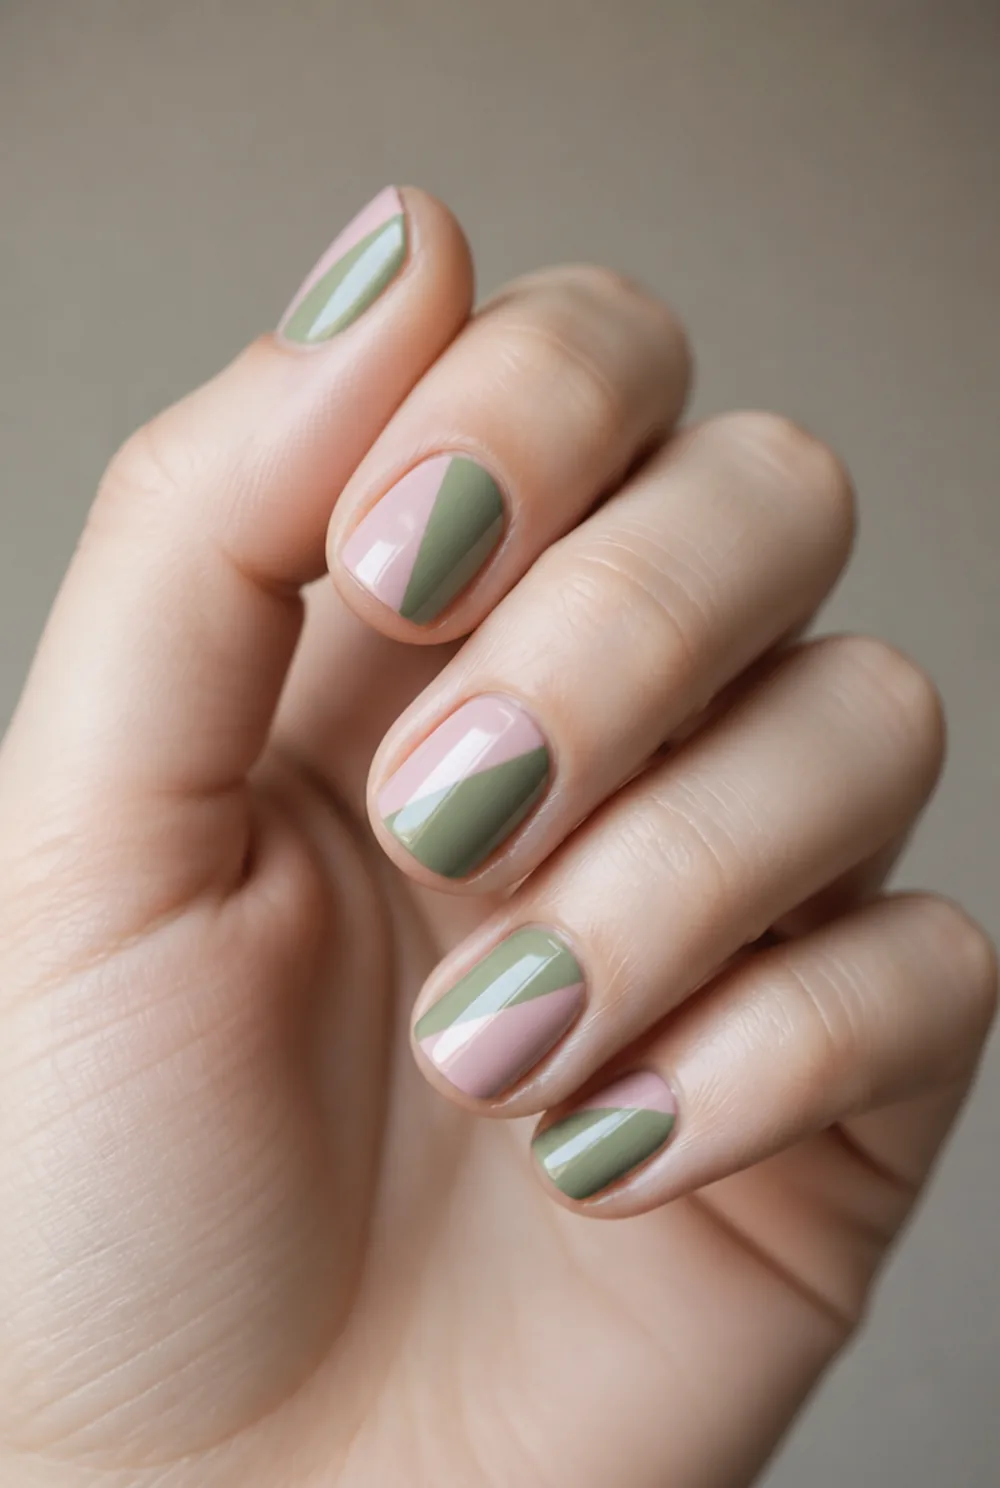
nail painted diagonally as though dipped at an angle
The nail painted diagonally as though it was dipped at an angle. Vary the angle on each finger so the set looks like a series rather than a repeat.
11. Crossed Lines


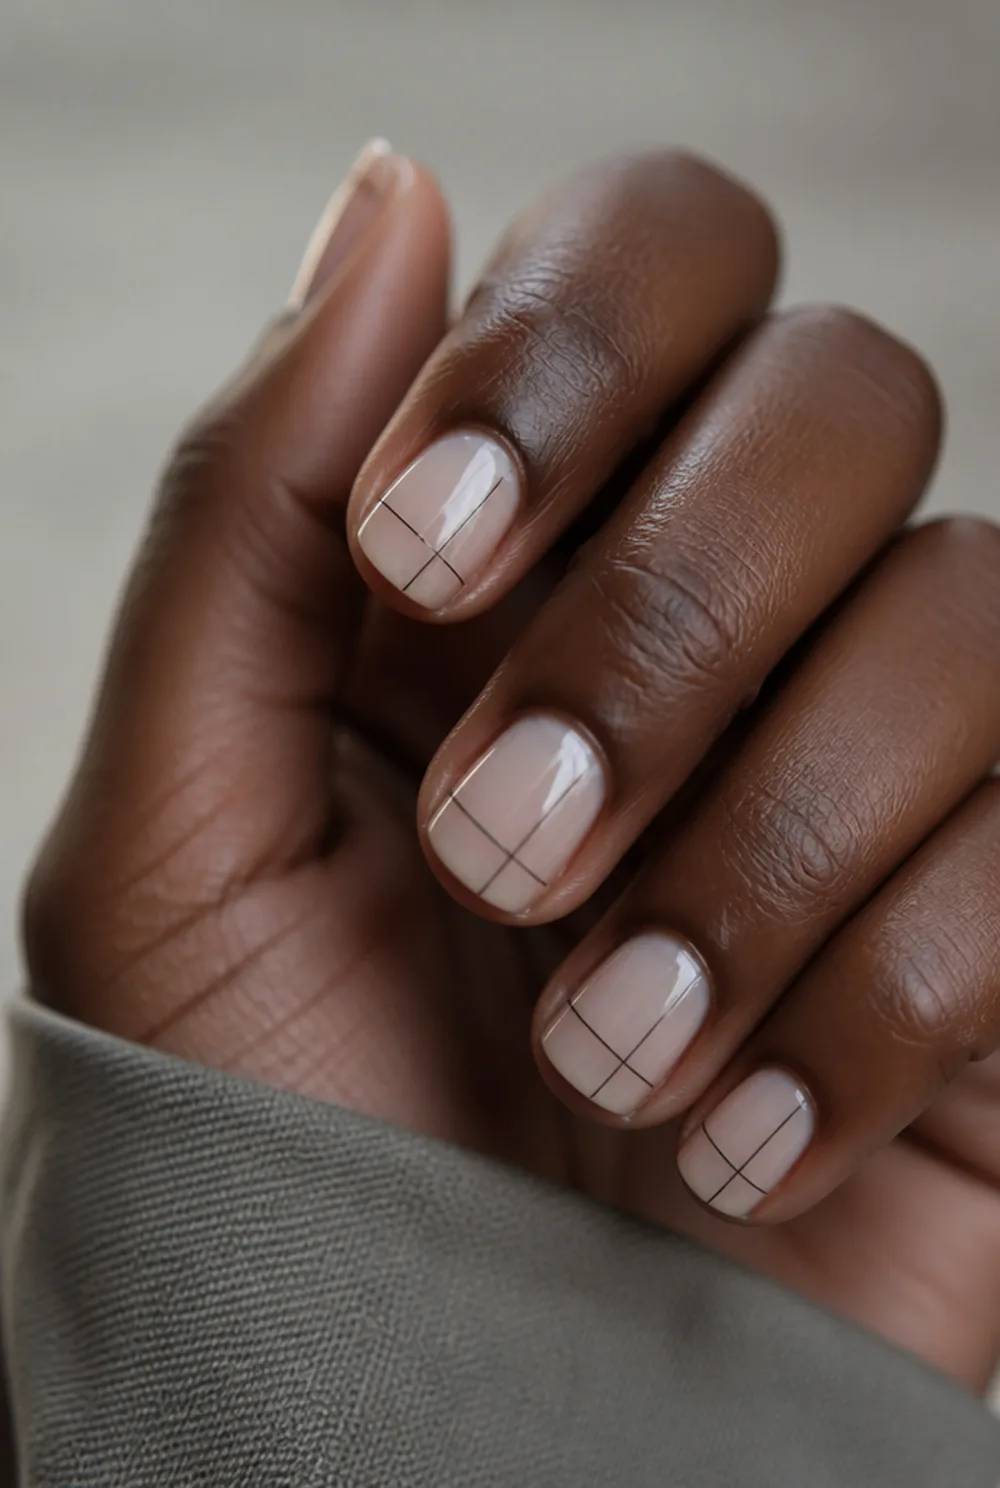
two thin lines crossing off center in the upper third
Two thin lines crossing somewhere off center. Where they cross matters more than how straight they are, so aim for the upper third of the nail.
12. Abstract Gold Leaf
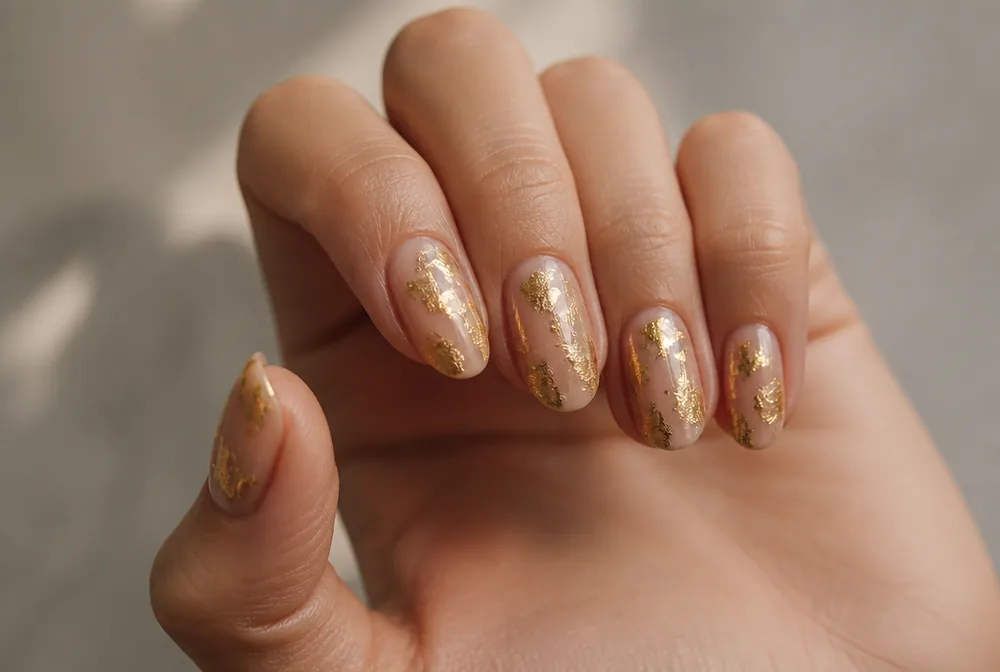
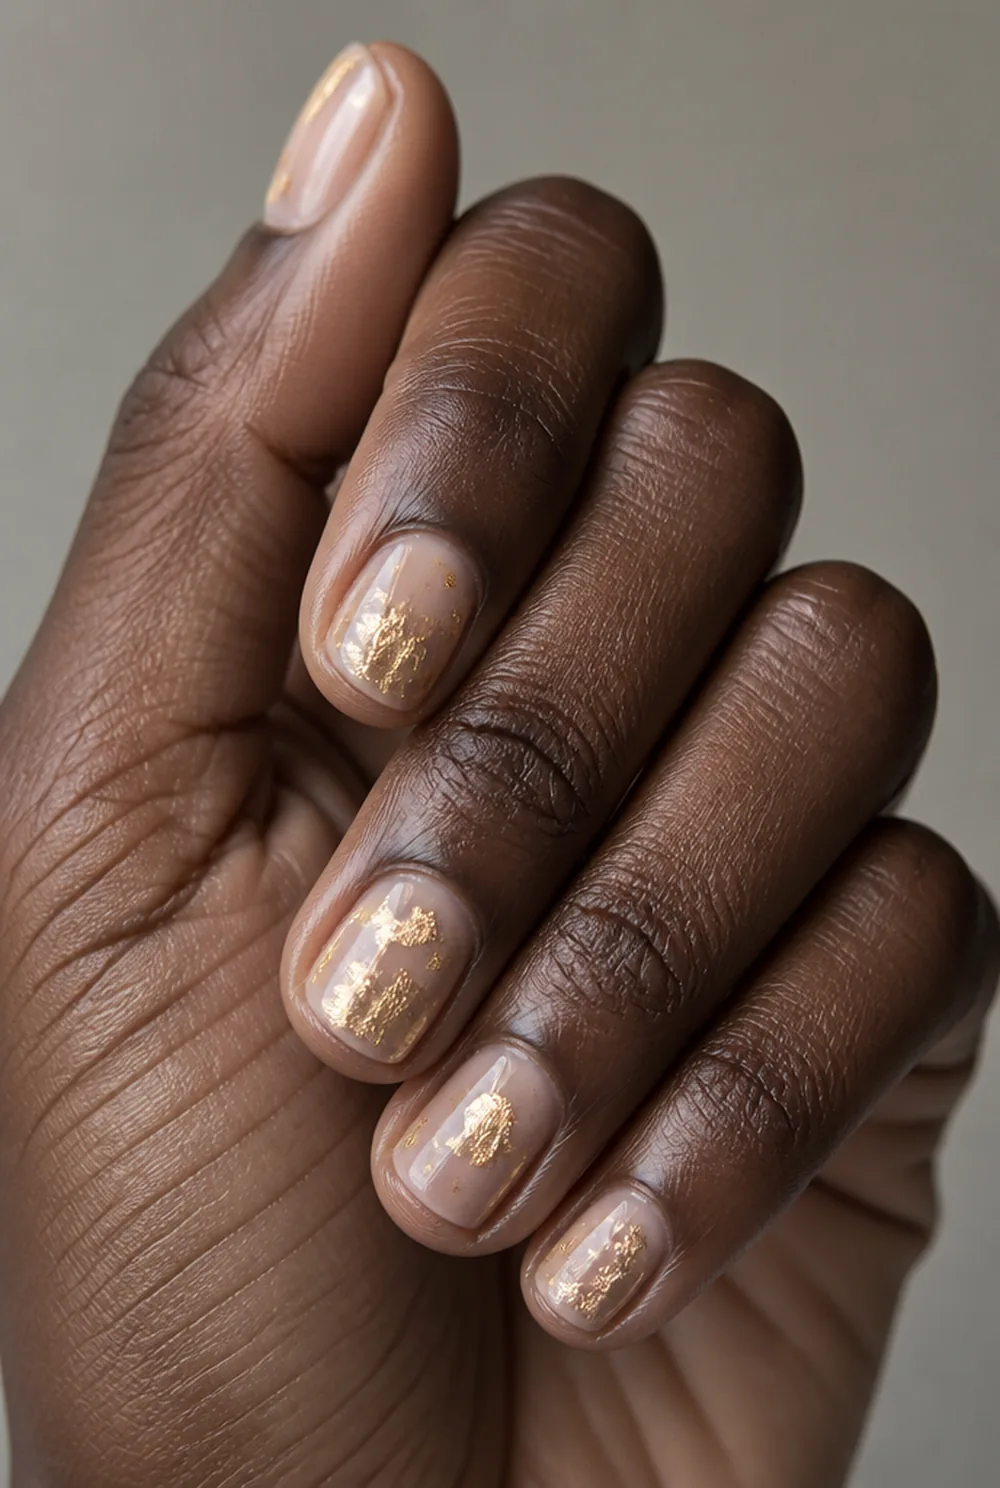
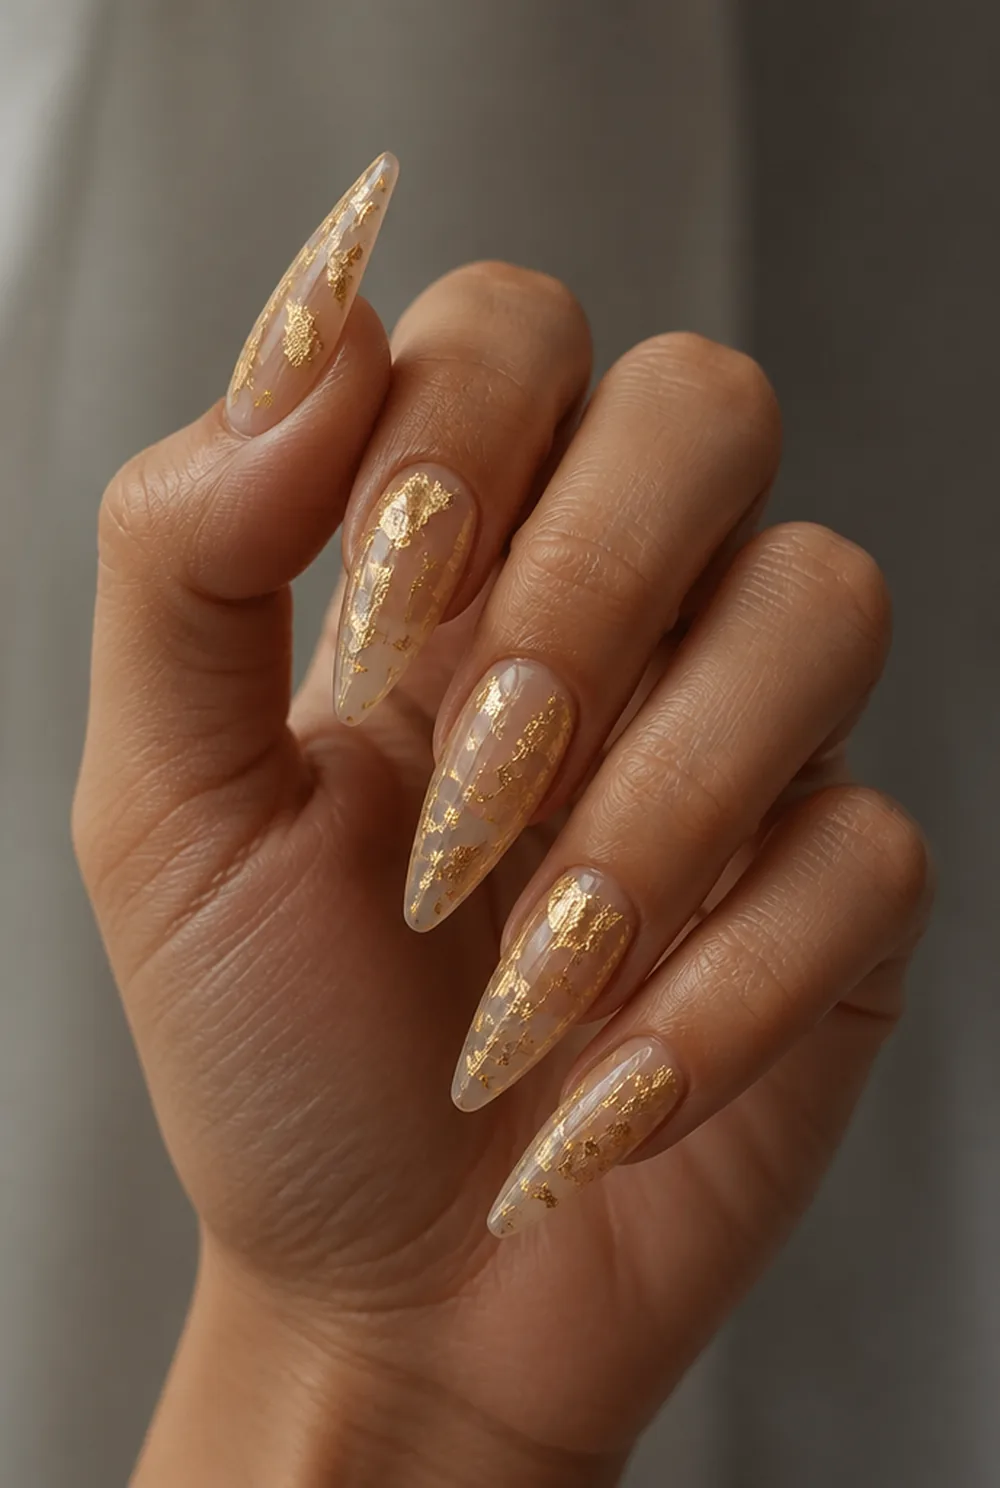
torn gold leaf pressed on in irregular pieces
Torn gold leaf pressed on in irregular pieces, no two nails alike. There is no technique to get wrong here, only placement. See our gold nail designs post.
13. Blurred Color Wash

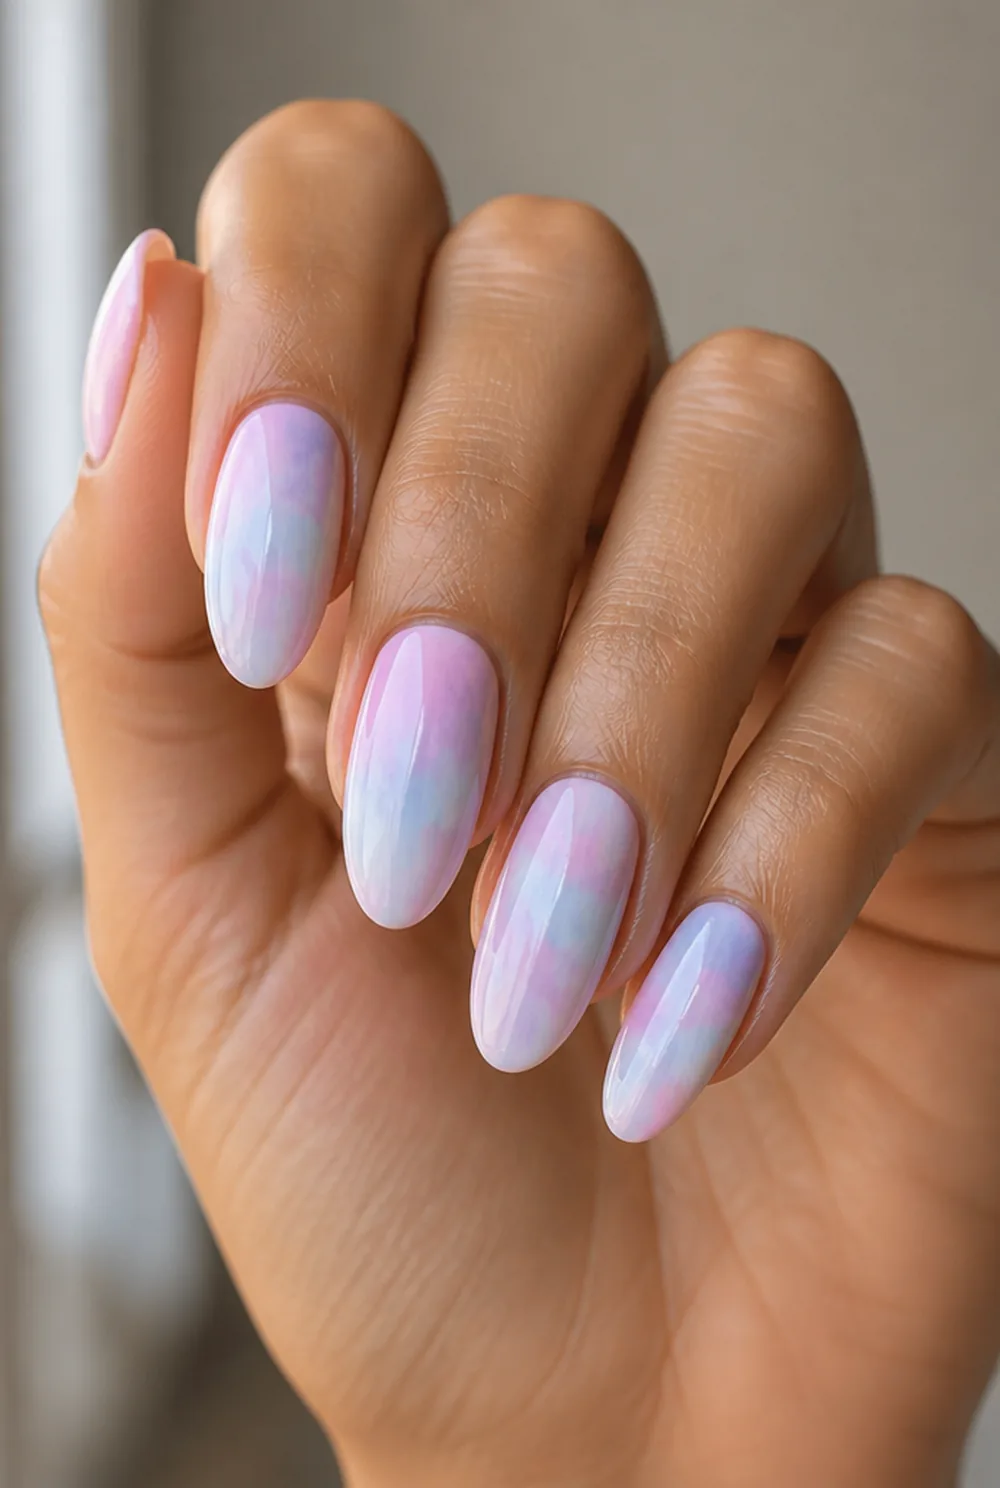
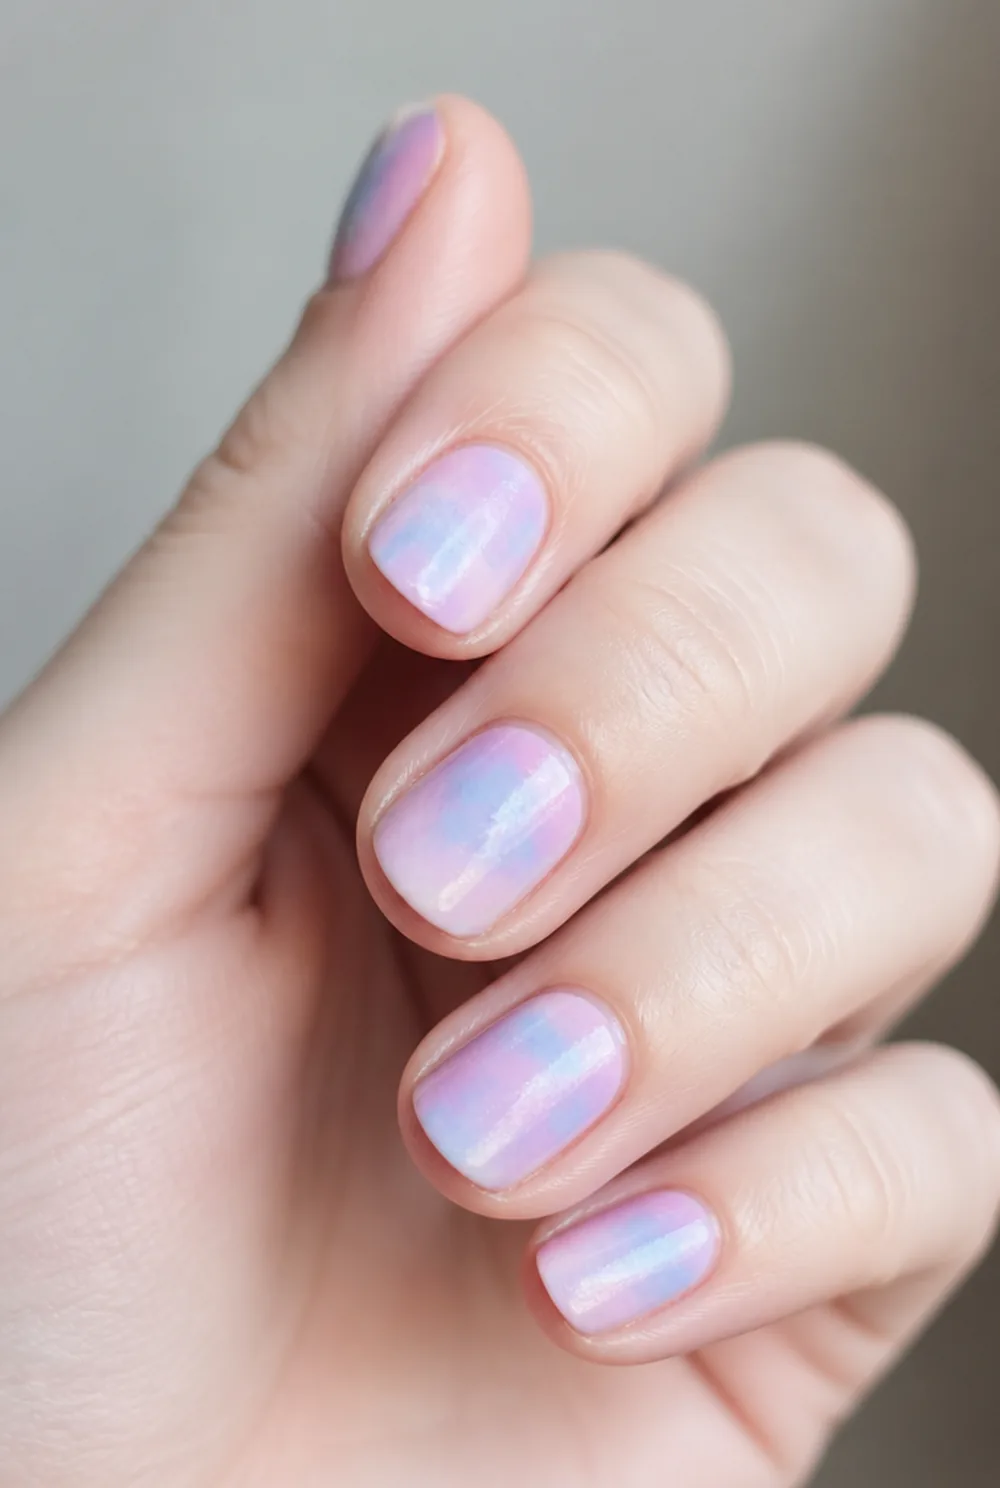
two colors sponged to bleed into each other
Two colors sponged so they bleed into each other with no defined edge. It is closer to watercolor than to nail art and it suits pastels best.
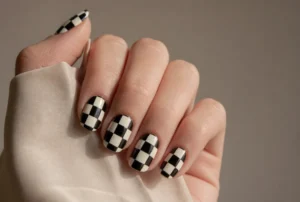
14. Abstract Checkerboard

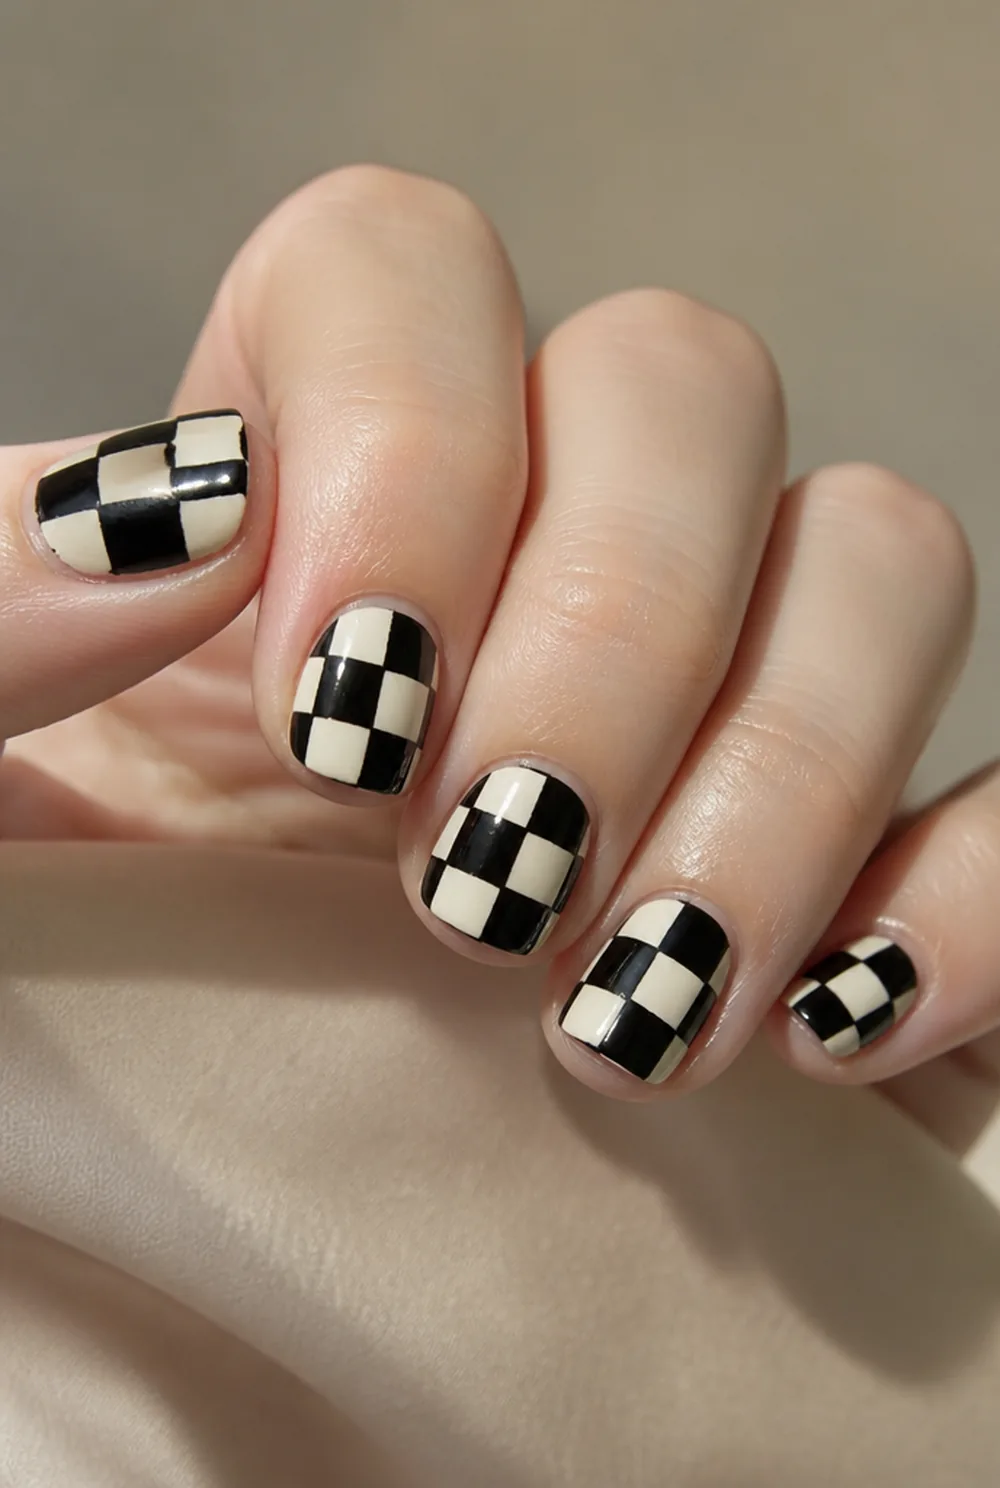
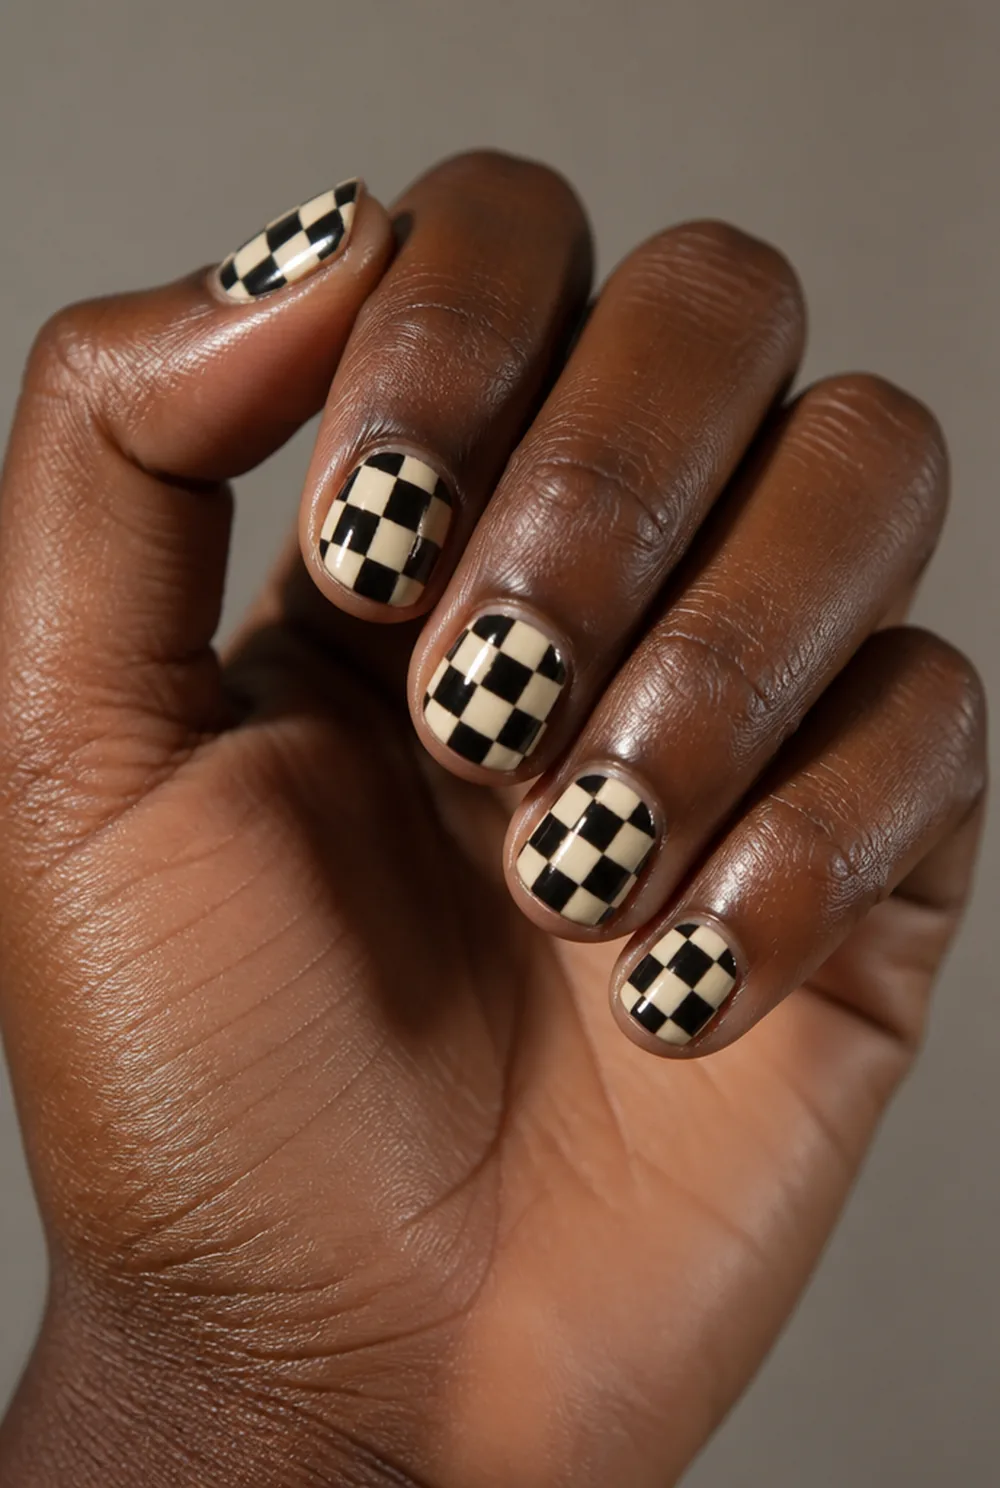
a checkerboard painted by hand with uneven squares
A checkerboard painted by hand so the squares are visibly uneven. Perfect checks look printed; wonky ones look made, and the wonky version is the better nail.
15. One Accent Nail

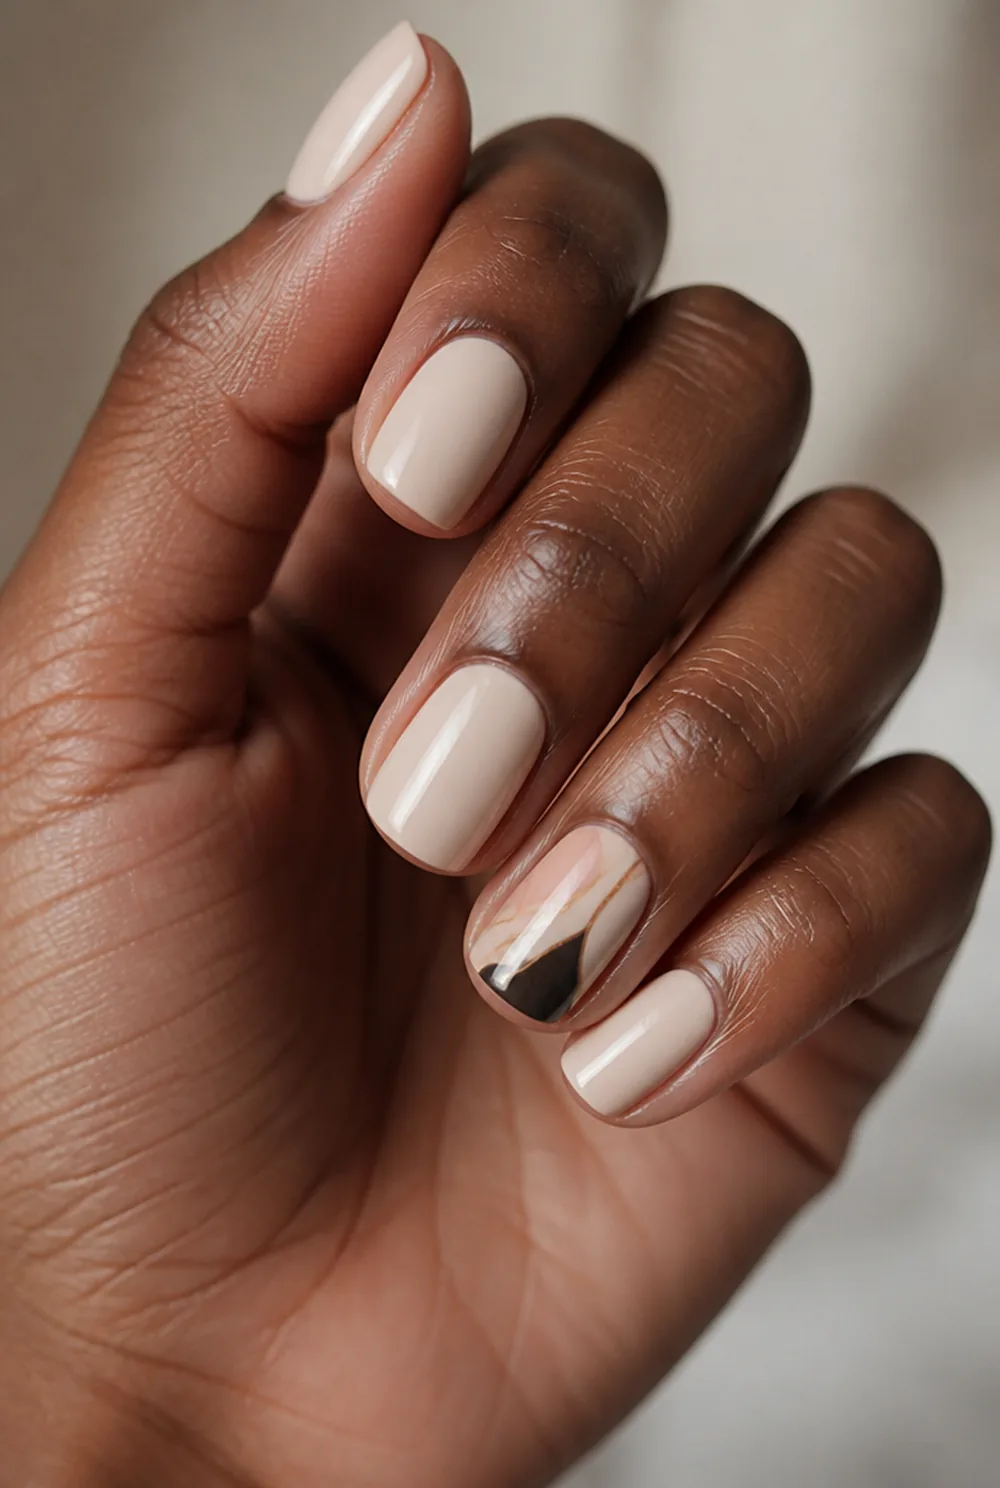
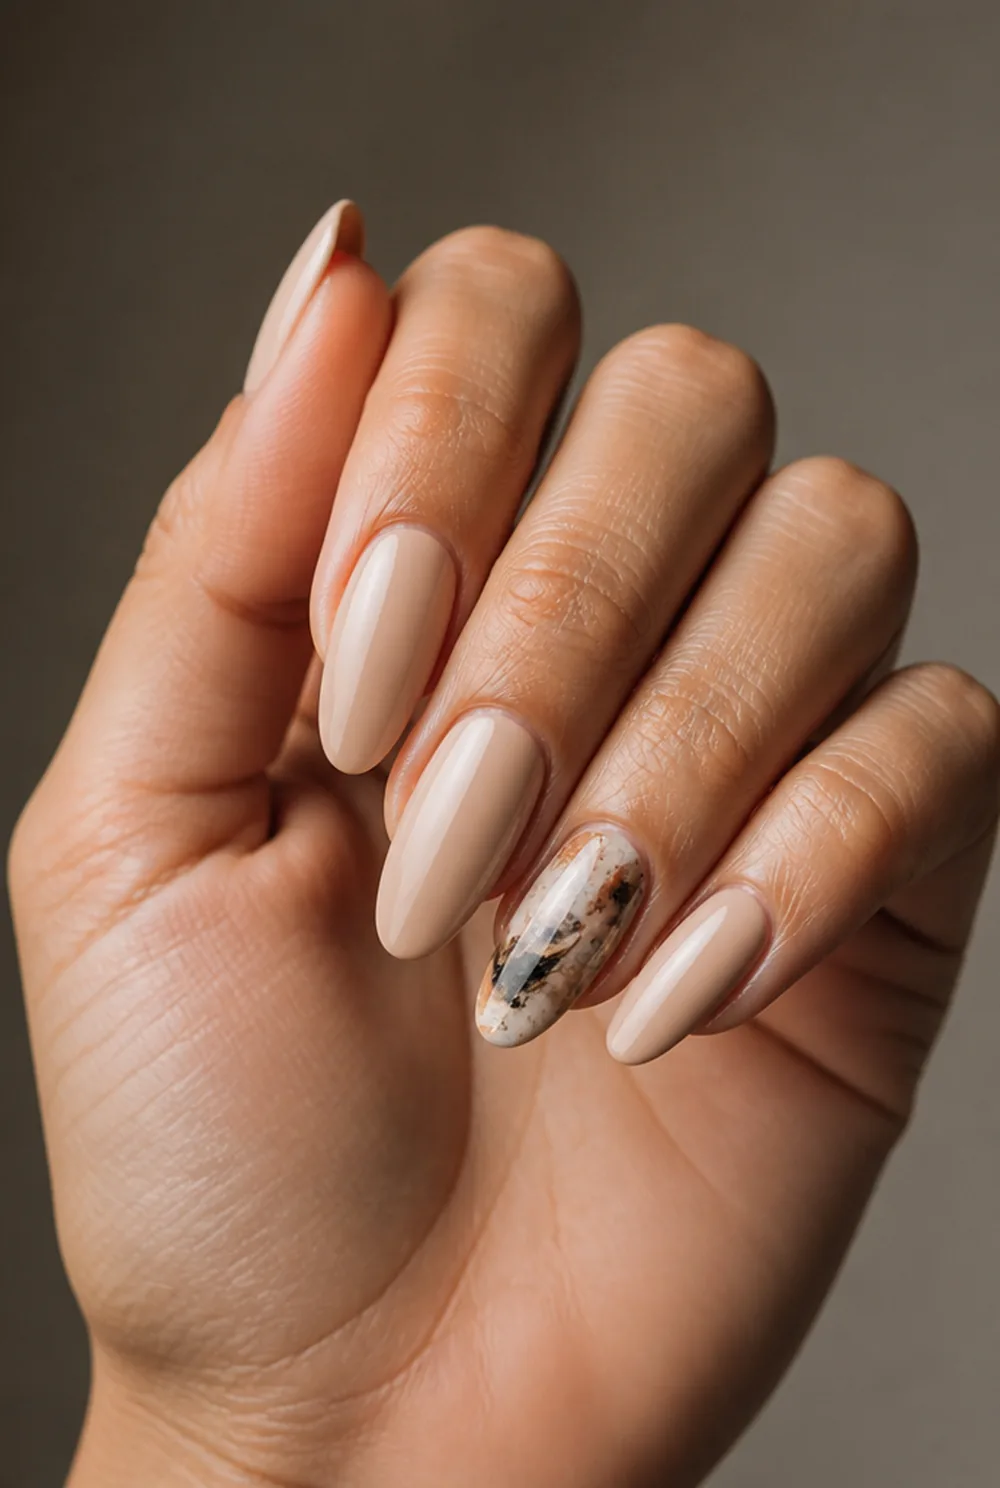
four plain nails and one that carries all the art
Four plain nails and one that carries all the art. This is where to start, and honestly where a lot of the best abstract sets end up anyway.
16. Abstract on Black

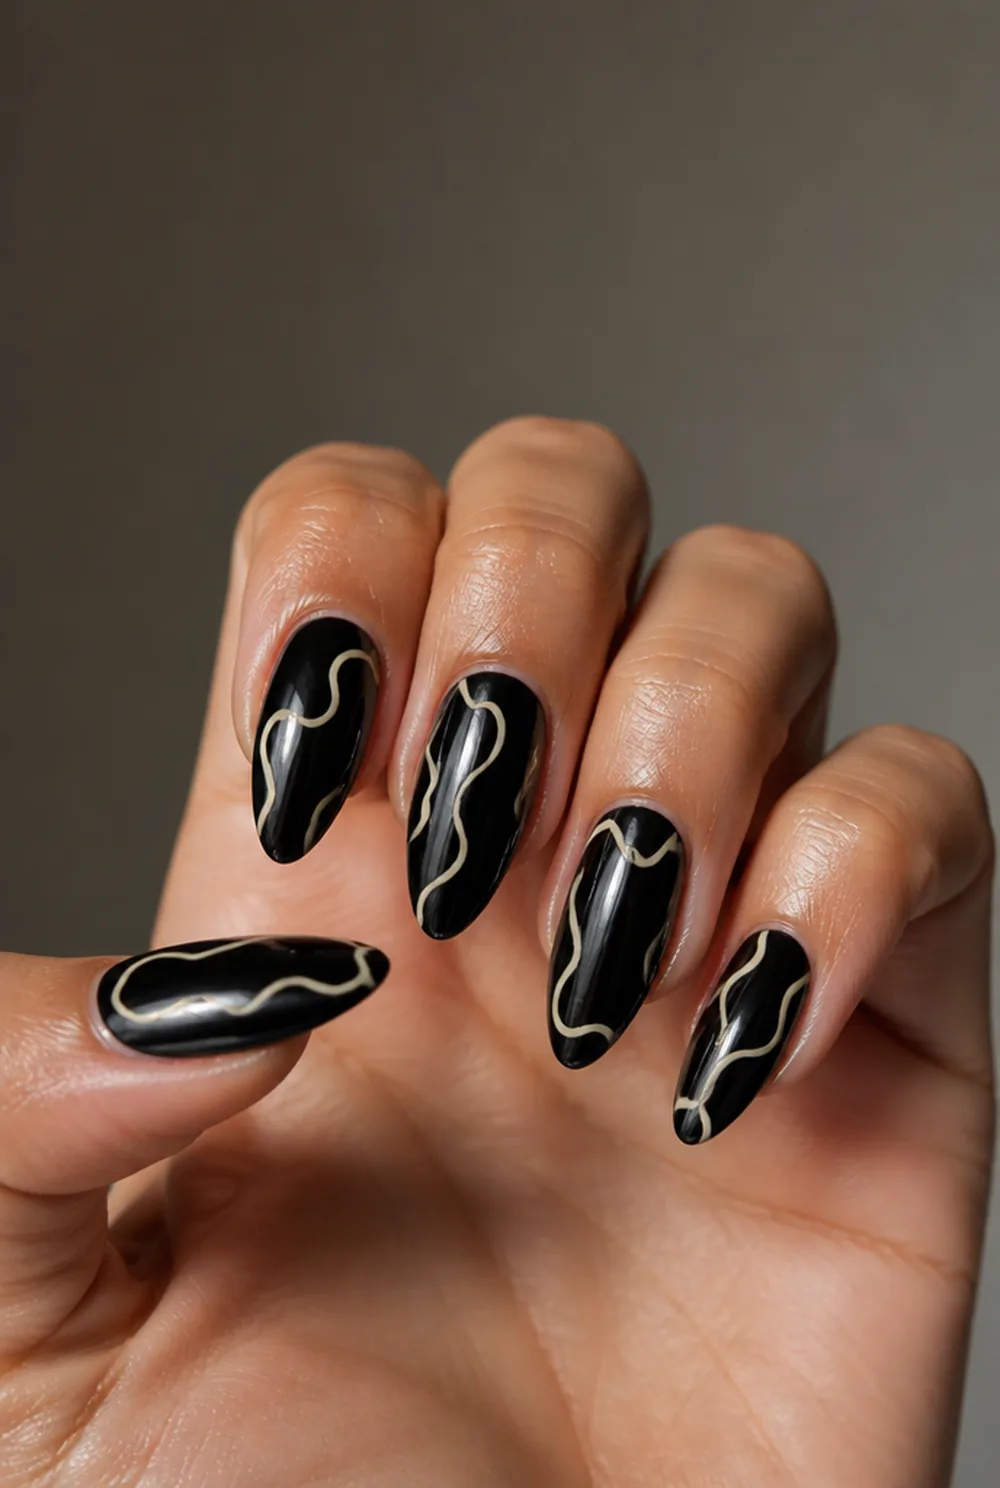
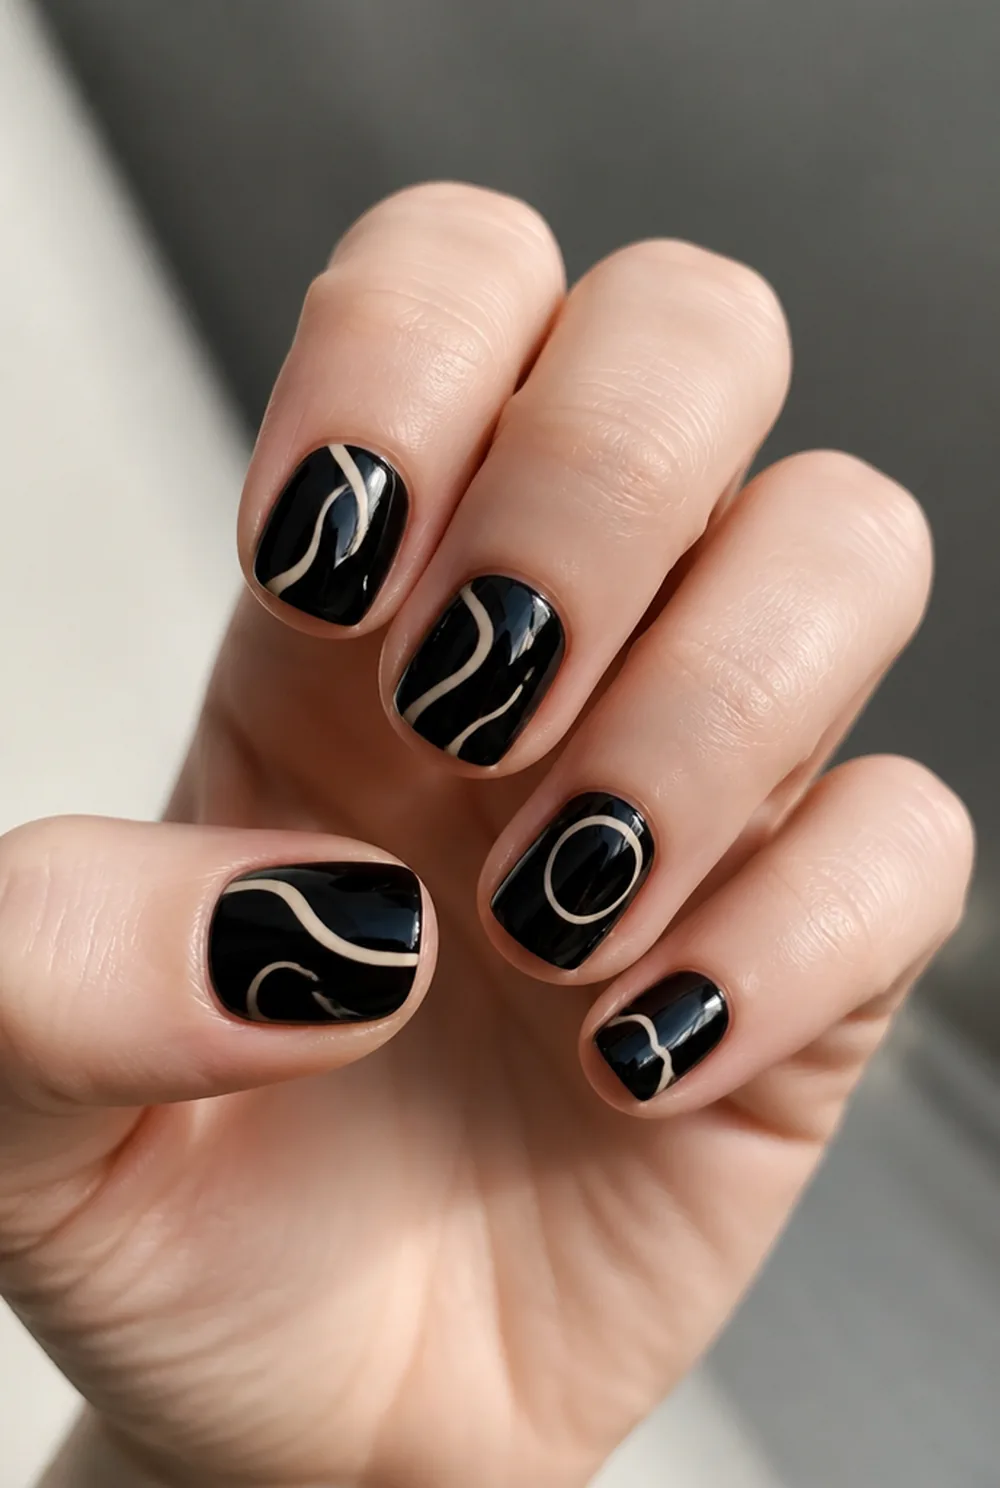
cream lines on a glossy black base
Cream lines on a glossy black base. Reversing the usual dark-on-light makes even a simple line look considered. More in our black nail ideas post.
17. Abstract French
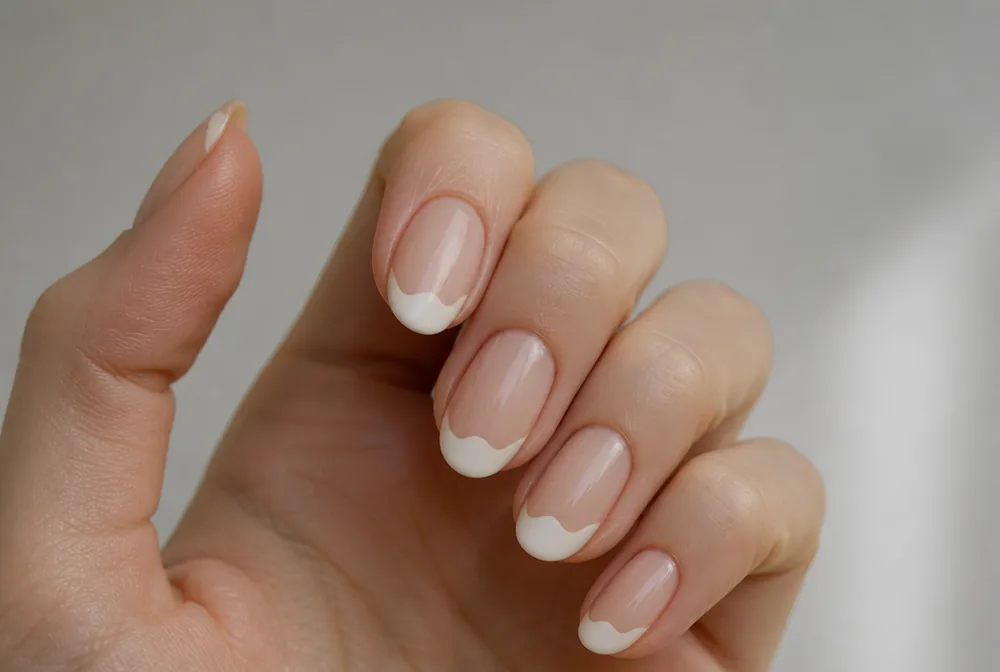

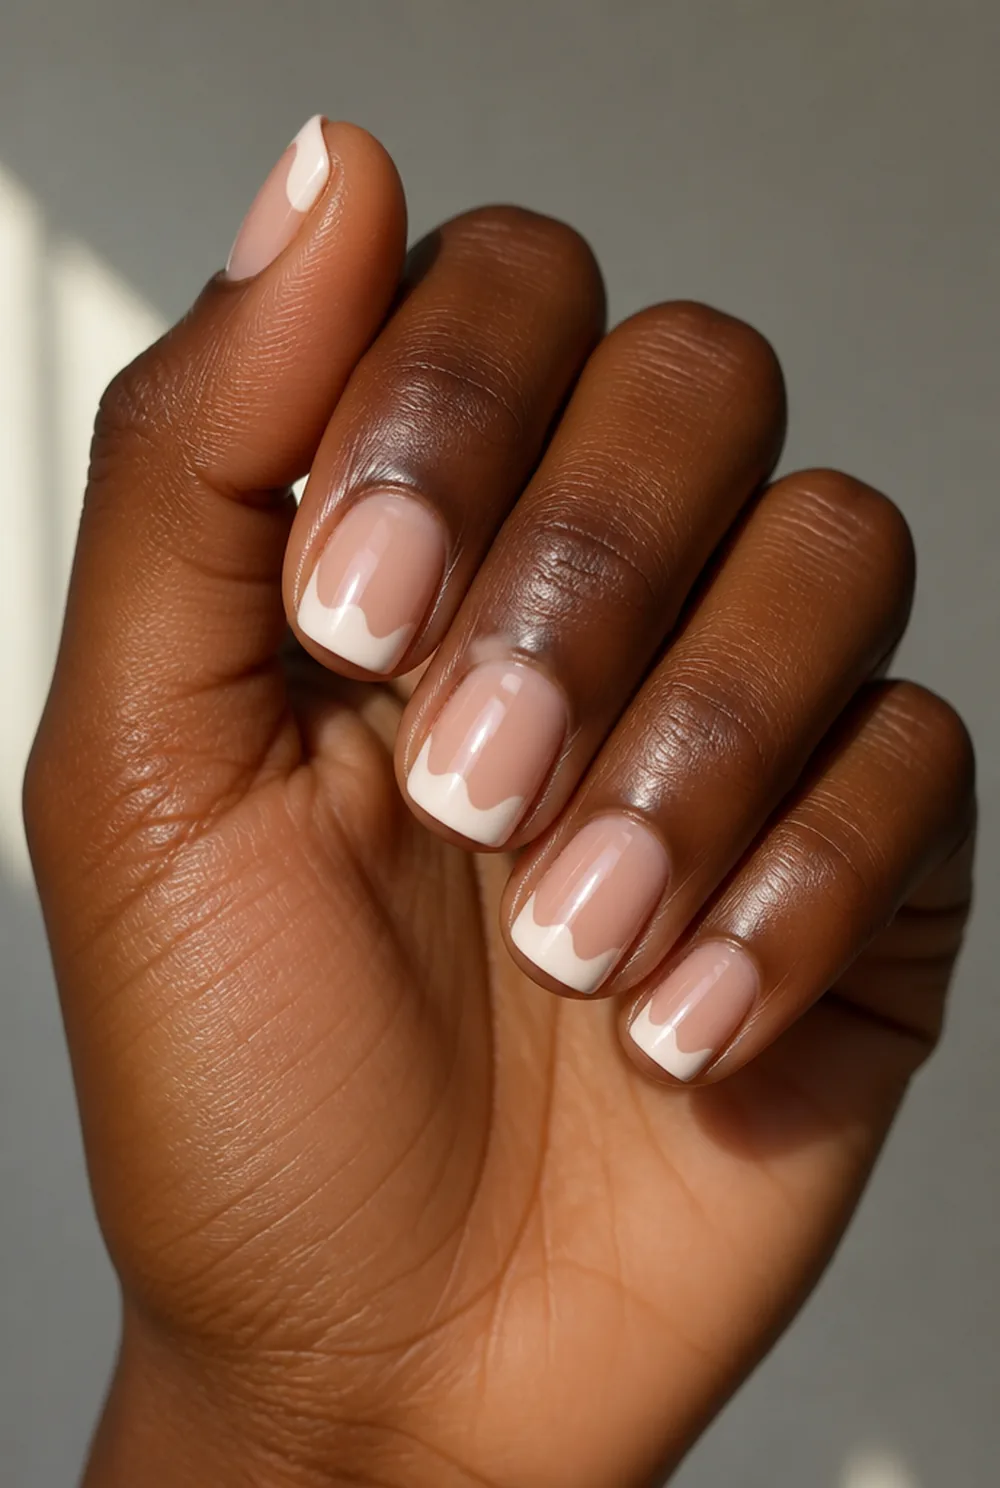
a French tip with an irregular shape instead of smile line
A French where the tip is an irregular shape rather than a smile line. It is the most forgiving French there is, which is the reason to try it. See our colored French tip post.
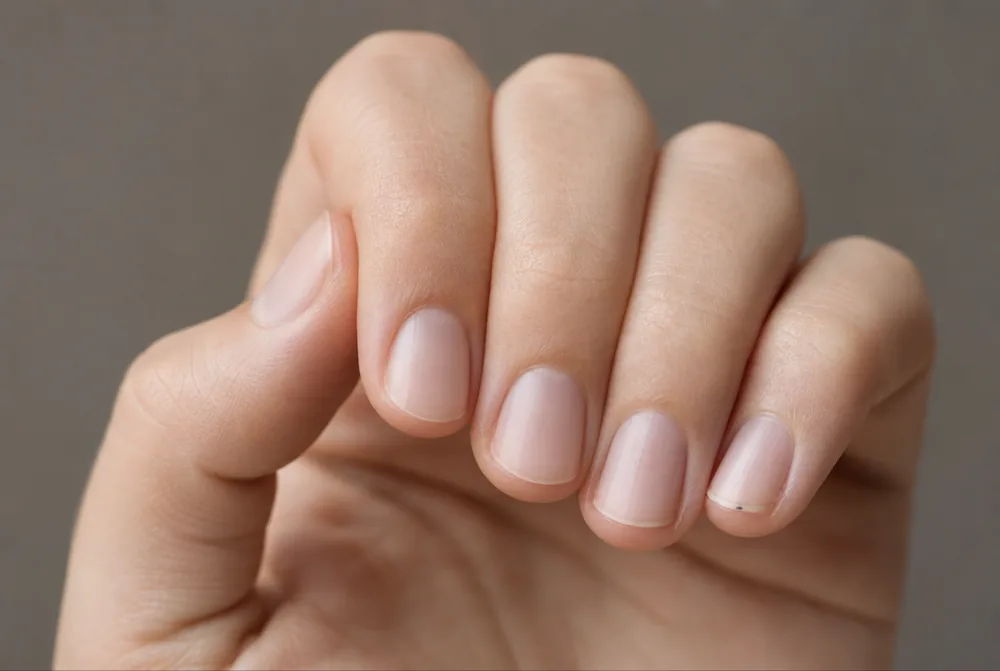
18. Minimal Abstract on Bare Nails

one small mark on a buffed nail under glossy top coat
No base color at all, just one small mark on a buffed nail under a glossy top coat. It is the quietest nail art possible. See our minimalist nails guide.
Why abstract nails forgive mistakes
Every other kind of nail art has a target. A French has a smile line that should be even. A flower should look like a flower. Leopard print has a shape people recognize, and when yours is off, everyone can tell.
Abstract has no target. There is nothing your line is supposed to match, so a viewer has no way to know whether the bend was planned. That removes the entire category of error that stops people trying nail art in the first place.
It also means the fix for a bad line is almost always to add rather than to remove. A second line beside a wobbly one turns the pair into a composition. A dot at the end of a line that stopped short gives it a reason to stop.
What abstract does not forgive is mess, which is a different thing from imperfection, and the next section is about the difference.
The three-element rule
The line between abstract and messy is how many separate things are on the nail.
Three elements per nail is the ceiling. A line, a dot, and a block. Two lines and a shape. Past three, the eye stops reading a composition and starts reading clutter, and there is no color scheme that saves it.
Empty space counts for as much as the marks. Roughly two thirds of the nail should stay bare base color. Designs that fail almost always fail by filling the nail, not by having a bad line in them.
Vary the elements between fingers but keep the palette identical across all five. Different marks in the same colors read as a set. The same marks in different colors read as five unrelated nails.
Color combinations that hold together
Abstract art gives you no subject to anchor the colors, so the palette does all the work.
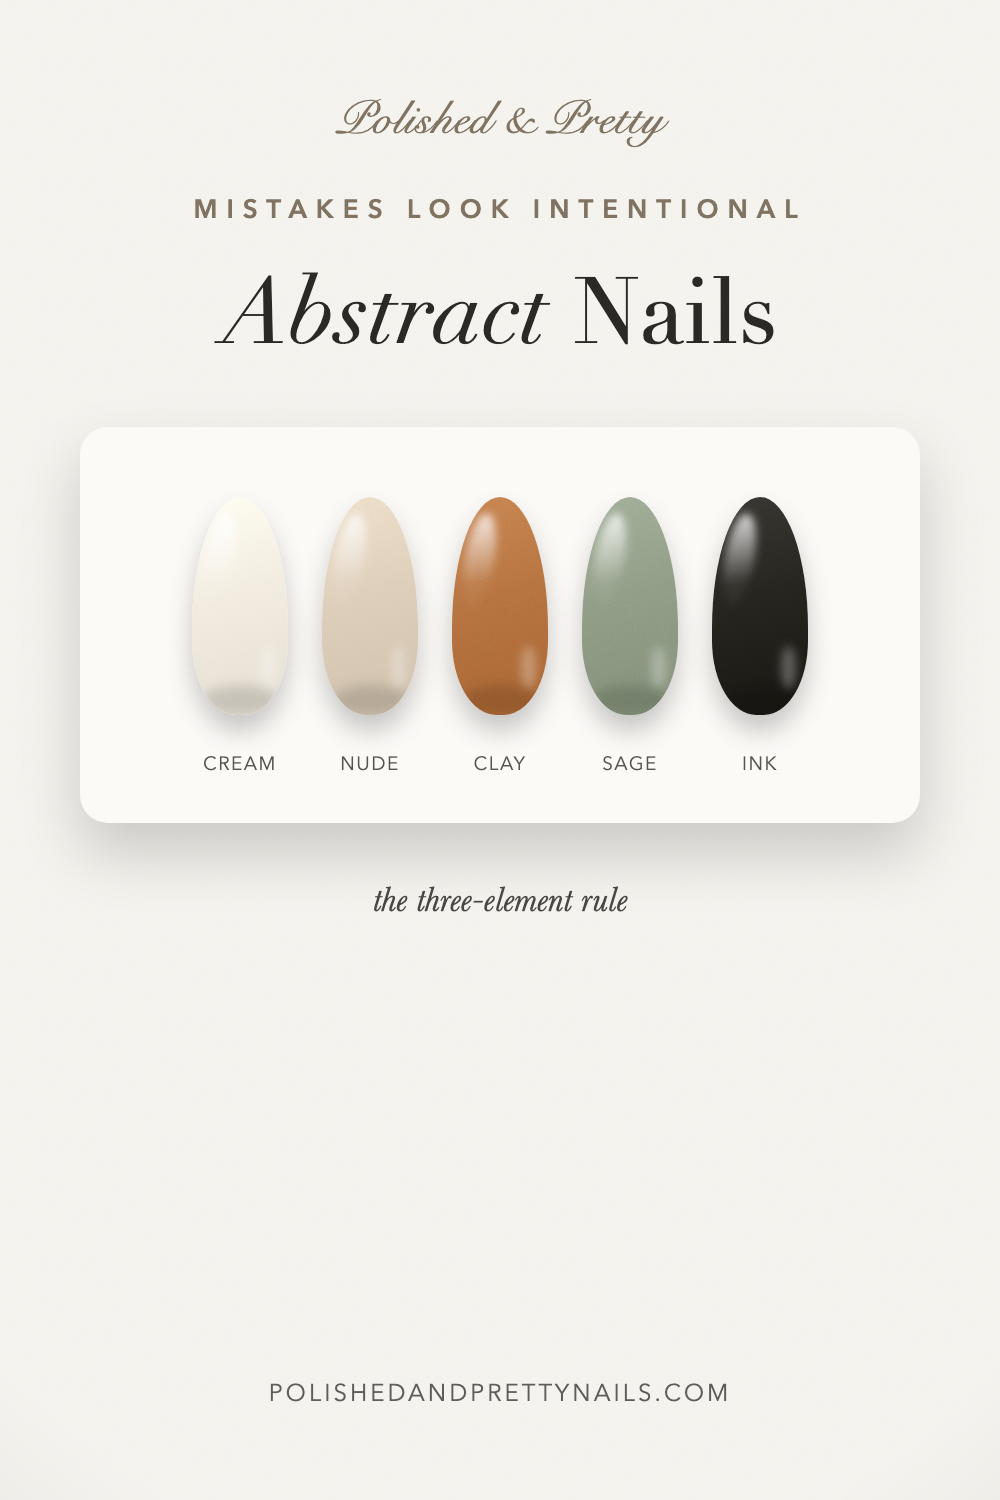
Neutral base with one accent is the most reliable. Nude, cream, or milky white underneath, with black, terracotta, or a single muted color on top. It is almost impossible to make this look bad.
Earth tones together also work: rust, sage, mustard, and cream. These are the seventies-adjacent palettes and they hang together because they are all desaturated to a similar degree.
What fails is mixing saturation levels. A neon pink next to a dusty sage looks like two different manicures collided. Pick a saturation and stay in it.
What you actually need to buy
Abstract nail art has the lowest cost of entry of any style, which is another reason to start here.
A striper brush, around $4 for a set of three, for lines. A dotting tool, about $3, for dots, though the head of a hat pin does the same job. Striping tape at roughly $2 a roll if you want clean geometric edges.
For polish, one good black and one good white are worth more than ten colors. Most abstract designs on Pinterest are two colors on a neutral base. Whatever you buy, paint somewhere airy, since the FDA advises good ventilation whenever you use nail products.
If you own a gel lamp, buy small pots of black and white gel paint instead. Gel paint does not dry while you work, so you can take as long as you need on a line and fix it before curing.
Where to place the design
Placement is what people get wrong far more often than the marks themselves.
Avoid the center. A mark dead in the middle of a nail looks like a target, and it is the least interesting spot on the nail. Push everything off to one side or toward the upper third.
Let elements run off the edge. A line that stops neatly inside the nail border looks contained and cautious. One that runs off the sidewall reads as a fragment of something larger.
Keep detail away from the free edge if you can. Art at the very tip wears off first, and a design that has lost a third of itself by day five is worse than one that was never there.
Abstract nails by shape and length
How much design a nail can carry is decided by its shape long before it is decided by your skill.
Square and squoval give you the most usable surface because the nail keeps its full width right to the tip. Color blocks and geometric shapes need that width, and they compress badly on anything tapered. My square nail ideas post covers that shape in more detail.
Almond and oval suit line work better than blocks. A line follows a taper comfortably where a rectangle fights it, so on those shapes stick to strokes, dots, and washes.
On short nails, drop to one element and make it thinner than feels right. A design that reads well on a long nail in a photo turns into a smudge at that scale. My extra short nail ideas post has more on scaling art down.
Making abstract art last
Thin lines are fragile because there is so little product holding on to the nail.
Let every element dry fully before the next one goes near it, and give the whole thing at least five minutes before top coat. Top coating a wet line is the most common way a finished design gets smeared.
Float the top coat rather than brushing it. Load the brush heavily, touch down in the middle, and let it spread with no pressure. Dragging a loaded brush across fresh art pulls the color sideways.
Re-apply top coat every third day and seal the free edge each time. My manicure longevity post has the full routine.
Asking for abstract nails at a salon
Bring photos, and bring more than one. Abstract means almost nothing as a word, and two technicians will picture completely different things.
Say how much empty space you want, because that is the part most likely to get lost. Technicians tend to fill more of the nail than clients expect, so ask for the design to stay small.
Expect $3 to $8 per nail on top of the set for line work. Two accent nails is a reasonable compromise between cost and effect.
FAQ
What are abstract nails?
Nail art made of lines, dots, shapes, and blocks of color that do not represent anything recognizable. Because there is no subject to copy, there is no correct version, which is why an uneven line reads as intentional rather than as a mistake.
Are abstract nails easy for beginners?
They are the easiest freehand nail art to start with, for exactly that reason. Begin with one accent nail carrying a single line and a dot on a neutral base, and add a second element only once the first feels comfortable.
How many elements should be on one nail?
Three at most, and two is usually better. Keep roughly two thirds of the nail as empty base color. Designs that look messy almost always have too many marks rather than badly drawn ones.
What colors work best for abstract nails?
A neutral base with one accent color is the most reliable combination. Earth tones together also work well because they share a similar level of saturation. Avoid mixing a bright neon with a muted shade, which is the pairing that most often looks accidental.
Start with one line on one nail this week. My simple nail designs for beginners post covers what to learn next.