Glitter nails go wrong in one predictable way: too much of it, everywhere, all at once. A full set of chunky glitter on ten nails reads as a costume and snags on every sweater you own. The sets that look expensive use one glitter idea, placed deliberately, against a colour that would hold up on its own. That’s the whole difference.
Here are 22 glitter nail designs from barely-there micro shimmer to full chunky flake, with placement notes, what to ask for, and honest guidance on removal, which is the part that puts people off. If you’re planning this for a specific night, my New Year’s Eve nails guide covers the party context.
22 glitter nail designs
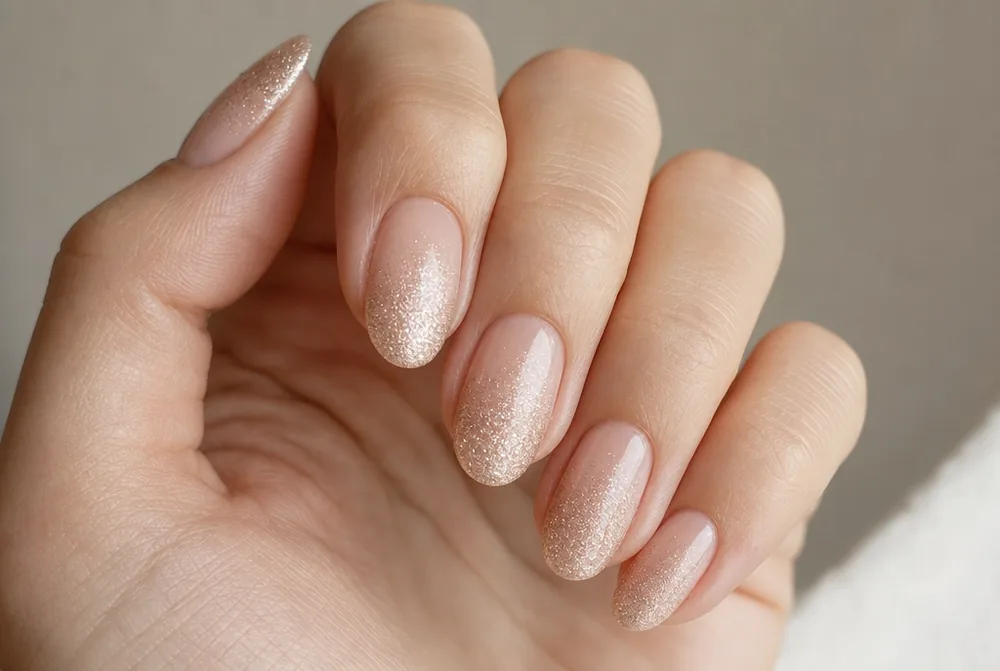
1. Champagne Glitter Ombre
Nude base with pale gold glitter packed at the free edge fading toward the cuticle. It’s the most-requested glitter manicure there is and it grows out invisibly. Sponge in three light passes, never one heavy one.
2. Silver Glitter Tip
Fine silver glitter at the tip only, like a French but sparkly. It takes fifteen minutes at home and no design skill at all. This is the emergency version and nobody can tell.
3. Single Accent Nail
Nine plain nails and one covered in chunky flakes. All the impact of a glitter set and a tenth of the removal. Ring finger, and only one.
4. Micro Shimmer Full Set
Very fine glitter across all ten, which is a completely different thing from chunky glitter across all ten. The surface stays smooth so nothing catches. This is the full-glitter set that doesn’t read as costume.
5. Glitter Half Moon
A glitter arc at the base of the nail instead of the tip. Putting the sparkle at the cuticle is unexpected and it keeps it away from anything it could snag on. Two nails is plenty.
6. Holographic Topper
One coat of holo topper over any base throws rainbows in direct light and reads as soft shimmer everywhere else. It’s the cheapest way to make an existing manicure feel like an event. A bottle runs about $8 and lasts a year.
7. Glitter Over Deep Red
Fine red glitter over a cranberry base, tonal rather than contrasting. Matching the glitter to the base is what keeps it sophisticated instead of loud. More red bases in my red Christmas nails guide.
8. Clear Jelly with Flakes
A near-clear jelly base with iridescent flakes suspended in it, so your natural nail shows through the sparkle. It’s the most modern glitter look here. Works best on nails in good shape, since nothing hides.
9. Glitter French Tip
A standard French with the white swapped for glitter, line kept thin. It’s the office-appropriate way to wear sparkle. Keep the tip narrow or it gets heavy fast.
10. Star Confetti
Small gold stars suspended in clear top coat, spaced out rather than crowded. Sparse is what makes it look designed. Four or five per nail is the ceiling.
11. Glitter Cuticle Cuff
A thin glitter line at the base of the nail, like a reverse French. Grow-out actually improves it, which is rare. My favourite low-effort trick of the last few years.
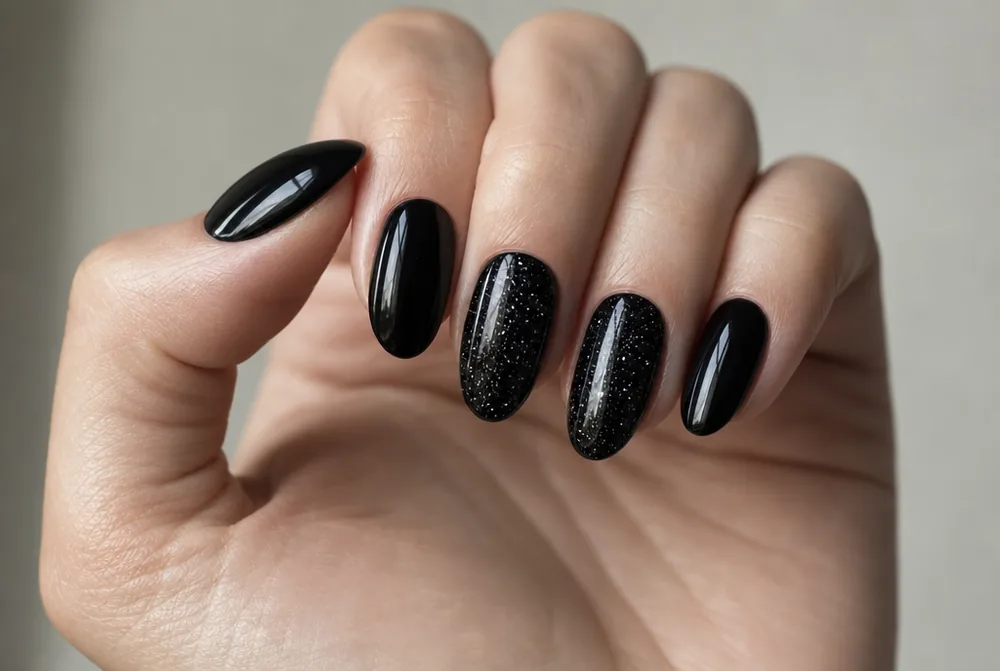
12. Glitter Over Black
Fine silver glitter over black, which is the highest-contrast version here. It reads sharp rather than sweet. See my black nail ideas post for the base.
13. Rose Gold Glitter
Rose gold sits between pink and metallic and flatters warm undertones better than silver does. It’s soft enough to wear the morning after. Two coats, no topper needed.
14. Glitter Gradient Down the Nail
The ombre run backwards, dense at the cuticle and fading toward the tip. It looks deliberate in a way the standard direction sometimes doesn’t. Grow-out is less forgiving, so it’s a shorter-lived design.
15. Glitter Over Burgundy
Gold glitter tips over a deep wine base, warm and rich. It’s the most autumnal combination here and it carries into December. Full range in my burgundy nails guide.
16. Glitter Marble
Marbled veining done in glitter rather than flat colour, so it catches light along the lines. It’s more work than it sounds and it looks genuinely custom. Bring a photo.
17. Iridescent Flake Accent
Large shifting flakes on two nails over a milky base, spaced rather than packed. The gaps between the flakes are what make it look like an effect rather than a coating. Two thick top coats to bury the edges.
18. Glitter Toes Match
Glitter on the toes with a subtler version on the hands. Toe polish holds four to six weeks, so glitter there is the best effort-to-mileage ratio there is. It’s also the one place chunky glitter never snags.
19. Glitter Over Emerald
Fine green glitter over an emerald base, tonal rather than contrasting. Matching glitter to base is the trick that makes any of these look expensive. More in my emerald green nails guide.
20. Glitter Dot Cluster
Three or four small glitter dots clustered near the cuticle on two nails. A dotting tool makes this foolproof. Vary the sizes so it doesn’t look like a printed pattern.
21. Full Chunky Glitter
Every nail in chunky reflective flakes. It’s the maximal version and it does have its moment, usually one night a year. Two thick top coats or you’ll shed glitter across a dance floor.
22. Glitter Under Sheer
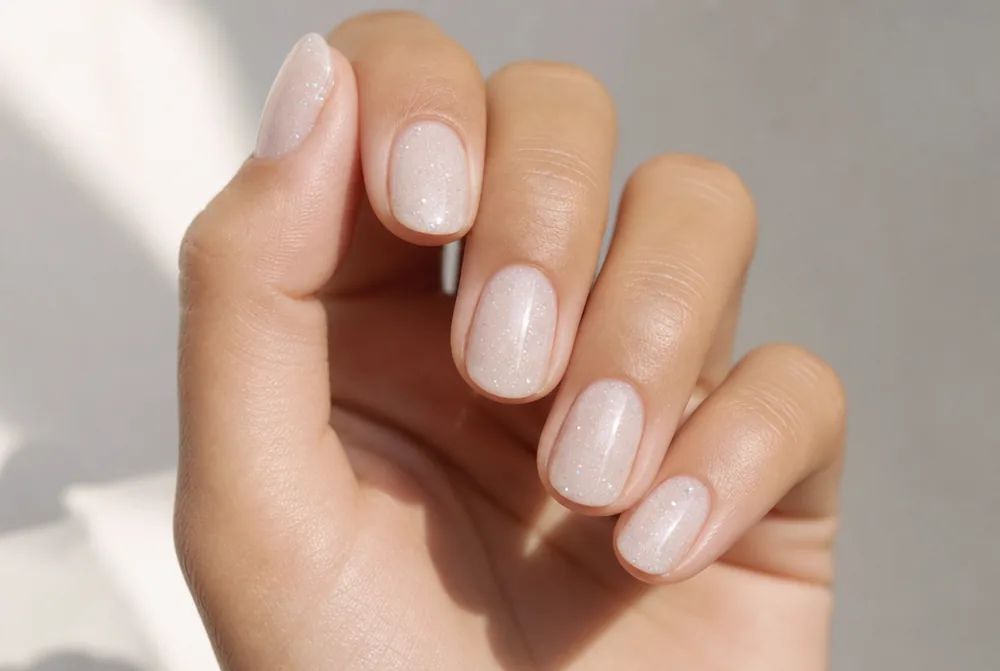
Glitter applied first, then a sheer milky coat over the top, which softens the whole thing into a glow. It’s the subtlest glitter design here and the one people ask about most. More on the top layer in my milky white nails guide.
The placement rules that keep glitter looking expensive
Three rules cover almost everything, and following them is the difference between a manicure that reads designed and one that reads craft table.
Use one glitter idea per manicure. Glitter tips and a glitter accent nail and a holo topper is three ideas fighting each other. Pick the one and let the rest of the hand stay plain.
Match the glitter to the base where you can. Gold glitter over gold-toned nude, red over red, green over green. Tonal glitter reads as texture and depth; contrasting glitter reads as decoration, which is fine occasionally and tiring often.
Keep the sparkle away from the free edge if you can. Glitter at the tip is what catches on knitwear and it’s also where wear shows first. The cuticle cuff and the half moon both solve this.
Fine glitter versus chunky flakes
These behave like two different products and choosing wrong causes most glitter complaints.
Fine or micro glitter sits flat, buries under a single top coat, and feels smooth. It survives a long night, it doesn’t snag, and it removes far more easily. This is what you want for anything you’ll wear for two weeks.
Chunky flakes sit proud of the surface and need two or three top coats to bury. They throw far more light and they photograph better, which is why they dominate online. They also catch on lace, chiffon, and anything beaded.
If you’re wearing anything delicate, go fine glitter or chrome instead. That single choice prevents most of the “my glitter nails ruined my dress” stories.
Applying glitter at home
Glitter is one of the easier things to do yourself, as long as you press rather than brush.
For an ombre, use a cosmetic sponge. Dab glitter polish onto the sponge, then press it onto the tip of the nail in three light passes, letting each one set. Brushing drags the glitter into streaks; pressing builds density.
For a full nail, apply glitter over a matching base colour rather than over bare nail. The base does the coverage and the glitter does the sparkle, which means you need one coat instead of three.
Finish with enough top coat that the surface feels smooth to a fingertip. If you can feel individual pieces, add another coat. That’s the test, not how it looks.
Getting glitter off without wrecking your nails
Removal is the real cost of glitter and it’s why a lot of people avoid it entirely. It’s manageable if you don’t fight it.
For glitter polish, use the foil method rather than a wipe. Soak a cotton pad in acetone, press it onto the nail, wrap the fingertip in foil, and wait ten minutes. Then wipe once, firmly. Scrubbing at glitter with a dry pad does nothing except take off nail.
For glitter gel, the top layer has to be filed down before soaking or the acetone can’t get through. Fifteen to twenty minutes under foil after that.
Either way, oil your nails afterward. Acetone is drying and glitter removal means more of it than usual. This is the main argument for keeping glitter to one or two accent nails.
Glitter by occasion
How much glitter is right depends almost entirely on where the manicure is going, and the same set can read perfect at one event and wrong at another.
For work, the only versions that go unremarked are the glitter cuticle cuff, a thin glitter French, and micro shimmer across the whole hand. All three read as a finish rather than a decoration. Keep them tonal and short.
For a wedding, champagne glitter ombre is the standard for a reason. It photographs well, it goes with every dress colour, and it will not compete with a bride’s manicure. Avoid chunky flakes if you are handling anything delicate.
For a party, this is where the accent nail and the full chunky set earn their place. One night of shedding glitter is a fair trade, and my New Year’s Eve nails guide covers the rest of that palette.
Glitter on short nails
Glitter is usually shown on long nails, which is why people with short nails assume it is not for them. It works, with two adjustments.
The first is scale. Chunky flakes on a very short nail leave almost no plain surface, so the whole thing reads as texture with no shape. Fine and micro glitter suit short nails far better and still catch light.
The second is placement. A glitter ombre needs distance to fade across, and on a short nail there is not enough room, so it ends up looking like a hard line. The cuticle cuff and the single accent nail both work at any length.
Short nails also have a practical advantage here: nothing catches, so chunky glitter is genuinely wearable at short length in a way it is not on long tips. My extra short nail ideas post covers more designs that suit that length.
FAQ
Are glitter nails still in style?
Yes, but the format has changed. Full chunky glitter sets have largely given way to glitter ombre tips, single accent nails, and fine micro shimmer across the whole hand. The current look is one sparkle idea used cleanly rather than sparkle everywhere.
How do you get glitter nail polish off easily?
Soak a cotton pad in acetone, press it onto the nail, wrap the fingertip in foil, and leave it for ten minutes before wiping once firmly. Rubbing at glitter with a dry pad will not work no matter how long you do it. Glitter gel needs the top layer filed down first before soaking.
How long do glitter nails last?
Glitter gel lasts two to three weeks and often outlasts plain gel, because the glitter layer adds structure. Glitter in regular polish gives about a week and chips less visibly than a solid colour does. Removal is the real cost with either one.
What colour glitter goes with everything?
Champagne and pale gold go with the widest range of outfits and skin tones, and they read soft rather than flashy. Silver is the better pick if your jewellery is silver or your outfit is cool-toned. Matching the glitter to your jewellery rather than to your clothes is the rule that never fails.
If you’re picking one, Champagne Glitter Ombre is the safe bet and Glitter Under Sheer is the one people ask about. And for the full party palette, my gold nail designs post pairs with everything here.
If this was useful, my birthday nails guide and my silver nail designs guide cover the next step.
There are two ways to stop glitter feeling rough. My jelly nails post covers the sandwich technique that suspends it inside the colour, and encapsulated nails covers burying it under builder gel.
Glitters thicken faster than any other polish and they are the ones most worth rescuing. My fixing thick nail polish post covers thinning them properly, and storing nail polish covers stopping it happening.