Snowflake nails go wrong in exactly one way: too many of them. A single snowflake on one ring finger looks like a designer put it there. Five snowflakes across five fingers looks like a craft table at a school fair, and no amount of technique saves it. Once I understood that, my winter nail art got dramatically better and dramatically faster.
Below are 20 snowflake nail designs, ordered from the simplest three-stroke version to full frost patterning, with the exact tools I use and what to ask for if you’re going to a salon instead. I’ve included a step-by-step for painting a snowflake that doesn’t look lopsided, a section on which base colors carry white line work, and a short FAQ. For the wider season, my winter nails 2026 guide covers everything that isn’t nail art.
20 snowflake nail designs
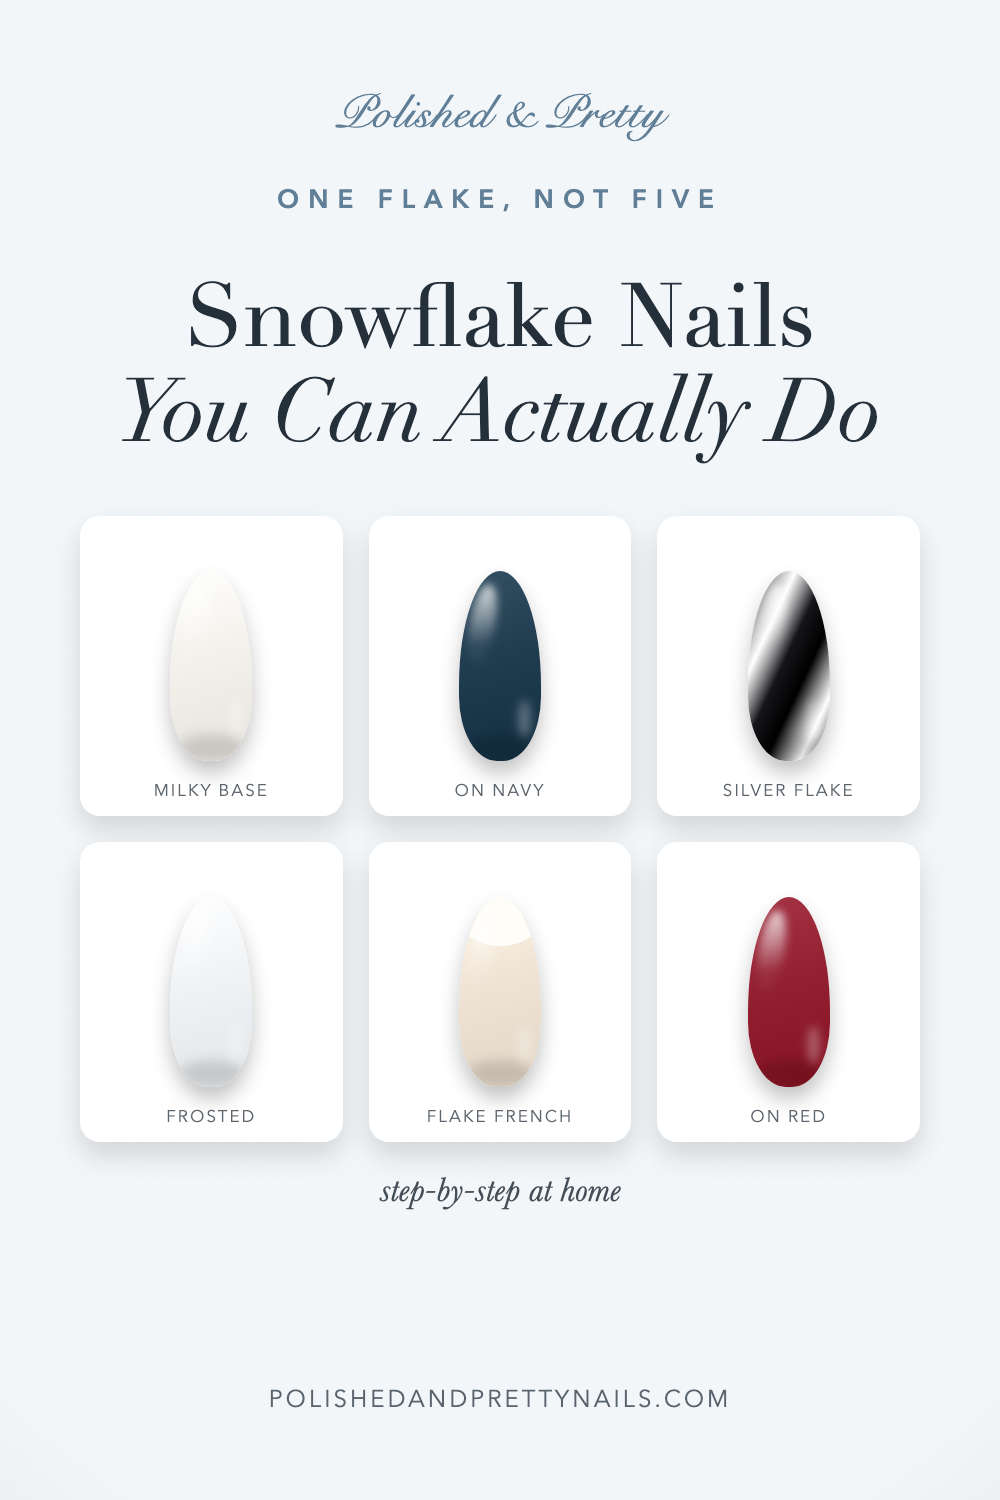
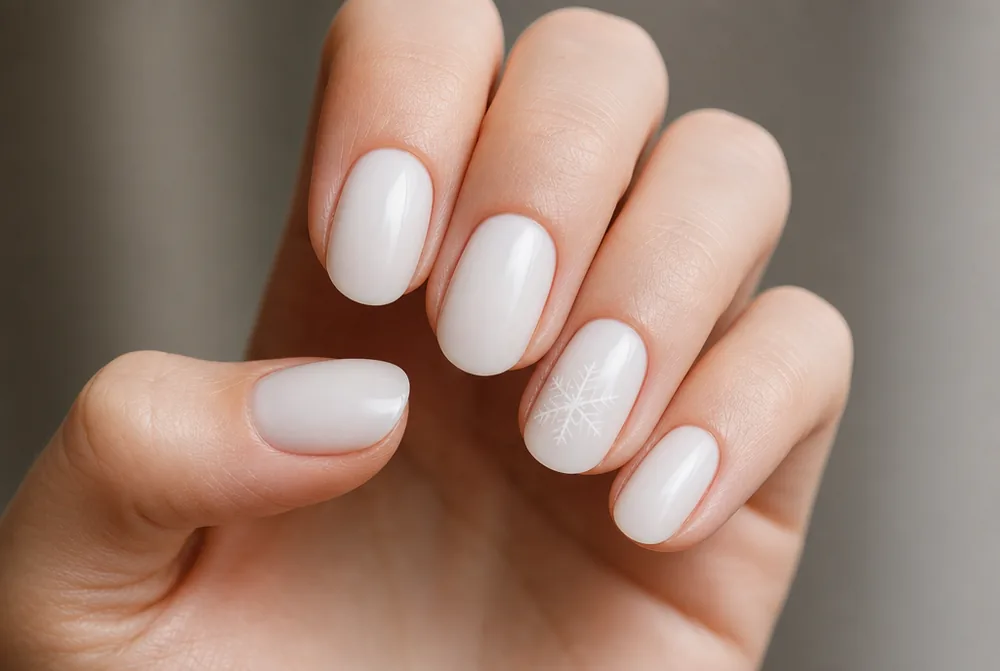
1. Single White Flake on Milky Base
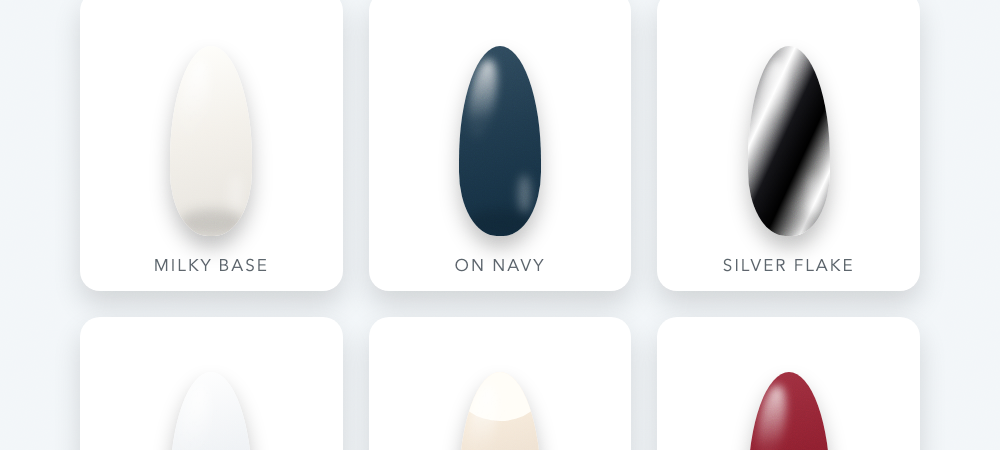
Milky white across all ten with one white snowflake on one ring finger, so it reads as texture rather than contrast. It’s the most wearable version on this list and the one I do most years. White-on-white forgives a shaky line in a way white-on-navy never will.
2. White Flake on Navy
Deep navy base with one crisp white flake. It’s the highest-contrast version and the one that photographs best, which is why it’s everywhere on Pinterest in December. Use a fine-liner brush, not a dotting tool, or the arms come out thick.
3. Silver Flake on Black
Glossy black with a metallic silver snowflake. It’s sharper and less sweet than the white versions, which suits anyone who finds winter nail art too cute. Metallic silver polish flows better through a liner brush than white does.
4. Minimalist Three-Stroke Flake
Three crossed lines and nothing else, which is genuinely all a snowflake needs to read as one. It takes about fifteen seconds per nail and it never looks lopsided because there’s nothing to get wrong. Start here if you’ve never painted nail art.
5. Frosted Windowpane
Thin white lines branching randomly across a sheer base, like frost creeping across a window. Because it’s meant to be irregular, mistakes read as intent. This is the most forgiving nail art I know.
6. Snowflake French Tip
A standard white French with one small flake sitting on the tip of one nail. It keeps the manicure office-appropriate while still marking the season. Put the flake on the ring finger, never the index.
7. Glitter Flake Outline
The flake drawn in fine silver glitter polish instead of flat white. It catches light from every angle and hides an unsteady line, since glitter blurs edges. A glitter liner runs about $7 and lasts years.
8. Negative Space Flake
The flake is bare nail and the color surrounds it, which is much harder and much cooler. Salons use a stencil for this; freehand is a real project. Worth asking for once if you have a tech you trust.
9. Blue Ombre with Flakes
White at the cuticle fading to ice blue at the tips, with two flakes scattered across it. The gradient does most of the work so the flakes can stay simple. Sponge the fade in three light passes.
10. Snowflake Stamping
A stamping plate and scraper gives you a perfect flake every time with zero drawing skill. A kit runs about $15 and it changed what I could do at home. The learning curve is one evening.
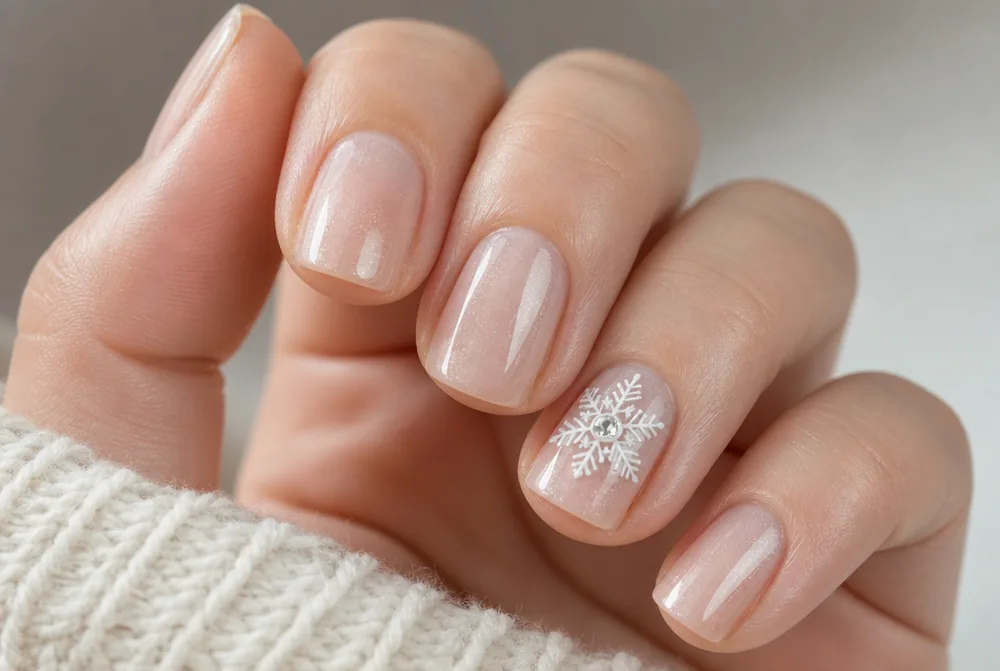
11. Rhinestone Center Flake
A painted flake with one tiny clear crystal set in the middle. The single stone is what makes it look finished rather than flat. Seal around the edges with gel or it lifts within days.
12. Snowflake Decals
Pre-made water decals slid onto a dry base and sealed with top coat. They’re $5 for a sheet of dozens and they look better than most freehand attempts. The trick is pressing out every air bubble before the top coat goes on.
13. Scattered Micro Flakes
Several very small flakes at different sizes scattered across two nails, like snow caught mid-fall. Varying the size is what keeps it from looking like a pattern. Smaller is more forgiving than larger, always.
14. Snowflake on Red
Deep red with one white flake, which is the most classic Christmas combination there is. Use a cool cranberry rather than a bright red so the white doesn’t go pink at the edges. More red bases in my red Christmas nails guide.
15. Frosted Matte Flake
Matte base with the flake painted in clear glossy top coat, so it only shows when the light hits it. It’s the subtlest design here and the one people notice last and like most. Paint the flake after the matte coat, not before.
16. Snowflake and Chrome
Pearl chrome across the hand with one white flake on top. The iridescent base already looks like ice, so the flake barely has to try. Technique for the base is in my chrome and glazed donut nails post.
17. Two-Tone Flake Set
Alternating white and navy nails, with a navy flake on the white ones and a white flake on the navy ones. It’s more design than most people want and it looks genuinely custom. Budget salon time; this is a per-nail charge.
18. Snowflake Toe Accent
One flake on each big toe over a deep blue or red base. Toe polish lasts four to six weeks, so this is the best effort-to-mileage ratio of the season. Nobody expects it, which is half the fun.
19. Icicle Tips
Jagged white shapes hanging down from the cuticle like icicles instead of a snowflake at all. It’s the design for anyone who wants winter without the holiday. Irregular lengths are what make it work.
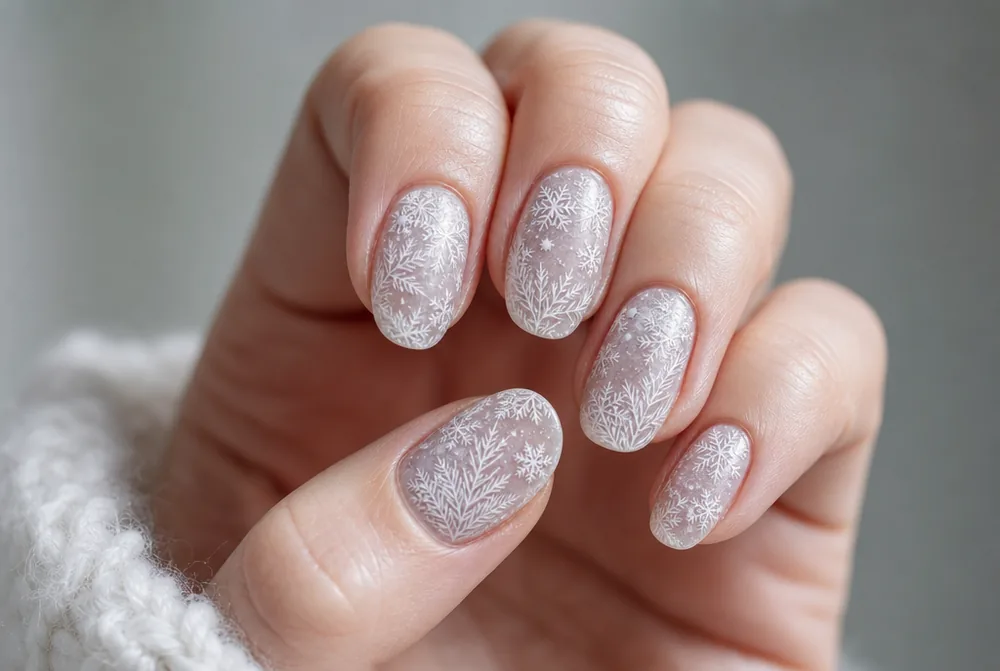
20. Full Frost Set
Every nail covered in fine branching frost and flakes over a pale base. It’s the maximal version and it takes real skill to keep delicate. If you’re going to break the one-flake rule, break it with a pattern rather than ten separate snowflakes.
How to paint a snowflake that isn’t lopsided
Every bad snowflake fails the same way: the arms are different lengths and the center is off-nail. The fix is the order you paint in, not how steady your hand is.
Paint the vertical line first, running the full length of the nail through the center. Then the horizontal line across it. You now have a cross, and everything after that is measured against it, which is why lopsidedness stops being possible.
Add the two diagonals last, aiming for the corners between the lines you already have. Six arms total. Stop here and you have the minimalist version, which honestly looks better than most detailed attempts.
If you want branches, add two short strokes near the end of each arm, angled back toward the center like a V. Keep them tiny. The most common mistake is branches as long as the arms, which turns a snowflake into a shrub.
The tools that actually matter
You need less than the internet suggests. Three things cover every design on this page.
A fine-liner nail brush, the long thin one, is the single most useful purchase. A set runs $8 and a dotting tool will not substitute for it, because dotting tools make thick arms and a snowflake needs thin ones. Rinse it in acetone between colors and it lasts years.
A white polish with genuine opacity is the other half. Most cheap whites go gray and streaky through a liner brush, which is why so many home snowflakes look faded. A dedicated nail art white in a small bottle costs about $6 and is far more pigmented than a full-size white polish.
A quick-dry top coat finishes it and stops the flake from smearing. Wait two full minutes after painting before you top coat, and float the brush rather than pressing, or you’ll drag the white right off. This is where most home attempts die.
Base colors that carry white line work
Not every base takes a white snowflake well, and picking wrong is why some sets look muddy no matter how neat the painting is.
Deep and cool bases carry white best: navy, black, forest green, blackened cherry, charcoal. The contrast is high enough that a slightly imperfect line still reads crisp. Navy is the easiest of these to work on.
Mid-tone bases are the hardest. A medium blue or a dusty mauve swallows white line work and the flake ends up looking chalky rather than bright. Either go darker or go to a milky base and paint white-on-white for texture.
Warm bases like brick red, rust, and camel make white look slightly yellow. Switch to silver or a very pale gray for the flake on those, or shift the base to a cool version. My autumn nail colors post has the warm-versus-cool breakdown if you’re transitioning a fall set into winter.
Asking for snowflake nails at the salon
Bring a photo. “Snowflake nails” means anything from one tiny flake to a full frost set, and the price difference between those two is substantial.
Hand-painted art is usually charged per nail, commonly $3 to $8 each on top of a $45 to $65 gel set. Asking for two accent nails instead of ten is the difference between a $12 add-on and a $60 one, and two is the better-looking choice anyway.
Say the size out loud. “Small, on the ring finger only” prevents the most common disappointment, which is a flake covering the whole nail. Techs default larger because it photographs bigger, and smaller almost always looks better in person.
Book early. The two weeks before Christmas are the busiest of the salon year and anything involving nail art needs a longer appointment slot than a plain color.
FAQ
How do you make easy snowflake nails?
Paint one vertical line down the nail, one horizontal line across it, then two diagonals through the center, using a fine-liner brush and an opaque white. That six-armed asterisk reads as a snowflake with no branches at all and takes about fifteen seconds. Keep it to one nail per hand and seal with top coat after two minutes of drying.
What color goes best with snowflake nails?
Navy, black, and deep red are the strongest bases for white snowflakes because the contrast keeps the lines crisp. Milky white is the best base if you want something subtle, since white-on-white reads as texture. Avoid mid-tone colors, which make white line work look chalky.
How many nails should have snowflakes?
One or two per hand, on the ring finger, is the rule that keeps snowflake nails looking designed rather than crafty. A full set of ten separate snowflakes reads busy no matter how well painted it is. The exception is an all-over frost pattern, which works precisely because it isn’t ten discrete flakes.
Do snowflake nails work after Christmas?
Yes, snowflakes read as winter rather than as Christmas, so they carry through January and February easily. What dates a set is the company: pair flakes with red and gold and it’s Christmas, pair them with navy, silver, or icy blue and it’s just winter. The frosted windowpane and icicle designs are the least holiday-specific.
If you’re doing this yourself for the first time, start with the minimalist three-stroke flake on a navy base and stop there. And when you’re ready for the rest of the season, my December nail ideas post covers the festive-but-not-Christmas middle ground.
For where to go from here, see my polka dot nails guide and my minimalist nails guide.