What Are French Nails?
French nails, often regarded as a classic and elegant nail design, have become a staple in the world of nail art. Originating in the 1970s, this distinctive style was created by Jeff Pink, founder of Orly, as a way to provide a polished look that would last through various events without frequent touch-ups. The essence of French nails lies in their simplicity and versatility, allowing them to complement various occasions, from casual outings to formal events.
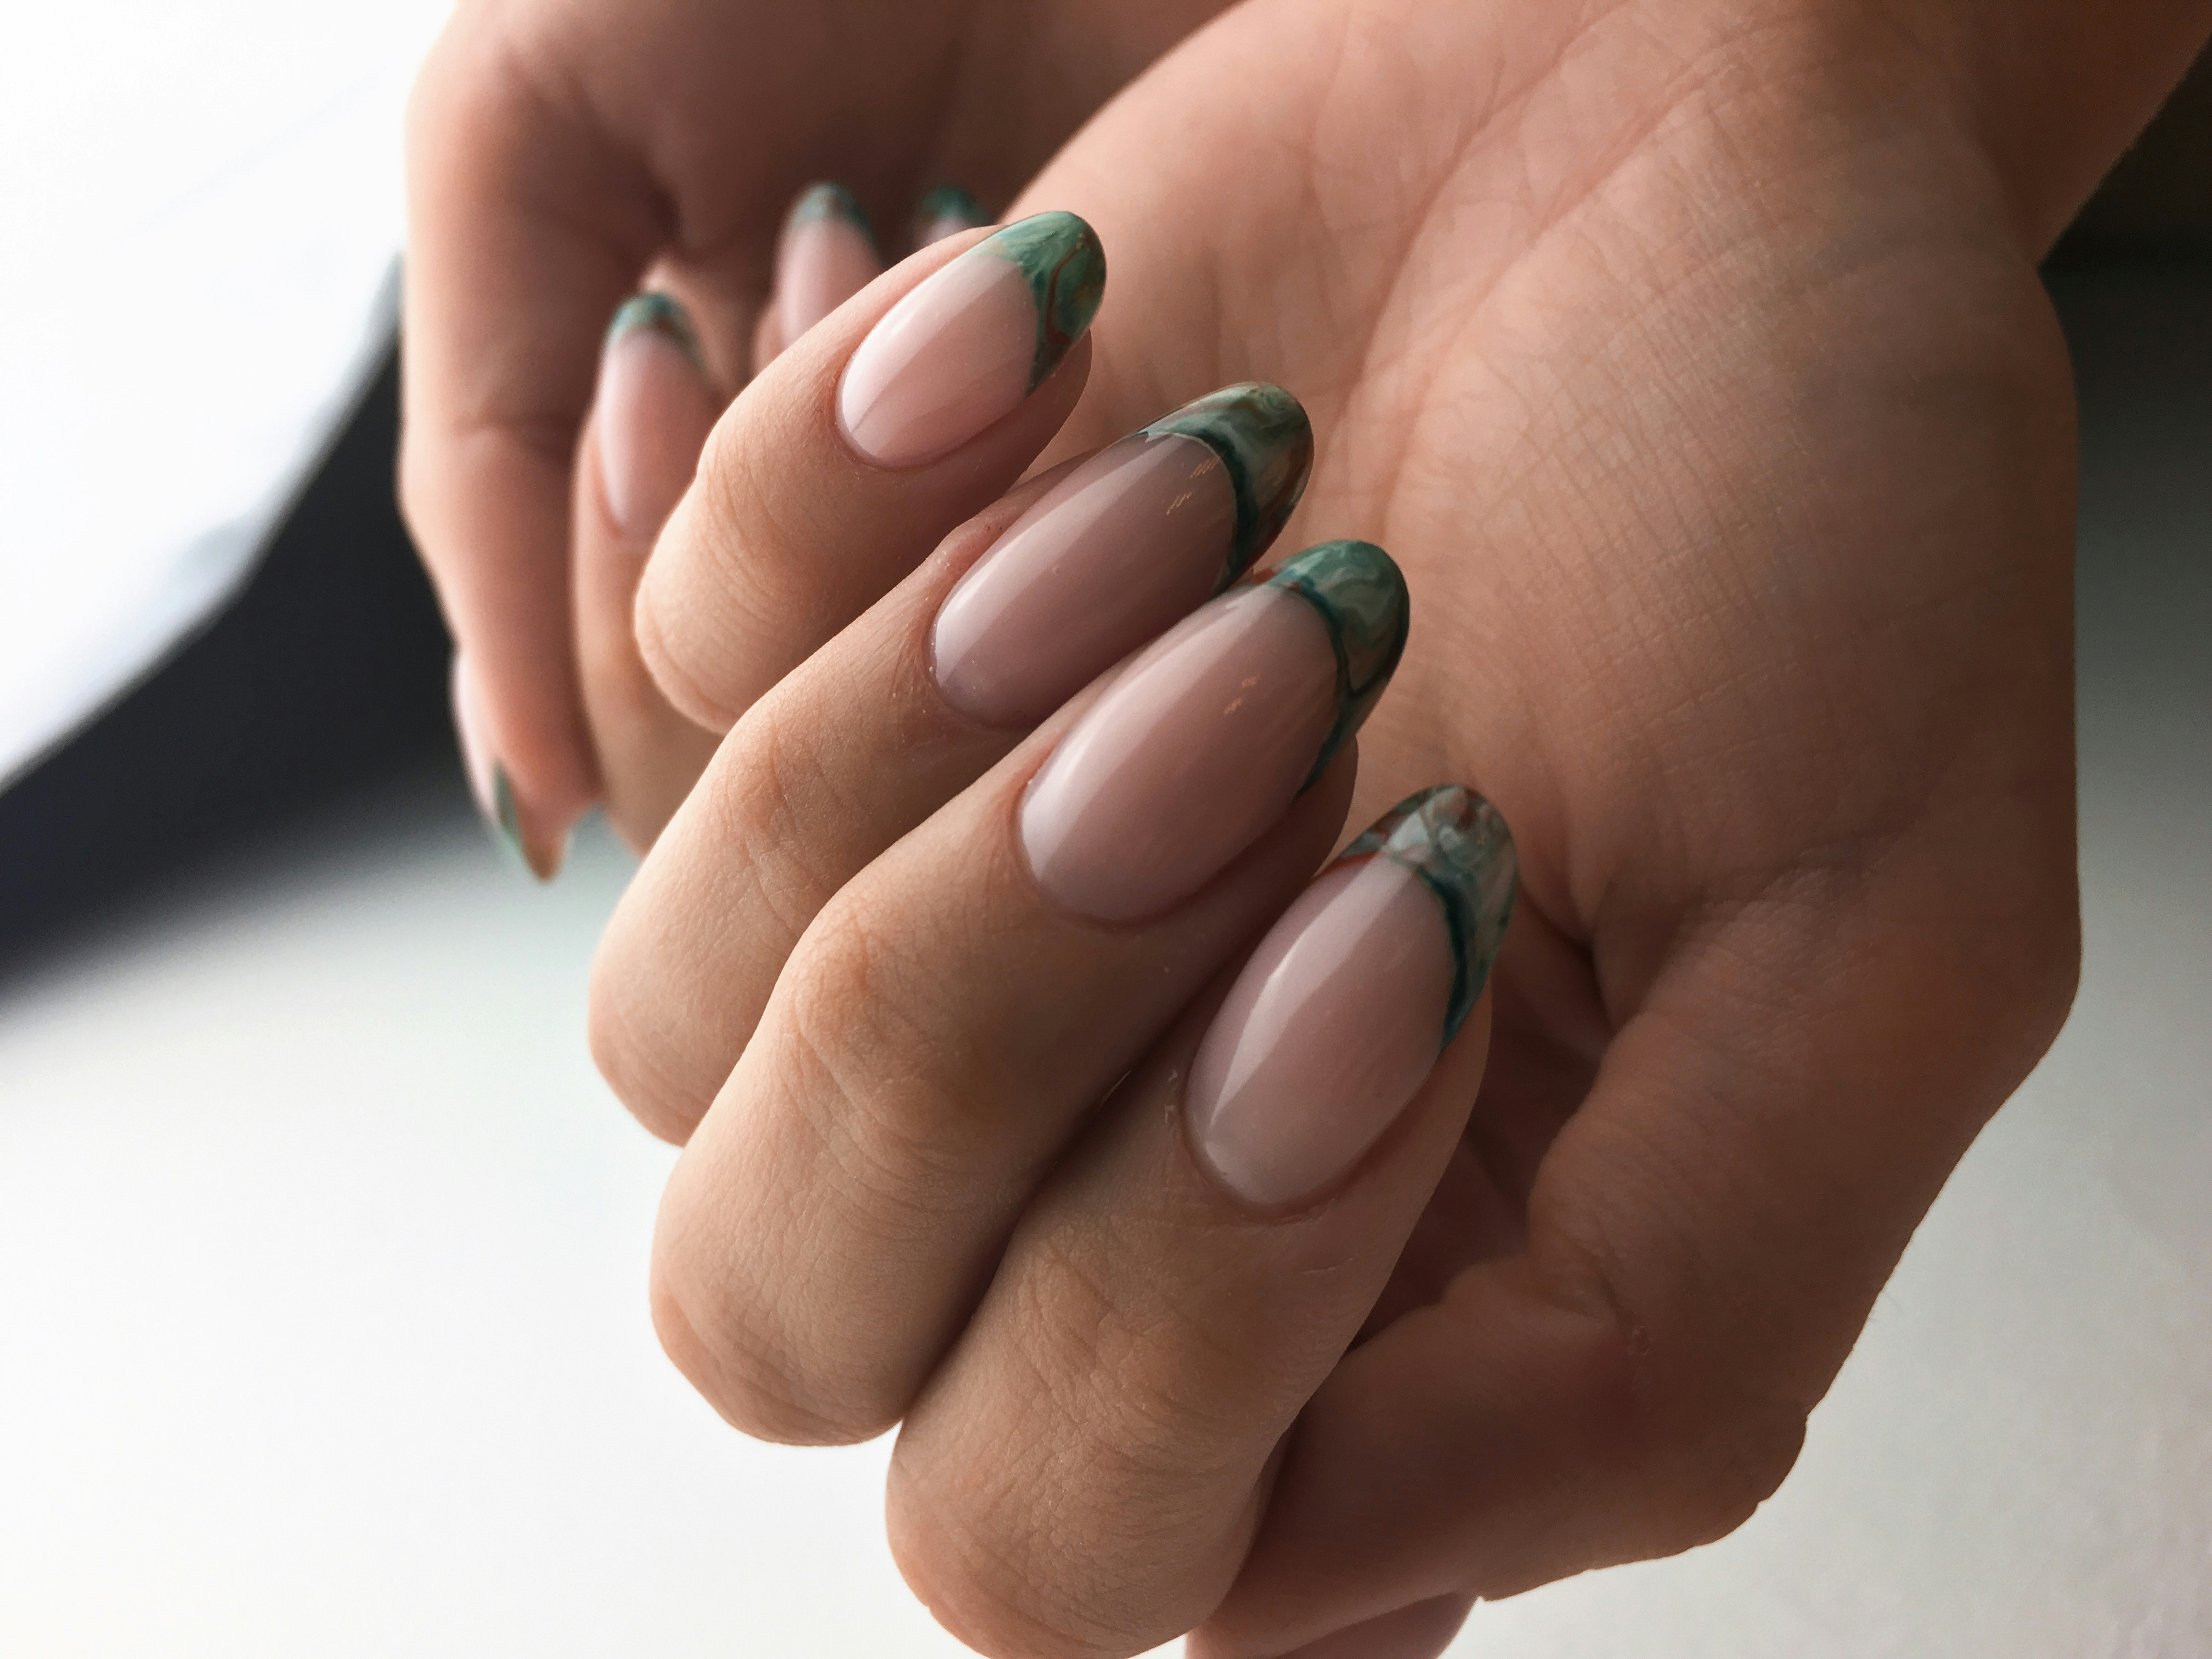
The hallmark of a traditional French nail design features a nude or soft pink base, paired with a crisp white tip, contributing to a fresh and sophisticated appearance. This minimalistic approach not only signifies cleanliness but also enhances the shape and length of the nails, making them appear longer and more elegant. Such characteristics make French nails a timeless choice among nail designs.
Beyond the classic rendering, French nails have evolved into diverse styles that incorporate various elements, including different colors, patterns, and finishes. For instance, modern interpretations may feature colorful tips or incorporate nail art elements such as embellishments, glitter, or even designs that reflect individual personality. These adaptations maintain the original essence of French nails while showcasing creativity and personal flair.
Furthermore, the versatility of French nails cannot be overstated. They can be tailored to fit any occasion through either understated elegance or bold statements, ensuring that there is a suitable version for everyone. Whether one prefers the traditional look or modern flair, French nails remain a beloved choice that highlights both the sophistication of nail art and the artistry involved in its application.
Essential Tools and Products for Perfect French Nails
Achieving flawless French nails requires a precise selection of tools and high-quality products that cater to specific nail types. First and foremost, the base coat is essential; it not only protects the natural nail but also enables better adhesion of nail polish. Look for a formula that caters to your nail health, such as those infused with vitamins and minerals. Brands like Orly and CND offer excellent options.
Nail polishes are the heart of any nail art, particularly for French nail designs, which typically require two main shades: a sheer pink or nude for the base, and a bright white for the tips. For the best results, select long-lasting formulas known for their opaque finish. OPI and Essie are widely recommended for their high-quality color payoff and longevity.
To finish your French nails, a quality top coat is critical. A good top coat not only enhances the shine but also prolongs the wear of the nail art. Gel-based top coats, such as those from Seche Vite or Gelish, effectively seal the design and provide a professional finish.
Furthermore, if you are considering artificial nails, investing in high-quality nail tips is vital. Various shapes are available such as square, almond, or stiletto, allowing for a wider array of nail designs. Brands like Kiss and Glam Nails offer durable and flexible options.
Nail files and buffers are indispensable in preparing the nails for the application. A fine-grit nail file is essential to shape the tips precisely, while a buffer smooths the surface before applying polish. For the utmost precision in application, a fine detail brush will assist in creating the iconic French tip look. When selecting products, consider your nail type and desired finish to ensure the best outcomes.
Step-by-Step Guide to Achieving Perfect French Nails at Home
Creating beautiful French nails at home requires precision and attention to detail. Start by preparing your nails. Begin with thoroughly cleaning your hands and nails to remove any oils or residues, ensuring a clean canvas for your nail art. Use a gentle nail file to shape your nails to your desired length and style. A classic oval or square shape works well for traditional French nails.
Next, apply a base coat to protect your natural nails and enhance the adhesion of your nail polish. Once the base coat is dry, it’s time to create the signature white tips. This is where accuracy counts. Using a fine-tipped nail brush or nail art pen, apply a strip of white polish across the free edge of your nails. For those who find it challenging to achieve a straight line, consider using nail tape to guide your application. Make sure the tips are uniform in width and length, as consistency is key in nail designs.
After completing the tips, allow them to dry completely before applying a sheer pink or nude polish over the entire nail. This top layer helps give the classic French look and ensures that the white tips stand out. Following this, apply a top coat to seal everything in place, providing a glossy finish. Let your French nails dry adequately before engaging in any activities that might smudge them. To maintain your nail art, touch up any chipped edges promptly and moisturize your cuticles with a nourishing oil.
When it comes time to remove your French nails, be gentle. Use an acetone-free remover to avoid drying out your nails. After removal, ensure to rehydrate your nails and cuticles. This holistic approach will help keep your nails healthy, ensuring your French nails look as beautiful as possible.
Common Mistakes to Avoid and Troubleshooting Tips
Creating flawless French nails can be challenging, and several common mistakes can undermine the desired elegance of this classic nail design. One frequent pitfall is uneven tips. To achieve a harmonious look, ensure that each tip is uniform in width. A steady hand is crucial; consider using tape or a nail guide to help maintain symmetry while painting. At the same time, avoid using too much polish, as this can lead to a thick and unattractive finish.
Another common issue is smudging of the polish, particularly when applying multiple layers. To combat this, allow each coat to dry completely before applying the next. Investing in a quick-drying top coat can also significantly reduce the risk of smudging and help to seal and protect your nail art. Remember, patience is key in the nail design process, and rushing can lead to mistakes that detract from the overall aesthetic.
Chipping is yet another concern that affects the longevity of French nails. To minimize chipping, always apply a protective base coat prior to your nail art. Selecting high-quality polishes that are formulated for durability can also extend the life of your manicure. After completion, consider using a top coat to enhance shine and provide an extra barrier against wear and tear.
Should you encounter any mistakes, remember that nail polish is often forgiving. If you find you’ve smudged your design or created an uneven tip, you can always clean up the edges with a small brush dipped in nail polish remover for a clean look. Maintaining your French nails involves regular upkeep; reapply your top coat every few days to refresh the shine and prevent chips. By avoiding these common missteps and following these troubleshooting tips, you can master the art of French nails and enjoy beautifully designed nails for longer durations.